The most effective way to block wind on a patio is to put a solid or semi-solid barrier on the windward side, tall enough to create a protected zone that extends roughly 10 times the barrier's height downwind. For most patios, that means a 6-foot fence, privacy panel, or screen enclosure wall gives you about 60 feet of noticeably calmer air. If you need relief today with no construction, rearranging tall planters or hanging an outdoor curtain panel can cut gusts by a surprising amount while you plan something more permanent.
How to Block Wind on Patio: Quick Fixes and Best Options

Felix Brennan
6 May 2026
Quick ways to reduce patio wind today
You don't need a permit or a weekend project to feel a difference fast. These options won't replace a proper windbreak, but they genuinely work well enough to make your patio usable while you figure out a longer-term plan.
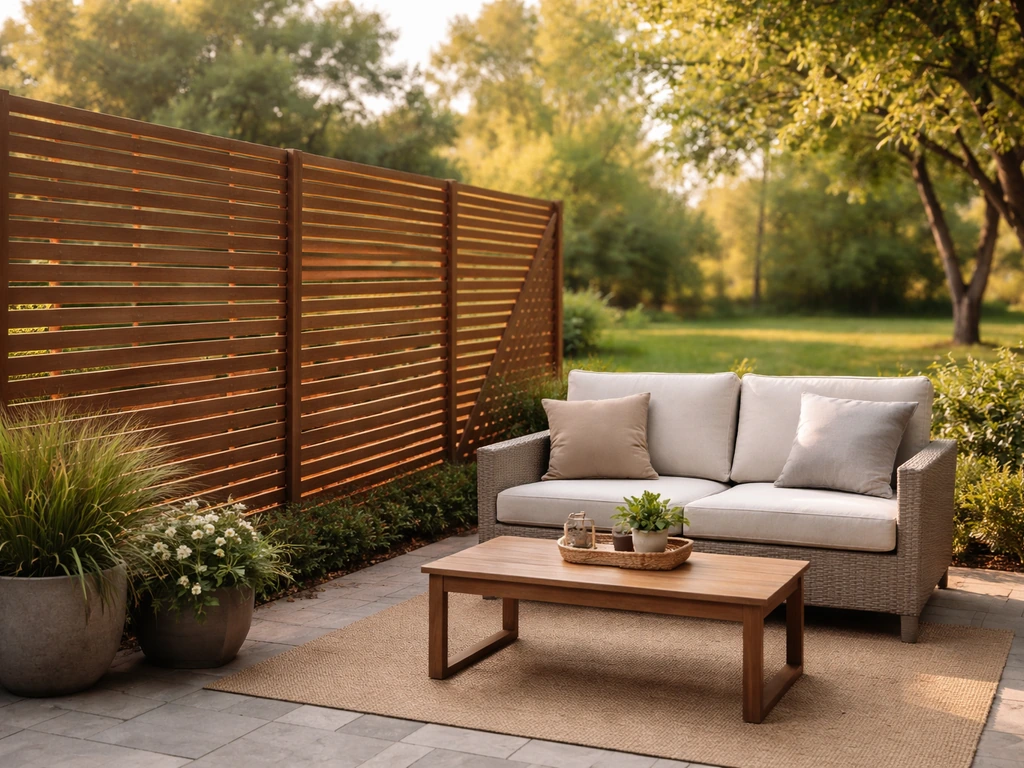
- Rearrange furniture so a large sofa, storage bench, or outdoor sectional faces the prevailing wind direction. Bulky upholstered pieces act as low-level baffles and knock down ground-level gusts around seating.
- Cluster large planters (18 inches or taller) in a staggered row on the windward edge. Fill them with dense shrubs like boxwood, ornamental grasses, or arborvitae for instant mass.
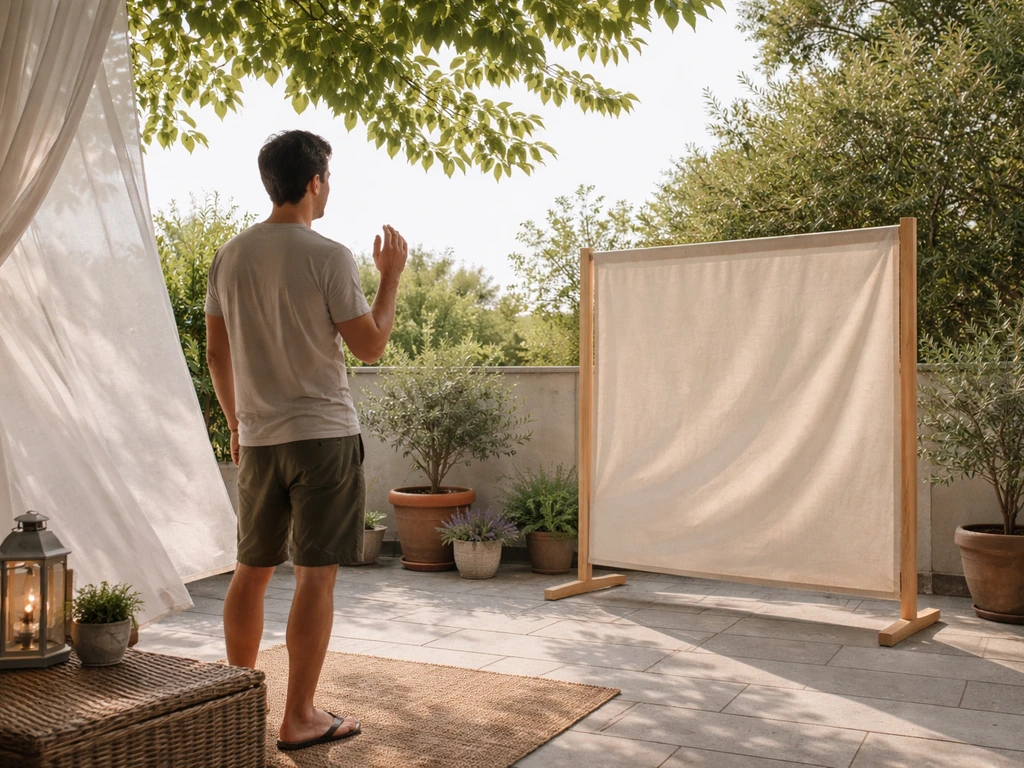
- Hang outdoor curtain panels from a pergola beam or tension wire. A single panel of outdoor canvas or polyester fabric can drop wind speed noticeably in the sheltered zone behind it. Use grommets and zip ties to keep panels from flapping loose.
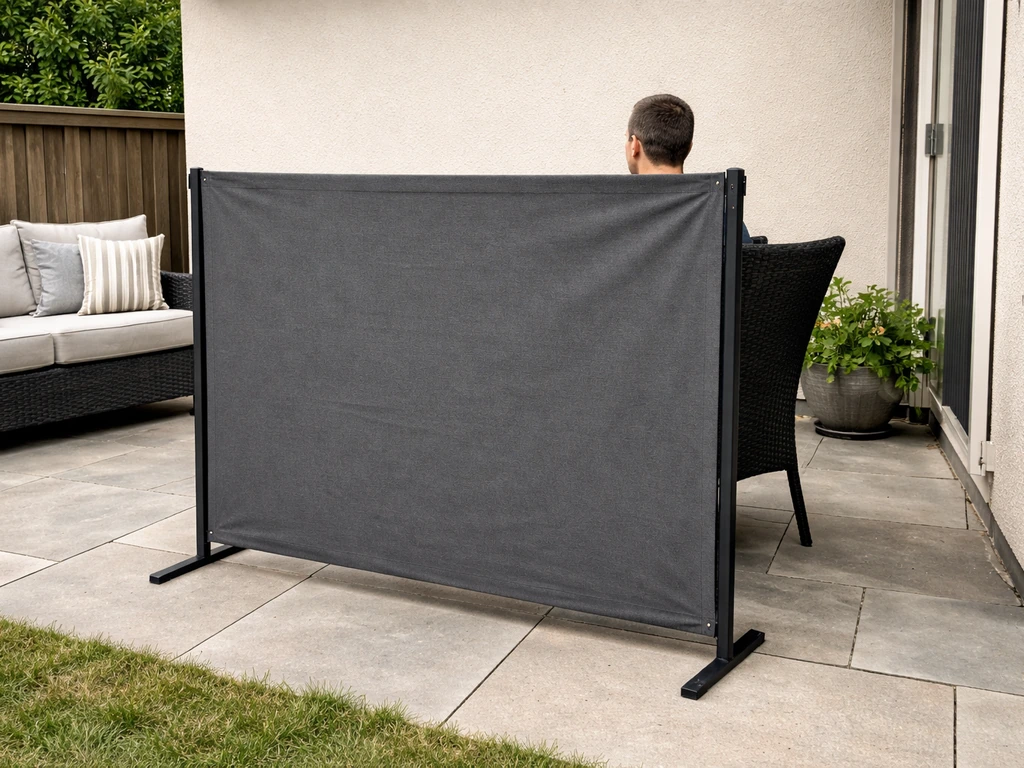
- Set up a freestanding outdoor shade sail or wind screen. Look for products rated for wind use (they'll say 'breathable mesh' or list a wind-resistance spec). These can be staked or weighted at corners.
- Use a closed-top patio umbrella tilted to face the wind. It won't block large gusts but reduces turbulence around a dining table.
- Stack or lean portable bamboo roll screens against an existing railing. These are $20–$50 at most home centers and provide immediate privacy and modest wind reduction.
All of these are genuinely temporary. They move, loosen, or blow over in extreme weather. Think of them as a starting point, not a finish line.
Permanent windbreak options: screens, panels, and fencing
For real, year-round wind protection, you want something anchored in the ground or bolted to a solid structure. Here are the main options, from simplest to most involved.
Privacy fence panels
A standard 6-foot vinyl or wood privacy fence is the workhorse solution for most homeowners. Vinyl panels from brands like Weatherables are engineered and tested to handle high wind loads at that height, which matters in exposed yards. Wood offers more DIY flexibility since you can cut and customize, but it needs sealing or painting every few years. Either way, panels set in concrete footings will outlast anything you lean against a wall.
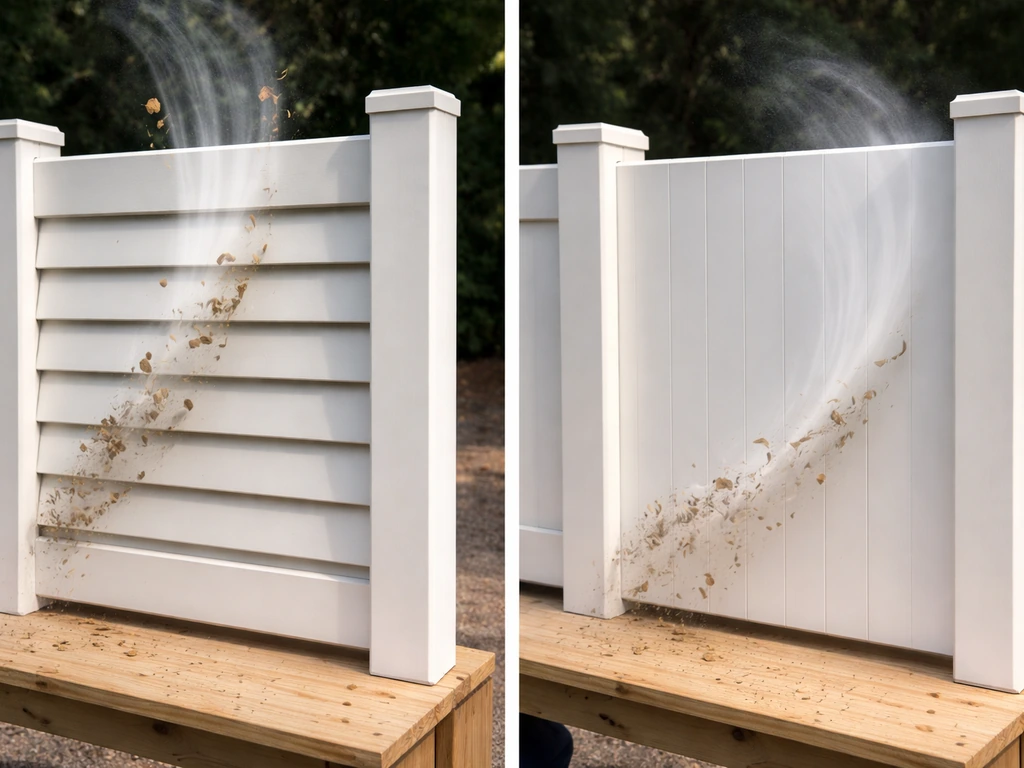
Louvered and slatted panels
Louvered panels are worth considering if you want airflow but not full gusts. The angled slats deflect wind upward without creating the kind of pressure buildup and turbulence a completely solid wall can cause. They're also a nicer look if you're on a tight property and don't want to feel walled in. Many aluminum louvered panel systems come pre-assembled and can be bolted to existing posts.
Outdoor screen walls
Screen walls use a heavier-gauge mesh (think porch screening rather than window screening) stretched over a framed panel. They reduce wind while keeping sight lines open and bugs out. They're a natural fit for screened patio projects and work well when you want wind protection without making the space feel enclosed. Keep in mind that screen mesh offers less wind reduction than a solid panel, so go taller or double up panels when wind speeds are regularly above 20 mph.
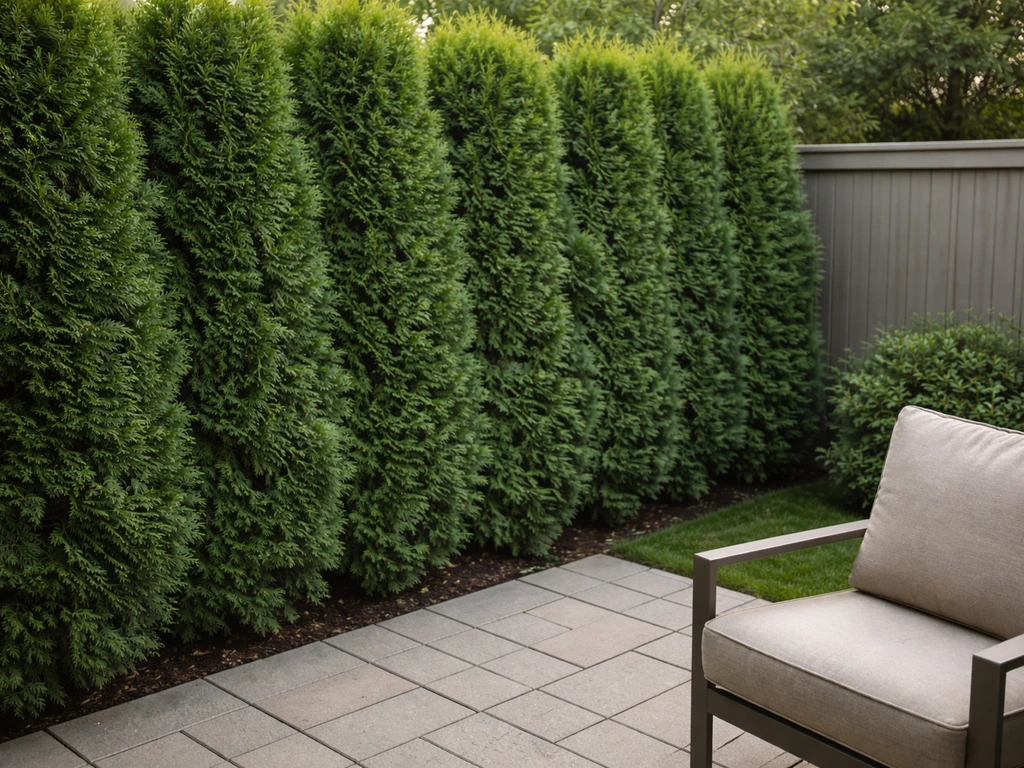
Planted windbreaks
A living windbreak of dense evergreen shrubs or trees is the most effective large-scale solution over time. USU Extension notes that a well-designed windbreak’s protection extends about 12, 15 times the windbreak height downwind a well-designed windbreak protects about 12–15 times its height downwind. Research from Utah State University Extension indicates a well-placed windbreak can reduce wind speeds downwind for a distance of up to 30 times the windbreak's height. Even at the more conservative 10x estimate from UF IFAS, a 6-foot hedge gives you 60 feet of protection. The tradeoff is time: most plantings take 3–5 years to fill in enough to matter. Plant them now if you're in this home long-term.
Patio enclosure strategies: partial vs. full enclosures
If wind is a consistent enough problem that you're losing use of your patio seasonally, an enclosure is worth serious consideration. Even a partial enclosure changes the comfort level dramatically.
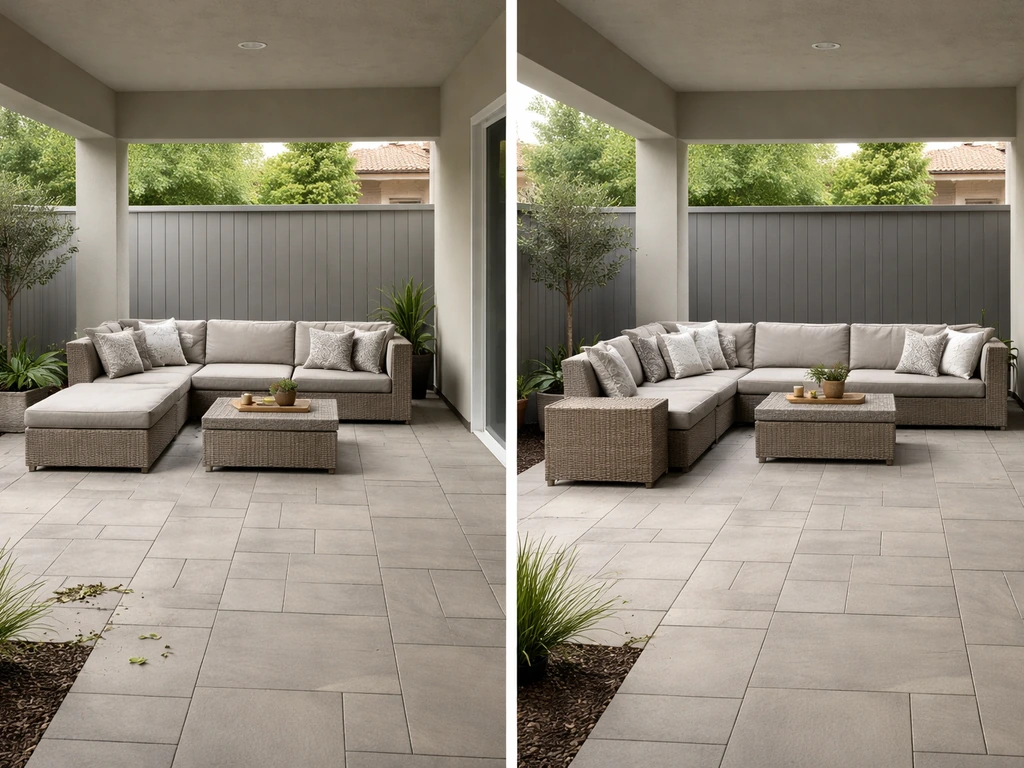
Partial enclosures
A partial enclosure typically means walling off one or two sides of the patio while leaving the others open. This works well when your wind comes from a predictable direction (most yards have a dominant wind direction based on geography). You can use a combination of fence panels, screen walls, and lattice to close off the windward side and one adjacent side, creating an L-shaped shelter. Cost runs roughly $500–$2,500 depending on materials and linear footage. This is a strong DIY option and usually doesn't require a permit if you're staying under 6 feet in height, though always verify with your local municipality.
Full screened enclosures
A fully screened patio enclosure surrounds the space on all sides with a framed screen system and adds a screened or solid roof. This is the gold standard for wind and bug protection, and it essentially converts your patio into a three-season or four-season room. The International Code Council's guidelines for screen enclosures specify that structural members must be designed to support minimum wind loads and must limit deflection, which means full enclosures need to be engineered correctly. Costs range from around $3,000 for a basic DIY screen enclosure to $15,000 or more for a professionally built structure. If you're going full enclosure, read up on the permitting requirements in your area before you start framing.
Retractable and seasonal options
Motorized retractable screens and zip-track systems give you the flexibility to open the patio fully on calm days and close it down when wind picks up. These are pricier (often $1,500–$4,000 per panel installed), but they're popular for homeowners who don't want a permanent enclosed feel. Keeping patio blinds or retractable screens from blowing loose in the wind is its own topic worth digging into if you go this route, since hardware selection and tensioning make a big difference.
Best placement and height: where to block wind and how high
Placement is everything. A windbreak on the wrong side of the patio does almost nothing. Here's how to get it right.
Find your prevailing wind direction
Stand on your patio on a breezy day and feel where the wind is coming from. Check a local weather app for your dominant wind direction (most areas in the U.S. have consistent prevailing winds from the west or southwest). Your barrier goes on the windward side, meaning between the wind source and your seating area. Don't guess at this, because building a fence on the wrong side is an expensive mistake.
How far the protection zone extends
Use this as your planning rule: a barrier protects downwind for roughly 10 times its height, sometimes more. A 6-foot fence shelters about 60 feet of space. A 4-foot planter row covers maybe 40 feet. The DOE recommends placing windbreaks for homes at roughly 2 to 5 times the mature height of the barrier away from the structure itself to get maximum protection. For a patio fence set right at the patio edge, you're already within that optimal zone.
How high should your windbreak be?
For a typical residential patio, 6 feet is the sweet spot. It's the maximum height allowed without a permit in most jurisdictions, it's tall enough to shelter standing adults, and it provides meaningful protection over a 40–60 foot zone. If your patio has a roof or pergola overhead, consider matching your barrier to the underside of the roof to eliminate the gap where wind sneaks through at the top. Taller windbreaks do protect a larger area, but anything over 6 feet typically triggers permit requirements and may need engineered wind load calculations.
Choosing materials for different climates and budgets
The right material depends on where you live and how much you want to spend upfront versus on maintenance. Here's a straightforward comparison.
| Material | Best Climate | Wind Resistance | Maintenance | Typical Cost (6ft panel) |
|---|---|---|---|---|
| Vinyl privacy fence | Most climates; avoid extreme heat warping | High (engineered for wind loads) | Low: rinse annually | $25–$50 per linear foot installed |
| Pressure-treated wood | All climates; good in wet regions with proper sealing | High if properly anchored | Moderate: seal/paint every 2–3 years | $15–$35 per linear foot installed |
| Aluminum louvered panels | Coastal and high-humidity areas; resists salt and rust | Moderate (allows some airflow) | Very low | $40–$80 per linear foot installed |
| Cedar or redwood | Dry to moderate climates; naturally rot-resistant | High if anchored in concrete | Low to moderate: occasional oil/stain | $30–$60 per linear foot installed |
| Outdoor screen mesh | Mild to moderate wind regions; good for bugs too | Low to moderate | Low: replace mesh every 5–10 years | $10–$20 per linear foot DIY |
| Dense evergreen hedge | Temperate to humid climates; not ideal for arid regions | Very high at maturity | Moderate: annual pruning | $5–$15 per plant; slow to mature |
For coastal areas or anywhere with sustained high winds, aluminum or vinyl outperforms wood because they don't warp, rot, or lose structural integrity from moisture cycling. In dry desert climates, any solid material works well, but metal can get hot enough to be unpleasant near seating, so wood or composite may be more comfortable. For most mid-Atlantic, Midwest, and Pacific Northwest homeowners on a moderate budget, pressure-treated wood posts with cedar or vinyl panels is the most practical combination.
DIY step-by-step installation and common mistakes
Installing a freestanding privacy panel or fence section is a realistic weekend project for most homeowners. Here's how to do it right the first time.
What you'll need
- Privacy fence panels (prebuilt or build-your-own)
- 4x4 or 6x6 posts (1.5 to 2 times the panel height for below-grade depth)
- Post hole digger or rented auger
- Fast-setting concrete mix (one 50-lb bag per post, usually)
- Level (24-inch or longer)
- Temporary braces (scrap 2x4 screwed to stakes)
- Tape measure and string line
- Drill and exterior screws or panel brackets
Step-by-step installation
- Call 811 (US) to mark underground utilities before you dig anything. This is not optional.
- Mark your post locations with stakes and a string line. For a 6-foot panel, set posts no more than 8 feet apart on center.
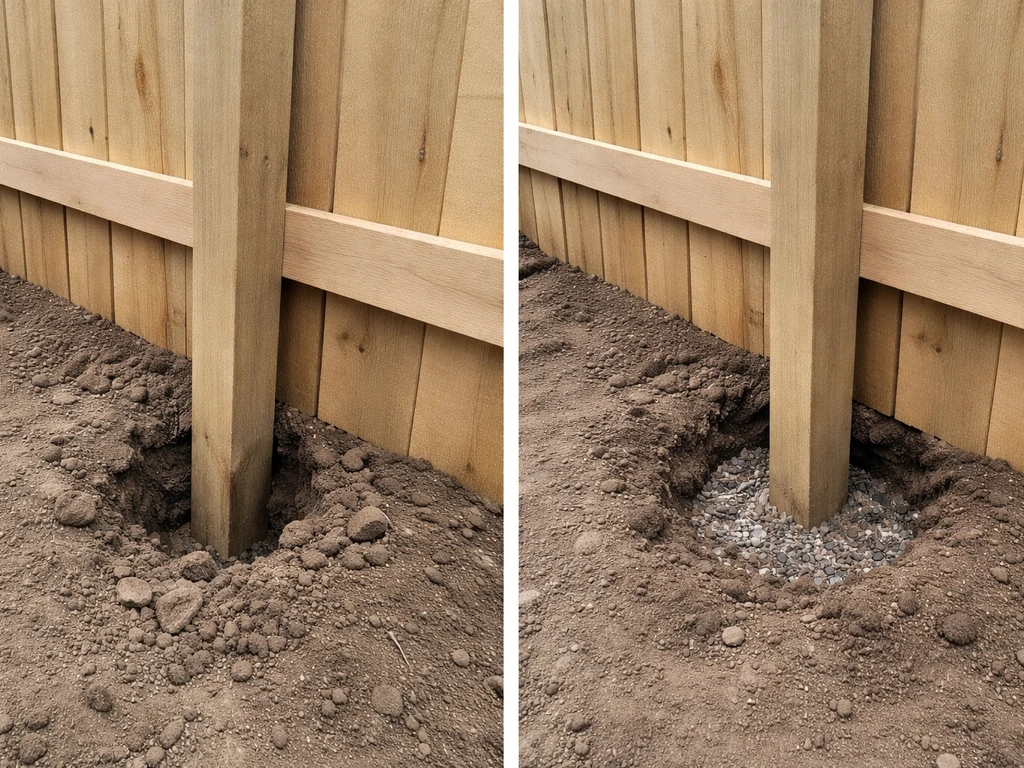
- Dig post holes to a depth of at least one-third the total post length. For a 6-foot panel using a 9-foot post, that's a 3-foot hole minimum. In frost-prone areas, go below the frost line.
- Set the first post in the hole, check it plumb on two sides with a level, and brace it with temporary 2x4 props staked into the ground.
- Pour dry fast-setting concrete mix into the hole and add water per the manufacturer's instructions. Do not mix separately and pour in wet: pour dry, add water, and let it set around the post. This takes 20–40 minutes to firm up.
- Set remaining posts the same way, using a string line between posts to keep the tops aligned.
- Wait at least 4 hours (ideally overnight) before attaching panels.
- Attach panels to posts using panel brackets or face-screwing with exterior-rated screws. Check level as you go. Use a scrap block as a spacer to keep consistent gaps between panels if you're doing slatted style.
Common mistakes to avoid
- Shallow post holes: The most common reason fences fail in wind. Shallow posts rock and eventually pull out of the ground under lateral load. Go deeper than you think you need to.
- Skipping bracing while concrete sets: A post that moves while the concrete is curing will set crooked and you can't easily fix it later.
- Not checking for plumb on both axes: A post can look straight from the front and still lean sideways. Check north-south and east-west with your level.
- Using the wrong concrete: Standard bag concrete works but takes 24–48 hours to cure. Fast-setting mix (like Quikrete Fast-Setting) firms up in under an hour and is worth the small extra cost.
- Building too close to the property line without checking setback rules: Most municipalities require fences to be set back 2–6 inches from the property line. Check before you dig.
- Ignoring wind load requirements for taller or larger panels: If you're building anything over 6 feet or spanning more than 8 feet between posts, get the panel spec sheet and make sure your post size and footing depth match the wind load rating.
Maintenance, seasonal adjustments, and when to call a pro
Routine maintenance
Most permanent windbreaks are low maintenance, but a little attention each season keeps them performing well and looking good. Every spring, walk the fence line and check posts for movement (push on them firmly at the top). Any post that rocks needs attention before a big storm, not after. Check fasteners for rust and replace with stainless or galvanized screws where needed. For wood panels, inspect for rot at the post base and any areas where panels contact soil. For vinyl, a pressure wash or scrub with a mild detergent is usually all it needs.
Seasonal adjustments
If you're using retractable screens or fabric curtain panels, take them down before major storms and before winter in cold climates. Fabric left up through a winter freeze will degrade faster and is a sail waiting to catch a damaging gust. Roll screens should be secured in their housing, and freestanding portable barriers should be stored flat. For living windbreaks, late fall is the right time to add a layer of mulch around the base of shrubs and check that young trees are staked if they're under three years old.
When to hire a professional
Some projects genuinely call for a pro, and knowing when to step back saves money in the long run. Hire out when any of these apply to your project:
- You're building a full screened enclosure or anything with a roof structure. The IBHS has specifically called out patio covers and overhangs as wind damage amplifiers when not properly attached. Structural load paths matter, and getting this wrong is expensive to fix and potentially dangerous.
- Your project requires a building permit. Most jurisdictions require permits for fences over 6 feet or any permanent roofed structure. A permitted job means a licensed contractor, inspections, and work that meets code. Going unpermitted can cause problems when you sell the home.
- Wind speeds in your area regularly exceed 90–100 mph (think hurricane zones, tornado-prone regions, or exposed coastal sites). At those wind speeds, design pressures climb sharply and standard DIY hardware may not be adequate. Massachusetts building code, for example, tables out design pressures for basic wind speeds from 100–150 mph, which require engineered solutions.
- Your posts need to anchor into concrete slab rather than soil. Core-drilling a slab and setting a post correctly requires tools and know-how that most homeowners don't have.
- Your patio is attached to the house and any new barrier will connect to the home's structure. Connections to the house framing carry load implications that should be reviewed by a contractor.
For most standard patio windbreak projects, a single motivated DIYer with a weekend and basic tools can absolutely get this done. Start with the quick fixes today, figure out your dominant wind direction, and then plan the permanent solution that fits your climate, budget, and how much of the work you want to handle yourself. The goal is a patio you actually want to spend time on, and a well-placed windbreak makes that happen faster than almost any other upgrade you can make. If you want a deeper plan for how to protect patio from wind, focus on windward placement, barrier height, and how far the calmer air will extend downwind windbreak.
FAQ
How can I tell if my patio windbreak is on the wrong side?
If you feel the strongest gusts after installing your panel, you likely mounted it on the leeward side. Stand in your usual seating spot during a breezy time, note the wind direction, then confirm your barrier is between the wind source and the seating area. A quick test is to look at leaves or a ribbon held waist-high, because wind direction can change with nearby buildings and terrain.
What height should I use if my patio is near a roof, pergola, or second-story wall?
Match the windbreak to the underside of the overhead structure to reduce the “top gap” where gusts slide over and down. If you cannot match it, consider increasing your barrier height only up to local allowance, then add a small side closure (fence return or lattice panel) to prevent wind from wrapping around the ends.
Will a screen wall stop wind as well as a solid fence?
Not fully. Mesh reduces wind more than it allows, but it rarely matches a solid barrier’s performance because wind passes through the openings. If you must use screen, go taller than you would with a solid panel, increase the protected run (longer windward section), or combine screen with a partial solid fence on the windward edge.
What’s the minimum length of fence section I need to notice a difference?
A short panel can help locally, but wind protection improves when the barrier spans a meaningful portion of the patio width, especially along the windward edge. As a practical rule, aim for a continuous run long enough to cover your seating zone plus at least a few feet on both ends, so wind has less opportunity to squeeze through gaps.
Can I use planters to block wind, or will they just move around?
Planters can work as a temporary deflector, but stability matters. Use heavy planters or anchor them, and keep tall plants dense (thin, sparse landscaping is less effective). For gusty patios, a row of connected planters or a stacked arrangement often performs better than one isolated container.
Do I need to leave a gap at the bottom of my privacy fence or wind panel?
For wind blocking, minimize uncontrolled gaps at the bottom. Even small openings can let gusts re-accelerate under the barrier, especially on uneven ground. If your patio grade slopes, use a base board, skirting, or adjustable supports so the barrier sits as uniformly as possible along the windward line.
How do louvered panels change wind behavior, and are they safe for gusts?
Louvers can deflect airflow upward, which often reduces direct pressure on your seating area. However, you still need secure anchoring because gusts can increase loads on posts and fasteners. Choose systems rated for outdoor wind conditions and bolt them to proper posts, not just to decorative or thin framing.
What maintenance should I prioritize before storm season?
Do a pre-storm check by pushing each post firmly at the top to detect looseness, then inspect fasteners for corrosion or backing out. Re-tighten or replace questionable hardware, and for wood panels, check for early rot at the post base where moisture collects. This matters because a small failure during a storm can turn into a full panel blowout.
Are retractable screens and zip-track systems worth it if wind is the main problem?
They can be worth it for flexibility, but they are not the same as a solid year-round windbreak. Wind and hardware design are closely linked, if the screens loosen or catch gusts you can lose both protection and durability. Plan to keep tracks clear, ensure tension is set correctly, and close panels ahead of high wind, not after it starts.
When should I stop DIY and hire a pro for a patio enclosure?
Hire out when your enclosure must carry roof loads plus wind forces, when openings require engineered framing, or when local permitting depends on structural calculations. Also consider professional help if you are tying into existing structures, because attachment points and racking resistance matter for safety and long-term performance.
Next Articles

How to Decorate a Long Narrow Patio: Layout Tips
Practical DIY layout and decor tips to widen a long narrow patio using zoning, furniture spacing, lighting, greenery, an

How to Decorate a Rectangular Patio Step by Step
Step-by-step plan to decorate a rectangular patio with smart layout, zones, furniture fit, lighting, plants, and seasona
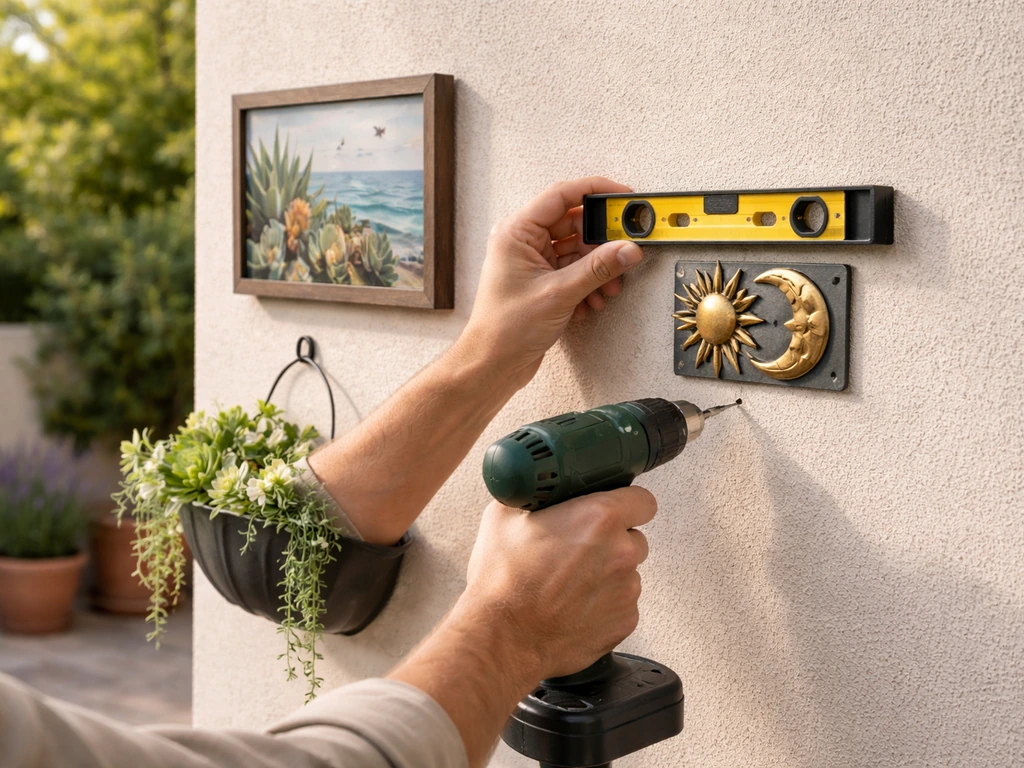
How to Decorate a Patio Wall: DIY Ideas and Mounting Tips
DIY patio wall decor for brick, stucco, wood, concrete, or siding with weatherproof mounting tips and maintenance.