The fastest way to cool a hot patio is to block the sun first, move air second, and add water-based cooling third. That order matters because shade cuts the heat at the source, airflow moves it away, and misters or evaporative coolers finish the job. Whether you have an open concrete slab baking in direct sun or a screened enclosure that traps heat like a greenhouse, this guide walks you through what to do right now and what to build for lasting relief. For more ideas, see our step-by-step guide on how to make a patio cooler.
How to Keep Patio Cool in Summer: DIY Shade and Cooling

Felix Brennan
11 May 2026
Quick ways to cool a hot outdoor patio fast
When the patio is already hot and you need relief in the next 30 minutes, here is where to start. OSHA data shows that heat stroke can happen at a Heat Index of just 86°F, so if it feels dangerous, treat it that way and get serious fast.
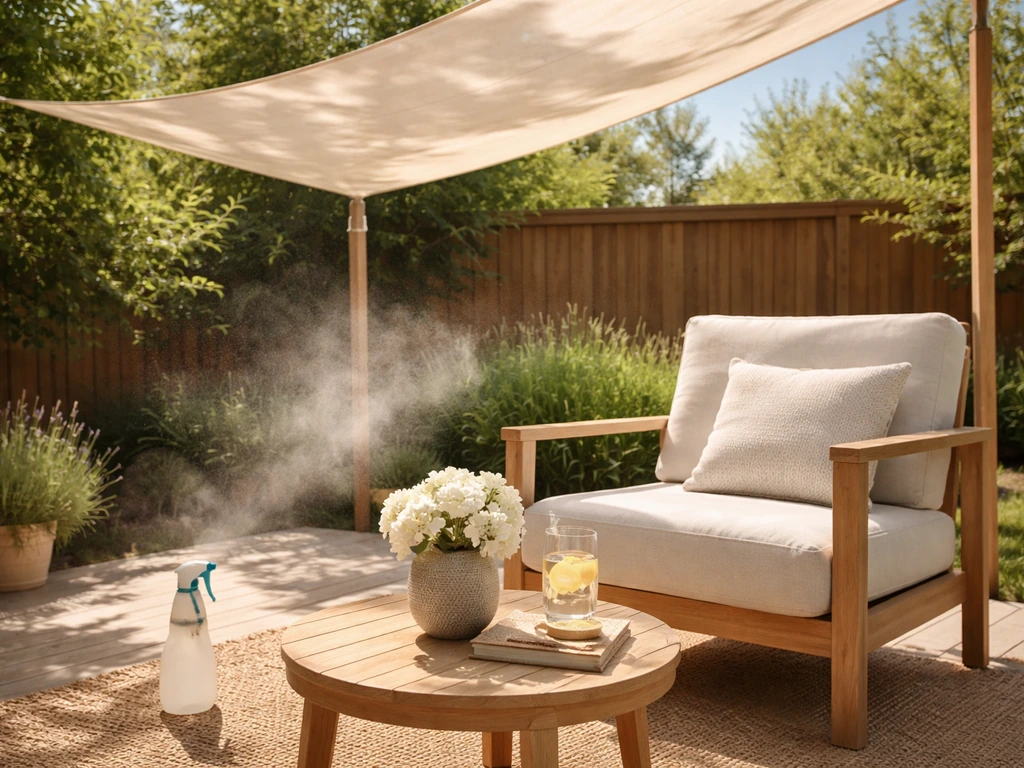
- Deploy a portable shade: Roll out a 10x10 ft shade sail or pop open a large offset patio umbrella (9 ft minimum diameter) over your main seating area. Even partial shade can drop surface temperature by 15 to 20 degrees.
- Point a fan outward: Set a box fan or tower fan at the edge of the patio blowing outward. This pulls hot air away from the seating zone instead of just stirring it around.
- Wet the ground: Spray cool water on concrete or pavers. As it evaporates, it pulls heat out of the surface. Reapply every 20 to 30 minutes in dry heat.
- Cover heat-absorbing surfaces: Throw an outdoor rug or light canvas over dark pavers or black rubber mats. Dark surfaces can reach 150°F in direct sun, and that radiant heat hits you from below.
- Close off west-facing openings temporarily: If the sun is hammering in from the west in the afternoon, hang an outdoor curtain panel or beach towel over that side to block the angle. Not pretty, but it works immediately.
These are stopgap moves. They buy you comfort today while you plan the longer-term fixes below.
Shade strategies for open vs covered patios
Shade is the single most effective cooling tool available to you, but the right approach depends entirely on what kind of patio you have. Open patios need overhead and lateral sun blocking. Covered or screened patios usually already have overhead coverage, but they need to block radiant heat coming through the structure itself.
Open patio shade options
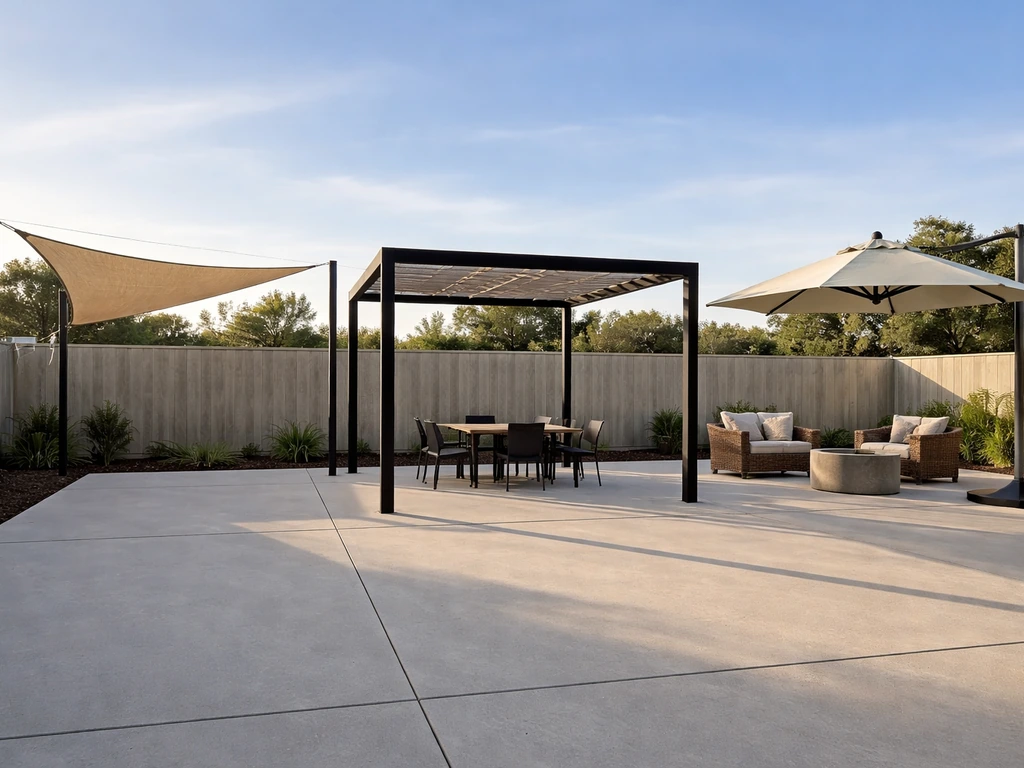
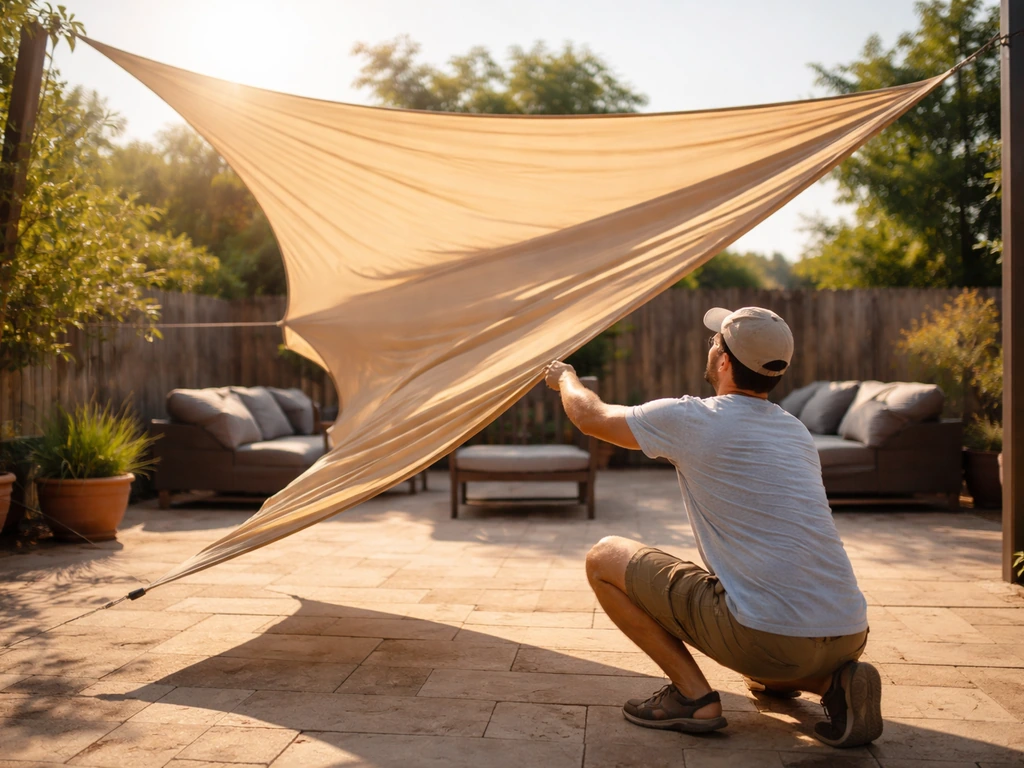
For an exposed slab or deck with no overhead cover, you have three reliable paths: shade sails, pergolas with shade cloth, and large cantilever umbrellas. Shade sails in a 90 percent UV-block fabric are the most affordable DIY option, running $50 to $200 for a 12x12 ft panel. Attach them to posts or house brackets at an angle rather than flat, so rain and debris slide off. A pergola with a 70 to 80 percent shade cloth draped over the rafters gives more permanent structure and lets you choose your exact shade density. Large cantilever umbrellas (11 to 13 ft offset models) cost more ($300 to $600) but are completely movable and require zero installation.
One thing people overlook on open patios is the west wall. If a fence, house wall, or garden bed is nearby, you can train fast-growing vines on a trellis to block afternoon sun from the west side. Bamboo privacy screens or outdoor curtains on a tension rod between posts also block lateral sun and look intentional rather than improvised.
Covered and screened patio shade options
A covered patio with a solid roof, polycarbonate panels, or a metal roof still gets brutally hot because the roofing material absorbs sun and radiates heat downward. The fix is a radiant barrier. Staple or clip a reflective foil insulation layer (available in rolls at any home center for $0.25 to $0.50 per square foot) to the underside of your roof rafters with the shiny face pointing down into the air space below. The DOE confirms that radiant barriers work best when the reflective surface faces an air space, so do not press it flat against the roofing material. Keep it clean too, since dust cuts reflectivity significantly.
For screened patios with screen panels on the sides, solar screen mesh is a game changer. Standard fiberglass screening blocks about 30 percent of heat. Upgrade to 80 or 90 percent solar screen fabric on the sun-facing sides, and you will feel the difference immediately. It installs exactly like regular screen in the same spline tracks. On polycarbonate or glass panel enclosures, apply exterior window film with a solar rejection rating above 70 percent. Peel-and-stick versions run about $30 to $60 per panel and take 15 minutes per pane.
Airflow and ventilation: fans, layout, and screens
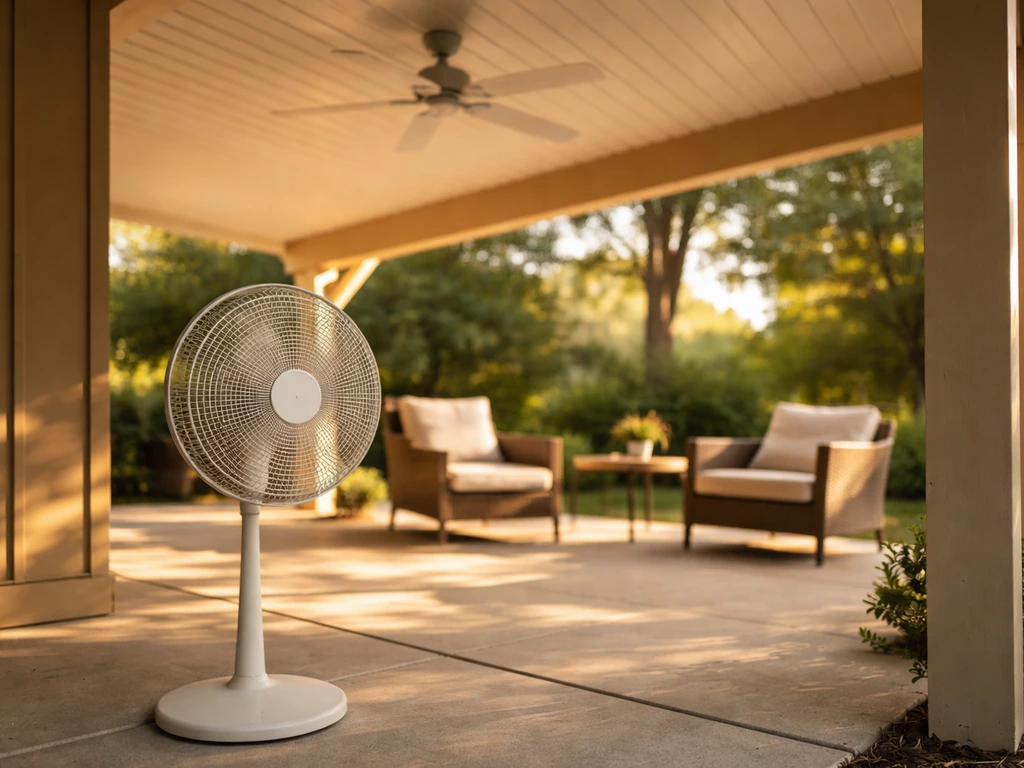
Shade blocks the source, but airflow is what makes you feel cool. The DOE explains that circulating fans create a wind-chill effect that makes you feel more comfortable even when air temperature stays the same. On an open patio that is breezy, you may just need furniture arranged to catch the natural airflow. On a covered or screened patio, you usually have to engineer the airflow yourself.
Fan types and placement
| Fan Type | Best For | Typical Cost | Key Tip |
|---|---|---|---|
| Outdoor ceiling fan | Covered/screened patios with 8+ ft ceiling | $80 to $300 | Run counterclockwise in summer; choose a wet-rated model |
| Wall-mount oscillating fan | Covered patios with limited floor space | $50 to $150 | Mount at 7 to 8 ft height, angled down at 15 degrees |
| Portable tower/stand fan | Open patios or temporary setups | $40 to $120 | Position at the edge blowing outward to exhaust heat |
| High-velocity drum fan | Large open concrete slabs | $80 to $200 | Most airflow per dollar; not pretty but very effective |
| Bladeless pedestal fan | Screened enclosures or furnished spaces | $150 to $400 | Safer around kids and pets; quieter than blade fans |
The layout principle is simple: one fan brings cooler air in from the shaded or north-facing side, and one fan (or a vent opening) lets hot air out from the opposite side. On a screened patio, open or remove the screen panel on your coolest side during peak heat hours and let a fan pull air through from that direction.
Screen material and ventilation on enclosed patios
This is where screened patio design really matters. A screened enclosure with solid panels on three sides and one screened wall traps heat badly. If you are building or upgrading a screened enclosure, plan for at least two opposing sides with openable screen panels or removable sections so you can create a cross-breeze. Pet-resistant screen and solar screen both allow airflow while blocking insects and some heat gain. If your enclosure already has screen doors on one side only, consider adding a second screen door on the opposite wall. The cost is modest (around $100 to $200 installed) and the ventilation improvement is substantial.
Cooling with water: misters, wetting systems, and safety
Water-based cooling is the most dramatic temperature drop you can get outside of air conditioning, especially in low-humidity climates. In high-humidity areas, it helps less, but it still adds comfort when combined with good airflow. Here is how the main options compare and how to install them safely.
Misting systems
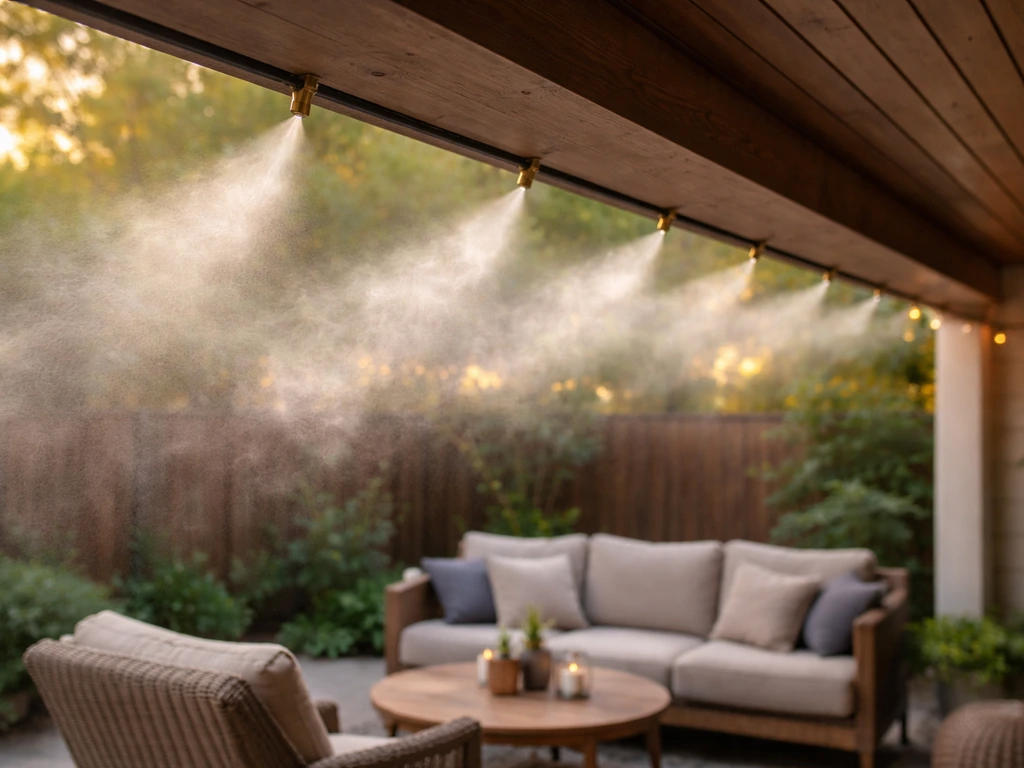
A misting system runs a small-diameter polyethylene tube around the perimeter of your patio, with brass or stainless nozzles every 18 to 24 inches. Low-pressure systems ($30 to $80 for a DIY kit) connect to a standard garden hose and work fine in dry climates. High-pressure systems ($300 to $800+) use a dedicated pump to atomize water into a finer mist that evaporates before it hits you or your furniture. High-pressure is the way to go if you want to avoid wet cushions and slippery floors.
Installation is straightforward: screw the mounting clips along the fascia or overhead beam at 7 to 8 ft height, run the tubing through the clips, cut and insert nozzles at intervals using a punch tool included in most kits, then connect to the supply line. Run the system with a $15 to $25 hose timer so it cycles on for 5 to 10 minutes every half hour during peak afternoon heat rather than running continuously, which keeps things from getting soggy.
Evaporative coolers (swamp coolers)
A portable evaporative cooler is essentially a fan blowing air through water-saturated pads. The DOE reports they can reduce air temperature by 15 to 40°F in low-humidity areas. They work best when relative humidity is below 60 percent. In a dry climate, a mid-size portable evaporative cooler ($150 to $350) can transform a covered patio into a genuinely comfortable space. Set it on the upwind side of your seating area so the cooled air blows toward where you sit. Fill the tank daily, and clean the pads every two to three weeks to prevent mold and mineral buildup.
Safety and maintenance notes
- Never run misting lines near electrical outlets, fans with exposed motors, or ceiling fans unless those fans are explicitly rated for wet or damp locations.
- Use stainless steel or brass nozzles, not plastic. Plastic nozzles clog faster and degrade in UV.
- Flush misting lines weekly by running the system without the end cap for 30 seconds to push out mineral deposits.
- Evaporative cooler pads should be replaced at the start of each season. Old pads grow mold that the fan then blows into your space.
- If water is pooling on your patio floor, reduce pressure or nozzle count. Wet concrete and pavers are a slip hazard.
Temperature control for patio enclosures and screened patios
A screened or enclosed patio sits in a tricky middle zone: it is not quite indoors, so you cannot just crank a central AC unit, but it is not fully open air either, so passive cooling takes more planning. Here is a layered approach that works reliably.
Start with the roof. Install a radiant barrier as described above. If your enclosure has a polycarbonate or clear acrylic panel roof, add twin-wall polycarbonate if you have not already, and make sure the air gap between layers is intact. Sealed twin-wall panels dramatically reduce heat transfer compared to single-sheet material.
Next, address the floor. Concrete slabs absorb heat during the day and radiate it into the enclosure in the evening. An outdoor area rug or interlocking deck tiles over the hottest sections of the slab breaks that radiant cycle. Light-colored tiles or rugs reflect more heat than dark ones.
For active cooling in an enclosure, a mini-split ductless AC unit is the permanent solution. A 9,000 BTU mini-split handles a 300 to 400 square foot screened patio and costs $700 to $1,500 for the unit, plus installation. If that is out of budget, a portable evaporative cooler in a dry climate or a portable spot cooler (which exhausts hot air through a duct to the outside) in a humid climate are workable alternatives. If you are dealing with a humid climate, focus on shade, ceiling fans, and water options that still work with limited evaporation. Humid climate patio cooling is a deeper topic worth addressing separately, since humidity changes which tools actually help.
Ceiling fans are non-negotiable in any enclosed patio. A wet-rated ceiling fan running counterclockwise at medium speed reduces perceived temperature by 4 to 8 degrees and costs almost nothing to run. Install one for every 150 to 200 square feet of patio space.
The best setup for your patio type: a practical breakdown
There is no single best cooling solution because the right combination depends on your patio structure, your climate, and your budget. Here is a decision-based guide to help you pick where to invest first.
| Patio Type | Priority 1 | Priority 2 | Priority 3 | Skip This |
|---|---|---|---|---|
| Open slab, dry climate | Shade sail or pergola | Evaporative cooler | Misting system | Radiant barrier (no roof) |
| Open slab, humid climate | Large offset umbrella | High-velocity fan blowing out | Wet the ground periodically | Evaporative cooler (won't help much) |
| Covered patio, solid roof | Radiant barrier on underside | Ceiling fan | Low-pressure misting | Portable evaporative cooler (limited airflow) |
| Screened enclosure, dry climate | Solar screen on sun-facing sides | Ceiling fan | Evaporative cooler | Mini-split (overkill for dry heat) |
| Screened enclosure, humid climate | Solar screen upgrade | Ceiling fan + cross-ventilation | Mini-split or spot cooler | Evaporative cooler (counterproductive) |
| Polycarbonate/glass enclosure | Window film (70%+ solar rejection) | Radiant barrier on roof panels | Mini-split | Misting (too enclosed) |
If you are starting from scratch and want the biggest impact per dollar, the order is: shade first (a $100 shade sail beats everything else at that price), then a ceiling or wall fan ($80 to $150), then a misting kit ($30 to $80). That three-step stack handles most summer days on most patios for under $400 total.
For a screened or enclosed patio that you use all summer, treat it like a real room: upgrade to solar screen on the sun-facing walls, install a wet-rated ceiling fan, add a radiant barrier under the roof, and consider a portable evaporative cooler (dry climates) or a small ductless mini-split (humid climates) if you want it to feel genuinely comfortable rather than just tolerable. That full upgrade runs $500 to $2,000 depending on how you DIY the labor, and the results feel closer to indoor comfort than outdoor roughing it.
One last thing worth mentioning: some of the heat problem is what you store on your patio, not the structure itself. If you are adding storage or daily gear to the patio, a DIY patio trash can can help you keep odors and clutter under control too. If you want less heat and better organization, consider building a patio storage box that keeps items protected from sun and moisture what you store on your patio. Dark furniture, rubber mat flooring, and a black grill parked in the center all add to the heat load. Swap dark cushions for light-colored ones, move the grill off the main seating area on hot days, and use light-toned pavers or a reflective outdoor rug. These tweaks cost almost nothing and make a real difference you will notice immediately.
FAQ
What’s the quickest way to cool a patio for the next hour without building anything?
Start with immediate sun blocking (set up a temporary umbrella, hang a tarp on lines to create shade, or close exterior curtains) and then add airflow where you sit (box or pedestal fan aimed across the seating). If you have misting available, use short cycles, not continuous spray, so the ground and furniture do not stay wet.
Is it better to run one strong fan or several smaller fans to keep a patio cool in summer?
Several smaller fans placed to move air across seating usually feel better than one unit blasting from a distance. Aim fans to create a path from the shaded or north side toward the hottest side, then leave the “exhaust” side open so hot air can escape instead of recirculating.
Do ceiling fans work in screened or covered patios the same way they do indoors?
Yes, but use wet-rated models and mount them so airflow actually reaches people and cushions. Many people only run fans for comfort, but for cooling effect you want consistent circulation at the right height, medium speed is often enough, and keeping the fan direction steady matters for that wind-chill effect.
How do I prevent misting or water cooling from making my patio slippery or ruining cushions?
Choose high-pressure misting if you want less splash, use a hose timer to run short cycles, and keep nozzles aimed to avoid direct hits on walking paths. Also elevate or cover cushions, and consider switching to quick-dry outdoor fabrics to reduce lingering moisture.
What water-based option is best if I live in a humid climate?
In humidity, evaporative coolers usually underperform because evaporation is limited. Focus on shade, radiant heat control (radiant barrier), and airflow, and if you use misters keep them brief and targeted to create comfort rather than expecting a large temperature drop.
Should radiant barriers go on top of the roof or underneath it?
Underneath works best when there is an air space behind the reflective surface. Clip or staple foil to the underside of rafters and keep it from pressing directly against the roofing material, then clean it periodically because dust can sharply reduce reflectivity.
If my patio is on the west side of my house, what’s the most effective shade approach?
Block lateral afternoon sun, not just overhead rays. A tension rod for outdoor curtains or a trellis with trained vines on the west side can reduce heat gain where the sun “pours in,” and it tends to help even when overhead shade is limited.
Can I use solar screen mesh on a patio without replacing all my screening?
Often yes, if your enclosure uses spline tracks for standard screen panels. You can upgrade only the sun-facing sides with 80 or 90 percent solar screen fabric, which is usually cheaper than redoing everything and still gives an immediate comfort change.
How many fans do I need, and where should I place them for cross-breeze?
Aim for one intake direction (cooler side, often north-facing or shaded) and one outlet direction (opposite side). Practically, place a fan so it pulls air from the shaded side toward the center of the seating area, then ensure at least one other side can exhaust (openable panel, door, or removed screen during peak heat).
Is an outdoor rug or deck tiles actually worth it for cooling?
It can be, especially on enclosed patios where concrete radiates heat back into the space. Choose light-colored rugs or light-toned interlocking tiles to reduce radiant heat transfer, and keep them dry if you use misting so they do not trap moisture against the slab.
What’s the safest way to size a mini-split for a screened patio?
Start with your patio’s square footage and how insulated the enclosure feels, then pick a unit rated appropriately for that space and consider heat-load factors like west exposure and roof type. If you are unsure, get a local sizing quote, because oversizing can create comfort issues even when cooling capacity is available.
How do I keep outdoor fans and cooling equipment from overheating themselves?
Do not enclose fans tightly or block their intake and exhaust. Give fans clearance around the motor housing, keep outdoor cords and connections elevated and protected, and avoid running mist lines so heavily that they aerosolize directly into electrical components.
What common patio-cooling mistake wastes money?
Buying cooling equipment before sun control and airflow planning. For most patios, shade and a clear air path deliver the best results per dollar, then fans and water options help finish the job, whereas water systems can become a costly wet-mess if radiant heat and airflow are not addressed first.
Next Articles

How to Decorate a Long Narrow Patio: Layout Tips
Practical DIY layout and decor tips to widen a long narrow patio using zoning, furniture spacing, lighting, greenery, an

How to Decorate a Rectangular Patio Step by Step
Step-by-step plan to decorate a rectangular patio with smart layout, zones, furniture fit, lighting, plants, and seasona
How to Decorate a Patio Wall: DIY Ideas and Mounting Tips
DIY patio wall decor for brick, stucco, wood, concrete, or siding with weatherproof mounting tips and maintenance.