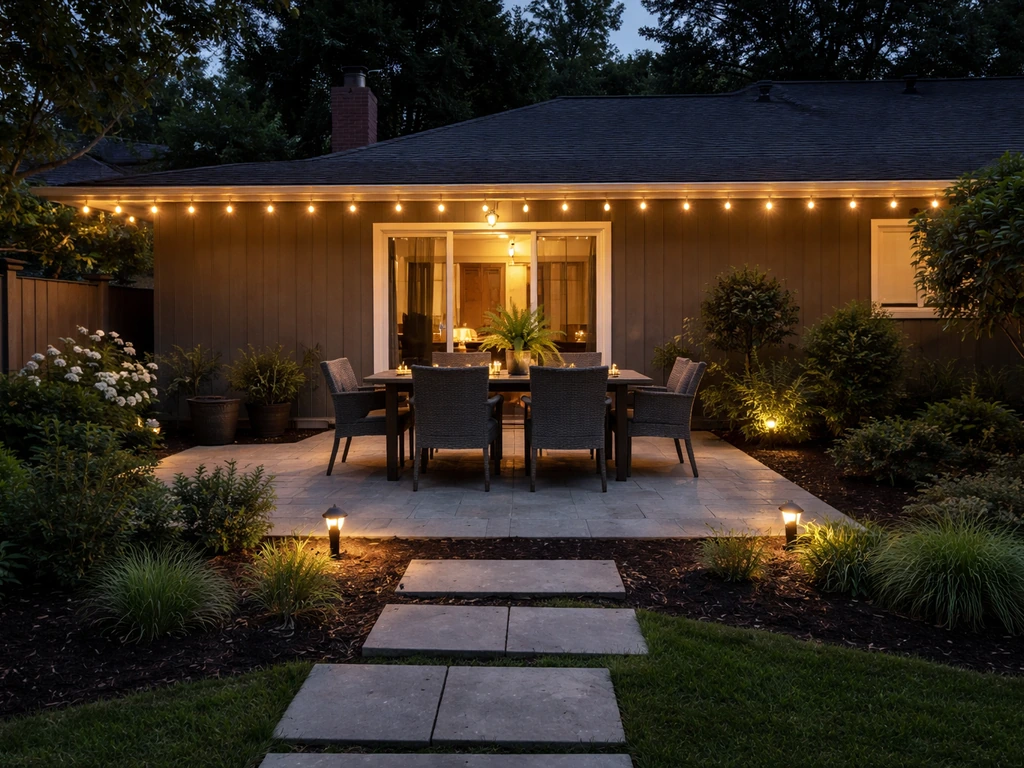
The best way to light a patio is to layer three things: ambient lighting to set a comfortable overall brightness, task lighting where you actually cook or eat, and path or step lighting so nobody trips in the dark. Aim for roughly 30 to 50 lumens per square foot across the whole space, use warm color temperatures in the 2200 to 2700K range for a welcoming feel, plug everything into GFCI-protected outlets, and choose fixtures rated for wet or damp locations. Do those four things and you'll have a patio that's genuinely usable after sunset. You can brighten up a patio by layering ambient, task, path, and accent lighting instead of relying on one overhead source.
How to Light Patio: DIY Layout, Power, and Placement

Felix Brennan
21 May 2026
Quick lighting plan for your patio
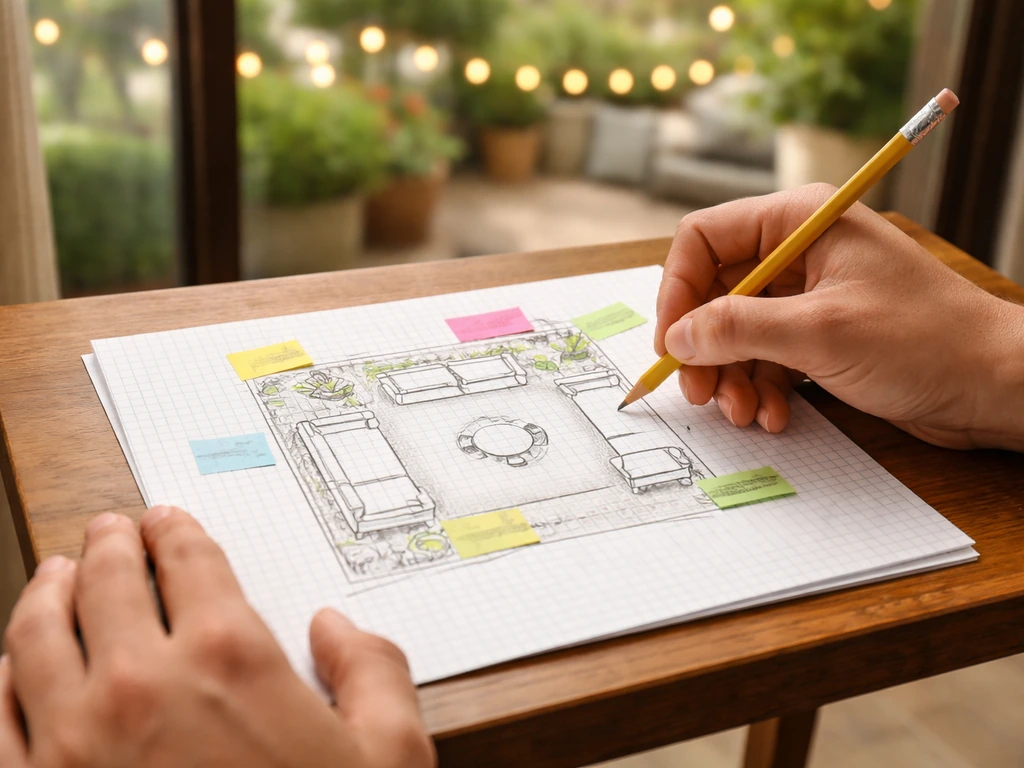
Before you buy a single fixture, spend ten minutes sketching your patio and answering these questions. It sounds basic, but most lighting problems come from skipping this step and just buying whatever looks good at the store.
- Measure your patio square footage (length x width). Multiply by 30 to get your minimum lumen target and by 50 to get a bright, functional maximum.
- Mark the zones: seating area, dining or grill area, steps or pathways, and any plants or architectural features you want to highlight.
- Note where your power sources are. Find every outdoor outlet and check whether it's GFCI protected (it should have a Test/Reset button on the receptacle or be fed from a GFCI breaker).
- Decide your commitment level. Are you doing a simple plug-in setup this weekend, or are you open to a low-voltage wired system that takes a half day?
- Pick a color temperature and stick with it. For a relaxing seating patio, 2200 to 2700K is the right call. If you're lighting a work-heavy outdoor kitchen, you can go up to 3000K.
That checklist takes about ten minutes and will save you money on fixtures you'd otherwise return. A 200 square foot patio, for example, needs roughly 6,000 to 10,000 total lumens distributed across your zones. That sounds like a lot until you realize a single overhead fixture can deliver 800 to 1,500 lumens, and string lights with 100-lumen bulbs on a 50-foot run add up fast.
Choosing the right types of outdoor patio lighting
There's no single fixture that does everything well outdoors, which is why the layered approach matters. Here's how to think about each category before you shop.
String lights
String lights are the workhorse of patio ambience. Individual bulbs typically deliver anywhere from about 5 lumens up to 100-plus lumens each, so a strand of 25 bulbs at 60 lumens each gives you 1,500 lumens in a warm, distributed glow. They're designed for ambience, not task lighting, so don't count on them to replace a dining light. Look for outdoor-rated string lights with an IP65 rating or higher. IP65 means the fixture is fully dust-tight and can handle direct water jets, which matters in rain or when you're hosing down the patio.
Wall-mounted and ceiling fixtures
A wall sconce on the house wall or a flush-mount ceiling light on a covered patio gives you that overhead ambient punch. These are usually hardwired or plug-in and deliver reliable, consistent light. For a covered patio or pergola ceiling, a rated wet-location fixture handles condensation and drips. Damp-location ratings are fine for areas protected from direct rain.
Low-voltage landscape and path lights

Low-voltage systems (12V) run off a transformer plugged into a standard outdoor GFCI outlet. They're safe to handle and easy to add to over time. Path lights on a low-voltage system are ideal for walkways leading to the patio and for lighting plant beds around the perimeter. Don't confuse these with solar path lights, which are convenient but vary hugely in output and aren't reliable in shaded spots or cloudy climates.
Spotlights and uplights
Spots and uplights are accent tools. Aim them at a tree, a fence feature, or an architectural element to add depth and visual interest. They're not meant to light seating areas directly. Glare from unshielded spots aimed at eye level is one of the most common patio lighting complaints, so always aim them away from where people are seated.
Post lights and freestanding lamps
Post-mounted fixtures and outdoor floor lamps work well for defining a seating zone and adding height variation to your lighting scheme. Outdoor-rated floor lamps have gotten a lot better in recent years and are a no-tools option for renters or anyone who doesn't want to hardwire anything.
| Fixture Type | Best Use | Avg. Lumens | Install Complexity | Weather Rating Needed |
|---|---|---|---|---|
| String lights | Ambient, ambience, pergola draping | 5–100 per bulb | Low (plug-in) | IP44 minimum, IP65 preferred |
| Wall/ceiling fixture | Overhead ambient or task | 800–1,500+ | Medium (hardwired or plug-in) | Damp or Wet rated |
| Low-voltage path lights | Pathways, borders, steps | 20–150 per head | Medium (transformer + cable) | IP65 or higher |
| Spotlights/uplights | Accent and feature lighting | 200–800+ | Low to Medium | IP65 or higher |
| Solar path lights | Low-traffic path accents | 5–30 typical | Very Low (stake and done) | Usually IP44–IP65 |
| Post lights | Zone definition, ambient | 500–1,200 | Medium to High | Wet rated |
Where to place your lights: ambient, task, path, and accent
Placement is where most patio lighting setups go wrong. People either clump everything in one spot or space fixtures so evenly that the result looks like a parking lot. Here's how to approach each layer.
Ambient lighting placement
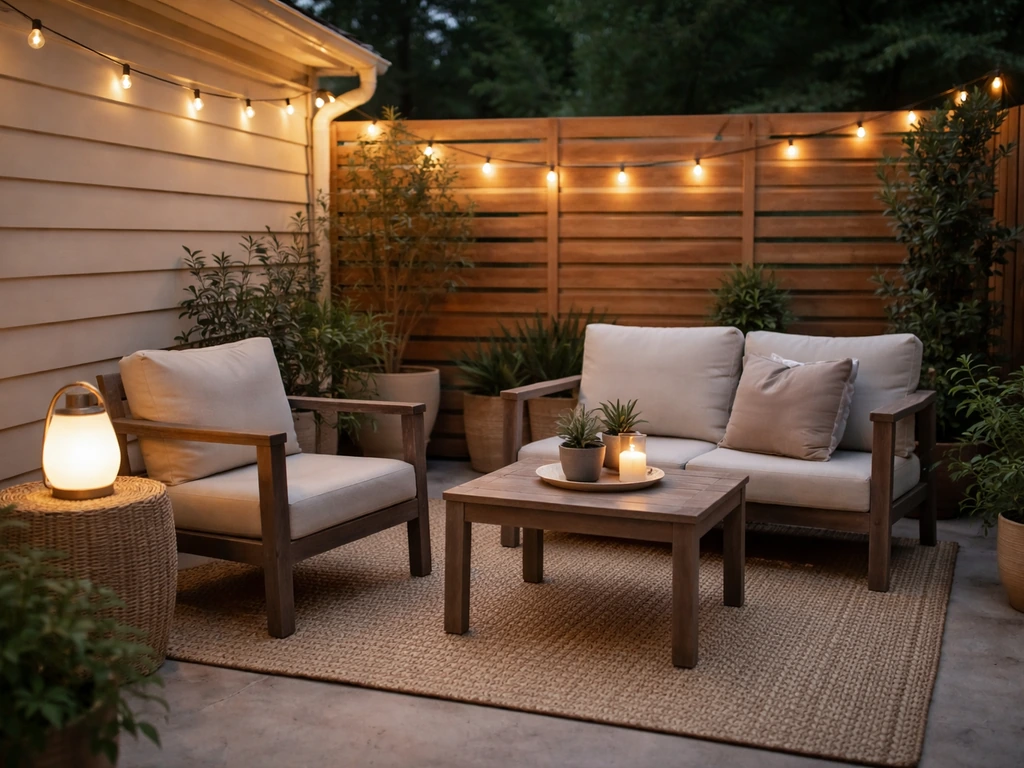
Ambient light is your base layer and should cover the whole patio space at a low, comfortable level. String lights strung overhead (either roof-to-post or zigzagged across a pergola) are the most popular method because they spread light evenly without creating harsh shadows. A single overhead flush-mount on a covered patio works too. The goal is that you can see clearly everywhere without squinting at a bright point source. Keep string light hang height between 8 and 12 feet above the surface for the most flattering coverage.
Task lighting placement
Task zones are your dining table and your grill or outdoor kitchen counter. A pendant or a directional ceiling fixture directly above a dining table is the cleanest solution. For a grill, an angled wall-mounted spotlight positioned above and to the side (not directly overhead where it shines in your eyes) works well. Task areas benefit from slightly higher output than your ambient layer, so a 1,000 to 1,500 lumen fixture over the table is reasonable.
Path and step lighting placement
Path lights need enough output to see the ground clearly, but not so much that they blind you. The target is roughly 2 to 10 lux on the path surface and around 10 lux on stair treads. In practical terms that's a modest, well-directed beam. The most important rule here: stagger path lights on alternating sides of the walkway rather than lining both edges simultaneously. Lining both sides creates a runway effect and actually draws attention to the fixtures rather than the path. For stairs, place a shielded step light on the riser so you light the tread without the fixture glaring at you directly.
Accent lighting placement
Uplights for trees or plants should be staked at the base of the feature and angled up at roughly 30 to 45 degrees. Keep them out of sightlines from seating areas. Wall wash lights for fences or privacy screens look best when mounted 12 to 18 inches out from the wall so the beam has room to spread. Accent lighting should be the dimmest layer in your scheme, roughly half the output of your ambient fixtures, or the effect reads as cluttered rather than curated.
Power options and safe installation basics
Outdoor electrical work is not complicated, but it has non-negotiable safety rules. The most important one: any outdoor outlet must be GFCI protected. The 2023 National Electrical Code expanded GFCI requirements for outdoor outlets beyond just dwelling-unit locations, so if you're adding an outlet or checking an existing one, make sure it has GFCI protection either at the receptacle itself or at the breaker. This protects you from shock if water gets into a connection.
Plug-in power (simplest option)
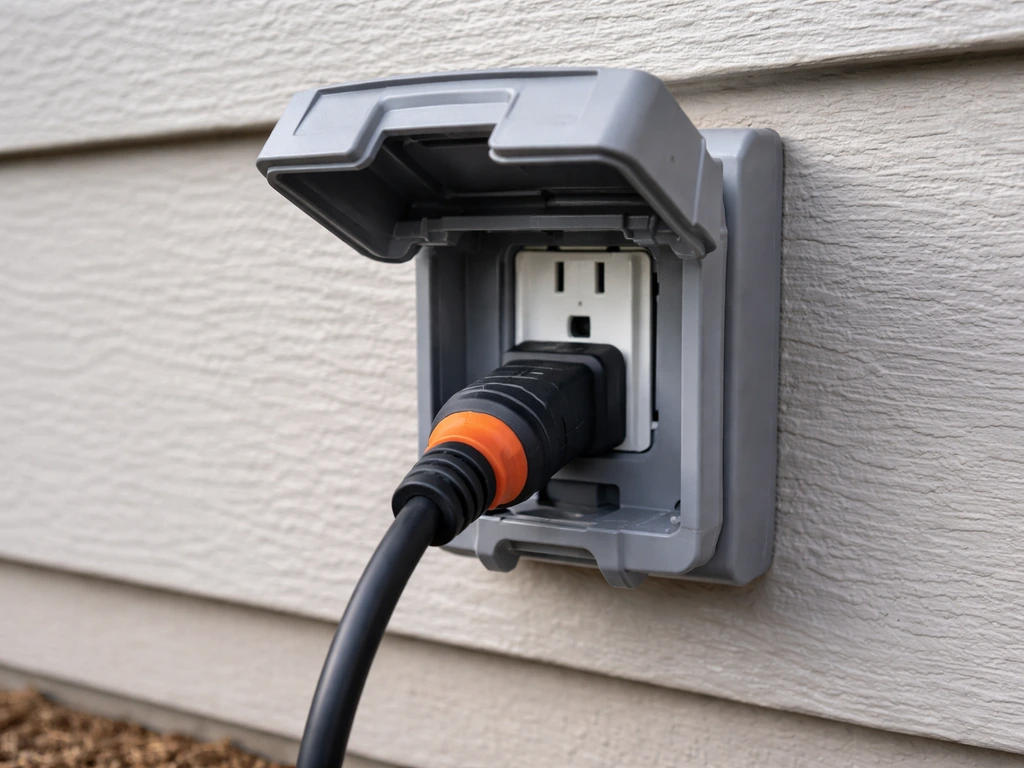
Most string lights, plug-in wall sconces, and plug-in post lamps just need an outdoor-rated GFCI outlet within reach. Run outdoor-rated extension cords (rated for the wattage you're pulling) if needed, but don't daisy-chain multiple cords as a permanent solution. This is the right setup for renters, first-time patio decorators, or anyone who wants to be able to change the layout easily.
Low-voltage transformer systems (best middle-ground DIY option)
Low-voltage landscape lighting runs at 12V through a transformer that plugs into a standard outdoor GFCI outlet. You run 12V cable from the transformer to each fixture, which you can stake, bury shallowly, or run along a fence. The transformer must be plugged into a GFCI outlet, and many good transformers include built-in timers or app control. This setup is safe enough to install yourself on a weekend, handles 10 to 20 fixtures easily, and is expandable. Just match your transformer's wattage capacity to the total wattage of all your fixtures combined, with some headroom.
Line-voltage hardwired (permanent, most capable)
Hardwired 120V outdoor fixtures give you the most flexibility in fixture choice and the cleanest look, but they require running conduit or direct-burial wire from your electrical panel or an existing outdoor circuit. If you're not comfortable with your home's electrical system, hire a licensed electrician for this portion. You can still do all the fixture mounting and finishing work yourself. Budget $300 to $600 for an electrician to run a new outdoor circuit if you don't have one in the right spot.
How to install patio lights: plug-in vs. wired
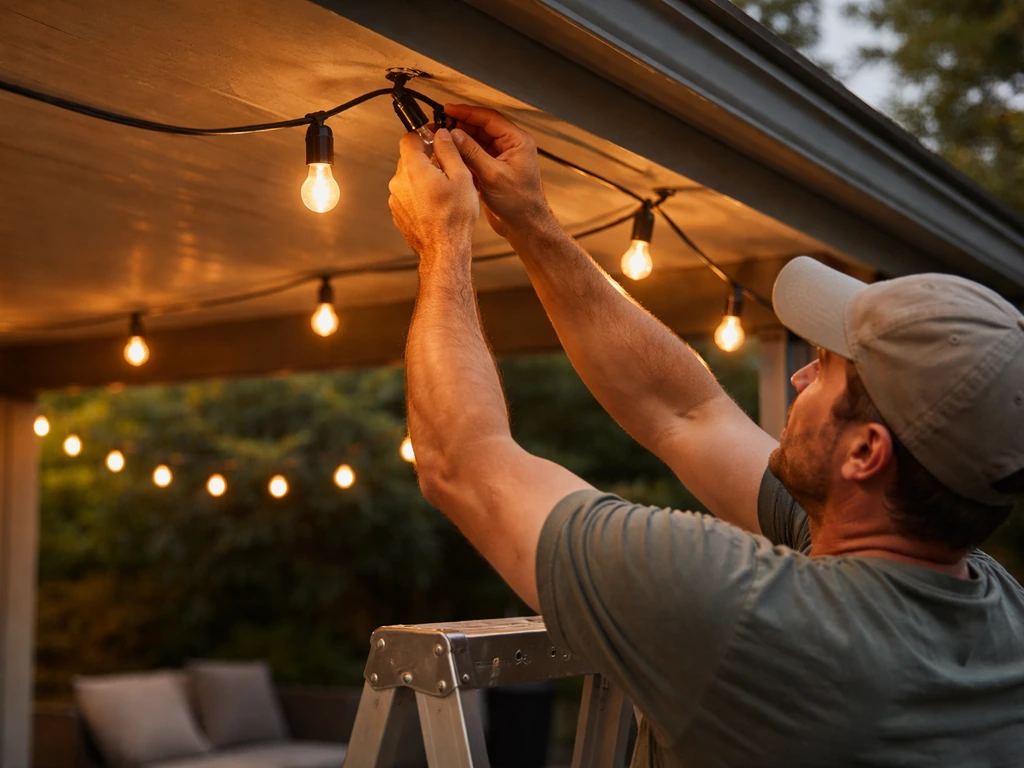
Installing plug-in string lights overhead
- Decide your string light layout: straight run, zigzag, or canopy pattern. Measure the total run length so you know how many strands to buy.
- Install anchor points. On a covered patio, screw cup hooks into the ceiling joists or beams. For an open patio, install posts or use existing structures (fence, pergola, house eave) with eye bolts.
- If spanning more than 12 to 15 feet unsupported, run a guide wire (stainless steel or vinyl-coated) between anchor points and hang the string lights from it to prevent sag.
- Connect your strands at the anchor closest to your GFCI outlet and route the cord neatly to the plug.
- Plug into a GFCI-protected outdoor outlet. Do not plug into a non-GFCI indoor outlet via an extension cord run through a window.
Installing a low-voltage landscape lighting system
- Mount the transformer on an exterior wall within 6 feet of your GFCI outlet, at least 12 inches above the ground.
- Plan your cable run on paper. Decide which fixtures are on which zone/run from the transformer.
- Lay out the 12V cable along your planned route before connecting anything. Stake or clip it loosely to test placement.
- Connect each fixture to the cable using the snap connectors included with most kits (you pierce the cable insulation) or by stripping and wiring into terminal blocks for a more secure connection.
- Connect the cable run(s) to the transformer's terminal block, matching the labeled terminals.
- Set the timer or app schedule on the transformer, then plug into your GFCI outlet and test.
- Once everything works, bury cable runs under 1 to 3 inches of mulch or soil, or secure along fence lines.
Installing hardwired wall or ceiling fixtures
- Turn off the circuit at the breaker and verify it's dead with a non-contact voltage tester before touching any wires.
- Mount an outdoor-rated electrical box at your fixture location, secured to a stud, joist, or rated brace bar inside the wall.
- Feed your wire through the box, connect ground to ground, white to white, black to black, and tighten all wire nuts.
- Apply outdoor-rated silicone sealant around the back of the fixture where it meets the wall before tightening the mounting screws. This keeps water out of the box.
- Restore power and test. If you're adding a new circuit, stop at step one and call an electrician.
Weatherproofing, controls, and getting the aim right
Weatherproofing that actually matters
Every outdoor fixture should carry a location rating appropriate for where it's installed. Green Creative notes that products marked for wet or damp locations are meant for moisture exposure, while items not marked are effectively intended for dry locations only, making the location rating a key constraint outdoors location rating appropriate for where it's installed.
Wet-location fixtures are required anywhere exposed to direct rain or hose spray. Damp-location fixtures are fine under a covered patio roof where they won't get direct water contact but will deal with humidity and condensation. Dry-location fixtures should never go outside, full stop. For IP ratings, aim for IP65 or higher on path lights and spots (dust-tight and water-jet resistant).
Connectors and junction points are your biggest vulnerability, so use weatherproof wire nuts, direct-burial-rated wire connectors, or heat-shrink terminals at every outdoor connection.
Timers, dimmers, and smart controls
A simple mechanical or digital timer on your transformer or outlet is the single most useful upgrade for any patio lighting system. Set it to come on at dusk and turn off at midnight (or whenever you're typically done outside) and you'll never have to think about it. Smart transformer add-ons let you control and schedule low-voltage systems from an app, which is handy if your schedule changes. If you want to dim low-voltage lights, be careful: dimming requires a transformer and dimmer that are confirmed compatible with each other. Don't assume any dimmer will work with any transformer. Check the manufacturer's compatibility list before buying.
Aiming and adjusting for best results
Do your final aim and adjustment at night, not during installation. Walk through your patio in normal use positions: sitting in your chairs, standing at the grill, walking the path to the door. Anywhere you look directly at a bulb or fixture and feel blinded, redirect or shield it. Path lights with 90-degree beam angles spread light on the ground well but need to be aimed down, not at a horizontal angle. Spotlights aimed at features should be set so the beam edge doesn't spill into seating areas. Give yourself one evening of fine-tuning after your initial install and most glare problems disappear.
Common mistakes and how to fix them
Most patio lighting problems fall into a handful of predictable categories. Here's what to watch for and what to do when something's off.
- Too dim overall: You haven't hit your 30 to 50 lumens per square foot target. Add a layer you're missing, typically task or ambient. Check that your transformer wattage isn't capping output before adding fixtures.
- Too bright or harsh: You've used high-output flood-style fixtures where softer ambient sources belong. Swap to lower-lumen bulbs, add dimmer control, or replace bare-bulb fixtures with shielded ones that direct light downward.
- Glare from string lights: The bulbs are too bright for the hang height, or they're at eye level. Raise the hang height or switch to lower-lumen Edison-style bulbs in the 40 to 60 lumen range per socket.
- Path lights look like a runway: You've lined both sides evenly. Pull every other light and stagger them to alternate sides.
- Lights stop working after rain: Water has gotten into a connection. Inspect all connectors, replace with weatherproof versions, and check that fixtures are actually rated for their installed location.
- Solar path lights are too dim: Solar lights need direct sun to charge. If your patio is shaded, switch to low-voltage wired path lights instead.
- String lights sagging: No guide wire was used. Add a stainless guide wire between anchor points and re-hang the lights from it.
- Transformer keeps tripping: Your total fixture wattage exceeds the transformer's capacity. Add up all fixture wattages and compare to the transformer's rated wattage. Upgrade the transformer or split across two units.
Lighting is one of the highest-impact upgrades you can make to a patio without touching the structure. Once you've got it working well, it changes how much you actually use the space after dark. And it pairs naturally with other improvements like decorating the layout, adding shade, or putting up an enclosure to make the space genuinely comfortable in more seasons.
Budget decorating is easiest after lighting is dialed in, since better ambience helps your furniture, textiles, and décor look intentional instead of random decorating the layout. And once your lighting is dialed in, you can easily decorate a patio for Christmas with festive string lights, wreaths, and thoughtful accents that look great at night decorating the layout.
If you want the full look, combine your lighting plan with simple patio decor ideas like seating, rugs, and outdoor accents decorating the layout. If you want a patio that feels finished, pair your lighting plan with a few simple decorating choices like color, furniture layout, and outdoor-friendly accessories decorate patio. Get the lighting right first, and everything else you add to the patio will look better because of it.
To nail the look, also plan your patio lighting around how you want the space to feel and function how to style outdoor patio.
FAQ
Can I install patio lights on my own if my patio is under a roof but still gets humidity and condensation?
Yes, but only if the lights are outdoors-rated and you control glare. Use outdoor-rated string lights (IP65 or higher) or a covered-patio ceiling fixture with a wet or damp location rating. If the patio is open to direct rain, avoid fixtures labeled only for dry locations and avoid plugging accessories into non-GFCI outlets.
What color temperature should I use if my patio is furnished with wood furniture and neutral cushions?
Aim for warmer light (about 2200 to 2700K) and keep accent lighting dimmer than ambient so the overall scene stays cohesive. A common mistake is using cool white bulbs (above 3000K) for string lights, which makes wood and neutrals look dull and can turn the patio into a harsh, blue-toned space.
How do I make my patio lights turn on and off automatically without them staying on all night?
Use timers and, for low-voltage systems, consider a transformer with built-in scheduling. If you add smart controls, verify the system type first (12V low-voltage versus 120V plug-in versus hardwired), because the control options are not interchangeable.
Why does my patio feel bright in some areas but unsafe or annoying in others?
Don’t rely on one overhead source for anything beyond general visibility. Instead, keep ambient lighting distributed, add a focused task light over the dining area, and include step or path lighting to prevent dark spots near doors and stairs.
Do the lumens-per-square-foot guidelines guarantee good coverage, or is there more to it?
Roughly yes, but you may need more than the lumens-on-paper estimate. Coverage depends on beam spread, mounting height, and how much of the light is blocked by rails, plants, or furniture. If people still see bright hotspots or dark corners at night, add fixtures to balance the distribution rather than just increasing brightness.
What’s the best way to place path lights so I don’t get a runway effect?
Staggering path lights prevents a “runway” look and reduces attention to the fixtures themselves. For stairs, use shielded step lights on the riser so the tread is lit while the fixture stays out of your direct sight line.
My patio outlet has power, but the lights keep tripping. What should I check first?
It’s usually a wiring strategy issue. For hardwired or 120V setups, ensure the circuit is GFCI-protected upstream if the receptacle is not. For low-voltage 12V systems, confirm the transformer plugs into a GFCI outlet, and avoid using non-rated adapters or indoor extension cords outdoors.
Can I dim patio string lights or low-voltage landscape lights with a normal dimmer switch?
Yes, but only within the correct system compatibility. Low-voltage dimming typically requires a dimmable transformer and a compatible dimmer. Don’t assume a standard LED dimmer will work with a 12V transformer, even if the connectors look similar.
I increased brightness but now I’m getting glare. What’s a better fix?
If your goal is clear walking visibility, increase output or add fixtures rather than raising mounting height too much. Higher fixtures can throw light forward into seating sightlines, causing glare. A safer adjustment is to re-aim and use shielded fixtures, then fine-tune at night.
How do I choose between wet-location, damp-location, and IP ratings for each patio fixture?
Follow the location rules: wet-rated fixtures for direct rain or hose spray, damp-rated for covered areas with condensation, and never outdoor-dry fixtures outside. Also, don’t assume IP65 alone solves everything, junctions and connectors still need weatherproofing.
What’s the safest DIY path for upgrading patio lighting if I’m unsure about electrical work?
For a DIY approach, start with plug-in or low-voltage systems, then add hardwired only where you need permanent placement. This staged plan helps you learn your lighting layout before committing to conduit work and electrician cost.
Can I use multiple extension cords to reach all my patio lights?
Avoid daisy-chaining extension cords as a long-term solution, especially with outdoor loads. Use outdoor-rated extension cords sized for the wattage, and keep any connections protected from moisture and strain.
Next Articles
How to Decorate an Apartment Patio: DIY Steps
Step-by-step DIY guide to decorate an apartment patio: assess limits, pick layout, add weatherproof seating, plants, lig
How to Decorate a Patio: Step-by-Step DIY Guide
Step-by-step DIY plan to decorate your patio: layout, style, outdoor decor, privacy, shade, lighting, and seasonal refre

How to Decorate a Long Narrow Patio: Layout Tips
Practical DIY layout and decor tips to widen a long narrow patio using zoning, furniture spacing, lighting, greenery, an