
To block the sun on your patio, you have three practical routes: set up a quick temporary solution like a shade sail or umbrella, build or install a permanent structure like a pergola or roof extension, or add an enclosure element like outdoor curtains or sun-screen panels. The right pick depends on where your sun comes from, what time of day it hits hardest, how permanent you want the fix to be, and how much DIY work you're up for. Most homeowners can get meaningful shade in a single weekend with a budget anywhere from $50 for a basic shade sail to $3,000 or more for a solid roof extension.
How to Block the Sun on Your Patio: Step-by-Step Options

Felix Brennan
11 Jul 2026
First, figure out exactly where your sun problem is
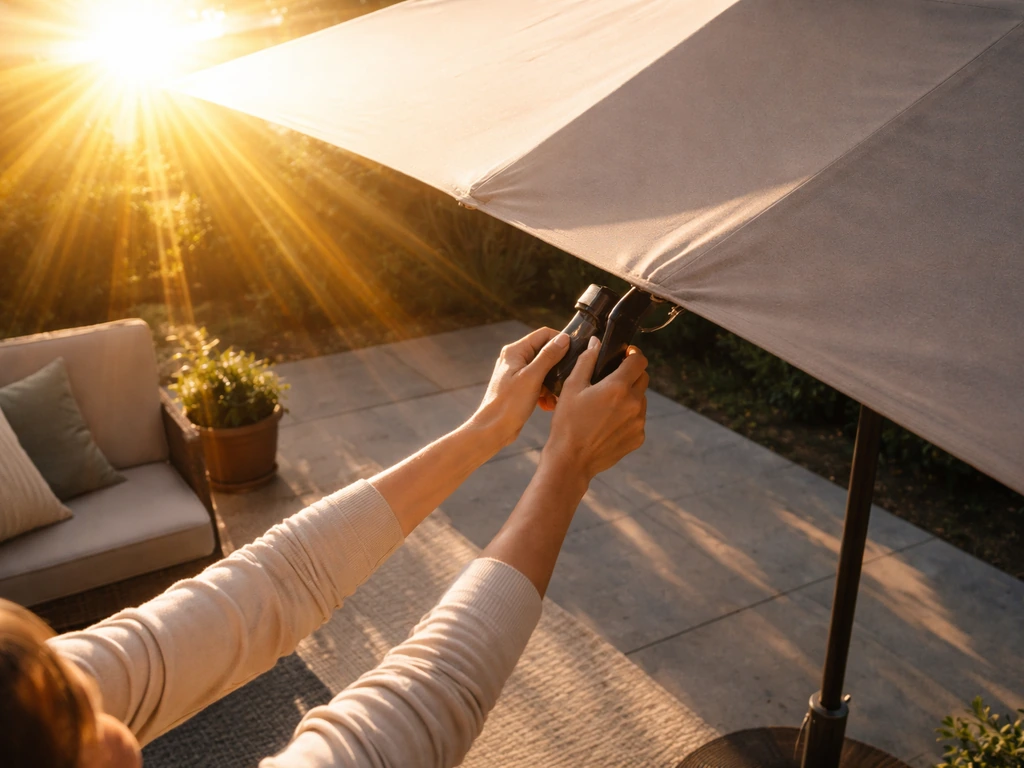
Before you buy anything, spend 10 minutes diagnosing your situation. If you want to learn how to shade a sunny patio effectively, focus on the sun direction and the angle where it hits hardest where your sun problem is. A patio that bakes in afternoon western sun needs a completely different fix than one that gets hammered by low-angle morning glare from the east. Getting this wrong means you'll spend money on something that barely helps.
Stand on your patio at the time it's most uncomfortable, usually between 1 PM and 4 PM for most west-facing spots in summer. Notice where the sun sits in the sky and which part of your patio it's hitting directly. Is it coming over the top (high elevation angle) or blasting in from the side at a lower angle? High overhead sun means you need something above you, like a sail or roof. Low-angle sun means you need a vertical or angled barrier on the side the sun is coming from.
For a more precise read, use the free NOAA Solar Position Calculator online, or download a sun-tracking app like SunPath. NOAA’s Solar Geometry Calculator is an online interface that outputs solar geometry quantities such as solar zenith angle, elevation, and azimuth for solar-angle work blank" rel="noopener noreferrer">Solar Position Calculator. Both give you the sun's blank" rel="noopener noreferrer">azimuth (compass direction, in degrees clockwise from north) and elevation (how high above the horizon) for your exact location, date, and time. Plug in your address, pick the worst time of day, and you'll know exactly which compass direction to shade. This takes about 5 minutes and saves you from guessing.
- Morning sun (east-facing patio, 7 AM to 11 AM): low-angle glare, needs a vertical screen or east-side barrier
- Midday sun (overhead, 11 AM to 1 PM): high elevation, needs overhead coverage like a sail, pergola, or awning
- Afternoon sun (west-facing, 1 PM to 6 PM): the most intense heat, needs overhead plus some western side shading
- South-facing patios: get the most total daily sun exposure, especially in summer, and benefit most from full overhead coverage
A compass or compass app on your phone helps confirm direction. Colorado State University's solar site worksheet approach works well here: stand at the center of your patio, dial the sun's azimuth angle on your compass, and see exactly which structure or tree line you'd need a barrier behind. Once you know the angle and elevation, you can match the solution to the actual geometry of your space.
Temporary shade options you can set up this weekend
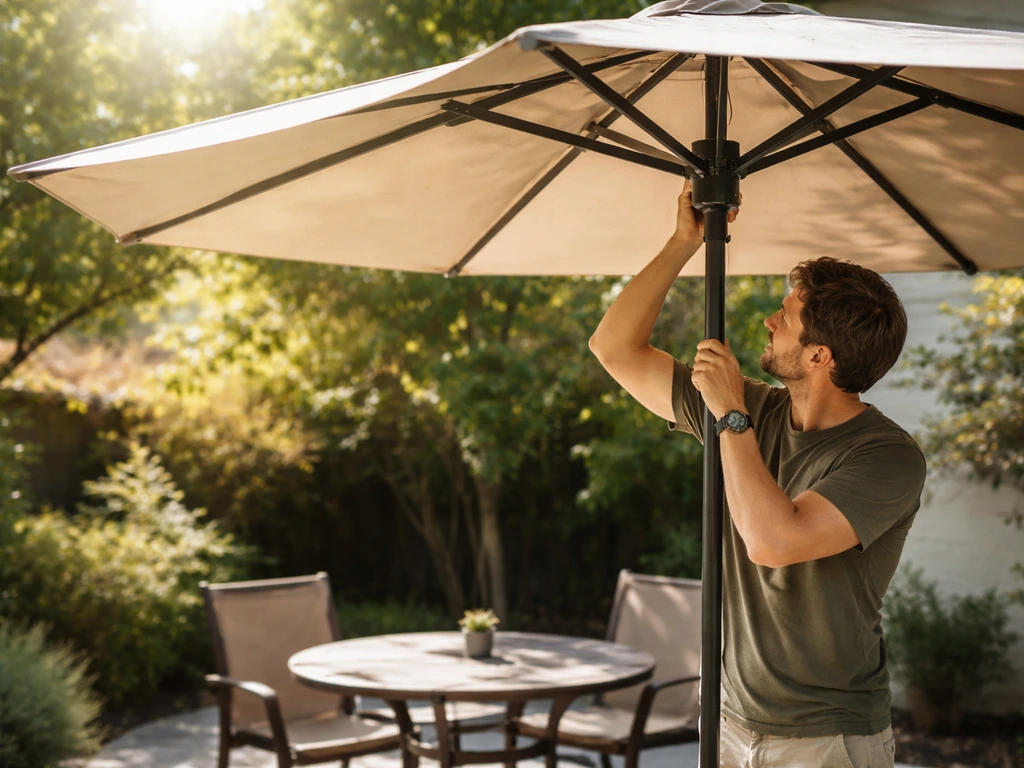
If you want relief fast without committing to a permanent build, these are your best options. All three can be installed by one person with basic tools, and most can come down for storage in winter or high-wind season.
Cantilever and market umbrellas
A large cantilever umbrella (9 to 11 feet) is the fastest fix for an open patio. The offset arm means you get shade without a center pole in the way of your seating. Cost runs $150 to $600 for a decent quality model with a weighted base. The downside is wind stability: any umbrella without deep anchoring becomes a sail in a 20+ mph gust. Always use a heavy base (at least 50 lbs for a 9-foot umbrella) and close it whenever wind picks up. They cover roughly 50 to 80 square feet of shade, which works well for a dining table but won't shade a full patio.
Shade sails
A shade sail is a tensioned fabric triangle or rectangle anchored between posts, walls, or existing structures. They're one of the most cost-effective options: a quality 12x16-foot sail runs $80 to $200, and you can combine two or three to cover a large area. The key to making them work is tension and angle. To make sun shades for patio spaces like yours, focus on tension and the right material for long-lasting UV blocking how to make sun shades for patio. A flat, slack sail sags and collects water; a properly tensioned sail angled about 20 to 30 degrees off flat sheds rain and holds its shape. Mount anchor points as high as you reasonably can to maximize the shaded area underneath. HDPE (high-density polyethylene) fabric is the best material choice: it blocks 90 to 95% of UV, breathes slightly so it doesn't trap heat, and holds up for 5 to 10 years with basic care.
Retractable awnings
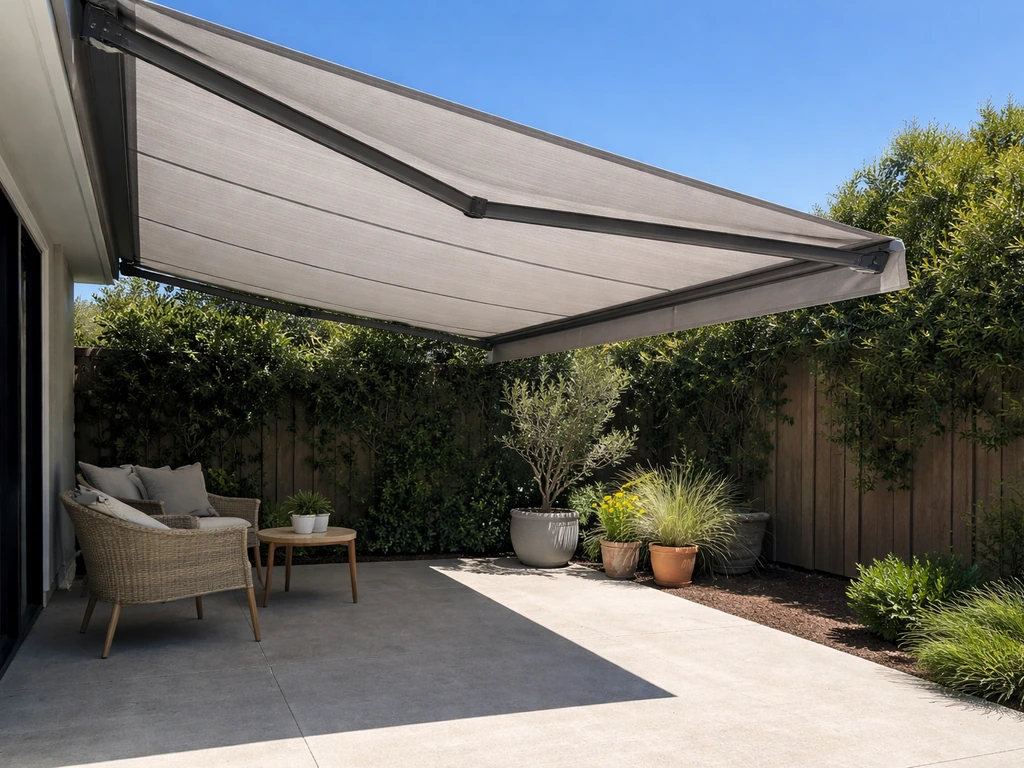
A motorized or manual retractable awning mounts to a wall and extends out over the patio on demand. They're the most convenient option because you can deploy them only when needed and retract during wind or rain. A manual retractable awning covering a 10-foot wide patio runs $300 to $800 installed; motorized units start around $800 and go up quickly. The limitation is that they require a solid wall attachment, so if your patio is freestanding or far from the house, you'll need posts. They're excellent for afternoon western sun because you can extend them on an angle that specifically cuts off that low sun angle.
Permanent shade structures worth building
If you want something that looks built-in, adds property value, and doesn't require you to think about it every day, a permanent structure is the right move. These take more planning and one to two weekends of work, but they last decades. You can also plan your patio shade around a specific build type, like a pergola, roof extension, or sail, depending on the sun angle and how permanent you want the solution to be permanent structure.
Pergolas with shade fabric or plants
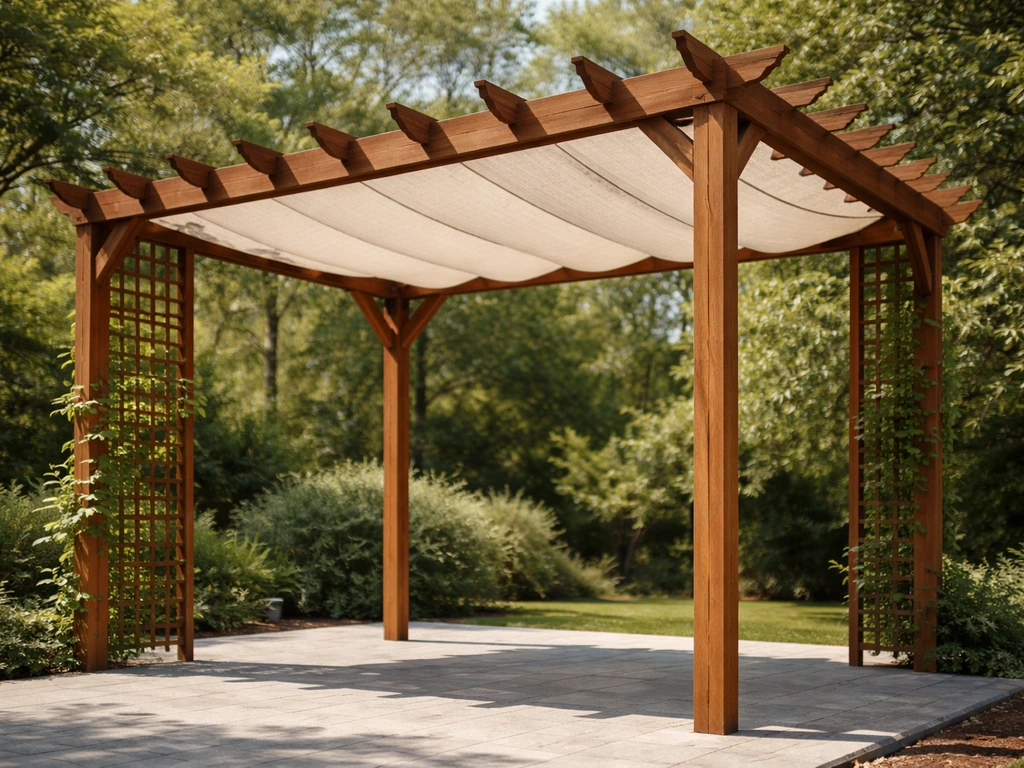
A pergola is the most popular permanent patio shade structure for good reason: it's achievable as a DIY build, looks great, and can be adapted over time. A basic freestanding 10x12-foot pergola using pressure-treated lumber costs $400 to $900 in materials, plus a weekend of work for two people. By itself, a pergola with open slat rafters only filters about 30 to 40% of sunlight. To get real shade, you add a shade cloth panel, a polycarbonate roof insert, or you train fast-growing vines like wisteria or hops to fill in the canopy. Shade cloth attached to the top of the pergola gives you 70 to 90% sun blockage within an afternoon of work.
Trellises with climbing plants
A trellis works well as a side-sun barrier, particularly for that low-angle morning or afternoon sun coming in from the east or west. A 6-foot-tall cedar trellis panel running 8 to 10 feet long can block a significant swath of angled sun while adding greenery. They're inexpensive ($50 to $150 in materials), easy to build, and plants like climbing roses, jasmine, or hops fill in within one to two growing seasons. The downside is that plants take time and need care. If you want immediate results, attach a shade fabric screen to the trellis frame instead.
Patio roof extensions
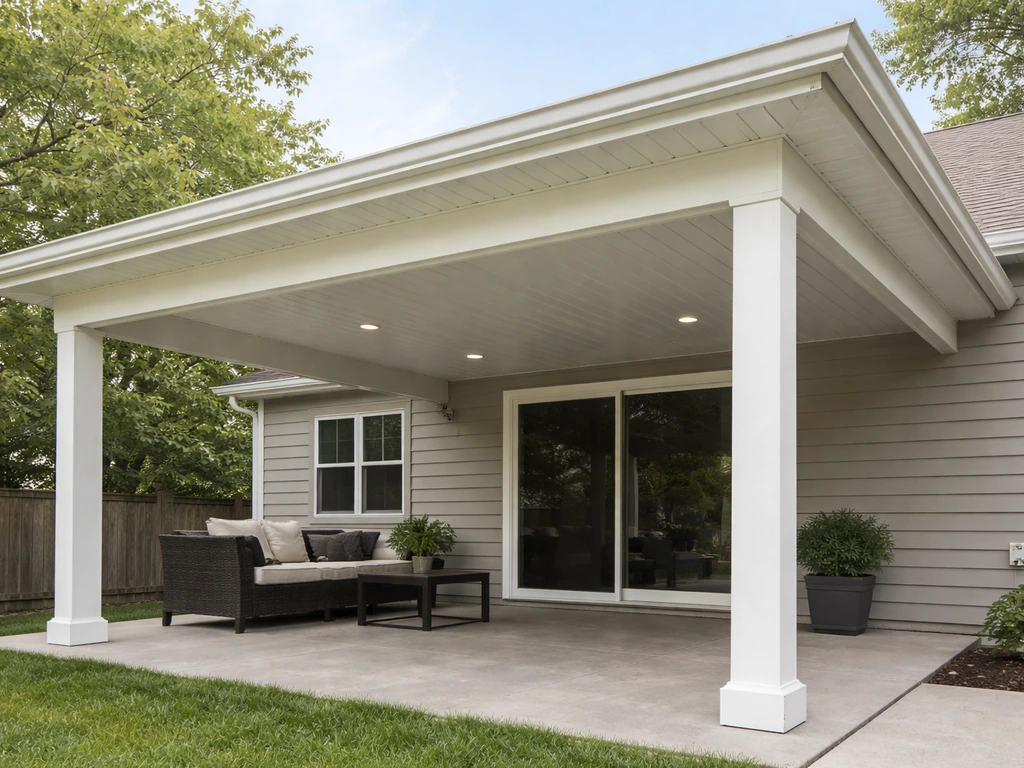
Extending your home's roof line over the patio is the most permanent, weather-proof option. A solid patio cover attached to the house blocks 100% of direct sun and rain, turning the patio into a true outdoor room. This is more of a construction project than a DIY weekend: you'll typically need to tie into existing rafters, add support posts, and potentially pull a permit depending on your municipality. Materials for a basic 12x16-foot roof extension run $1,500 to $4,000; contractor installation adds significant cost. If you're going this route, look into polycarbonate roofing panels as a lighter DIY-friendly alternative to solid roofing, since they diffuse sunlight rather than blocking it entirely, which keeps the space bright while cutting heat and UV.
Enclosure strategies that tackle heat and glare
Sometimes the issue isn't just direct overhead sun but glare and radiant heat coming in from the sides, especially on a covered patio where the roof already blocks overhead sun. Enclosure elements handle this well and they complement shading structures rather than replacing them.
Outdoor curtain panels hung on tension rods or curtain tracks along the open sides of a patio are one of the cheapest and most flexible solutions. A set of 4 to 6 weather-resistant curtain panels (look for solution-dyed acrylic or outdoor-rated polyester) covering a 10-foot-wide opening runs $80 to $200. They slide open when you want a breeze and closed when the afternoon sun hits. For a more permanent and wind-stable solution, shade screen fabric panels stretched on aluminum frames can be semi-permanently installed on the open sides of a pergola or covered patio. These are the same screens used in screened-in patio enclosures, and they do double duty: they reduce solar heat gain, cut glare, and keep insects out. A solar screen fabric blocks 65 to 90% of sunlight depending on the openness factor (look for fabrics with a 3 to 5% openness for maximum sun blocking while still allowing airflow).
Clear vinyl panel enclosures are worth considering if you want year-round usability. They block wind and rain while still letting light in, and they can be rolled up or removed seasonally. Combined with a pergola or existing patio roof, they essentially create a three-season room at a fraction of the cost of a full enclosure build. If year-round comfort is the goal, this combination of overhead shade plus side enclosure panels is the most cost-effective path.
Comparing your main options at a glance
| Option | Approx. Cost (DIY) | Sun Blocking | Permanence | DIY Difficulty | Best For |
|---|---|---|---|---|---|
| Cantilever umbrella | $150–$600 | Moderate (50–80 sq ft) | Temporary | Easy | Small seating area, fast setup |
| Shade sail | $80–$300 | High (90–95% UV) | Semi-permanent | Easy–Moderate | Open patios, budget-conscious |
| Retractable awning | $300–$1,500 | High | Semi-permanent | Moderate | Wall-attached patios, afternoon sun |
| Pergola + shade cloth | $500–$1,200 | High (70–90%) | Permanent | Moderate | Full patio coverage, curb appeal |
| Trellis + plants/screen | $50–$300 | Moderate–High | Permanent | Easy | Side-angle sun, low budget |
| Patio roof extension | $1,500–$5,000+ | Complete | Permanent | Hard | Year-round use, full coverage |
| Outdoor curtains | $80–$250 | Moderate–High | Flexible | Easy | Glare and side sun on covered patio |
| Solar screen panels | $200–$600 | High (65–90%) | Semi-permanent | Moderate | Enclosed patio feel, insect control |
If you want a direct recommendation: for most homeowners dealing with afternoon sun on an open patio, a shade sail or retractable awning gets you the best sun-blocking per dollar spent. If you're building from scratch or want something that looks intentional, a pergola with shade cloth is the sweet spot between DIY effort and long-term payoff. Save the roof extension for when you're ready to commit to a real outdoor room project.
Choosing materials that hold up in wind and weather
The biggest mistake people make is buying cheap fabric or skimping on hardware, then watching the whole thing fail in the first storm. Here's what actually holds up.
Fabric choices
- HDPE shade cloth: best for shade sails and pergola tops, UV-stabilized, knitted construction means it won't fray when cut, rated for 5 to 10 years outdoors
- Solution-dyed acrylic (Sunbrella-type): best for curtains and awning fabric, colorfast, mold-resistant, rated 7 to 10+ years, more expensive but worth it
- Polyester with PVC coating: budget option for screens and panels, less breathable, shorter lifespan (3 to 5 years), fine for seasonal use
- Clear vinyl: good for wind and rain enclosure panels, look for 20-gauge or heavier for durability, UV-resistant grades last 3 to 7 years
Frame and hardware
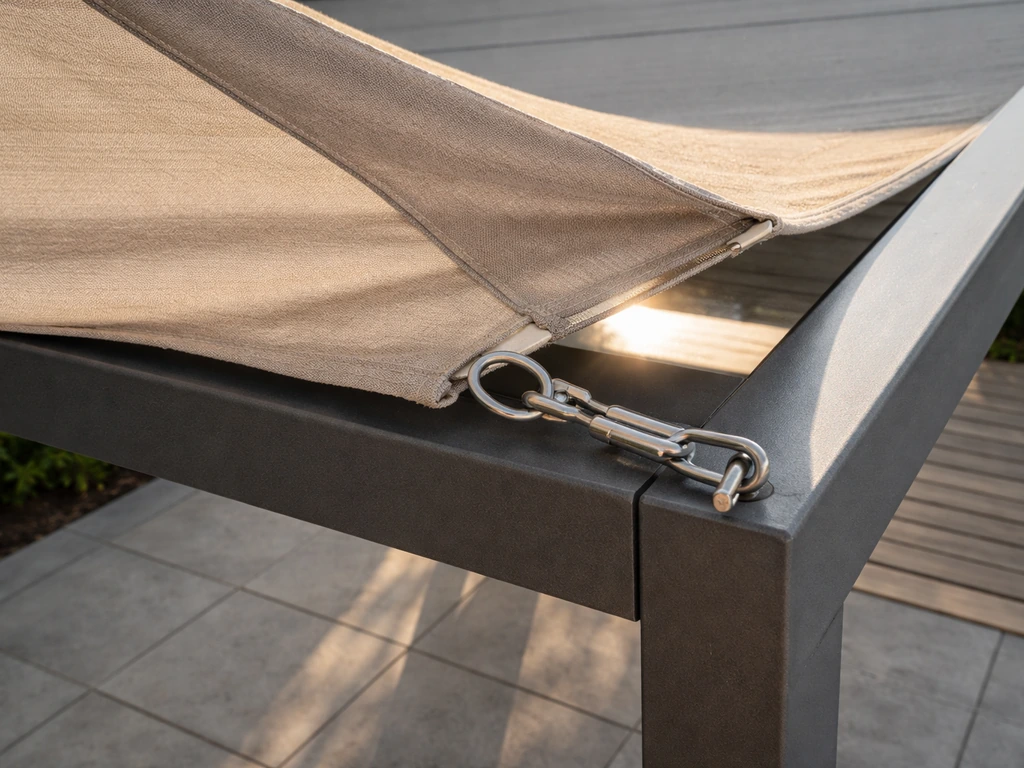
Aluminum and powder-coated steel are the go-to frame materials for anything freestanding. Aluminum won't rust and is light enough to handle solo; steel is stronger for larger spans but needs a quality coating to prevent rust. For wood structures like pergolas, use pressure-treated lumber (rated UC4B for ground contact on posts) or naturally rot-resistant species like cedar or redwood. Hardware is where most DIY builds cut corners and regret it: use stainless steel or hot-dipped galvanized hardware exclusively for anything that stays outdoors. A stainless D-ring and turnbuckle on a shade sail anchor will outlast cheap zinc hardware by a decade.
Anchoring for wind
Wind is the number one killer of patio shade installations. A shade sail or canopy that isn't properly tensioned and anchored will tear, pull loose, or worse, damage your house or fence. For posts set in concrete, use at least 10-inch-diameter tube forms with posts buried 24 to 36 inches deep (deeper in loose or sandy soil). For wall-mounted attachments, anchor into studs or masonry anchors rated for the load; never into just drywall or siding. Shade sails specifically need turnbuckles at each corner so you can tension them properly and re-tension seasonally as the fabric stretches. In areas with frequent wind gusts above 30 mph, design your sail with a steeper angle so wind deflects over rather than loading into it.
Measurement and installation checklist
Work through these steps before you buy anything. Getting the measurements right upfront prevents the frustrating experience of a shade sail that's 6 inches too small or posts that land in the wrong spot.
- Measure your patio footprint: length and width in feet, plus the height of any existing roof, wall, or fence attachment points
- Identify your anchor points: existing walls, posts, fence posts, or locations where you can set new posts, mark them with tape or chalk
- Determine the sun angle: use NOAA's solar calculator or a sun app to confirm the azimuth and elevation at your worst time of day, then stand at your patio and verify which side and height you need to cover
- Calculate shade coverage needed: your shade structure should extend 2 to 3 feet beyond the area you want to protect on the sun-side to account for low-angle sun penetration
- Check clearance height: overhead coverage needs at least 7.5 feet of clearance at the lowest point for comfortable standing, 8 to 9 feet feels much more open
- Measure attachment-point distances: for shade sails, measure the diagonal distance between anchor points, then buy a sail sized so those diagonals align with the corners with 6 to 12 inches of adjustment room for turnbuckles
- Gather hardware: stainless steel eye bolts or D-rings for each anchor point, stainless turnbuckles (one per corner for sails), carabiners or snap hooks rated to at least 200 lbs, and appropriate anchors for your surface (lag screws for wood, sleeve anchors for masonry)
- Check local codes: any structure over a certain size (commonly 200 square feet) or attached to the house may require a permit; check your municipality before starting a pergola or roof extension
- Install posts or anchor hardware first, then hang the shade structure with slack, then gradually tension it using the turnbuckles until the fabric is taut and slightly angled for water runoff
- Do a tug test before walking away: grab each corner and pull firmly; if the anchor hardware shifts, reinforce it before leaving the installation loaded
Fixing common problems and making it last
Sagging fabric
Fabric sags for two reasons: it wasn't tensioned enough at installation, or it stretched over time (normal for any fabric under sun exposure). Fix it by re-tensioning the turnbuckles. If you don't have turnbuckles and the fabric is connected directly to fixed hooks, you'll need to add an adjustable element. Plan for this at installation time and you won't have the problem. Sagging also collects water and snow, which dramatically accelerates fabric wear and can overload your anchors.
Gaps that let sun through
If your shade structure leaves a gap on one side where low-angle sun sneaks in, the fix is usually adding a side element: an outdoor curtain panel, a second small shade sail overlapping the gap, or a solid trellis panel. Think of your patio sun protection as layers, not a single piece. Most comfortable outdoor spaces combine at least two elements: overhead coverage plus at least one side barrier.
Seasonal adjustments
Sun angles change significantly between summer and winter. The same shade sail that perfectly blocks the 4 PM summer sun may leave you exposed in spring and fall when the sun tracks lower. If you're in a climate where you use your patio in shoulder seasons, plan to adjust or add elements. Retractable awnings and outdoor curtains are easiest to adjust; fixed pergolas and sails may need supplemental panels in shoulder seasons. For winter storage, remove fabric sails, curtains, and lightweight canopies before the first major windstorm or snow load of the season. Most HDPE and acrylic fabrics can handle some frost but not heavy snow loading.
Making it year-round comfortable
If year-round patio use is the goal, shade alone won't get you there. Once you have solid overhead coverage and sun blocking handled, the next upgrade is side enclosure panels for wind and rain protection. Clear vinyl drop panels or solar screen panels added to an existing pergola are the most cost-effective way to cross from a shaded patio to a genuine three-season outdoor room. Combined with a patio heater or ceiling fan, a well-shaded and partially enclosed patio is usable in most climates from early spring through late fall. That combination of overhead shade structure plus side enclosure is also exactly the direction that full screened patio and patio enclosure projects take, so if you find yourself enjoying the space more, it's a natural next step to explore a more complete enclosure.
FAQ
How do I block the sun on my patio if I do not have a solid wall or posts to anchor to?
If there is no nearby building edge for wall mounting, your options narrow to freestanding or site-built anchoring. Use either a freestanding pergola with posts set in concrete, or a shade sail with purpose-built anchor posts (tube forms with posts buried deep). For best results, avoid relying on fences or small decorative posts for sail tensioning, since shade sails need corner turnbuckles and strong pull-out resistance.
What should I measure before buying a shade sail or umbrella so it does not end up too small?
Measure the “worst spot” area you need shaded plus how far the sunbeam will travel across your seating. Add a buffer of roughly 10 to 20 percent beyond the direct sun footprint, because sun angle shifts during the hour you typically notice the problem. Also measure the ceiling or post height available so you can mount anchor points as high as possible for a larger shaded area underneath.
How can I tell if my main problem is direct sun versus glare and reflected heat?
If the patio is already under roof shade for overhead sun but it still feels painfully bright or hot, glare and radiant heat from nearby surfaces is likely. In that case, side elements usually help more than additional overhead shade, prioritize outdoor curtain panels, shade screen side panels, or a solar screen with low openness rather than just enlarging the overhead coverage.
Do I really need an angled barrier for low-angle morning or late-afternoon sun, or will overhead shade alone work?
Overhead shade alone often fails for low-angle sun because the rays come in from the side and skim under slats or fabric. Plan at least one side barrier in the direction the sun approaches, such as an angled trellis panel, overlapping shade sails, or curtain panels on tracks, so you cut the beam before it reaches seating.
What wind setup should I use for patio shade if I live in a windy area?
Use deeper anchoring, fewer wide unsupported spans, and designs that shed wind loads. For shade sails, keep a steeper sail angle in gust-prone areas and make sure each corner has turnbuckles for re-tensioning. For umbrellas, use a weighted base (roughly 50 lbs for a 9-foot model or more for larger units) and close the umbrella at the first sign of sustained high gusts.
Will outdoor curtains or solar screens trap too much heat under my pergola?
Quality fabrics are designed to reduce solar heat gain while still allowing airflow. Solar screen fabric with lower openness blocks more sun and glare, but you still want enough breathability to prevent a stagnant heat pocket. If your pergola is fully enclosed by curtains on all sides, leave one side partially open or plan operable panels to vent hot air during peak sun hours.
How do I handle seasonal changes if my patio sun is much worse in summer than in spring and fall?
Choose adjustable solutions for shoulder seasons. Retractable awnings and sliding curtain panels are easiest to reposition, while fixed pergolas and shade sails often need supplemental side panels or removable fabric add-ons. If you use fabric sails or lightweight screens, take them down before the first heavy windstorm or snow period so snow load does not overload anchors.
What is the safest way to anchor hardware so my shade does not pull out of the wall or fence?
Never anchor into drywall or siding alone. For wall mounting, anchor into studs or use masonry anchors rated for the actual load. For freestanding structures and sails, use frame materials and posts with adequate buried depth, and confirm the load pathway from fabric to turnbuckles to posts to ground. When in doubt, have an installer confirm the anchor selection and spacing.
How much shade do I actually get from a pergola with slats, and when do I need to add shade cloth?
Open-slatted pergolas typically filter only part of the direct sun, so if your goal is full daytime comfort you usually need supplemental coverage. Add shade cloth across the top, insert polycarbonate panels, or create a denser canopy with vines. Shade cloth attached at the top provides the quickest improvement because it blocks a much higher percentage of sunlight than open rafters.
How do I prevent fabric sagging and water pooling on my shade sail or canopy?
Sagging is usually under-tensioning at install or normal stretch over time. Use corner turnbuckles so you can re-tension seasonally, and avoid mounting too low when possible. Proper tension also reduces pooling, since slack fabric holds water and can accelerate wear and increase stress on anchors, especially during rain and snow events.
What should I do if one side of my seating still gets sun through a gap?
Treat sun protection as layered coverage. Add a side element focused on the sneaking low-angle direction, such as an overlapping second shade sail, an outdoor curtain panel on the uncovered side, or a solid trellis panel. Many comfortable patios use overhead shade plus at least one side barrier rather than relying on a single roof-like piece.
Next Articles
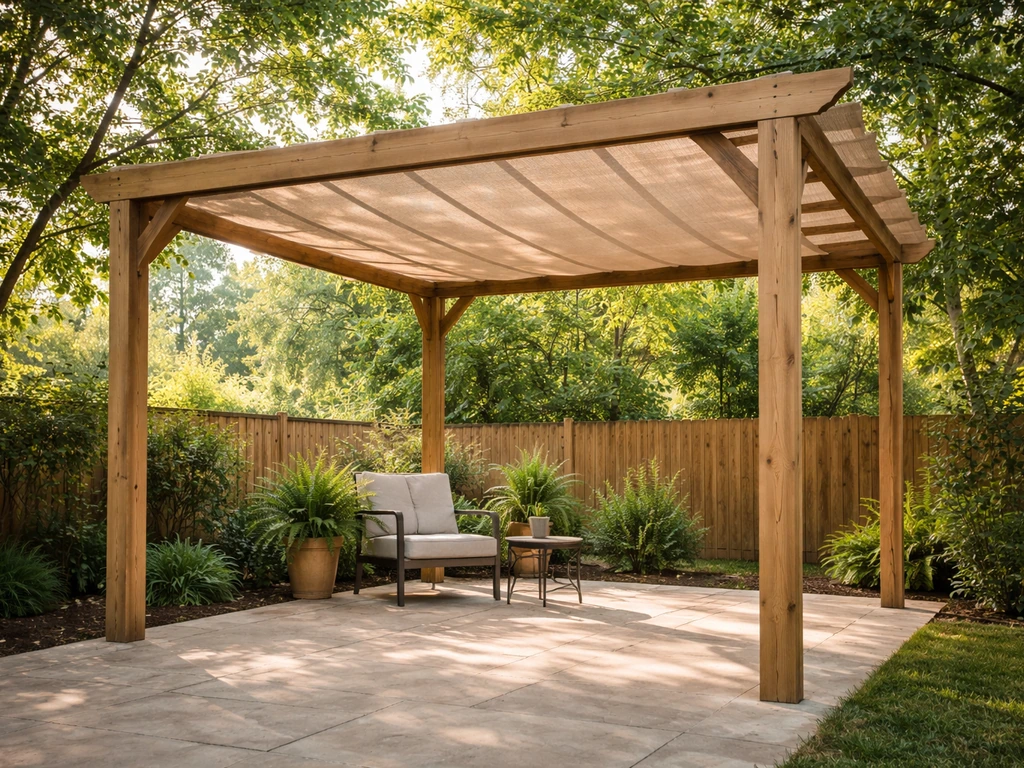
How to Build a Shaded Patio: DIY Shade Plans and Steps
Step-by-step DIY plans to build patio shade, size it right, anchor safely, weatherproof, finish, and maintain year-round
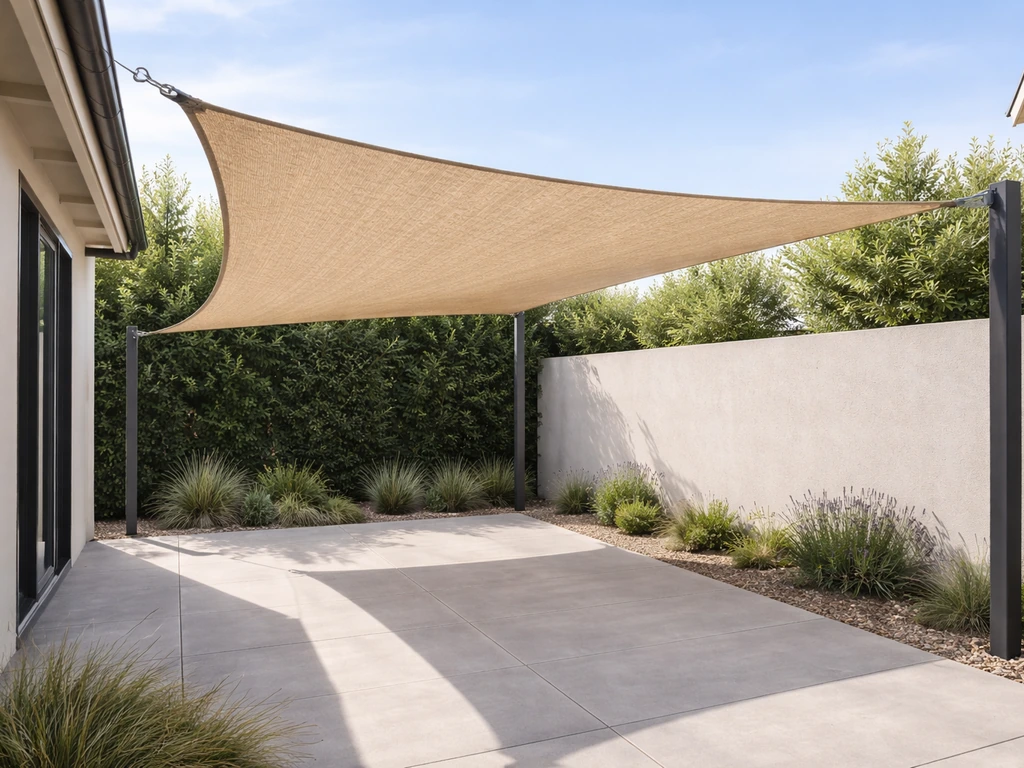
How to Make Sun Shades for Patio: DIY Step-by-Step
Step-by-step guide to build and mount DIY patio sun shades, with measurements, materials, tensioning, and weatherproofin
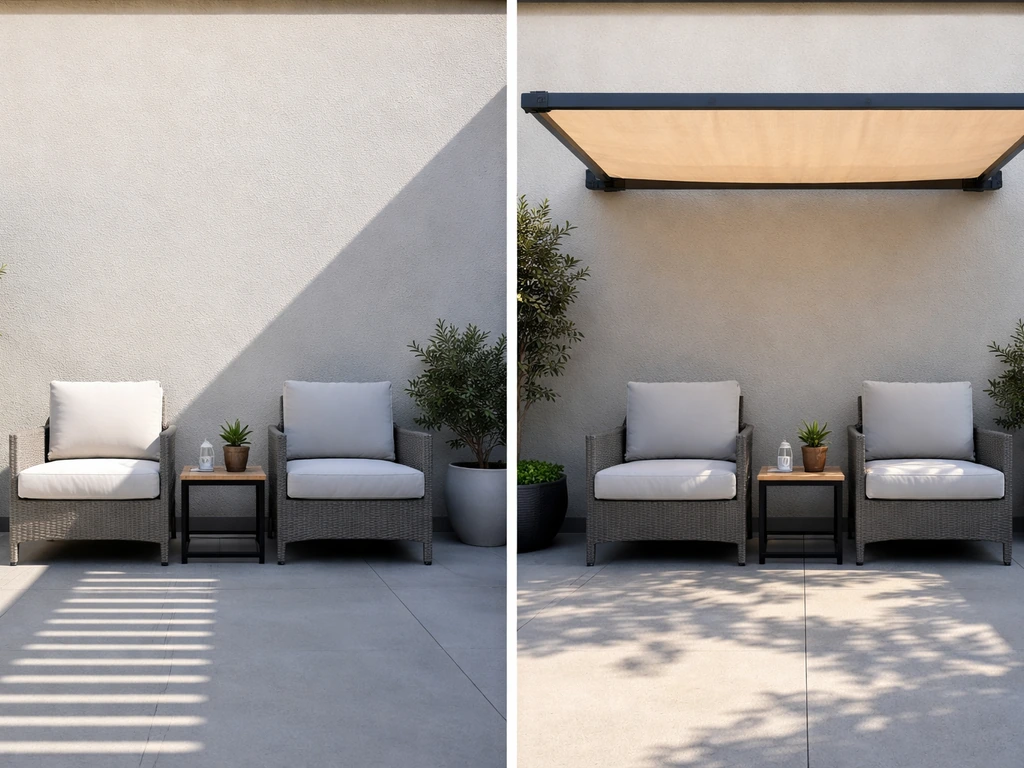
How to Shade a Sunny Patio: DIY Step-by-Step Guide
DIY step-by-step ways to shade a sunny patio fast, from awnings and pergolas to shade sails, plants, and safe mounting.