
The safest, most effective way to build shade for your patio is to anchor a solid structure, like a pergola with a polycarbonate roof or a freestanding shade sail, into concrete footings or lag-bolted ledger boards, size it to cover at least 90% of your usable patio area, and use materials rated for your local wind speed. For most DIYers, a wood or aluminum pergola with a UV-blocking roof panel is the most durable and the most forgiving to build. Shade sails and retractable awnings are faster to install but require more care to anchor safely and won't hold up as well in heavy wind or rain without the right hardware.
How to Build a Shaded Patio: DIY Shade Plans and Steps

Felix Brennan
9 Jul 2026
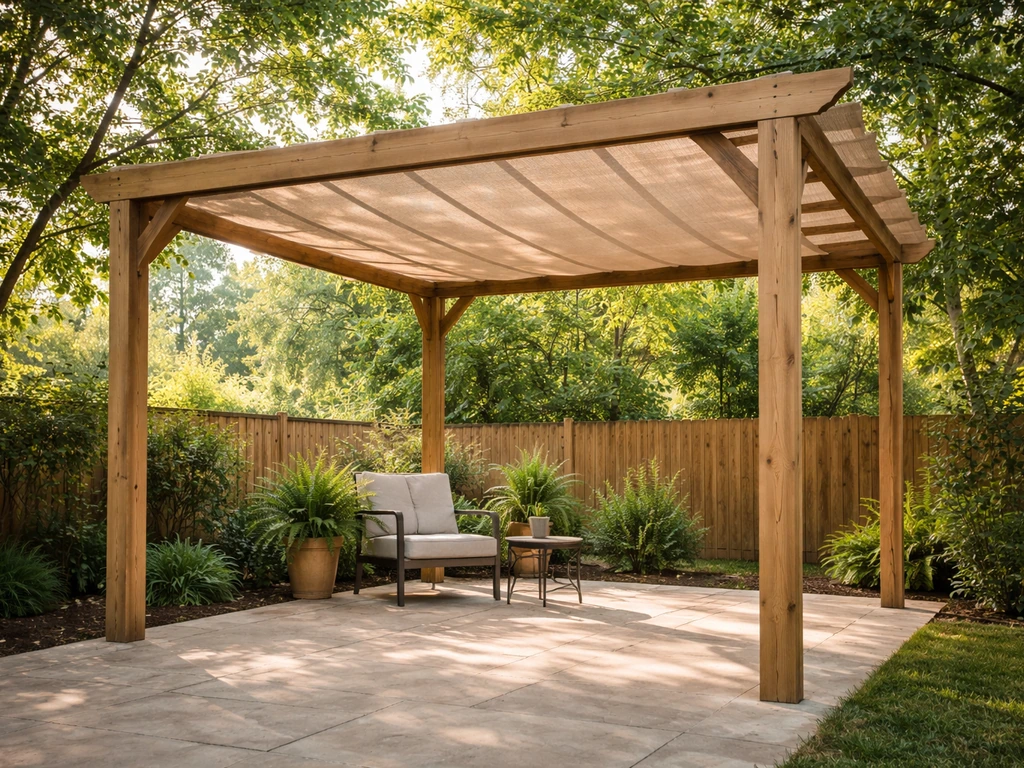
Choosing the best shade type for your patio
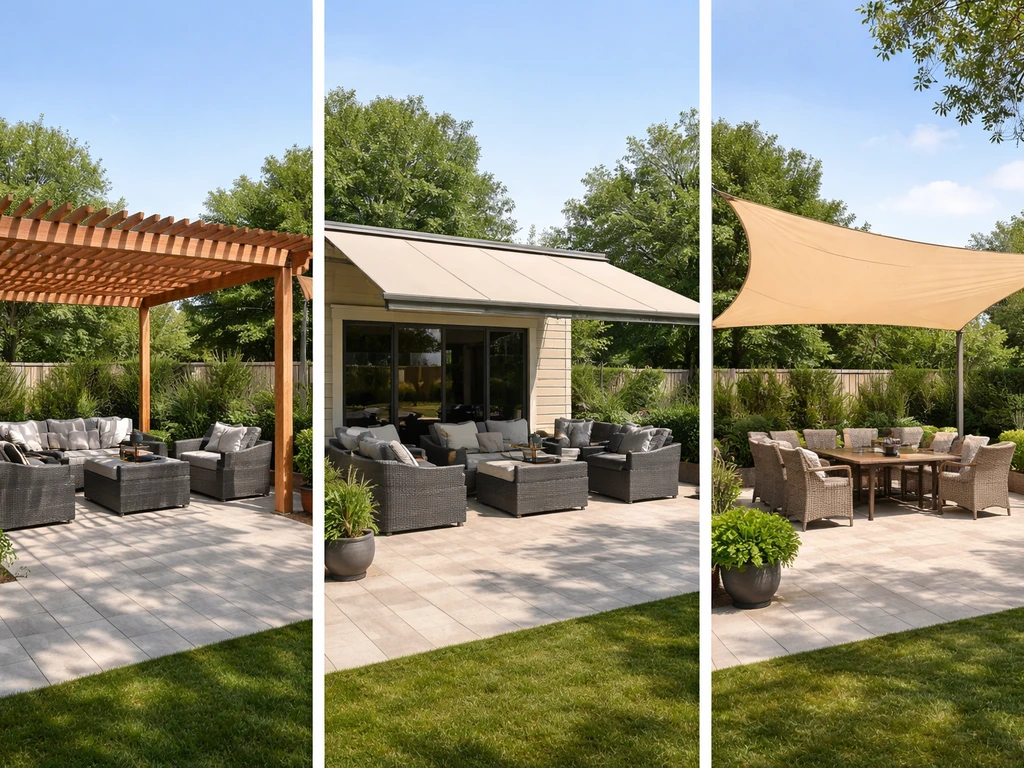
Before you buy a single board or post, you need to pick the right structure. Each shade type has real trade-offs in cost, durability, DIY difficulty, and how well it handles sun, rain, and wind. Here's a practical breakdown.
| Shade Type | Best For | Rain Protection | Wind Resistance | DIY Difficulty | Rough Cost Range |
|---|---|---|---|---|---|
| Pergola with roof panels | Permanent, year-round use | High (with solid panels) | High when anchored to footings | Moderate | $800–$4,000+ |
| Attached patio cover (solid roof) | Replacing or extending an existing roof line | High | Very high | Moderate–Hard | $1,500–$6,000+ |
| Shade sail | Sun filtering over open space | Low–Medium (depends on fabric) | Moderate with tight anchoring | Easy–Moderate | $50–$400 |
| Retractable awning | Flexible sun control | Moderate | Low–Moderate (retract in wind) | Easy–Moderate | $300–$2,500 |
| Shade cloth / sail canopy | Budget sun blocking | Low | Low | Easy | $30–$200 |
For most homeowners who want something they can leave up year-round, a pergola with a polycarbonate or metal roof panel wins. It gives you real rain protection, you can add screens or privacy panels to the sides later, and it becomes an actual outdoor room rather than just a patch of shade.
If you mainly need to block afternoon sun and you're okay with something you roll up or take down seasonally, a retractable awning or a well-anchored shade sail are both solid options. If you want a straightforward way to block the sun on your patio, start by matching the shade type to your exposure and wind needs block the sun on my patio.
Just know that shade sails made from breathable HDPE fabric filter UV well but won't stop rain. If you want moisture resistance, look for sails with a PU-coated polyester fabric instead. We'll focus the step-by-step section on building a freestanding pergola since that covers the most ground for DIY builders, but the anchoring and safety principles apply to any shade structure.
Planning your layout and sizing it right
Getting the size right before you build is the step most people skip, and it's why a lot of DIY shade structures end up feeling cramped or way too big for the space. To get the best coverage when the sun is brightest, plan your layout based on where the afternoon sun hits your patio how to shade a sunny patio. Start by measuring your actual patio slab or deck area in feet.
A good rule of thumb: your shade structure should cover at least 80 to 90 percent of the usable surface, leaving a small buffer at the edges. A 12x16-foot patio works well with a 12x16 or 10x14 pergola. Don't size down too aggressively to save money; you'll end up with a structure that shades one chair.
Next, figure out your sun angle. In most of the U.S., the afternoon sun hits from the southwest, so if you have an open western exposure, that's your primary shade target. For an attached pergola or patio cover, your house wall serves as one anchor point, which simplifies the build. For a freestanding structure, you'll need four post footings, and their placement determines everything else, so stake out the corners with string lines before you dig anything.
Also check with your local building department early. Under IRC 2024 Appendix BF, patio covers are subject to wind design pressure requirements based on your area's ultimate design wind speed. Under IRC 2024 Appendix BF, patio cover design includes tables for “ultimate design wind speeds” and related wind design pressure guidance IRC 2024 Appendix BF patio cover wind design tables. Many municipalities require a permit for any permanent shade structure over a certain square footage (often 200 sq ft). A quick call or online lookup saves you from having to tear down work later.
How high should you build it?
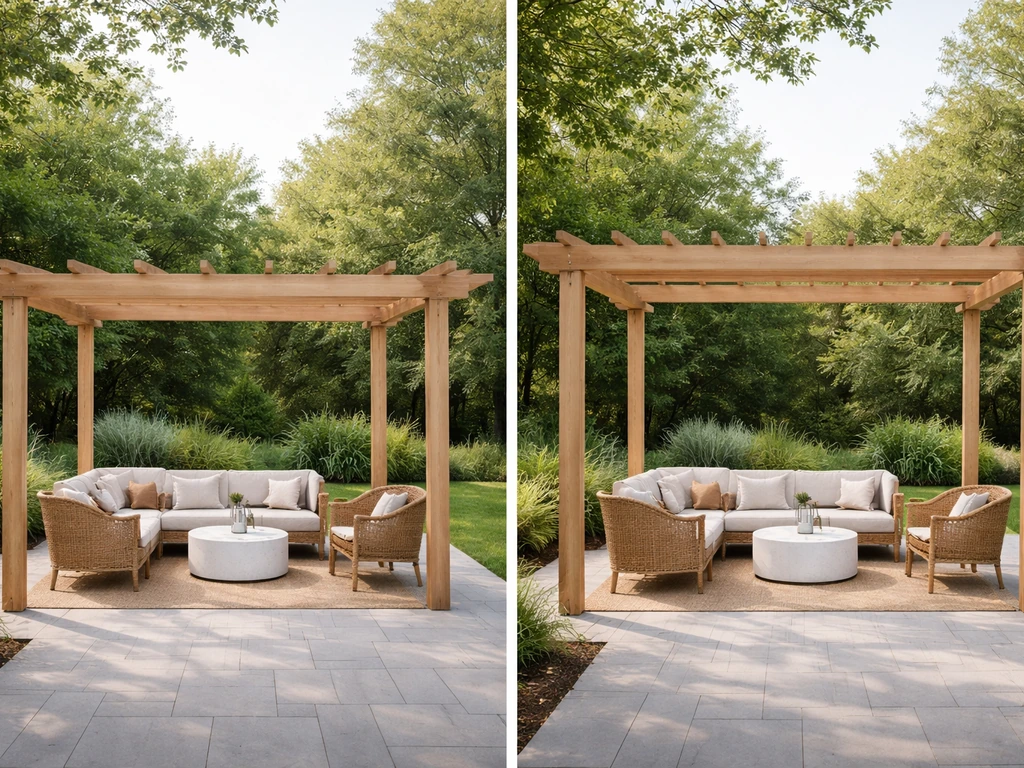
Standard pergola height is 8 to 10 feet at the beam. Eight feet feels enclosed and cozy but can trap heat in summer. Ten feet gives you better airflow and a more open feel. If you're attaching to a house, match your ledger height to the existing eave line or go about 12 inches below it. Don't go so low that you're ducking under beams or so high that the shade angle misses the furniture below.
Materials and tools checklist
Here's what you'll need for a basic freestanding 12x12-foot wood pergola with a shade roof. Scale up or down based on your actual dimensions.
- 4 pressure-treated 6x6 posts, 10–12 feet long
- 2 pressure-treated 2x8 or 2x10 beams (length = pergola width + 1 foot overhang on each side)
- 4–6 pressure-treated 2x6 or 2x8 rafters (spanning the depth of the structure)
- Concrete mix (two 80-lb bags per post hole, minimum)
- Post base hardware or direct-burial anchors rated for your wind zone
- Joist hanger hardware, structural screws (3-inch and 5-inch), lag bolts
- Polycarbonate panels, metal roofing, or outdoor shade cloth for the roof surface
- Waterproof flashing tape (for any roof panel joints)
- UV-resistant exterior stain or paint
- Post level, string line, and stakes for layout
- Post hole digger or rented gas auger
- Circular saw or miter saw
- Drill with impact driver bits
- Speed square and tape measure
- Ladder (8-foot minimum)
If you're installing a shade sail instead of a pergola, swap most of the lumber for 4-inch steel pipe posts or masonry anchors, the appropriate D-ring or turnbuckle hardware, and your sail fabric. For an awning, follow the manufacturer's hardware kit since mounting details vary significantly by brand and the installation manual will specify the exact fastener type and spacing needed for safe attachment.
Step-by-step: how to build a shaded patio pergola
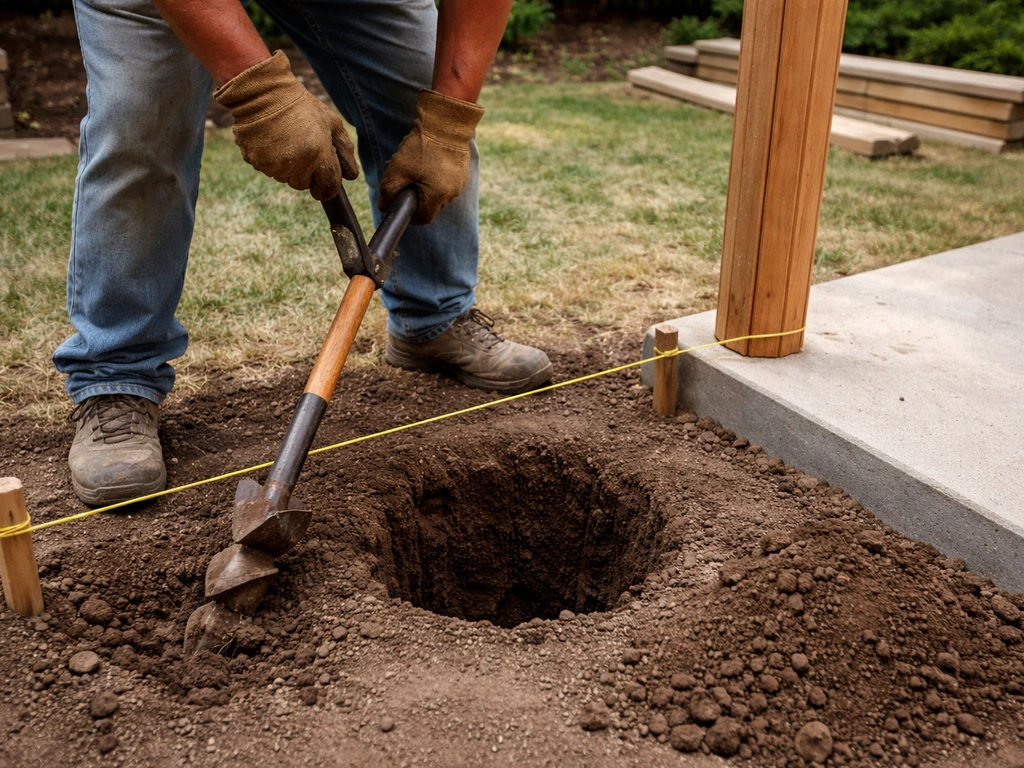
This process covers a freestanding 12x12 wood pergola. Budget a full weekend for the build, with the first day focused on footings (which need time to cure) and the second on framing and roofing.
- Mark your four corner post locations using string lines and stakes. Measure diagonally corner to corner to confirm your layout is square (both diagonals should be equal).
- Dig your post holes. Depth should be at least 1/3 of the total post length underground, and always below the local frost line (check your county's frost depth). For a 10-foot post, that typically means 3 to 3.5 feet deep. Diameter should be 3x the post width, so about 18 inches for a 6x6.
- Set your posts. Place 3 to 4 inches of gravel at the bottom of each hole for drainage. Stand the post, check plumb on two faces with your level, brace it with 2x4 stakes, then pour concrete. Crown the concrete slightly above grade and slope it away from the post to shed water.
- Let the concrete cure for at least 24 hours (48 is better) before you load any weight on the posts. Don't skip this. Moving on too fast is one of the most common DIY mistakes.
- Cut your beams to length. Add 6 to 12 inches of overhang on each end for looks and shade coverage. Hoist the first beam up and clamp it to the tops of two posts. Drill pilot holes and fasten with 5-inch structural screws or 1/2-inch lag bolts through the beam into the post. Use two fasteners per connection minimum.
- Install your rafters perpendicular to the beams. Space them 16 to 24 inches on center. Use joist hangers or notch the beams for a cleaner look. Toe-screw each rafter with two 3-inch screws per end.
- Install your roof surface. For polycarbonate panels, lay them with the flutes running lengthwise (for drainage), use the manufacturer's closure strips at the ends, and lap panels at least 2 inches where they overlap. Apply waterproof flashing tape over seams. For shade cloth, stretch it tight across the rafter tops and fasten with UV-stable zip ties or shade cloth clips every 12 inches.
- Trim any overhanging ends of rafters to a consistent angle with a circular saw for a clean, finished look.
- Apply exterior stain or paint to all exposed wood within a few days of completing the frame. This protects the wood immediately and adds years to the structure's life.
Anchoring, waterproofing, and structural safety
This is the part where a lot of DIY shade projects fail, not during the build, but in the first windstorm. Getting the anchoring right is the single most important safety step, and it's not complicated if you follow a few non-negotiable rules.
Post anchoring
Direct-buried posts in concrete are the strongest option for most DIYers. The post sits in concrete below grade, which resists both uplift and lateral load from wind. The alternative is a surface-mount post base bolted to a concrete slab. Post bases work fine for light structures, but for anything over 10 feet tall or in a region with design wind speeds above 115 mph, direct burial is safer. If you're building in a high-wind zone (hurricane-prone coastal areas, for instance), check your local amendments to IRC 2024 Appendix BF for specific uplift and lateral load requirements. The code's wind speed tables exist for a reason.
Waterproofing the roof
Roof pitch matters more than most people realize. Even a shallow 2:12 pitch (2 inches of rise per 12 inches of run) is enough to shed rain off polycarbonate panels. A completely flat roof traps water and will eventually leak at every seam. When you set your beam heights on an attached pergola, make the outer beam 2 to 3 inches lower than the ledger board so water runs away from the house. On a freestanding structure, slope the whole frame slightly in one direction. Seal all panel seams and end caps with butyl rubber or foam closure strips. Skip the cheap foam tape; it degrades in UV and compresses out in a season or two.
Shade sail anchoring
Shade sails pull very hard on their anchor points, especially in wind. A 12x12-foot sail generates hundreds of pounds of tension at each corner. Mount to structural posts set in concrete, masonry walls with anchor bolts (not just screws into mortar joints), or purpose-built shade sail posts rated for the load. Never anchor a sail to a wood fence, a deck railing, or a lightweight post set in topsoil. Always install sails with a slight downward angle toward one corner to shed rain and reduce wind uplift. Keep them taut but not over-tensioned, and plan to take them down or loosen them during storms.
Retractable awning safety
Awnings mount to a house wall via a mounting bar that must be lag-bolted into solid framing, not just siding or sheathing. Find the wall studs or use a structural ledger board first. Most awning installation manuals specify the minimum pitch for proper fabric drainage and note clearly that awnings should be retracted when wind speeds exceed around 20 to 25 mph or in heavy rain. Don't rely on an extended awning to protect you in a thunderstorm.
Finishing touches and comfort upgrades
Once the structure is solid and weathertight, a few targeted upgrades turn a shaded slab into an actual outdoor room. These don't have to be expensive, but they make a big difference in how much you actually use the space.
- Side shade panels or privacy screens: Hang outdoor shade cloth, bamboo roll shades, or cedar lattice on one or two sides of the pergola to block low-angle sun and create privacy from neighbors. This also reduces wind tunnel effect under the roof.
- String lights or outdoor ceiling fan: A fan hung from a central rafter keeps air moving and makes the space usable on hot afternoons. String lights run along the rafters are a quick and inexpensive way to extend evening use.
- Outdoor rug and furniture: An outdoor rug anchors the space visually and makes a concrete slab feel like a room. Use furniture with covers or frames made of powder-coated aluminum or all-weather wicker that hold up under a partially open structure.
- Wind break panels: If your patio faces prevailing wind, add a trellis or solid panel on the windward side. Even a partial wind break makes a significant comfort difference and protects lighter furniture.
- Gutter on the low side: If your pergola roof channels rain off one edge, a small aluminum gutter keeps runoff from creating a waterfall onto your seating area.
If you want to go further with sun and wind control, the shade structure you built here pairs well with purpose-made sun shades and sun blocking strategies on the open sides. The structure itself is the foundation, but what you hang on and around it determines how comfortable the space really is.
Maintenance and seasonal care
A well-built shaded patio can easily last 15 to 25 years with basic upkeep. The maintenance is not complicated, but skipping it lets small problems become expensive ones.
Spring (start of season)
- Inspect all post bases and hardware for rust or loosening. Tighten any bolts that have worked loose over winter freeze-thaw cycles.
- Check where posts meet concrete at grade level. If you see cracking or separation, repack with hydraulic cement or exterior caulk to prevent water infiltration.
- Rinse polycarbonate or metal panels with a hose and mild soap. Do not use abrasive cleaners on polycarbonate; they scratch the UV coating.
- Rehang or re-tension shade sails if you took them down for winter. Inspect the fabric for UV degradation, fraying at the edges, or weak spots.
- Reapply exterior stain or sealant to wood components every 2 to 3 years, or whenever the wood looks dry and gray.
Summer (active season)
- Retract awnings and loosen shade sails during storms. Even well-anchored structures take more stress in a major storm than they need to.
- Clear debris like leaves and twigs from roof panel surfaces after wind events. Standing water plus organic debris accelerates algae and staining.
- Check roof panel fasteners and closure strips mid-season. Heat expansion and contraction can loosen hardware over a summer.
Fall and winter prep
- Remove and store fabric shade sails before the first hard freeze in cold climates. Most HDPE and polyester fabrics handle moderate cold, but repeated freeze-thaw cycles in wet fabric stress the seams.
- Retract and cover awnings if your model has a storage cover. A winter cover extends fabric life by 30 to 50 percent in cold or snowy climates.
- Do a final hardware check in late fall. Replace any corroded fasteners before winter so you're not dealing with seized bolts in the spring.
- If you have snow loads to contend with, check that your roof panels are adequately pitched. More than 6 to 8 inches of snow accumulation on a flat or low-pitch polycarbonate roof can cause panel failure.
The biggest long-term threat to any shade structure is water at the post bases and UV degradation of fabric and sealants. Stay ahead of both, and the structure you build this weekend can still be standing and functional a decade from now.
FAQ
Can I build a shaded patio without hitting local permit requirements?
In many areas, even a “temporary” looking shade structure can require a permit once it is fixed in place over a certain square footage. The fastest safe approach is to call your building department with your planned square footage, post height, and attachment method, then ask whether it falls under patio cover or accessory structure rules for your zone and wind exposure.
What’s the biggest mistake that makes a pergola feel too small or not shade the furniture?
Sizing down to “save money” is usually the culprit. Plan for sun coverage, not just roof footprint, and aim to shade at least 80 to 90 percent of the usable seating area, leaving a small edge buffer so the furniture ends up in the protected zone during afternoon angles.
How do I choose between a pergola, a shade sail, and an awning for my specific weather?
Use rain, wind, and sun behavior together. Pergolas with polycarbonate or metal panels handle rain and can stay up year-round, shade sails filter UV but typically do not stop rain, and awnings depend on correct wall framing and are meant to be retracted when wind gets high or during heavy storms.
Is direct-buried posts always required, or can I use post bases on a slab?
Post bases can work for lighter structures, but direct burial is safer when posts are tall, loads are higher, or design wind speeds are significant. A practical decision aid is your post height and local wind speed rating, if provided by your permit or wind exposure guidance, then choose the footing method accordingly.
What roof pitch should I plan for, and what happens if my roof is too flat?
For rain shedding, even modest pitch helps, and a completely flat roof tends to trap water that can leak over time at seams and panel joins. A good build target is to keep the roof pitched so water drains away from the attachment side, and seal panel seams and end caps with UV-stable closure material.
Do I need to worry about heat buildup under a shaded patio?
Yes, especially if you choose an 8-foot height and block airflow. If your goal is comfort during hot afternoons, consider a taller beam height (around 10 feet) for better ventilation, and use side screens or curtains only where they do not create a fully enclosed “heat box.”
Can I anchor a shade sail to something that’s already there, like a fence or railing?
Avoid it. Fences, deck railings, and lightweight posts are usually not rated for the tension shade sails create, especially in wind. Anchor to structural posts set in concrete, proper masonry anchors on walls with suitable load paths, or purpose-built, wind-rated shade sail posts and hardware.
How tight should a shade sail be, and do I need to loosen it during storms?
Keep it taut enough to look smooth but avoid over-tensioning that can stress anchors and fabric. In storm conditions, plan to loosen or take the sail down, because wind loads on sails can rise quickly and create large forces at the corners.
What should I check for when mounting an awning to the house?
Confirm you are fastening into structural framing. Mounting only to siding or sheathing risks failure, so locate studs or install a proper structural ledger board. Also follow the manufacturer’s minimum drainage pitch and the specified retract trigger for wind and heavy rain.
How do I prevent water problems at the post bases over time?
Water pooling is the long-term enemy, so ensure the concrete footings and the structure allow drainage away from post areas. Inspect annually for cracks, loose sealants, and signs of standing water, because moisture at base connections can accelerate rot and deterioration even when the roof is doing its job.
Next Articles
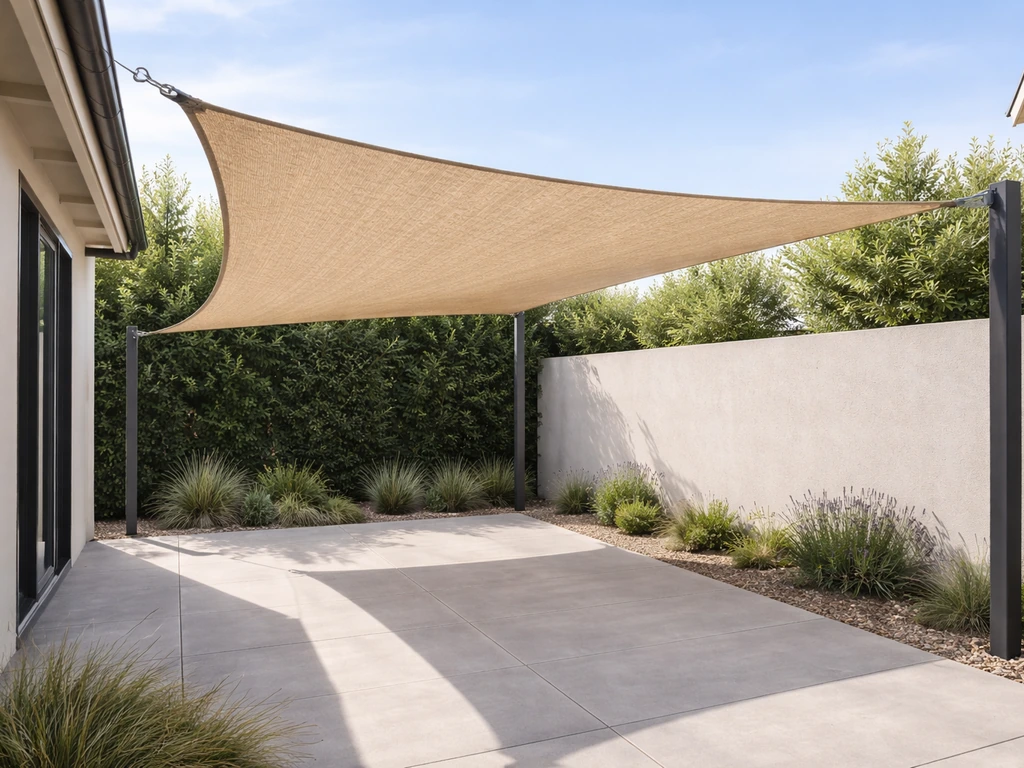
How to Make Sun Shades for Patio: DIY Step-by-Step
Step-by-step guide to build and mount DIY patio sun shades, with measurements, materials, tensioning, and weatherproofin
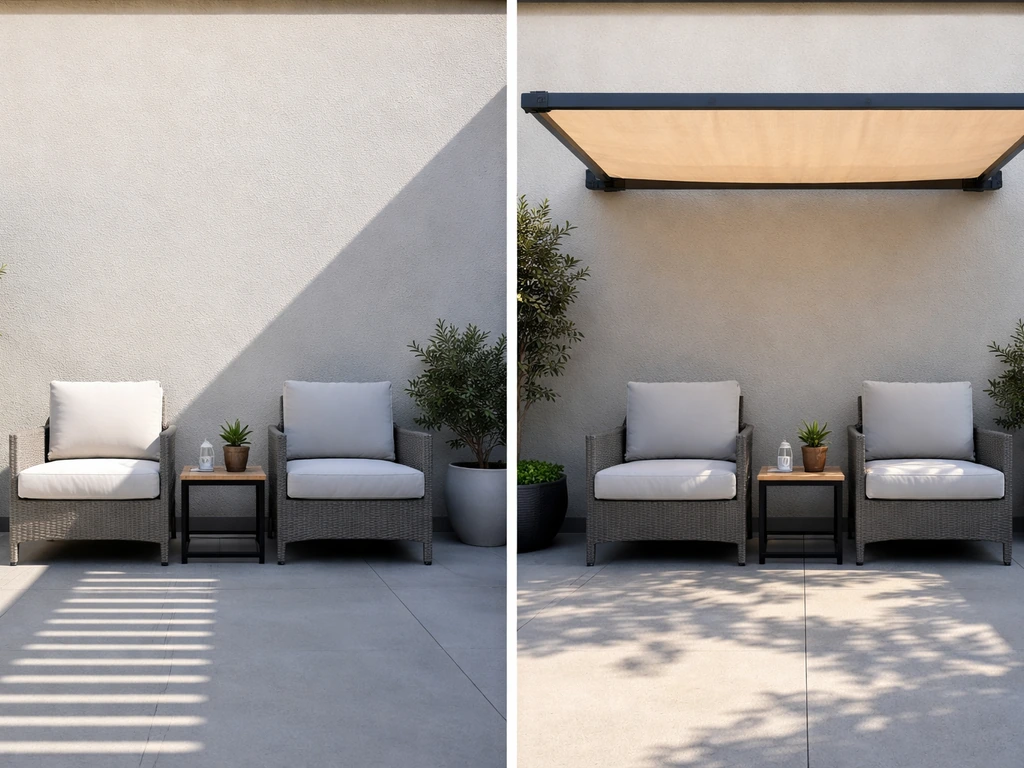
How to Shade a Sunny Patio: DIY Step-by-Step Guide
DIY step-by-step ways to shade a sunny patio fast, from awnings and pergolas to shade sails, plants, and safe mounting.
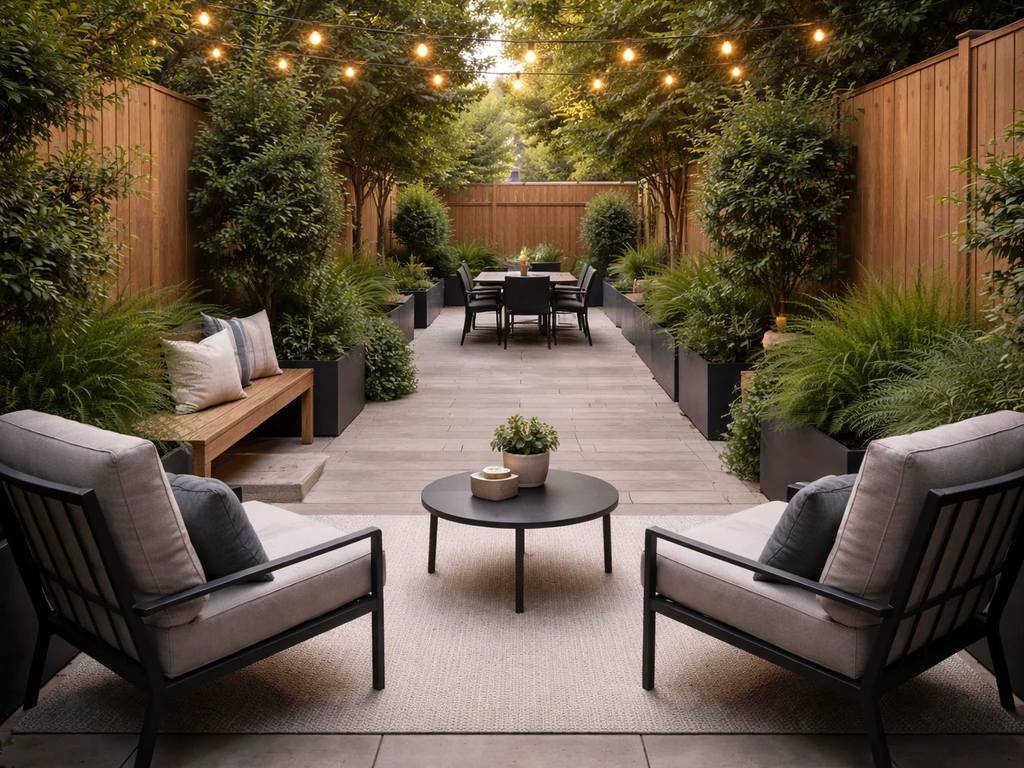
How to Decorate a Long Narrow Patio: Layout Tips
Practical DIY layout and decor tips to widen a long narrow patio using zoning, furniture spacing, lighting, greenery, an