
You can build a glass patio enclosure yourself, but it takes real planning upfront: permits, accurate measurements, the right glass system, and a methodical build sequence. Done right, you get a weather-tight outdoor room that's usable year-round, adds resale value, and looks dramatically better than a screen enclosure or plastic panel setup. If you're specifically trying to enclose a patio with plastic, focus on choosing the right plastic panel system and proper sealing so the enclosure stays weather-resistant. Expect the project to take a full weekend for prep and two to four weekends for the actual build, depending on the size and system you choose.
How to Build a Glass Patio Enclosure Step by Step

Felix Brennan
7 Jul 2026
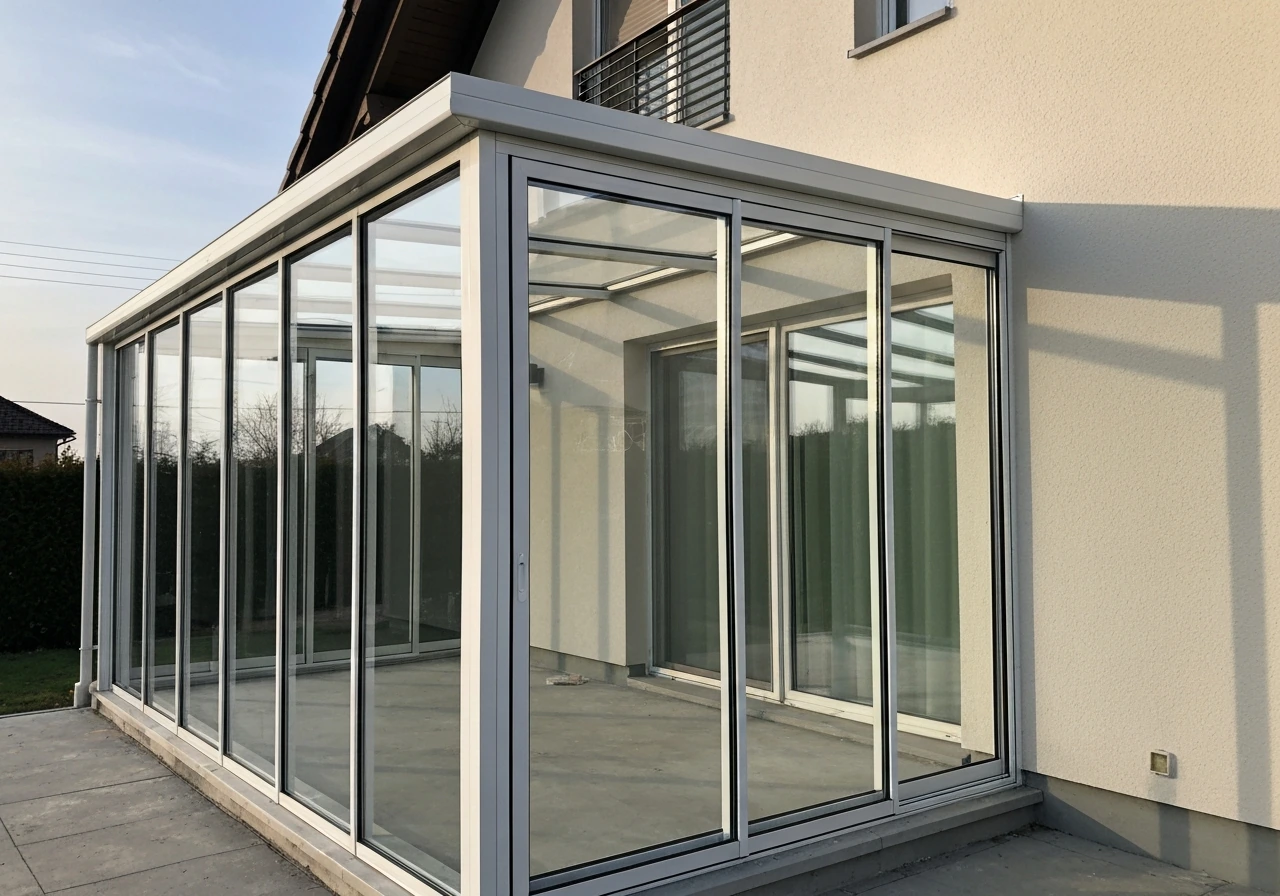
What a glass patio enclosure is (and when it makes sense)
A glass patio enclosure is a structure that fully encloses an existing patio or deck using glass panels as the primary wall material, combined with a frame system and a roof (either existing or new). Unlike a screen enclosure, which keeps bugs out but lets wind, rain, and cold in, a glass enclosure creates a semi-conditioned or fully weather-protected space. Unlike plastic panel enclosures, glass gives you clear sightlines, a permanent feel, and much better durability over time.
Choose glass when you want year-round usability and you're willing to invest more upfront. It makes the most sense if your patio already has an overhead roof or pergola to anchor to, if you live somewhere with cold winters or intense wind and rain, or if you want a space that genuinely feels like a room rather than a covered porch. If you're mainly keeping bugs out or want a seasonal solution, a screen enclosure or removable plastic panels will cost a fraction of the price. Glass is the premium option and should be treated as a home improvement project, not a weekend fix.
Permits, HOA rules, and site assessment
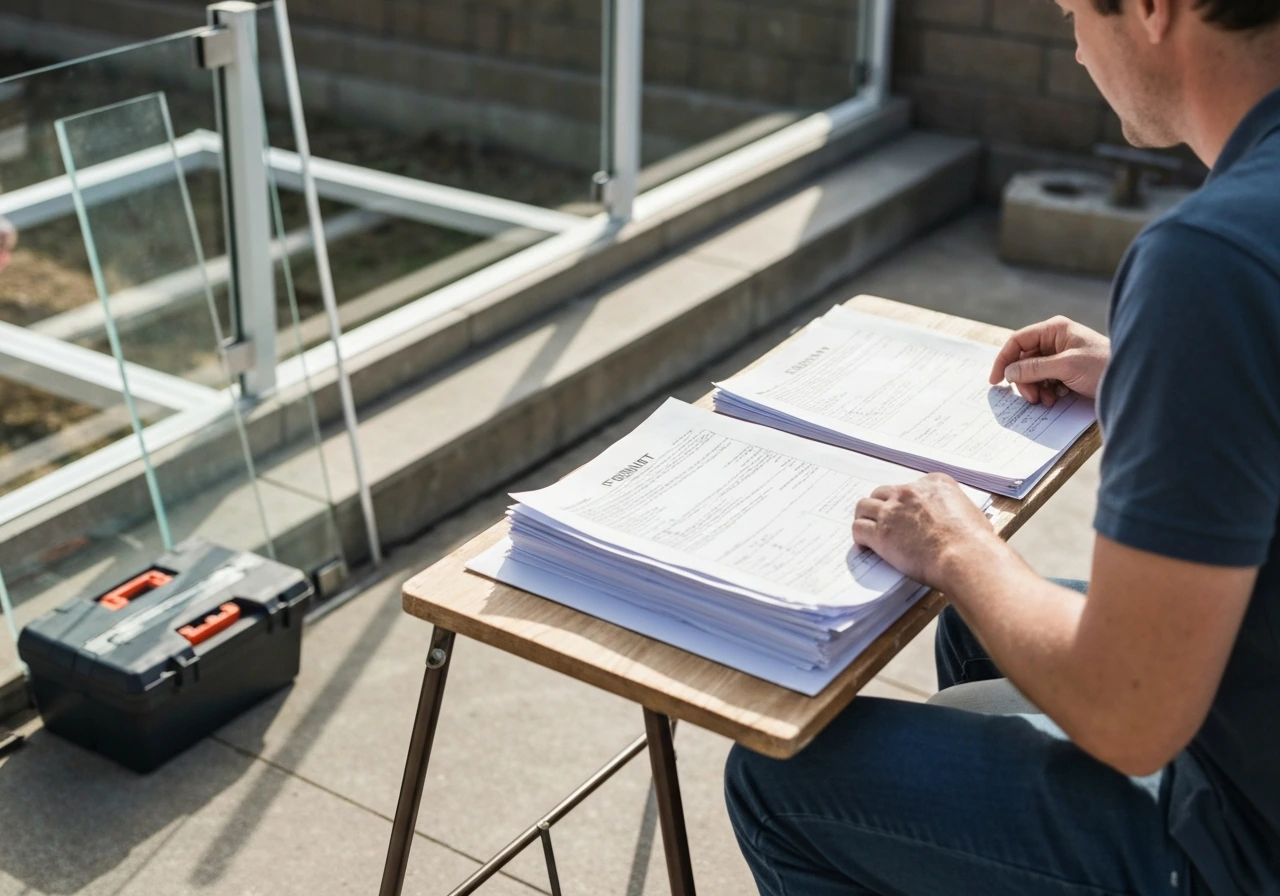
Before you order a single panel, pull your permits. In most jurisdictions, enclosing a patio with permanent glass walls requires a building permit because you're changing the structure and creating new glazed openings subject to wind and load requirements. This same permit requirement is what you’ll run into when you enclose a patio with walls and convert the space into a more permanent structure enclosing a patio with permanent glass walls.
The International Building Code's Chapter 24 on Glass and Glazing sets engineering requirements for glazing under wind and snow loads, and your local building department enforces a version of those rules. Cities like Seattle have adopted their own chapter-specific glazing codes that include hazardous-location rules for glass likely to be contacted by occupants. Don't skip this step, because a glass enclosure that fails inspection may need to come down.
Check your HOA rules at the same time. Many HOAs restrict enclosure materials, glass tint, or frame colors. Get that approval in writing before you spend money on materials.
Assessing your site before you measure
Walk your patio and look at four things. First, check the existing slab or deck: it needs to be level, crack-free, and structurally sound. A sloped or heaved slab will cause problems when you're trying to plumb and level glass frames. Second, check drainage: water needs to move away from the enclosure, not pool against the base of your glass panels. Third, look at your existing roof or overhang: if you're attaching a new top plate or header to the house, make sure the ledger attachment point is into solid framing, not just sheathing. Fourth, check for overhead utilities, underground lines, and any setback requirements that affect where your walls can go.
Taking accurate measurements
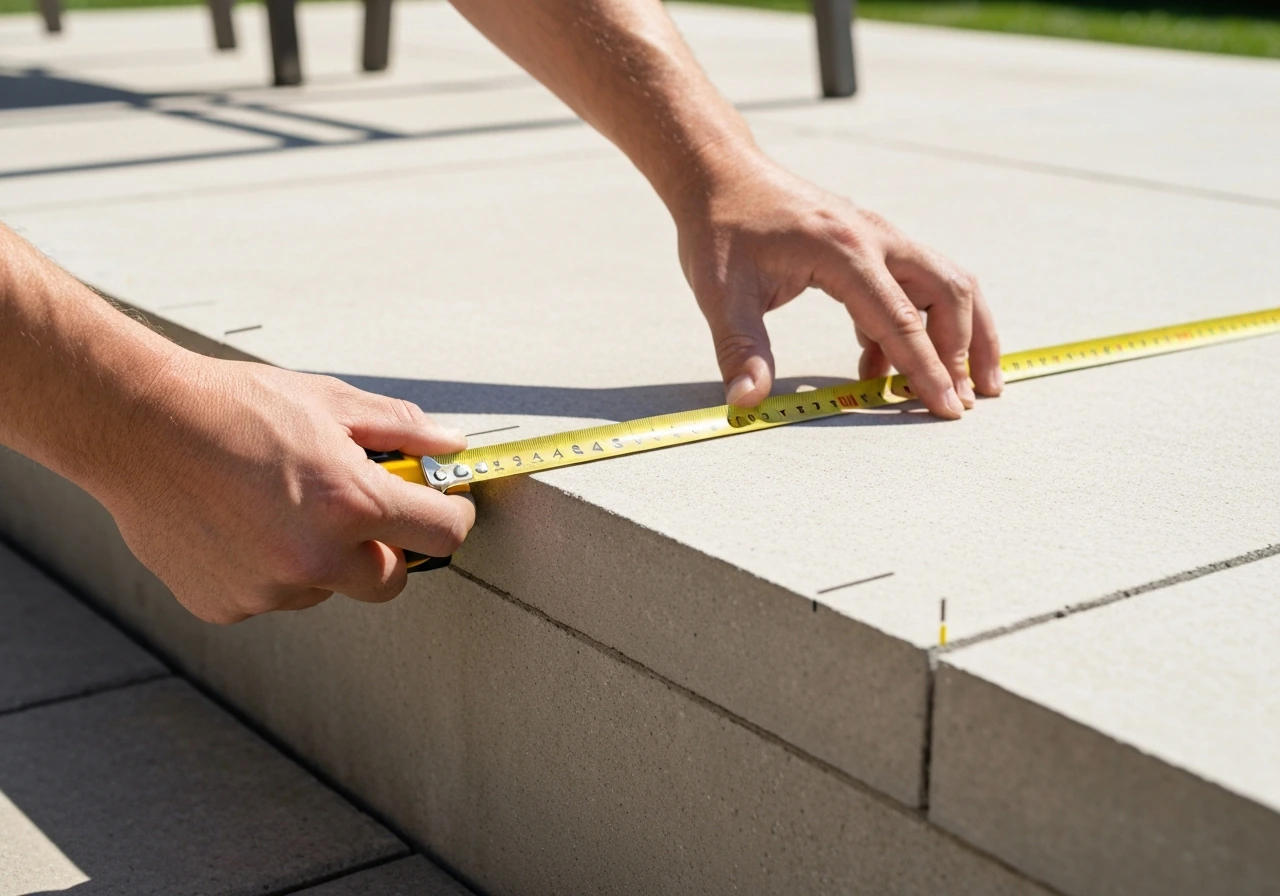
Measure the perimeter of your patio at the base, then measure the height from the slab to the underside of the roof or overhang at multiple points. Glass enclosure systems are typically ordered to fit your specific dimensions, so variance of even half an inch matters.
Measure each wall run separately and check for square using the 3-4-5 triangle method: lay out 3 feet along one wall, 4 feet along the adjacent wall, and the diagonal should be exactly 5 feet. If it's not, your corner is out of square and you'll need to account for that in your frame design. Write every measurement down twice and verify before ordering anything.
If you're wondering how to enclose a patio with glass, accurate measurements are the starting point for a properly fitted frame and panels.
Choosing your enclosure system and glass type
This is the decision that shapes your entire project, so spend time here. The main variables are frame style, panel operation, and glass type. Each combination has a different cost, difficulty level, and finished look.
Frame style: framed vs. frameless
Framed systems use aluminum or steel channels around each panel. They're more forgiving to install because the frames hide minor alignment issues, they're easier to weatherstrip, and they typically cost less. Frameless or minimal-frame systems (like glass curtain walls or frameless sliding panels) look cleaner and more modern but require very precise installation and are more expensive. For a first-time builder, a framed aluminum system is almost always the right call.
Panel operation: fixed, sliding, or folding
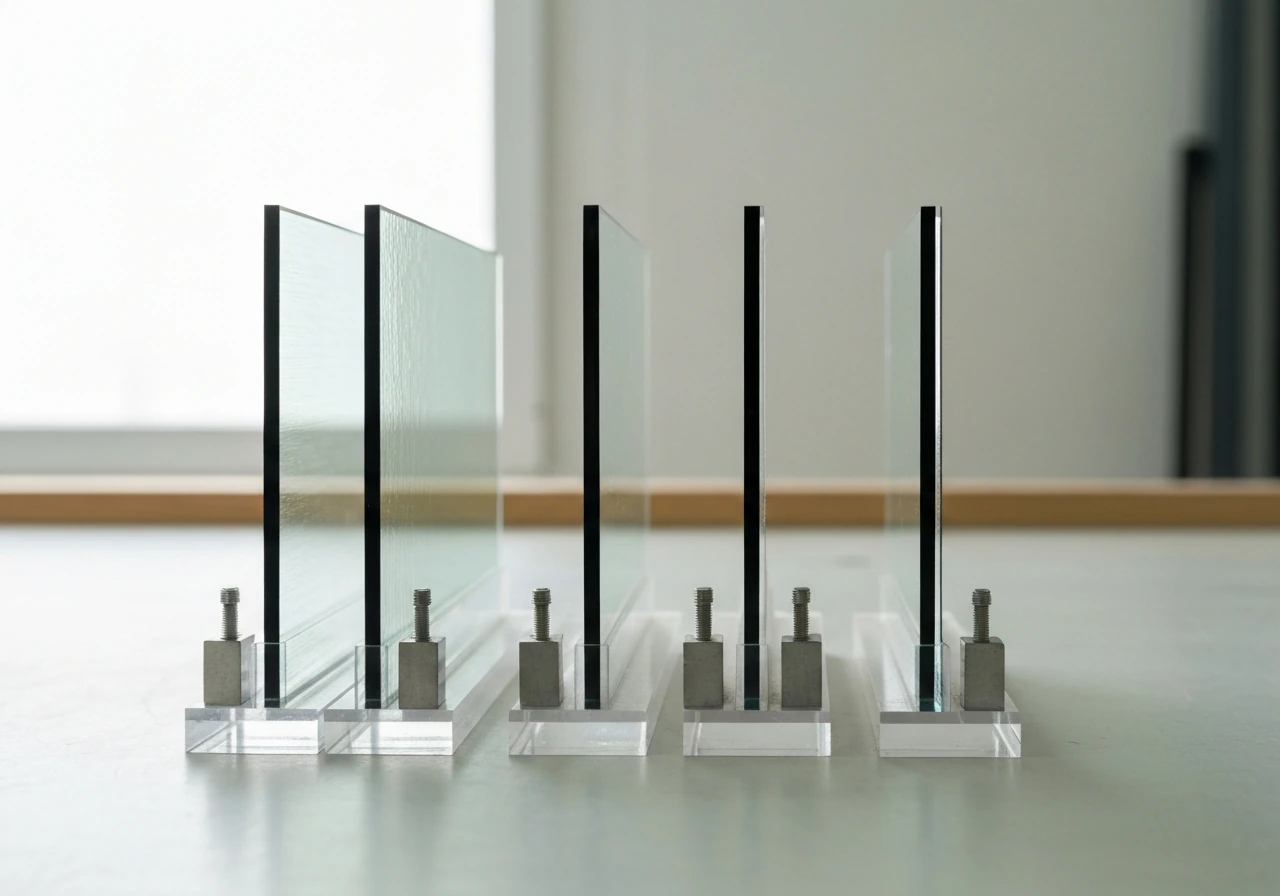
Fixed panels are the simplest to install and the most weather-tight, but you'll need at least one operable door or window for ventilation. Sliding glass panels (similar to patio door systems) give you adjustable airflow without a swinging door, which is great for tighter spaces. Folding or bifold glass systems open up an entire wall but are the most expensive and complex to install correctly. Most DIYers do best with a fixed-panel system on the non-entry walls and a sliding or hinged door for access.
Glass type and thickness
For a patio enclosure, you have three practical options: tempered single-pane glass, laminated glass, or double-pane insulated glass units (IGUs). In any location where occupants could contact or fall into the glass (essentially all wall panels at walking height), building codes require safety glazing, which means tempered or laminated glass. The ASHI guidelines on safety glazing are clear on this: human-impact hazard zones include glass panels in walls near walking surfaces, which covers most of your enclosure.
For year-round comfort, double-pane IGUs are the best choice. Look for units certified under ASTM E 2190 through the IGCC certification program, which gives you third-party assurance of seal durability. IGCC’s certification resources and program provide access to additional certification documentation and emphasize product certification through third-party verification of performance [IGCC certification program](https://igcc. org/Certification-Notes.
aspx). A certified IGU will hold its insulating performance longer than an uncertified unit. Typical thickness for patio enclosure panels is 3/8 inch for tempered single-pane or 1 inch overall for standard double-pane IGUs.
| Glass Type | Best For | Insulation | Cost (relative) | Code Requirement |
|---|---|---|---|---|
| Tempered single-pane | Mild climates, covered patios | Low | $ | Safety glazing in hazardous locations |
| Laminated single-pane | Wind/impact resistance | Low | $$ | Meets safety glazing in hazardous locations |
| Double-pane IGU (certified) | Year-round, cold/hot climates | High | $$$ | Safety glazing in hazardous locations; IGCC/ASTM E 2190 certification recommended |
Budgeting and tools you'll need
A DIY glass patio enclosure for a typical 12x16-foot patio runs roughly $3,500 to $8,000 in materials depending on glass type, frame system, and whether you need any new foundation work. A contractor-installed version of the same project typically runs $12,000 to $25,000 or more, so doing it yourself saves real money. The biggest cost variables are glass type (single-pane vs. IGU) and whether you need a new roof or can use an existing overhang.
Estimated material costs
| Item | Estimated Cost |
|---|---|
| Aluminum framing system (track, posts, headers) | $800 - $2,000 |
| Glass panels (tempered, per project) | $1,200 - $4,000 |
| Sliding or hinged door unit | $400 - $1,200 |
| Concrete anchors, screws, hardware | $100 - $250 |
| Weatherstripping, gaskets, sealant/caulk | $80 - $150 |
| Flashing and drip edge | $60 - $120 |
| Permits | $100 - $500 (varies by location) |
| Misc fasteners, shims, tools (if not owned) | $150 - $300 |
Tools checklist
- Tape measure and speed square
- Level (4-foot and torpedo)
- Drill/driver with masonry and wood bits
- Circular saw or miter saw (for framing cuts)
- Angle grinder (for aluminum frame cuts)
- Chalk line
- Caulk gun
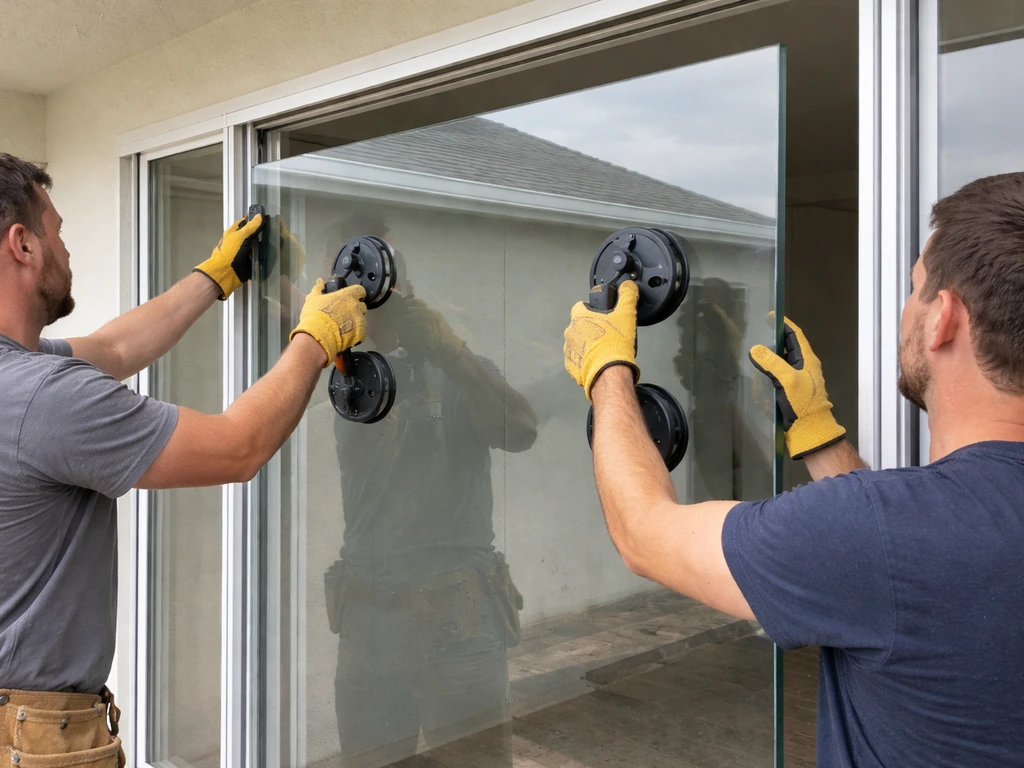
- Suction cup glass lifters (essential for moving panels safely)
- Rubber mallet
- Safety glasses and heavy work gloves
- Ladder
How to build it: the step-by-step process
Work through this sequence in order. Skipping steps, especially in foundation prep and framing, creates alignment problems that are very hard to fix once glass is in place.
Step 1: Prepare the base and anchor points
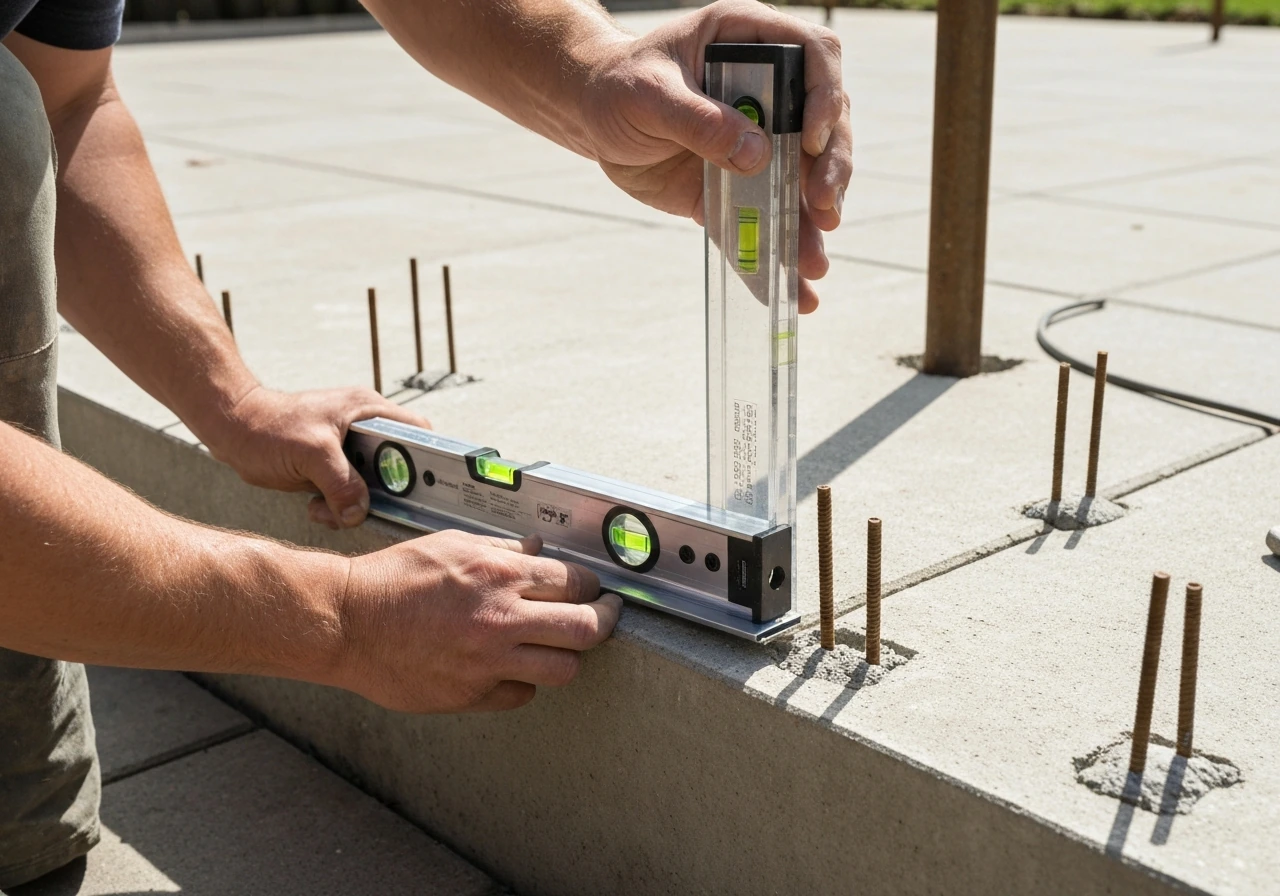
If your existing concrete slab is in good shape, you'll anchor your bottom track directly to it using concrete anchors spaced 16 to 24 inches apart. If the slab has settled unevenly, use self-leveling concrete or a grinder to create a flat, level surface before anchoring. For wood decks, anchor the bottom track to the deck framing, not just the decking boards. The bottom track is your foundation for the whole system, so it must be dead level and firmly attached. Snap a chalk line for your track position on each wall and verify square before drilling anything.
Step 2: Install the top track and vertical posts
The top track attaches to the underside of your roof structure (rafters or header). Use lag screws into solid framing, not just into sheathing or fascia board. Plumb each corner post carefully: use a level on two faces and temporarily brace each post before moving to the next. Get the corners right and everything else lines up. Intermediate posts go in after the corners are set, spaced according to your glass panel widths, typically 24 to 48 inches on center depending on your system.
Step 3: Flash the connection to the house
Where your enclosure meets the house wall, install flashing before any glass goes in. This is the most common spot for water intrusion in patio enclosures. Cut a channel in the house siding or caulk a z-flashing over the ledger connection, and lap it over the top of your frame. Use a polyurethane or silicone sealant rated for exterior use at every penetration point. Don't rely on caulk alone to seal the house connection; the flashing has to do the work.
Step 4: Set the glass panels
This is the part that requires two people minimum and three people ideally. Use suction cup glass lifters to move panels into the frame: never try to carry a large glass panel by hand. Set each panel into the bottom track first, then tilt it up into the top track. Most aluminum framing systems use rubber glazing gaskets that hold the glass in the frame channel. Seat the gasket fully around all four sides before moving to the next panel. Check each panel for plumb and adjust shims at the bottom if needed before the gasket is fully compressed.
Step 5: Install the door and any operable panels
Install your sliding or hinged door unit according to the manufacturer's instructions. Most glass door systems come pre-hung in their own frame, so you're setting the entire unit into a rough opening in your framing. Check for level and plumb, shim as needed, and anchor the frame. Adjust the rollers or hinges so the door operates smoothly before you seal around it.
Step 6: Weatherproof everything
Go around every joint, frame-to-slab connection, and frame-to-house connection with a high-quality exterior sealant. Silicone sealant rated for glass and aluminum works well here. Apply weatherstripping to all operable panels and doors. At the base of the enclosure, make sure water can drain out and not back up against the glass or frame. A small gap or weep hole at the bottom track on the exterior face lets any infiltrating water exit without sitting against the frame and causing corrosion or seal failure over time.
Ventilation, insulation, and keeping the space comfortable
A well-sealed glass enclosure can get extremely hot in summer and uncomfortably cold in winter if you don't plan for airflow and thermal management. This is one area where DIY glass enclosures often fall short, so think through it before you finalize your panel layout.
Ventilation options
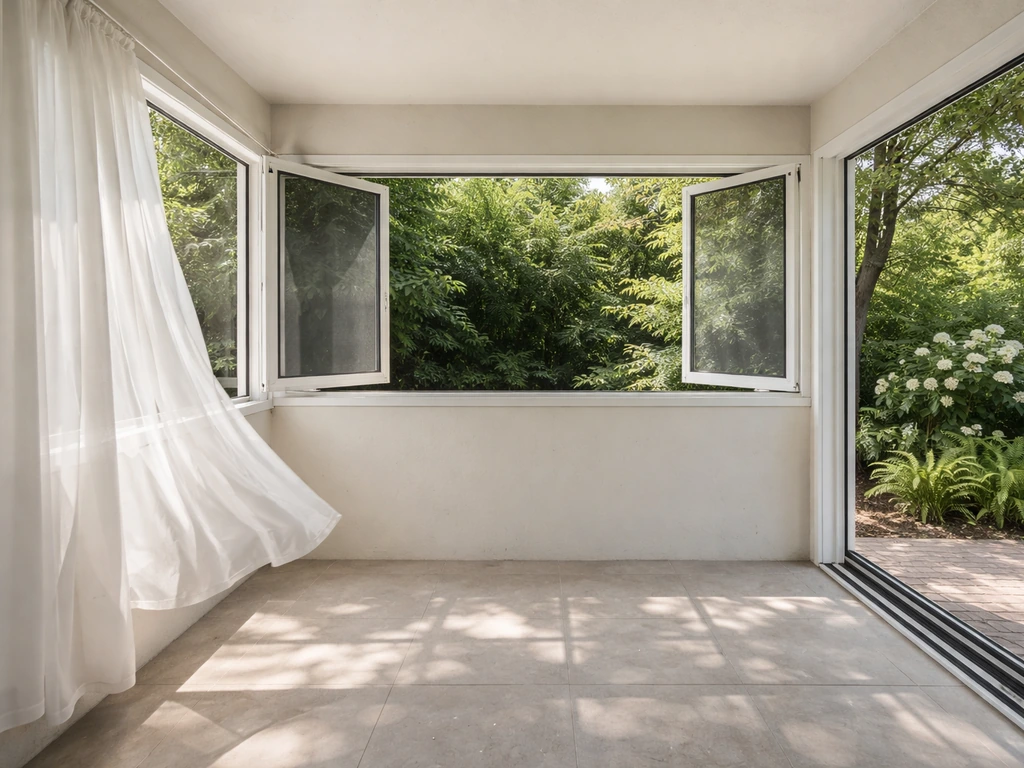
At minimum, you need operable panels or windows that provide cross-ventilation: an opening on at least two sides of the space. A sliding door on one wall and a casement or awning window on the opposite wall is a practical combination. If your enclosure is larger than about 150 square feet, consider adding a ceiling fan or exhaust fan to move air during warm months. A ridge vent or gable vent in the roof (if you're building a new roof over the space) significantly reduces heat buildup in summer.
Insulation and climate control
If you're using double-pane IGUs, you already have meaningful thermal insulation in the walls. The roof is usually the weak point: an uninsulated patio roof allows massive heat gain in summer and heat loss in winter. Adding rigid foam insulation between roof rafters and a ceiling surface (even just OSB or tongue-and-groove pine) makes a huge difference. For heating, a wall-mounted electric heater or a mini-split system is the cleanest solution because it doesn't require ductwork. A mini-split also handles cooling and dehumidification, making the space genuinely livable year-round in most climates. A portable electric space heater works as a budget option for occasional cold-weather use.
Managing condensation
Glass enclosures are prone to condensation, especially in climates with significant temperature swings between day and night. Adequate ventilation is the primary fix: when humidity builds up inside, crack a panel or run a fan. If you're using certified double-pane IGUs, interior condensation between the panes is a sign of seal failure (which is why IGCC-certified units with ASTM E 2190-tested seals matter). Surface condensation on the inside face of the glass in winter is normal and manageable with airflow.
Finishing touches, safety, and ongoing maintenance
Safety and code compliance
Before you close out the project, verify that all glass in hazardous locations (panels within 18 inches of a floor, near door openings, or anywhere a person could walk into or fall against them) is tempered or laminated safety glass as required by your local building code.
IBC Chapter 24 includes specific hazardous locations for safety glazing, which is why it applies to glass panels positioned where occupants could contact or fall against them hazardous locations (panels within 18 inches of a floor, near door openings, or anywhere a person could walk into or fall against them). This is a non-negotiable code requirement, not an optional upgrade.
Your permit inspection will check for it. Also verify that your frame anchors meet the structural requirements in your permit drawings, and that the roof connection is properly flashed and supported.
Finishing details
Once the inspector signs off, you can add interior finishing details: trim around the base of the frame, interior window sills if you want a more finished look, flooring upgrades like tile or composite over the existing slab, and lighting. Keep it simple on the first pass: get the enclosure tight and functional, then add comfort features over time.
Seasonal maintenance schedule
Glass enclosures are low-maintenance but not zero-maintenance. Do a quick seasonal check twice a year, in spring and fall, to catch issues before they become expensive problems.
- Inspect all sealant and caulk joints for cracking or separation, especially at the house connection and around door frames
- Check weatherstripping on doors and operable panels and replace any that's compressed flat or torn
- Clean the aluminum frame tracks with a damp cloth and lubricate sliding door rollers with a silicone spray
- Inspect glazing gaskets for hardening or gaps; reseat or replace as needed
- Check the roof-to-house flashing for rust, lifting, or missing sealant
- Clean glass panels with a non-abrasive glass cleaner; avoid pressure washing directly at frame seals
- In cold climates, make sure no ice is building up in the bottom track, which can force the frame out of alignment
Your next step today
Start by calling your local building department to ask what's required for a glass patio enclosure permit in your area, and then do your site assessment and measurements this weekend. Those two steps cost nothing and immediately tell you what kind of system is feasible, what your budget reality looks like, and how long the project will take.
Once you have measurements in hand, contact two or three aluminum framing system suppliers for quotes: most will provide panel sizing recommendations based on your dimensions and local wind load requirements. From there, the build sequence is straightforward.
If you've decided glass is the right material but want to compare other enclosure approaches, it's worth looking at how a lattice enclosure or a full wall enclosure compares on cost and complexity, since those can sometimes be better fits depending on your goals and climate. If you're aiming for more privacy and a partial enclosure, learning how to enclose a patio with lattice can be a good complementary approach to the options covered here a lattice enclosure.
FAQ
Do I really need a permit if I’m “just” enclosing an existing patio roof and adding glass walls?
Often yes. Even when the roof already exists, permanent glass walls usually change the building’s structure and wind load path, so your local department may still require review. Call first and ask specifically whether you need drawings stamped for the glazing and frame anchorage, and whether an inspection is required before the glass is installed.
What do I do if my patio slab is not perfectly level or has a noticeable slope?
Don’t try to “shim your way through” the entire enclosure. The bottom track must be dead level, so you may need to grind high spots or use self-leveling underlayment at the track lines. If the slab is heaved or cracked beyond minor imperfections, get an assessment before anchoring, because future movement can misalign door operation and panel seals.
How close can the glass enclosure be to property lines or setbacks?
Setbacks can limit where you can place walls, posts, and any structural headers. Ask your building department whether the enclosure counts as a structure, whether eaves or top rails trigger additional setbacks, and if side yard distances differ for glazing compared to solid walls.
Can I reuse my existing posts or roof framing to support the new enclosure?
Sometimes, but you must confirm the existing members are properly sized and securely anchored. Many DIY failures happen when the ledger or header is attached to sheathing, fascia, or weak framing. Ask for what the fastener schedule and attachment location should be on your exact roof structure, and make sure the connection is flashed before any glass goes in.
What’s the best way to choose between tempered, laminated, and double-pane IGUs?
Use tempered or laminated for any glass people could impact at walk-in or fall-risk heights. Choose double-pane IGUs when you want meaningful comfort improvements, especially for winter and humidity control, but verify the IGU certification if you want confidence in long-term seal performance. If budget is tight, a common compromise is IGUs only on the most exposed sides (wind-driven rain or sun-heavy walls) and safer tempered panels elsewhere.
Where is “hazard location” for safety glazing in a patio enclosure?
Typically, it includes wall panels within a specified distance of walking surfaces and areas near doors or openings where a person could strike the glass or fall into it. Don’t rely on general rules of thumb, because local code interpretations vary. Confirm the required zones with your permit set or inspector to avoid reordering panels.
How do I prevent water intrusion at the house-wall joint beyond basic caulking?
Flashing does the heavy lifting. Make sure you have a properly lapped water path (each layer sheds over the one below), verify the ledger connection is attached to real framing, and seal penetrations for any anchors or screws with an exterior-rated sealant compatible with the metal and cladding. Also keep the bottom track drainage paths clear, so any infiltrating water can exit instead of pooling.
What should I do if the door won’t align or operate smoothly after installation?
First check for out-of-square framing and uneven bottom track level, because doors amplify alignment errors. Then verify the door frame is shimmed correctly in the opening, roller alignment is adjusted per the manufacturer, and the gasket is seated without binding. If you feel resistance only after sealing, stop and loosen and re-adjust rather than forcing operation, since forced movement can damage weatherstripping and compromise seals.
How much ventilation do I need to manage heat buildup and condensation?
Aim for cross-ventilation, with openings on at least two sides of the enclosure. For larger spaces, add mechanical help like a ceiling fan or exhaust approach. For condensation control, ventilation during cool, high-humidity periods is often more effective than increasing heating, and you may need at least periodic fan operation when outdoor humidity spikes.
Do double-pane IGUs eliminate condensation completely?
No. IGUs reduce heat transfer, but surface condensation can still occur on the interior face during cold periods. Interior condensation between the panes indicates a failed IGU seal, but to diagnose that correctly you need to look for fogging that persists between the glass layers, not just brief surface moisture. If you see between-pane fogging, it’s usually a warranty replacement scenario, not a homeowner cleanup fix.
What maintenance should I plan for, and what are the early warning signs of a problem?
Twice a year, inspect bottom track drainage openings, check exterior seals at frame joints, and look for discoloration or separation at the house-wall flashing area. Early warning signs include doors sticking, gaps growing at weatherstripping, water stains near the ledger, persistent condensation on the same areas, or rust at fasteners. Catching these before winter storms can prevent seal and corrosion failures.
How should I handle wind and safety concerns if my enclosure is in a high-wind area?
Your frame, anchoring spacing, glass type, and panel size must match your local wind load design. When getting quotes, ask how they determine panel dimensions for your wind exposure and whether they’ll provide an engineered solution or documentation you can use for permitting. Also consider operating panel selection, because adding larger operable panels can change load distribution and affect hardware suitability.
Can I convert a screen enclosure or existing lattice partial enclosure into a full glass enclosure?
Sometimes, but treat it as a new structural project rather than a simple swap. Existing frames may not have the anchoring strength for glazing loads, and roof and ledger connections may not meet the requirements for a glazed wall system. Before ordering glass, evaluate whether the existing structure can safely support the additional weight and wind forces, and verify permitting is updated for the new enclosure type.
Next Articles
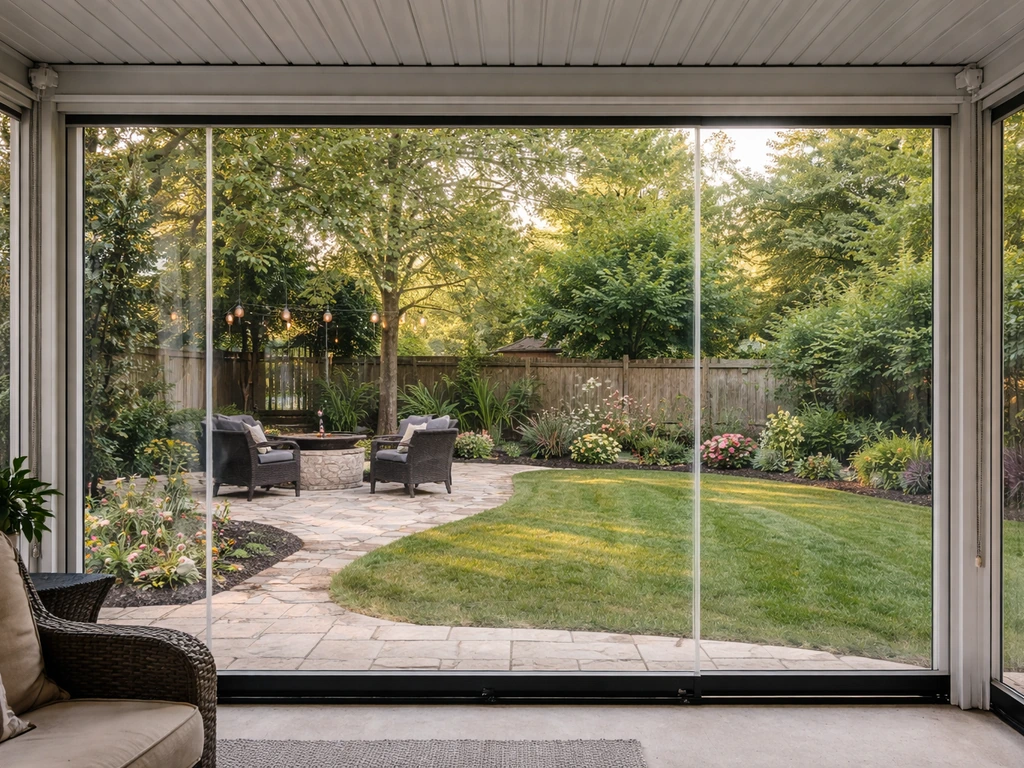
How to Enclose a Patio With Plastic: Step by Step DIY
Step-by-step DIY for enclosing a patio with plastic: measure, choose tracks or sheeting, anchor, seal, and prevent flapp
How to Enclose a Patio With Walls: DIY Step by Step
Step-by-step DIY guide to enclose a patio with walls, covering planning, materials, weatherproofing, and installation
How to Decorate a Long Narrow Patio: Layout Tips
Practical DIY layout and decor tips to widen a long narrow patio using zoning, furniture spacing, lighting, greenery, an