A long, narrow patio can absolutely work as a comfortable outdoor room. The key is treating it like a hallway you refuse to let stay a hallway: you break it into zones, keep a clear walkway of at least 36 inches through the middle, use furniture scaled to the width rather than the room, and use lighting, rugs, and vertical greenery to pull the eye sideways instead of straight down the tunnel. Do those things and the space stops feeling tight and starts feeling intentional. For more ideas tailored to the shape, follow this guide on how to decorate a rectangular patio with layout, color, and decor that fight the tunnel effect.
How to Decorate a Long Narrow Patio: Layout Tips

Felix Brennan
29 Apr 2026

Start by measuring what you're actually working with
Before you buy a single cushion, grab a tape measure and write down the usable width and depth of your patio. Not the whole slab, the usable part: subtract any overhang from the house wall, any step landings, and the swing radius of doors that open onto the space. Mark where windows sit at chair height because those affect where you can place tall furniture or planters. Note which direction gets sun in the morning versus afternoon, and figure out where wind typically comes from. A long, narrow patio almost always has a prevailing wind direction that runs straight down its length, which makes it feel even more exposed and uncomfortable. Knowing that now saves you a bad furniture purchase later.
A practical planning method is to sketch the patio on paper at a simple scale, like 1/8 inch equaling 1 foot. Then physically measure every piece of furniture you plan to use and draw those to the same scale. It sounds old-fashioned, but it is far faster than rearranging heavy furniture three times in the sun. Mark your access points, your primary walking path, and any obstacles. That drawing becomes your decision filter for everything that follows.
Zone it out and protect the walkway first
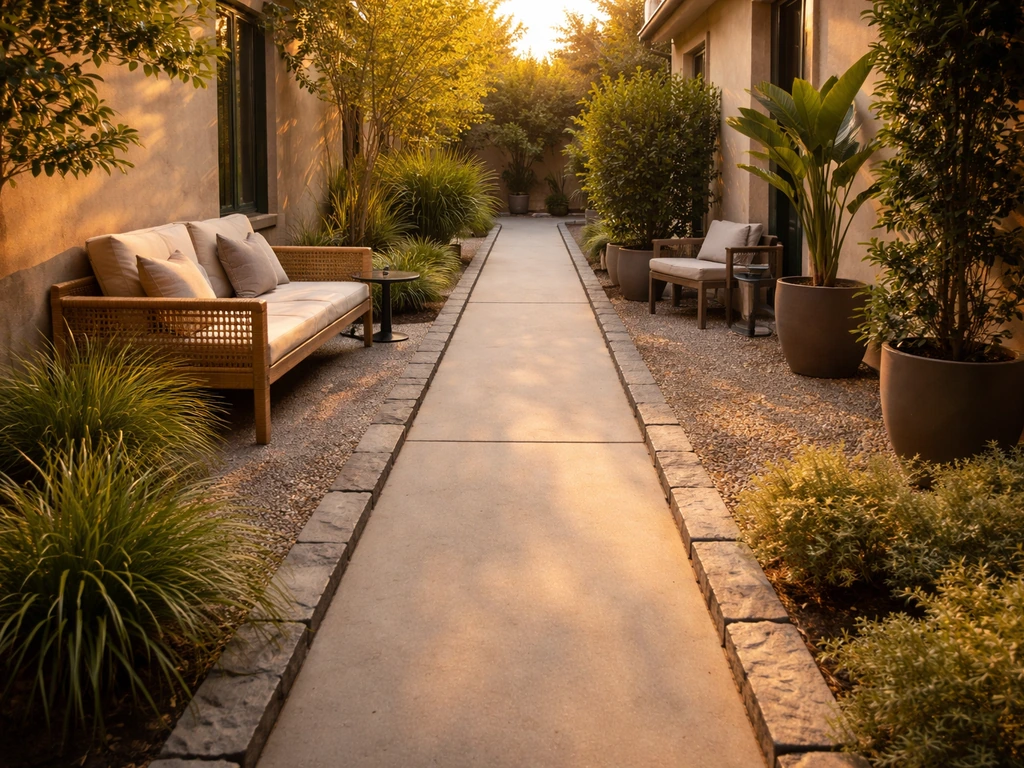
The single biggest mistake people make on a long, narrow patio is placing furniture first and then trying to squeeze a path around it. Do the opposite: mark your circulation path on the plan before anything else goes in. For a main walking path, you want at least 36 inches of clear space so two people can pass comfortably without turning sideways. If the patio is a primary route to a yard, gate, or grill, treat that path like a non-negotiable line and build the furniture zones on either side of it.
Once the walkway is protected, divide the remaining length into two or three distinct zones based on how you actually use the space. Common combinations are a dining zone near the door for easy food runs, then a lounge or seating zone further along, then a planting or utility zone at the far end. Each zone should read as its own little room, not as a continuation of a single long corridor. An outdoor rug in each zone, even a small one, does a huge amount of work making zones feel defined without requiring any construction.
How wide does each zone need to be?
Aim to keep furniture groupings within each zone to 30 to 36 inches of clearance on all sides. That means chairs can pull out from a dining table, people can stand up from a sofa without backing into a wall, and no one has to angle themselves sideways to get through. For a dining setup, leave about 24 inches of rug extension past the table edge so chair legs stay on the rug when pulled out, which prevents chair tips and rug bunching.
Pick furniture that fits the width, not the wishlist
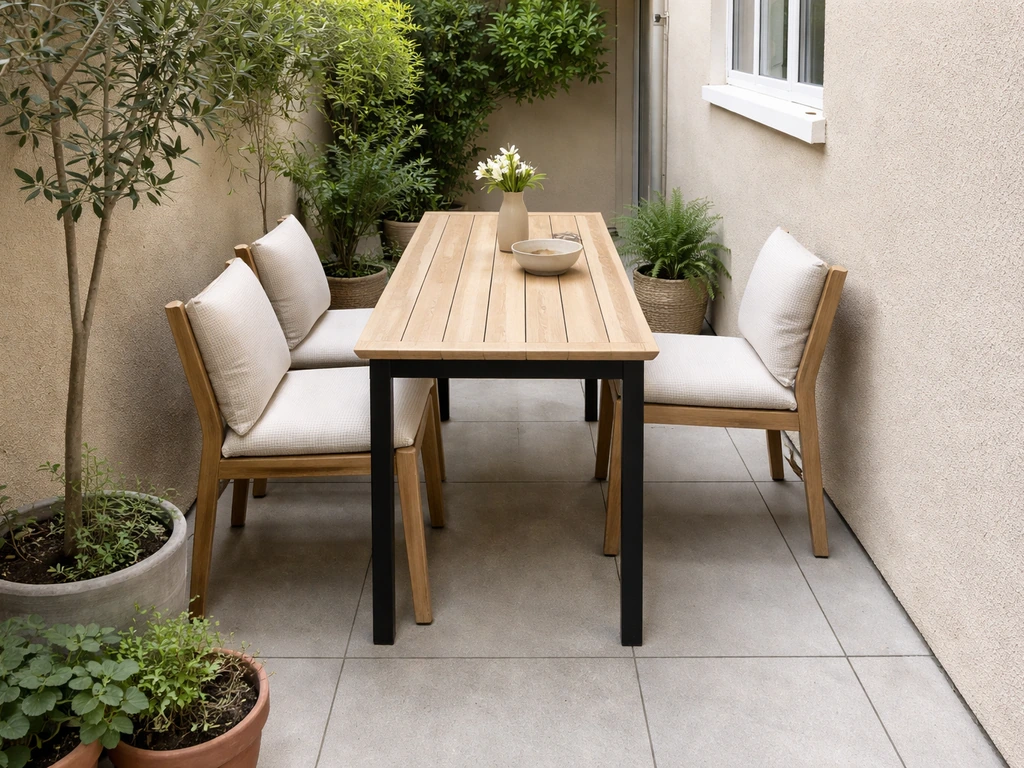
Scale is everything on a narrow patio. A full-size sectional that would look great in a catalog will physically block your walkway and make the whole space feel cramped. Instead, look for pieces with slim profiles and raised legs, which let you see more floor and make the space feel lighter. An L-shaped lounge setup using a compact loveseat and a single chair is a practical format: it creates a conversation area, keeps one side of the patio open, and leaves the aisle to the door unobstructed.
For dining, a narrow rectangular table oriented with its length running across the patio width, rather than down the length, is a simple trick that immediately makes the space read as wider. Bistro tables and folding tables are genuinely useful here because they can be pushed against the wall when you need the walkway open and pulled out when you're eating. Avoid round tables larger than 36 inches in diameter on a truly narrow patio: they eat into your clearance on all sides and make the space awkward.
| Furniture Type | Good for Narrow Patio? | Why |
|---|---|---|
| Compact loveseat + single chair (L-shape) | Yes | Keeps aisle clear, creates a real seating zone without bulk |
| Full sectional | No | Too wide, blocks walkway, dominates the whole length |
| Bistro table (round, under 36") | Yes | Small footprint, pushes against wall when not in use |
| Large round dining table (48"+) | No | Requires 36" clearance all around, leaves no room to pass |
| Narrow rectangular dining table | Yes | Orient across the width to visually widen the space |
| Stackable/folding chairs | Yes | Store flat against wall or indoors when not needed |
| Oversized lounge chairs with ottomans | No | Depth plus ottoman blocks traffic, hard to rearrange |
Design tricks that fight the tunnel effect
The tunnel effect happens because your eye has one obvious direction to travel: straight down the length. Everything you do visually should interrupt that line and pull attention to the sides or upward.
Color and pattern
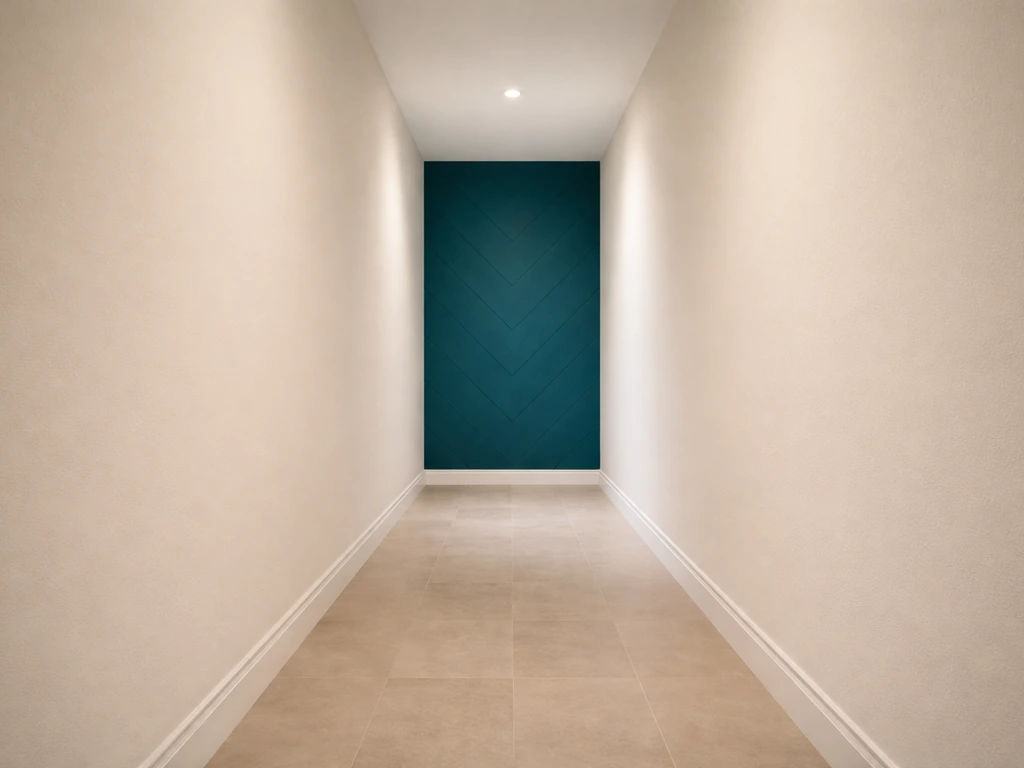
Use a bold or contrasting color on the far end wall. That end wall becomes a focal point that stops the eye before the tunnel effect kicks in. On the side walls and floor, use lighter, warmer colors and horizontal patterns. Stripes on an outdoor rug running across the patio width, not down its length, are a simple and inexpensive way to visually widen the space. The same goes for any fence slats, screens, or siding visible from your seating area: horizontal lines read as width, vertical lines read as height, diagonal or random patterns are neutral.
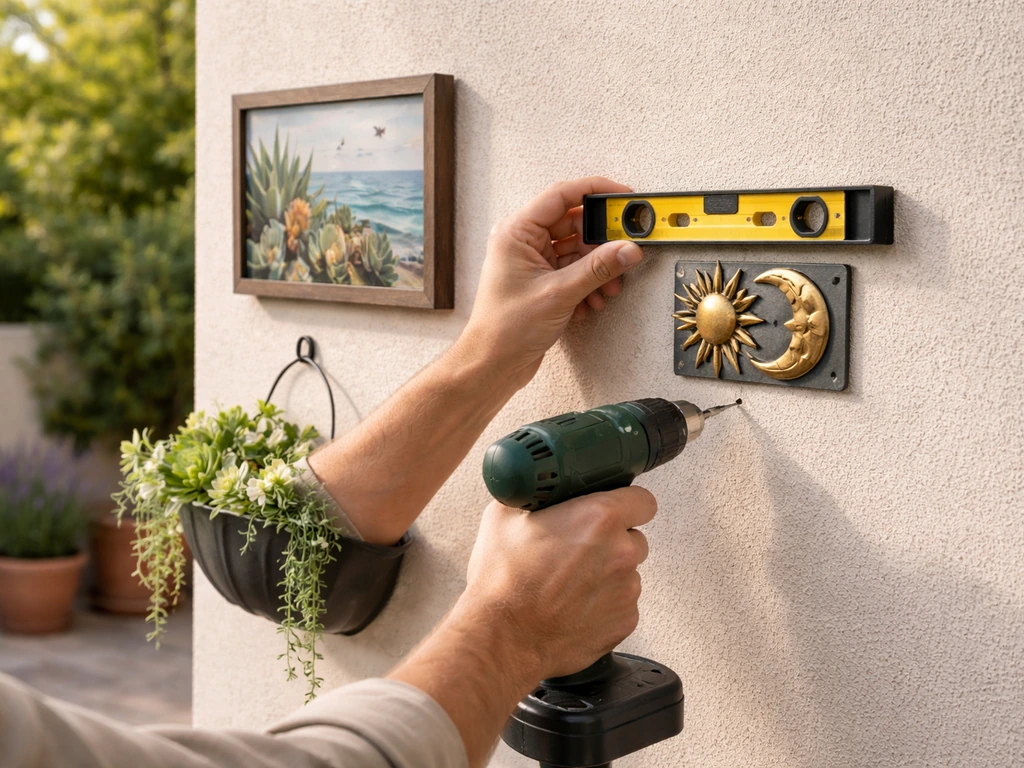
Mirrors and art
An outdoor-rated mirror placed on one of the long side walls does something almost magical: it reflects the opposite side, effectively doubling the perceived width of the patio. Even one mirrored panel, roughly 24 by 36 inches or larger, makes a real difference. Place it at eye level from your main seating position and angle it very slightly toward the garden or a planter so it reflects greenery rather than the wall behind you. That makes the illusion more convincing. Make sure the mirror is rated for outdoor use and sealed against moisture, standard bathroom mirrors will delaminate and rust in one season outside.
For art and wall decor, group pieces on the short end walls rather than lining them up along the long walls. A gallery arrangement on the end wall reinforces it as a destination and focal point, drawing the eye toward it rather than letting the space feel like it just goes on and on.
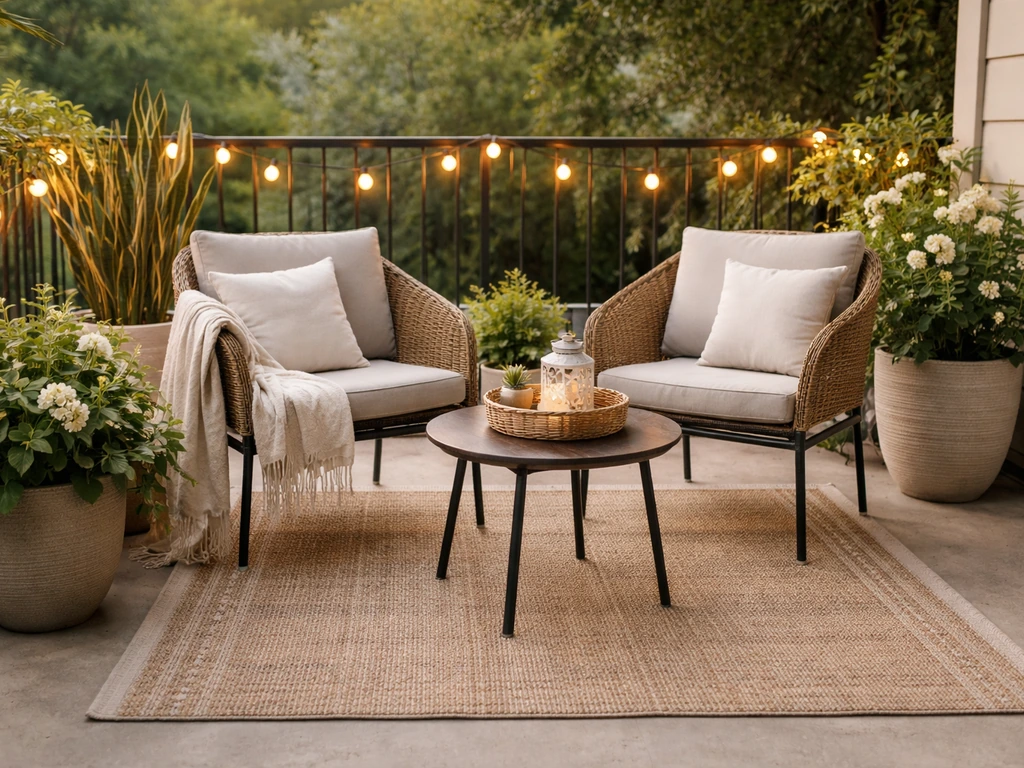
Lighting that adds depth
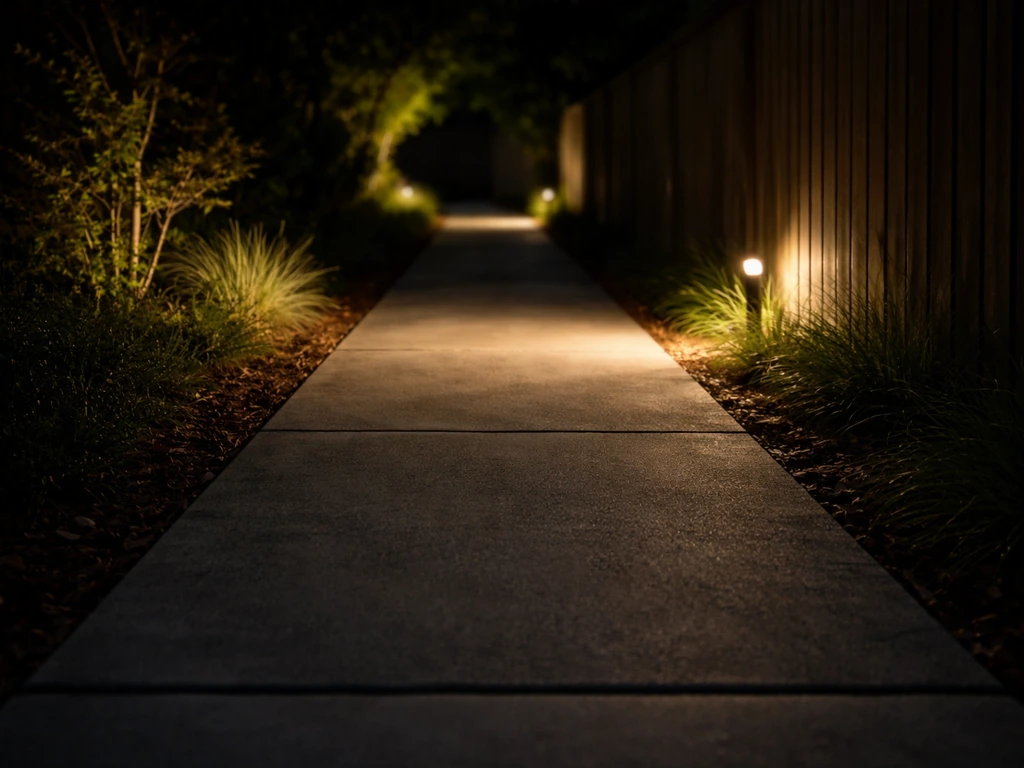
Flat, even lighting makes a narrow space feel even more like a hallway. What you want is contrast: bright spots at your zone focal points and slightly dimmer areas in between. String lights strung across the width of the patio, running from one side wall to the other rather than running down the length, immediately create a rhythm that the eye reads as a series of rooms rather than one long corridor. Add a few lanterns or low pathway lights along the edges of each zone to define the boundaries. Aim for warm-toned bulbs (2700K to 3000K) to keep the mood inviting rather than clinical. Warm white bulbs around 2700K to 3000K are often discussed on r/flashlight as a choice that feels more inviting and atmospheric than truly “daylight-like” light for outdoor tasks Aim for warm-toned bulbs (2700K to 3000K).
Layer in decor that actually holds up outside
Outdoor rugs
One rug per zone is the move. Size each rug so that furniture sits on it with at least 6 inches of rug visible past the outer furniture legs on all sides. Leave 18 inches or so of bare flooring visible around the rug's perimeter so the rug reads as an intentional anchor, not a covering trying to hide the whole floor. As mentioned above, for a dining zone, blank" rel="noopener noreferrer">extend the rug at least 24 inches past the table edge so chairs stay on the rug when pulled out. Polypropylene or recycled plastic rugs are the most weather-resistant options for full outdoor exposure, they resist mold, can be hosed down, and hold color reasonably well through sun exposure.
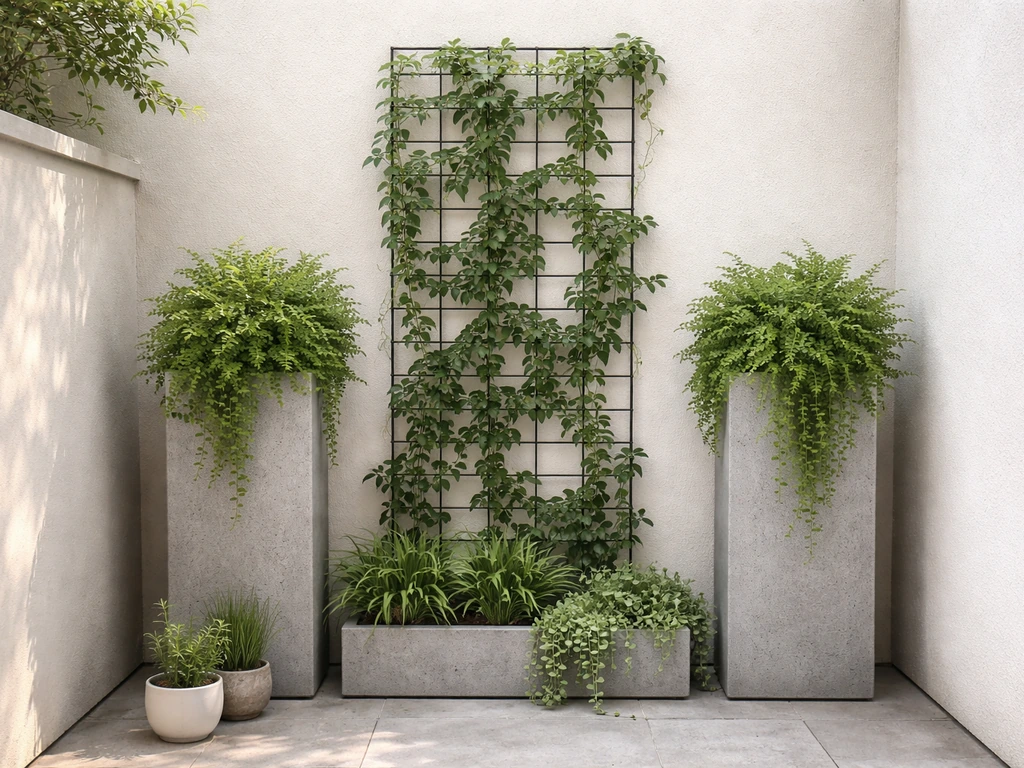
Planters and vertical greenery
On a narrow patio, floor space is precious, so go vertical with your plants wherever possible. Wall-mounted planters, trellises with climbing plants, and tall narrow planters like a column planter or a tiered tower are all better choices than wide spreading pots that eat into your clearance. You can also use the same wall-decor ideas, like mirrors, wall-mounted planters, and outdoor-rated art, to add depth and personality how to decorate a patio wall. Place tall planters at zone transitions, they act as natural dividers between a dining area and a lounge area without requiring any construction. A trellis with a fast-growing vine on the far end wall adds texture, softens the hard surface, and gives that end wall a visual purpose beyond just stopping the eye.
If you have a fence or railing along one side, hanging wall planters along that surface is one of the most cost-effective ways to add greenery and break up a long, flat expanse. Stagger the heights rather than lining them up at the same level, which adds visual interest and avoids reinforcing the horizontal tunnel line.
Wall and ceiling accents
Outdoor curtains hung on a tension rod or curtain wire along one side wall soften the space and add a sense of enclosure that feels cozy rather than tight. Outdoor curtains can be installed using tension rods or curtain wire systems for practical setups tension rods (or curtain wire systems). Choose panels in a light, neutral color to avoid making the patio darker. Curtains also give you an easy, removable privacy screen between zones or between you and a neighbor. On the ceiling or pergola overhead, a simple strip of outdoor string lights, a hanging lantern, or even a piece of driftwood with trailing plants creates a canopy effect that draws the eye up and out of the tunnel entirely.
Make it actually comfortable with shade and wind protection
Decorating a patio that bakes in the afternoon sun or gets hit by a wind tunnel every evening is an exercise in frustration. On a long, narrow patio, wind tends to channel straight down the length, which is exactly the experience you are trying to fight. A few well-placed screens or shade structures solve both the comfort problem and the visual problem at the same time.
For shade, a retractable awning is one of the most practical options for a narrow patio because it extends over a defined zone (usually the dining or seating area closest to the house) without adding permanent bulk to the space. Look for models with a built-in wind sensor that auto-retracts in high gusts. If a retractable awning is outside the budget, a shade sail tensioned between two anchor points works well and can be installed diagonally to add visual interest rather than just covering a flat rectangle overhead. Either option creates a ceiling for one zone and immediately makes that zone feel more room-like.
For wind, a lattice screen, a tall planter row, or outdoor curtains at the open end of the patio breaks up the channeling effect significantly. You do not need to fully block wind, just interrupt the straight-line flow. An outdoor privacy screen panel rated for exterior use (cedar, composite, or powder-coated metal) at one end of the patio also adds a design element that anchors the far zone and gives it a finished, intentional look. If you have a covered patio, adding a screen or curtain to the open side offers the same wind relief with even more weather protection. If you have a covered patio, you can use the same screening and curtain approach to define zones and make the space feel more inviting.
Material choices matter here. Cushions, textiles, and accessories all need to be rated for outdoor use or stored when not in use. Outdoor-rated cushions should be stored in a waterproof bin or covered storage area when rain or storms are expected, and they should be fully dry before going back into storage to prevent mildew. Before winter, clean cushions thoroughly, let them dry completely, and store them in a dry shed or bins. Bringing them out in spring clean and ready to use is a much better experience than wrestling with mildew in April. A good rule of thumb for when to uncover patio furniture is to wait until the weather has stabilized and you are past the risk of frost and heavy rain.
A simple execution plan to get this done
Trying to tackle everything at once is the fastest way to end up with a half-finished patio and a garage full of returns. A sequenced approach works much better, and this order also matches how each step builds on the last.
- Measure and map: Draw the patio to scale, mark doors, windows, sun angles, and wind direction. This takes 30 minutes and prevents expensive mistakes.
- Mark your walkway: Physically place tape on the patio floor showing your 36-inch circulation path. Everything else fits around this, not the other way around.
- Define your zones: Decide on two or three zones (dining, lounge, planting/utility) based on how you actually use the space. Mark them on the drawing.
- Add shade and wind structure first: Install your awning, shade sail, or screen before furniture arrives. These are the hardest to retrofit after furniture is in.
- Bring in furniture: Place according to the scale drawing, checking clearances as you go. Leave at least 30 to 36 inches around every furniture grouping.
- Lay outdoor rugs: One per zone, sized to anchor the furniture with 6 inches of rug visible past outer legs. Orient stripes across the width, not down the length.
- Add lighting: String lights across the width of each zone, pathway lights at zone edges, and at least one focal point lantern.
- Install vertical greenery and wall decor: Wall planters, trellis, mirrors, and art placed on side and end walls to pull the eye off the tunnel line.
- Add textiles and accessories last: Cushions, throw pillows, curtains, and decorative accents. These are the easiest to swap seasonally.
Seasonal styling checklist
- Spring setup: Clean and dry all stored cushions before bringing them out, check rug condition for mold, inspect shade structure hardware and re-tension if needed, replace any winter-damaged wall planters
- Summer: Swap to lighter, brighter textiles if you want a seasonal refresh, check shade sail anchor points monthly in storm season, bring cushions and rugs indoors before any major storm
- Fall: Begin transitioning to heavier-weight textiles, add lanterns with flameless candles for cozy lighting, move cold-sensitive plants indoors
- Winter/off-season: Clean cushions fully, dry completely, store in waterproof bins or a dry shed, roll and store outdoor rugs, retract or remove shade sails in areas with heavy snow or ice, cover hard furniture or bring indoors
A long, narrow patio is more of a design challenge than a design problem. If your enclosed patio feels cramped, use the same zoning and visual-widening techniques to make the layout feel intentional and inviting how to decorate an enclosed patio. The constraints actually push you toward intentional choices: compact furniture with real purpose, defined zones that feel distinct, lighting that creates atmosphere instead of just illuminating a corridor, and shade structures that improve comfort while anchoring the layout. Work through the steps in order and you will have a functional, good-looking outdoor space in a single weekend of focused effort. Once your layout and comfort upgrades are in place, you can move on to decorating back patio details like rugs, planters, and wall accents how to decorate back patio.
FAQ
What if my patio is narrower than the 36-inch walkway guideline?
If you cannot keep about 36 inches clear, prioritize a single straight circulation line only where it matters (usually to the door or grill), then compress the furniture zones so pieces are pushed toward the walls. Use chairs with slimmer profiles, avoid ottoman clutter, and choose a dining table that can be extended less often (like a bistro or folding style). If two-way traffic is impossible, accept one-direction flow and keep the other side as open as you can.
How do I choose rug sizes for a long narrow patio with stairs or a door swing?
Treat the door swing, stairs, and any landing as “rug killers” and stop the rug edge where people need to step through. Leave at least 18 inches of visible floor around each rug so the rug reads intentional, then ensure furniture legs do not straddle a zone transition. For dining, extend the rug past the table edge enough that chairs stay on the rug when pulled out, even if the chair angle changes near the doorway.
Should I use one large rug across the whole patio or multiple rugs by zone?
Multiple smaller rugs by zone usually work better because they visually interrupt the tunnel effect and make each area feel like its own room. A single large rug can reinforce the long hallway look if it runs continuously down the length. Only consider one rug if your patio is closer to rectangular and your furniture naturally clusters into a few distinct groupings.
What’s the best way to arrange dining on a narrow patio when space is tight?
Place the dining table so its long dimension runs across the patio width (not down the length) to widen the reading. Keep the table close to the wall when not in use, and look for options that fold or slide. Also confirm chair pull-out clearance using the same scaled sketch you made for the patio, because chairs often need more space than the tabletop footprint.
Can I use a sectional outdoors if I keep the walkway clear?
Yes, but avoid full-depth models that reach far into the aisle. Choose slim profiles, raised legs, and lower backs so sightlines stay open. If the sectional will be deeper than your planning plan allows, break it into smaller pieces (love seat plus chairs) so you can reconfigure around door openings and wind or shade changes.
How do I prevent mirrors or reflective decor from feeling unsafe or looking awkward outside?
Use outdoor-rated mirrors sealed for moisture, place them at eye level from the main seating position, and angle slightly toward greenery or a focal planting. Avoid placing a mirror where it reflects bright interior light at night or where people may accidentally walk into it when the lights are on. If you have pets or kids, consider a sturdier framed option and a spot with minimal foot traffic.
What’s the easiest way to add privacy on a long narrow patio without blocking light?
Use screening at a zone transition rather than covering the entire length. A lattice screen, a curtain at the open end, or a privacy panel at the far end can interrupt the wind and anchor that zone while preserving openness elsewhere. If you need it along the side with a fence, hang planters at staggered heights so you gain privacy and depth without creating a solid wall of darkness.
How should I handle wind if I have a door at one end and a prevailing breeze runs down the patio?
Interrupt the straight-line flow, you do not need to fully stop the wind. Install a screen, lattice, tall planter row, or outdoor curtains near the open end or where the seating zone begins so the protected area forms behind it. Also consider positioning seating so backs or sides face the wind source, while the dining zone stays more exposed if that is closer to the house.
What outdoor fabric mistakes cause mildew or early fading on narrow patios?
Do not leave cushions wet, always store them in covered, waterproof bins or a dry storage area when rain or storms hit. Let cushions dry completely before storing, and clean before winter. For sun exposure, choose colorfast outdoor fabrics and consider rotating items or using shade for the most intense afternoon zone to slow fading.
Where should string lights run so they don’t reinforce the tunnel effect?
Run lights across the width of the patio from side wall to side wall, not down the length. Add lanterns or low pathway lights along edges of each zone to create boundary points, then use warm bulbs (around 2700K to 3000K) so the space feels inviting rather than harsh. If you have a pergola, keep the wiring plan simple and off the walkway so it does not tangle with furniture placement.
I’m overwhelmed by layout decisions. What’s the fastest step-by-step sequence?
Start with a scaled sketch, then lock your circulation path first (aim for the best possible clear width). Next, place the largest anchor pieces by zone (dining set and seating grouping), then add rugs to define each zone, lighting to set atmosphere, and finally vertical elements (planters, trellis, curtains). Buy small accessories last so you do not waste money on items that do not fit your finalized walkway and zone boundaries.
How can I make an outdoor patio feel cohesive if each zone uses different colors?
Pick one anchor color and repeat it in small ways across zones, for example a cushion color, a lantern finish, or planter tone. Then keep side-wall and floor treatments light and use one bolder element at the far end wall as your focal stop. This lets you vary accents without the whole patio looking fragmented.
Next Articles

How to Decorate a Rectangular Patio Step by Step
Step-by-step plan to decorate a rectangular patio with smart layout, zones, furniture fit, lighting, plants, and seasona
How to Decorate a Patio Wall: DIY Ideas and Mounting Tips
DIY patio wall decor for brick, stucco, wood, concrete, or siding with weatherproof mounting tips and maintenance.
How to Decorate a Back Patio: DIY Plan, Layout, and Ideas
Step-by-step DIY guide for decorating a back patio with layout, durable materials, shade, privacy and a starter shopping