
Enclosing a patio with glass turns an exposed outdoor slab into a usable, weatherproof room you can enjoy year-round. You frame a structural perimeter, glaze it with tempered or insulated glass panels, add a door and weatherseals, and tie everything into your existing roof or add a new one. A motivated DIYer with solid carpentry skills can handle a straightforward single-story project in two to four weekends, but code compliance, structural sizing, and proper flashing are non-negotiable whether you do it yourself or hire a pro.
How to Enclose a Patio with Glass: DIY Year-Round Guide

Felix Brennan
13 Jul 2026
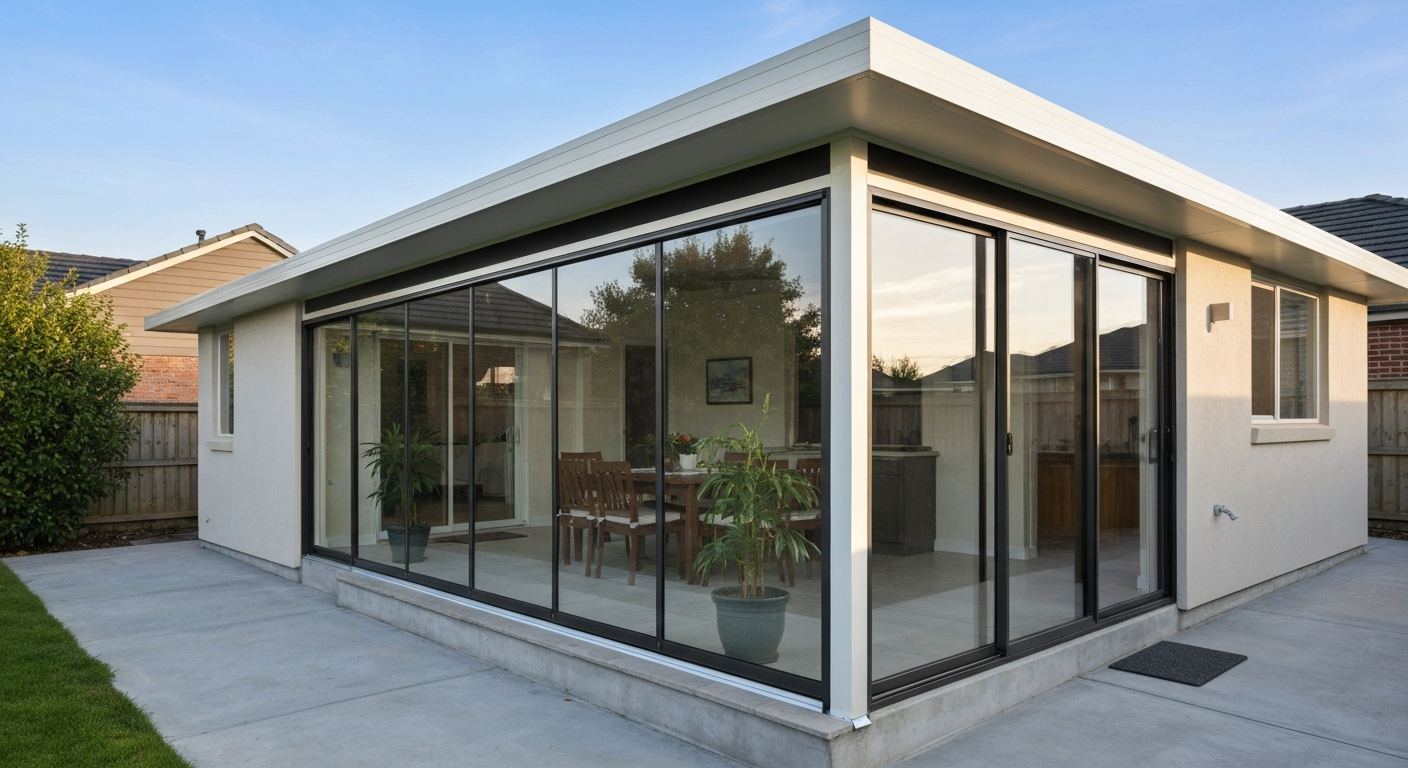
What a glass enclosure actually gives you (and who should DIY it)
A glass patio enclosure is essentially a sunroom addition attached to your house. For step-by-step guidance on building solid framed walls instead of glass, see our how to enclose a patio with walls guide. Glass walls let in natural light and views while blocking wind, rain, insects, and cold. Done well, it adds livable square footage without the expense or complexity of a full conditioned room addition. Homeowners use them as dining rooms, home offices, plant-growing spaces, hot tub enclosures, and year-round relaxation areas. Because you are working with your existing patio footprint, excavation and concrete work are usually minimal compared to a ground-up room addition.
DIY makes sense if you are comfortable reading a building plan, operating a miter saw and drill press, working at heights on a ladder, and following detailed manufacturer instructions. If your patio is single-story, the framing is straightforward wood or aluminum, and you are using standard fixed or sliding glass panels, this is genuinely achievable for an experienced DIYer. If the project involves a second-story attachment, structural silicone glazing, a frameless folding-glass wall system, or a sloped glass roof, bring in a glazing contractor. Those systems require adhesion testing, factory quality control, and equipment most homeowners do not own.
Is a glass enclosure the right choice for your patio?
The real benefits
- Unobstructed views and maximum natural light, far better than lattice or solid walls
- Year-round use: glass blocks wind and rain while keeping the outdoor feel
- Significant home value boost compared to open or screened patios
- Flexible climate control: add a mini-split or portable heater and use it in winter
- Pest-free without the visibility limitations of screening
Honest limitations to think through first
- Cost: glass enclosures are the most expensive patio enclosure type, typically $8,000 to $30,000+ depending on size, glazing, and framing system
- Heat gain: south- and west-facing glass rooms can overheat in summer without shading or low-SHGC glazing
- Condensation: cold climates will see interior condensation on single-pane glass; insulated glass units (IGUs) are strongly recommended
- Structural requirements: glass panels are heavy and need properly sized framing and footings, which means permits in virtually every jurisdiction
- Maintenance: glass needs regular cleaning and sealant inspection; frames need periodic repainting or re-caulking
When another enclosure type might suit you better
If budget is tight, a lattice enclosure provides privacy and partial wind protection at a fraction of the cost. For step-by-step guidance on building a lower-cost lattice enclosure that provides privacy and partial wind protection, see how to enclose a patio with lattice. If you want something seasonal and quick, clear plastic panels or vinyl roll-down systems go up in a weekend and cost far less. For a step-by-step guide, see how to enclose a patio with plastic. If year-round weather protection is the goal but views matter less, framed walls with standard windows give you a well-insulated room that is cheaper to heat and cool than a full glass enclosure. And if you want the glass look but with more operable ventilation built in, a windowed enclosure with operable casement or awning windows on every wall may serve you better than floor-to-ceiling fixed panes.
Glass vs. other enclosure types: a direct comparison
| Enclosure Type | Approximate Cost (DIY materials) | Weather Protection | Views & Light | DIY Difficulty | Best For |
|---|---|---|---|---|---|
| Full glass (fixed or sliding panels) | $6,000 – $20,000+ | Excellent (wind, rain, cold) | Maximum | Moderate–Hard | Year-round rooms, views, resale value |
| Windowed enclosure (framed walls + windows) | $3,500 – $12,000 | Excellent | Good to very good | Moderate | Energy-efficient four-season rooms |
| Lattice | $500 – $2,500 | Partial (wind, minimal rain) | Open, filtered | Easy | Privacy, shade, low-budget projects |
| Plastic panels (rigid or roll-down) | $800 – $4,000 | Good (seasonal) | Good but can yellow | Easy | Seasonal use, renters, quick installs |
| Framed solid walls | $2,000 – $8,000 | Excellent | Limited to windows | Moderate | Max insulation, privacy, storage rooms |
Our recommendation: if maximizing light, views, and year-round usability is the priority and your budget supports it, glass is the clear winner. If you are mostly trying to add three-season protection on a modest budget, a windowed enclosure or even a plastic panel system will deliver 80% of the benefit at 30% of the cost.
Planning and design decisions
Orientation and solar exposure
South-facing glass enclosures capture the most winter sun, which is great for passive heating but can become unbearable in summer without proper shading or low solar heat gain coefficient (SHGC) glazing. North-facing enclosures stay cooler but feel dim. East-facing rooms get gentle morning light and are comfortable most of the year. West-facing rooms get harsh afternoon sun and heat; if that is what you have, budget for interior shades or exterior overhangs from the start. The orientation should drive your glazing spec before you buy a single panel.
Roof type
Most DIY glass enclosures use one of three roof configurations: a lean-to (shed) roof that slopes away from the house, a gable roof that peaks in the middle of the enclosure, or a flat/low-slope roof with a slight pitch for drainage. Lean-to is the simplest and most common for attached patios. A fully glazed sloped roof dramatically increases light but also heat gain and the risk of leaks at every glazing joint, so we generally recommend a solid insulated roof panel system overhead and glass only on the walls for most DIY projects.
Layout and sightlines
Sketch your layout to scale before ordering anything. Mark door locations (you need at least one egress door per code), which walls will be fully glazed versus partially solid, and where HVAC or electrical outlets will go. Consider sightlines from inside the house: a low knee wall under the glass panels can reduce heat gain and give you somewhere to set planters or run electrical conduit without breaking the glass aesthetic. A continuous header height of 7 feet or more on the glass walls keeps proportions comfortable.
Site constraints
Overhead utilities, underground drainage lines, gas lines, and neighboring property lines can all affect what you can build and where. Call 811 before any digging for footings. Measure your patio's distance from property lines now, because setbacks will determine your maximum enclosure footprint before you even start designing.
Permits, codes, and your pre-build checklist
A glass patio enclosure is a permanent structure attached to your home. In virtually every U.S. jurisdiction that means you need a building permit. Skipping it is a serious mistake: unpermitted enclosures can block home sales, trigger costly removal orders, and void homeowner's insurance claims. Here is what the permit process typically covers for this type of project.
- Zoning and setbacks: confirm your enclosure footprint clears front, side, and rear setback lines with your local planning department before drawing plans
- Structural review: the building department will want framing plans showing how the enclosure handles wind, snow, and seismic loads per ASCE 7 and your local adopted code (IBC or IRC); look up your site-specific design wind speed using an ASCE 7 wind speed lookup tool by zip code
- Glazing safety: all glass in hazardous locations (within 24 inches of a door, within 18 inches of the floor, adjacent to stairs) must be safety glazing (tempered or laminated) per IBC Chapter 24 and CPSC 16 CFR Part 1201 / ANSI Z97.1; verify glass is marked with the appropriate safety-glazing label before installation
- Energy code compliance: if the enclosure is conditioned space, glazing U-factor and SHGC must meet IECC prescriptive limits for your climate zone (Table R402.1.2); specify NFRC-rated insulated glass units so you can document compliance on the permit application
- Egress: at least one outswing or sliding door wide enough to meet IRC egress requirements must be included in the design
- Electrical: any outlets, lights, or HVAC equipment inside the enclosure require separate electrical permits and inspections
- HOA approval: if you have an HOA, submit for architectural review before spending anything on materials
Site assessment and measurements
Checking your existing foundation
Most existing patios are a floating slab (no perimeter footing) designed to bear only foot traffic, not the weight of a framed structure with glass panels. Before you frame anything, assess whether your slab needs a perimeter footing added, or whether you will build new footings alongside the slab and attach the frame to those. IRC R401 and R403 require footings sized for soil bearing capacity and extended below the local frost depth. If you are in a cold climate, this is critical: shallow footings will heave in winter and rack your glass frames. When in doubt, pour new piers or a continuous perimeter footing around the slab perimeter.
Drainage and water management
Water that pools against your house foundation is the enemy of any glass enclosure. Before building, confirm that your patio slopes away from the house at a minimum of 1/8 inch per foot (1/4 inch per foot is better). If it does not, plan to add a perimeter drain or re-slope during the slab prep phase. The roof tie-in at the house wall is the highest-risk leak point in the entire project: you will need a continuous step flashing or counter-flashing at that junction, integrated with the house's existing weather-resistant barrier.
Snow and wind exposure
If you are in a snow zone, your roof framing must be engineered for the ground snow load at your location (find this on ASCE 7 maps or through your local building department). Glass panels under snow load need adequately sized mullions and glazing rebates. In high-wind areas (coastal zones, mountain passes), glass panel thickness and frame anchorage become critical design variables. Do not guess at these: the ASCE 7 design hazard tool gives you site-specific wind speed, exposure category, and snow load data you can hand directly to an engineer or use with prescriptive framing tables.
Key measurements to take before ordering materials
- Overall patio width and depth (measure twice, to the nearest 1/8 inch)
- Height from slab surface to underside of existing roof or soffit at the house wall
- Roof pitch of the existing house eave (needed to match lean-to pitch)
- Distance from door opening to nearest corners and adjacent walls
- Location and depth of any underground utilities or drainage lines
- Distance from all exterior walls to property lines
Materials and tools you will need
Framing and structural materials
- Pressure-treated lumber (2x6 or 2x8 depending on span) for sill plates and lower framing in contact with concrete
- Dimensional lumber or aluminum extrusions for wall studs/mullions and roof rafters (aluminum is lower maintenance; wood is easier to cut and fasten)
- Continuous perimeter footing concrete and rebar (if new footings required)
- Anchor bolts and post bases rated for your design wind uplift loads
- Structural ridge beam or header lumber sized per span tables
- Ledger board hardware (LedgerLOK or code-approved equivalent) for house attachment
- Step flashing, counter-flashing, and drip edge at all roof-to-wall junctions
- Sill pan flashing (aluminum or formed sheet metal) for each glazing opening — continuous sill pan flashing with free-draining sills is the Building Science Corporation's top recommendation for preventing water intrusion at glazing sills
Glazing and sealing materials
- Tempered or tempered-laminated safety glass panels (thickness per span and wind load; typically 1/4 inch for small panels, 3/8 inch or thicker for larger ones)
- Insulated glass units (IGUs) with NFRC-rated U-factor and SHGC for conditioned space
- Aluminum or vinyl glazing channels/frames with thermal breaks for climate zones 3 and above
- Sliding or fixed panel track hardware (if using sliding glass panels)
- EPDM or silicone glazing tape (not hardware-store foam tape; use purpose-made glazing products)
- Neutral-cure silicone sealant (structural or weatherseal grade per manufacturer spec; not acetoxy-cure near metal frames)
- Backer rod for joints wider than 1/4 inch
- Self-adhering flashing membrane (e.g., Flextape or equivalent) for WRB integration at jambs and heads
Door hardware and accessories
- Hinged or sliding glass door unit with factory-installed weatherstripping
- Door threshold with thermal break
- Deadbolt or keyed handle set
- Screen door (optional, for ventilation in mild weather)
Tools
- Power tools: circular saw or miter saw, drill/driver, reciprocating saw, angle grinder (for metal framing), rotary hammer for anchor bolts in concrete
- Hand tools: framing square, 4-foot level, tape measure, chalk line, pry bar, caulking gun
- Safety gear: safety glasses, cut-resistant gloves (glass handling), hearing protection, knee pads
- Specialty: suction-cup glass lifters (strongly recommended for panels over 30 pounds; do not try to handle large tempered glass panels by hand), laser level for checking plumb and level across the full frame
- Staging or scaffolding for roof-level work
Glazing types explained: which one fits your project
This is the decision most DIYers underestimate. The type of glazing you choose affects cost, performance, ventilation, structural requirements, and how complicated the installation gets. Here is a plain-language breakdown of each option.
Fixed glass panels
Fixed panels are set into a frame and do not open. They are the most structurally straightforward option, the easiest to seal, and the least expensive per square foot. The trade-off is zero ventilation, so you will be entirely dependent on mechanical ventilation or a door for airflow. Fixed panels work well on walls where ventilation is handled by operable windows or doors elsewhere in the enclosure. Use safety-glazed (tempered or laminated) glass in all hazardous locations per IBC Chapter 24.
Sliding glass panels
Sliding panels ride in a top-and-bottom track and let you open sections of the wall for ventilation. They are popular for DIY enclosures because the track hardware is widely available and installation does not require special tools. The main weaknesses are that the tracks can collect debris and water if not properly sloped and weep-drained, and the panels only open to 50% of the wall area. Make sure the track has a drain weep hole at the exterior face of the sill.
Operable windows (casement, awning, or hung)
If you want maximum ventilation flexibility with glass walls that look like a finished room addition, operable windows set into framed walls are your best option. For a detailed step‑by‑step guide and product recommendations, see how to enclose a patio with windows. Casement windows crank fully open and provide the best airflow per square foot of opening. Awning windows hinge at the top and can stay open in light rain. Double-hung windows are the most common but provide less airflow than casements. All operable window units come as factory-assembled, NFRC-rated assemblies with integral weatherstripping, making energy-code documentation straightforward. Follow the manufacturer's installation guide exactly for flashing sequences, as codes specifically require adherence to manufacturer instructions.
Curtain glass (storefront-style framing)
Curtain wall or storefront-style framing uses aluminum extrusion frames that carry glass panels from floor to ceiling in a grid pattern. This is the sleekest-looking option and creates the most unobstructed glass wall, but it requires more precision in fabrication and installation than wood-framed systems. Aluminum curtain wall manufacturers like Kawneer publish detailed anchor and installation manuals that you must follow exactly, including structural fastener patterns, sealant compatibility, and weep provisions. This system is achievable for a skilled DIYer willing to read those manuals thoroughly, but the margin for error is smaller than with wood framing.
Insulated glass units (IGUs)
An IGU is two or three glass panes factory-sealed with an insulating gas fill (argon or krypton) in between. This is the standard for any glass enclosure you plan to condition (heat or cool). NFRC-rated IGUs let you document U-factor and SHGC on your permit application and prove IECC energy code compliance. The IECC prescriptive tables set maximum fenestration U‑factor and SHGC requirements by climate zone, see Table R402.1.2 / C402.4 for the vertical fenestration limits that must be met for conditioned space additions 2018 International Energy Conservation Code (IECC) - C402.4 Fenestration (Prescriptive). In cold climates (zones 4 through 7), look for IGUs with a U-factor of 0.30 or lower and check the Condensation Resistance (CR) rating: a higher CR number (scale of 1 to 100) means less interior condensation risk. Single-pane glass in a heated enclosure will sweat heavily in cold weather and may frost over, which is uncomfortable and can damage frames over time.
Folding (frameless) glass wall systems
Folding glass wall systems (commonly called NanaWall-style systems) stack glass panels accordion-style against one end of the opening and give you a fully open wall in good weather. They are beautiful and highly functional, but the installation manuals from these manufacturers are explicit: professional installation is required. The anchorage patterns, sill tolerances, and factory-set panel weights make these genuinely beyond DIY scope. If this is the look you want, budget for professional installation.
| Glazing Type | Ventilation | DIY-Friendly | Relative Cost | Best Climate Use | Key Requirement |
|---|---|---|---|---|---|
| Fixed panels | None | Yes | Low | All (with mechanical ventilation) | Safety glazing in hazardous locations |
| Sliding panels | Partial (50% max) | Yes | Low–Medium | Mild to moderate | Weep-drained track, level sill |
| Operable windows | Good to excellent | Yes | Medium | All climates | NFRC-rated unit, full flashing sequence |
| Curtain wall (storefront) | None (fixed) or add vents | Advanced DIY | Medium–High | All climates | Manufacturer anchor and sealant spec |
| IGUs (any frame type) | Depends on frame | Yes (for glazing spec) | Medium–High | Climate zones 3–7 | NFRC U-factor and SHGC documentation |
| Folding glass walls | Full open wall | No (pro required) | High | Mild to moderate | Professional installation required |
Step-by-step installation overview
Step 1: site prep and footings
After permit approval, start with the foundation. For a complete step-by-step walkthrough and tool list, see our guide on how to build a glass patio enclosure. If your existing slab lacks a perimeter footing, dig a trench around the outside edge to below the local frost depth (check with your building department for the exact depth in your area). Form and pour a continuous concrete footing with rebar; let it cure for at least 7 days before loading it. Set anchor bolts or post-base hardware while the concrete is still wet, positioned to align with your sill plate layout. Clean and level the slab surface where the sill plate will sit.
Step 2: sill plates and ledger board
Use pressure-treated lumber for all sill plates in contact with concrete. Drill through the sill plate and into anchor bolts, apply sill seal gasket between the sill and concrete to stop moisture wicking, and fasten with nuts and washers. At the house wall, install the ledger board using LedgerLOK fasteners or structural lag screws at code-required spacing, with continuous flashing above the ledger lapped over the house siding. This ledger-to-house connection is a structural one; size the fasteners per your span tables.
Step 3: wall framing
Frame your walls at 16 or 24 inches on center depending on your glazing panel widths. Most glass panels come in standard widths that align better with a custom stud layout, so plan your stud spacing around your panel dimensions rather than standard lumber spacing. Frame rough openings for door units to the manufacturer's specified rough opening size, not a generic estimate. Plumb and brace every wall section before moving on; glass panels require a perfectly plumb and square frame to seat properly.
Step 4: roof framing and roofing
For a lean-to roof, set your ridge (or top plate at the house wall) and run rafters from the ledger down to the exterior wall top plate at the design pitch (minimum 3:12 for shingles, 1/4 inch per foot minimum for low-slope roofing membranes). Install sheathing, underlayment, and roofing. At the house wall junction, weave step flashing into the house siding courses and cover with counter-flashing. This is the most critical leak-prevention detail in the entire project: do not rush it.
Step 5: sill pan flashing and WRB
Before any glass goes in, install sill pan flashing in every glazing opening. Form or buy pre-formed metal sill pans that slope toward the exterior (not flat) and extend up the jambs at least 6 inches. Integrate the sill pan with the house weather-resistant barrier (WRB) so any water that enters the frame assembly drains to the outside. Building Science Corporation's pan flashing guidance is clear on this: the sill must be free to drain, not sealed shut. Apply self-adhering flashing membrane at jambs and head, lapped in shingle fashion (sill first, jambs second, head last).
Step 6: glazing installation
Set glazing tape or pre-formed EPDM gasket in the frame channel before lifting glass in. Use suction-cup lifters for any panel over 30 pounds. Set each panel on setting blocks (not directly on the sill channel) to distribute load and allow slight movement without stressing the glass edge. Secure panels with the manufacturer's specified stops or structural fasteners. Apply weatherseal silicone at all exterior joints between glass edge and frame; use a backer rod for any gap wider than 1/4 inch. Do not use acetoxy-cure (vinegar-smell) silicone against aluminum frames; it corrodes them. Always follow the specific glazing manufacturer's installation sequence and sealant compatibility recommendations.
Step 7: door installation
Install the door unit per the manufacturer's installation guide. Shim the unit plumb and level before fastening; a door that is even 1/8 inch out of plumb will not latch properly over time. Flash the door head and jambs the same way as window units. Install the threshold with exterior sealant under the threshold horns. Test the door swing and latch operation before closing in the frame.
Step 8: interior finishing and sealing
Once the envelope is closed and weathertight, finish the interior framing with drywall or bead board (or leave it as exposed framing for a more casual look). Run electrical for outlets and lighting per permit. Seal all interior penetrations and frame-to-glass joints with interior silicone or paintable caulk. Install any HVAC or mini-split equipment, and add interior shades or blinds designed for high-humidity spaces.
Time and cost reality check
| Project Phase | Estimated DIY Time | Approximate Material Cost |
|---|---|---|
| Permits and planning | 1–3 weeks (calendar time) | $200–$800 in permit fees |
| Footings and slab prep | 1–2 weekends | $500–$2,500 depending on scope |
| Framing (walls and roof) | 1–2 weekends | $1,500–$4,000 |
| Roofing and flashing | 1 weekend | $500–$1,500 |
| Glazing (glass panels and door) | 1–2 weekends | $3,000–$12,000+ depending on glass spec |
| Finishing (electrical, sealing, trim) | 1 weekend | $500–$2,000 |
| Total DIY estimate (200 sq ft) | 5–8 weekends | $6,200–$22,800+ |
Contractor pricing for the same 200-square-foot project typically runs $15,000 to $40,000 or more depending on glazing system and region. DIY saves real money, but only if you do the work correctly the first time. Callbacks on glass enclosures (leaks, fogged IGUs, racked frames) are expensive to fix. Budget an extra 15% contingency on materials.
Ventilation, shading, and heating options
A glass enclosure without a ventilation strategy is a greenhouse in summer. On south- and west-facing rooms, exterior shade sails or pergola-style overhangs above the glass wall are more effective than interior blinds because they intercept heat before it enters the glass. Interior cellular shades or solar shades rated for the SHGC you need are the next best option. For ventilation, operable windows or sliding panels on at least two walls allows cross-ventilation; a ceiling fan or whole-house ventilation fan helps on calm days. For heating in winter, a single-zone ductless mini-split handles both heating and cooling efficiently and is the most popular choice for glass enclosures. Portable radiant panels or electric baseboard heaters work for occasional-use spaces but are not economical for daily winter use.
Common DIY mistakes (and how to avoid them)
- Ordering glass before the frame is built: always build the frame first, measure the actual opening, then order glass to those exact dimensions
- Skipping sill pan flashing: this is the single most common source of glass enclosure leaks; do not improvise it
- Using the wrong sealant: acetoxy-cure silicone corrodes aluminum frames and must not be used near metal; use neutral-cure silicone
- Under-specifying glass thickness: thin glass in large panels deflects under wind load beyond IBC limits (L/175 or L/240 depending on pane size); size glass thickness using the manufacturer's wind load tables
- Not checking for plumb and square at every stage: glass does not flex to forgive an out-of-square frame the way siding does; check plumb and diagonal measurements constantly
- Omitting safety glazing: any glass within 24 inches of a door, within 18 inches of the floor in certain locations, or adjacent to stairs must be tempered or laminated per code; standard float glass in those locations is a code violation and a safety hazard
- Building without permits: an unpermitted glass enclosure can become a very expensive problem at resale or after a storm insurance claim
When to hire a professional
Be honest with yourself about a few scenarios where professional help is worth every dollar. If the enclosure requires a structural engineer stamp on the plans (required in most jurisdictions for glass enclosures), hire an engineer for the design phase even if you do the construction yourself. If your site is in a high-wind or high-seismic zone, the structural design is not a place to cut corners. If you want a frameless folding glass wall, hire a certified installer; the manufacturer manuals are explicit that these systems require professional installation and the tolerances are unforgiving. And if you have never done flashing work before, consider hiring a roofer for just the roof tie-in and flashing details; that three-hour investment can prevent years of water damage.
Seasonal use and year-round maintenance
Twice a year (spring and fall), walk the perimeter of your glass enclosure and inspect every sealant joint. Silicone sealant at glass-to-frame junctions typically lasts 10 to 15 years before it starts to crack or peel away from the glass edge; spot-replace any failed sections before they allow water infiltration. Clean glass panels with a diluted dish soap solution and a soft squeegee; avoid abrasive pads that scratch tempered glass surfaces. Check and clear weep holes in glazing tracks every spring after pollen season. In snow country, clear heavy snow accumulation from roof panels promptly if you exceed your design snow load. Inspect the ledger-to-house flashing after severe storms; this joint works hard every time it rains.
FAQ
What are the first steps to plan a glass-enclosed patio project?
Start by defining use (year-round vs seasonal), conditioned vs unconditioned space, size and access. Check local zoning setbacks, HOA rules, and whether the enclosure changes impervious surface. Collect site data (sun, wind, drainage, existing roof/ledger), climate zone, and address for design-wind-speed lookup. Decide foundation type (slab, piers, or ledgered attachment). Early planning determines permit needs, structural loads, glazing type and energy requirements.
Do I need a permit and which codes apply?
Most jurisdictions require a building permit for a glass patio enclosure that alters structure, adds conditioned space, or changes egress. Applicable codes include the IRC/IBC for structural and safety glazing (tempering/laminated), ASCE 7 for design loads, and the IECC for fenestration thermal performance if the space is conditioned. Manufacturer installation instructions and local amendments also apply. Check with your local building department early.
How do I choose between DIY and hiring a pro?
DIY is feasible for small, non‑structural framed window kits and sliding panels if you have carpentry skills, tool access, and can follow manufacturer instructions and flashing details. Hire a pro if the project requires engineered framing, curtainwall/structural glazing, complex foundations, roof alterations, fenestration performance compliance, or if code requires engineered drawings. Specialized systems (structural silicone, commercial curtainwall, frameless folding walls) generally need professional installation.
What foundation and structural considerations are critical?
Choose a foundation based on soil, frost depth and loads: slab-on-grade with perimeter footing, isolated piers, or ledgered attachment to an existing foundation (requiring proper flashing and anchors). Framing must be sized for gravity and lateral loads per IRC/IBC and ASCE 7 site wind/snow/seismic data. Use engineered drawings if spans or loads exceed prescriptive limits. Proper anchorage, continuous sill supports, and drift/joint allowances are essential for glazing support.
What glazing types should I consider and when?
Options include fixed insulated glass units (IGUs) for maximum thermal performance, sliding or operable windows for ventilation, laminated safety glass near doors and low sills, curtain glass for large spans, and thermally broken framed systems for better U‑factors. For conditioned, year‑round use choose NFRC-rated double- or triple-glazed IGUs with low-E coatings and appropriate SHGC for your climate. Use tempered or laminated safety glazing in hazardous locations per code.
How do energy codes and NFRC ratings affect my glazing choices?
If the enclosed space is conditioned, the IECC prescriptive tables set maximum U‑factor and SHGC by climate zone for vertical fenestration. NFRC-rated products document U‑factor, SHGC and air leakage and are commonly required for permit compliance and HVAC sizing. Choose glazing with lower U‑factor in cold climates and lower SHGC in hot climates; balance visible transmittance (VT) and condensation resistance for comfort and moisture control.
Next Articles
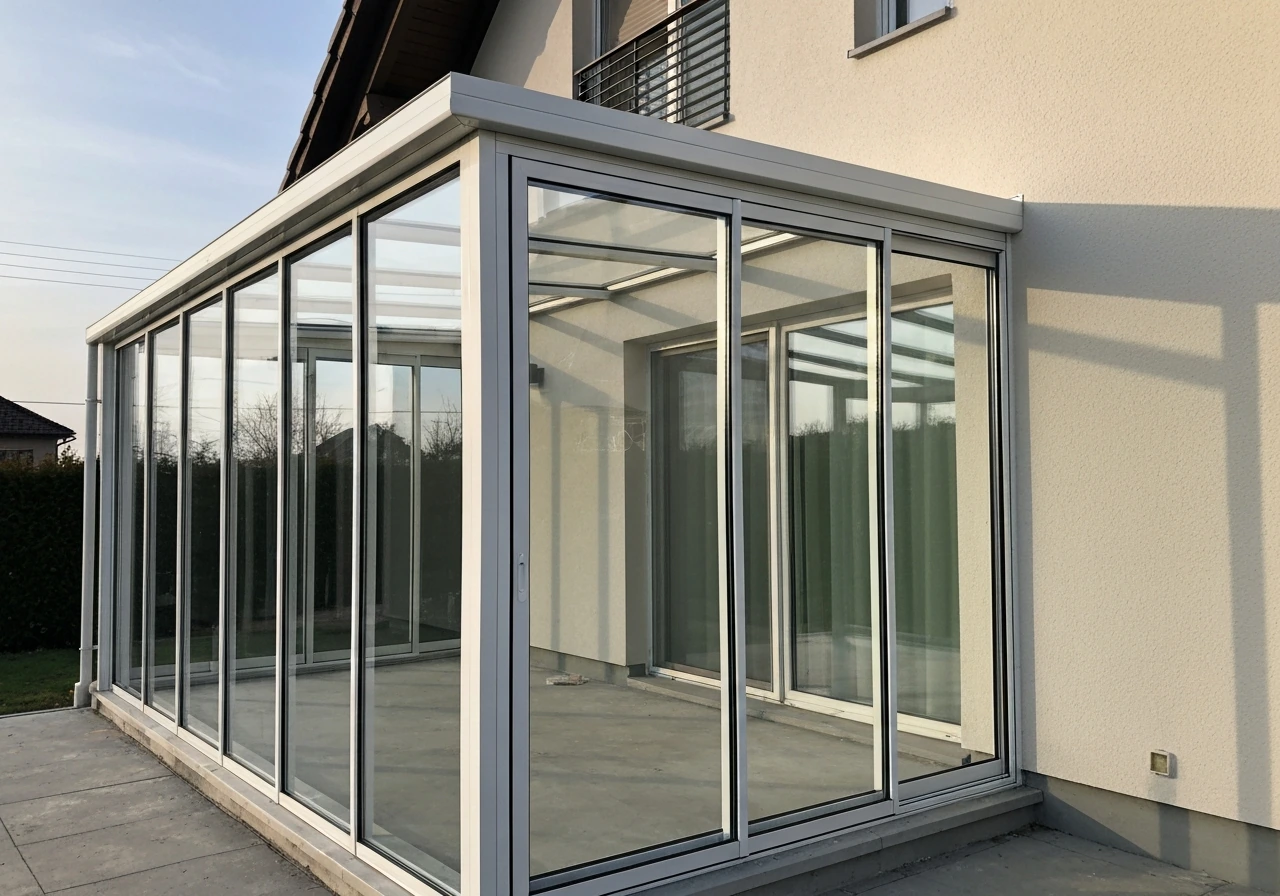
How to Build a Glass Patio Enclosure Step by Step
Step-by-step guide to build a glass patio enclosure: permits, measurements, frame, glass, sealing, ventilation, safety,
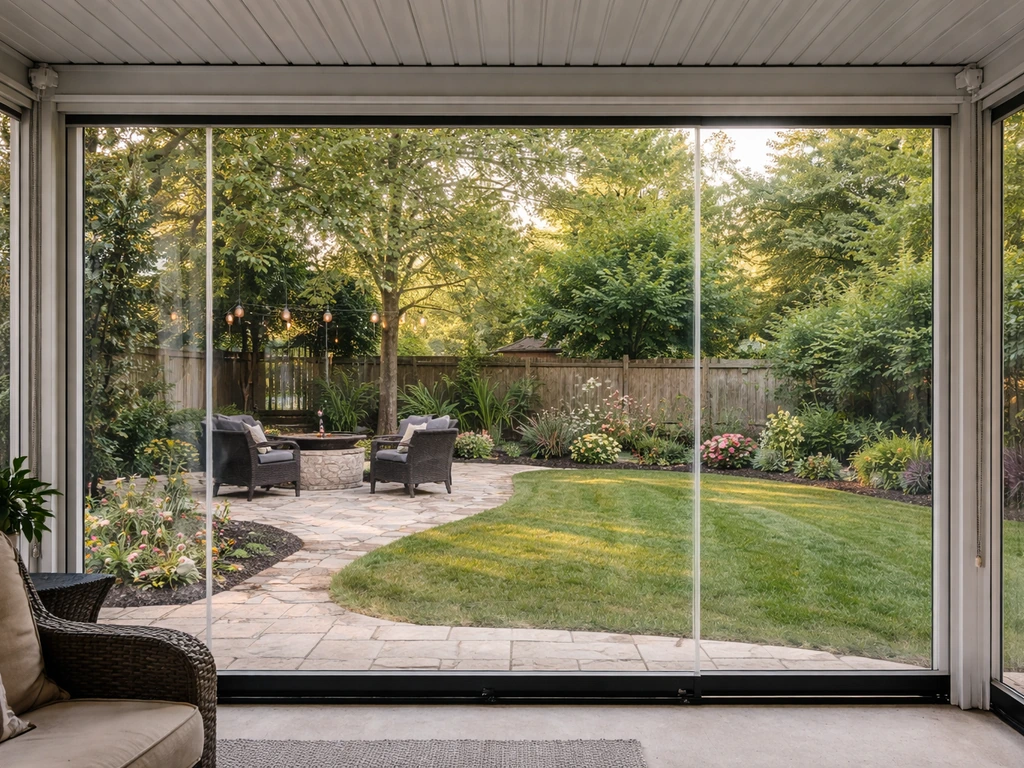
How to Enclose a Patio With Plastic: Step by Step DIY
Step-by-step DIY for enclosing a patio with plastic: measure, choose tracks or sheeting, anchor, seal, and prevent flapp
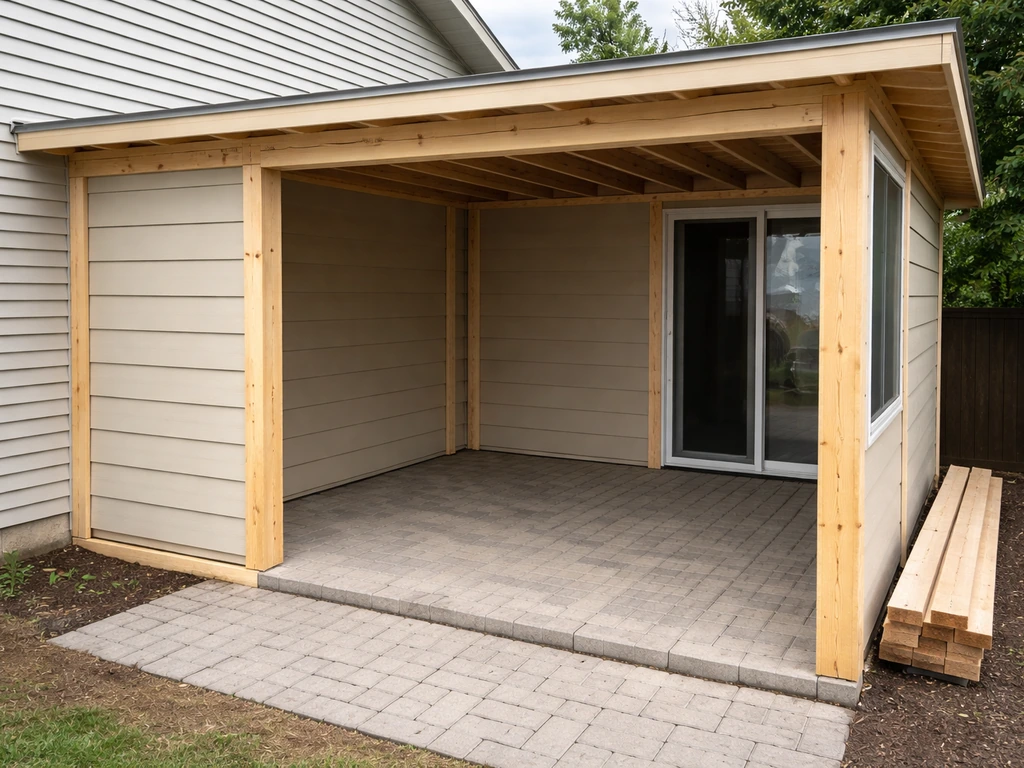
How to Enclose a Patio With Walls: DIY Step by Step
Step-by-step DIY guide to enclose a patio with walls, covering planning, materials, weatherproofing, and installation