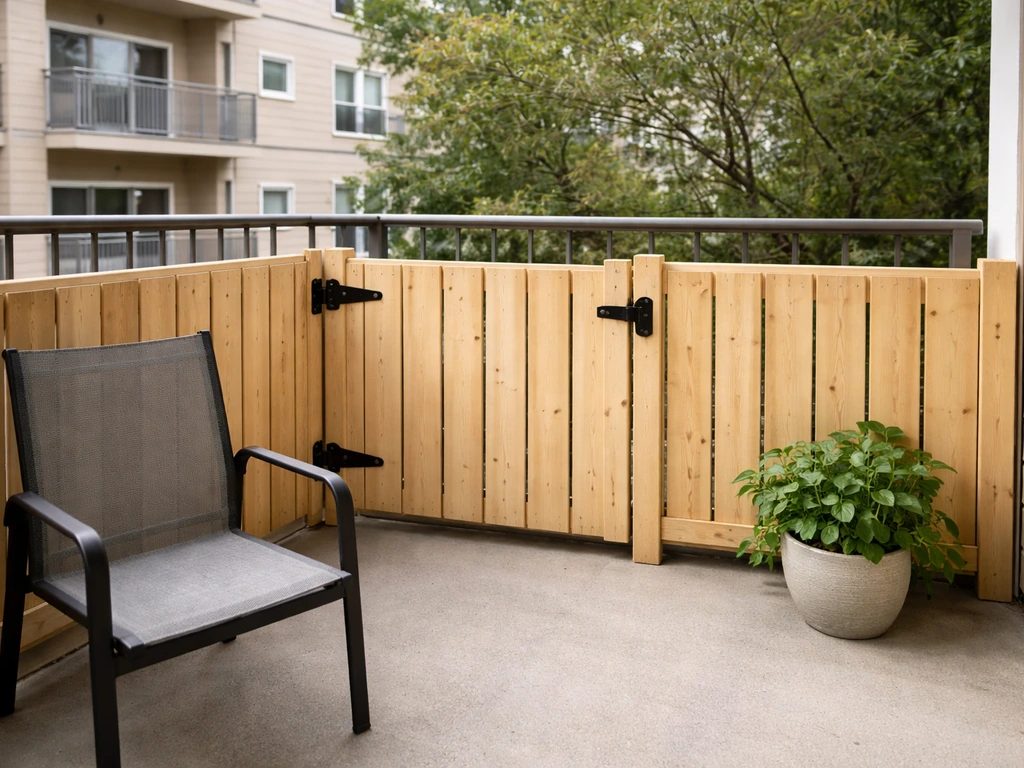
You can fence in an apartment patio, but you need to do it in the right order: get permission first, then plan your layout, then pick materials and build. Skip the first step and you risk losing your security deposit or being forced to tear it all down. The good news is that renter-friendly, freestanding fence systems exist for exactly this situation, and plenty of apartment residents have pulled this off without drilling a single hole in the building. If you want a step-by-step answer for your exact setup, follow this guide on how to fence off a patio.
How to Fence In an Apartment Patio: Step-by-Step DIY Guide

Felix Brennan
11 May 2026
Check HOA/Lease Rules and Building Codes Before You Do Anything
This is the step most people skip, and it's the one that matters most. Apartment patios are almost always in a shared or exclusive-use common area, which means the landlord, HOA, or both have a say in what you can put there. Getting this wrong can mean repair bills, lease violations, or deductions from your security deposit for unauthorized alterations.
Start by pulling out your lease and reading the alteration and modification clauses carefully. Most tenant agreements require written landlord consent before any structural modification, and installing a fence almost always counts as one. If your property has an HOA, find the ACC (Architectural Control Committee) guidelines. Many HOAs require a formal written request submitted at least two weeks before the next board meeting, so build that lead time into your timeline.
While you're reading the rules, look for these specific restrictions that show up regularly in HOA documents and local codes:
- Height limits: perimeter fences are often capped at 4 feet from ground level, and railings on elevated surfaces typically must be at least 36 inches high per local building codes
- Attachment restrictions: some HOAs explicitly prohibit attaching anything to balcony railings, walls, or the building structure itself
- Sight line rules: latticework or screening that obscures sight lines above the required railing height may be separately restricted
- Egress requirements: any gate or door in the fence must maintain a minimum 32-inch clear opening width so exits aren't blocked
- Guard opening limits: no opening in the fence or railing can allow a 4-inch sphere to pass through, per IRC guard requirements
- Insect screening: standard insect screen mesh does not count as a code-compliant guard or fall barrier, so it can't substitute for a proper railing on elevated patios
If your patio is at ground level, the code requirements are simpler, but HOA and lease rules still apply. If it's elevated (even just one step up), fall protection requirements kick in and the bar gets higher. When in doubt, ask your landlord or property manager in writing so you have a paper trail. Getting explicit written approval before you build is the only thing that protects you.
Measure Your Patio and Map Out the Layout

Once you have permission, grab a tape measure and spend 20 minutes doing this properly. Measure the full perimeter of your patio: length, width, and the width of any opening (the gap where you walk in from the yard or common area). The IBC 2021 Chapter 10 states that each door opening must provide a minimum clear opening width of 32 inches width of any opening. Write everything down and sketch a rough top-down diagram on paper or your phone.
Next, decide on your enclosure configuration. You don't have to fence the whole thing. Think about what problem you're actually solving:
- Full perimeter enclosure: maximum privacy and pet/child containment, but requires more materials and a gate for access
- Three-sided enclosure: leaves one side open (usually the side facing your unit's door) while blocking neighbors and the street
- Partial privacy screen: one or two panels blocking a specific sightline, like a neighbor's window or a busy walkway
- Corner L-shape: two panels meeting in a corner, great for blocking diagonal sightlines without fully enclosing the space
Mark where your posts or panel bases will go. For a freestanding system, posts typically sit 6 to 8 feet apart, so count how many you'll need. Also note where your gate will go (more on that below) and whether any existing walls or railing sections can anchor a panel end, which saves you a post. Check for obstacles like hose bibs, electrical outlets, or HVAC units that the fence can't block.
Choose the Right Fencing Material for an Apartment Patio
Material choice is where you balance privacy against airflow, budget against durability, and looks against renter-friendliness. Here's an honest comparison of the main options:
| Material | Privacy Level | Airflow | Wind Resistance | Renter-Friendly | Maintenance |
|---|---|---|---|---|---|
| Wood (cedar/pine panels) | High | Low | Moderate | Moderate (heavy, hard to move) | High (staining, sealing) |
| Vinyl privacy panels | High | Low | Moderate | Good (lightweight, modular) | Low |
| Aluminum frame + infill | Medium–High | Low–Medium | Good | Good (modular systems) | Low |
| Composite panels | High | Low | Good | Good (lightweight) | Very Low |
| Metal mesh / cable railing | Low | High | High | Good | Very Low |
| Privacy screen mesh (fabric) | Medium–High | Medium | Varies (check ASTM rating) | Excellent (no posts needed) | Low |
For most apartment situations, aluminum modular panel systems or vinyl privacy panels hit the sweet spot. They're lightweight, don't require paint or staining, come in sections that are easy to move at lease end, and look clean. Wood is attractive but heavy and requires ongoing maintenance that most renters don't want to deal with. Cable railing looks great and handles wind loads well, but it offers almost no visual privacy, so it depends on your goal.
If wind is a real concern where you live (coastal areas, upper floors, open exposure), look for products with tested wind ratings. Some aluminum privacy fencing systems are rated for wind loads up to 130 mph. Privacy screen fabric products are tested for air permeability per ASTM standards, and a denser weave reduces wind load but also reduces airflow. For most suburban ground-level patios, a standard vinyl or aluminum panel handles typical wind without issue.
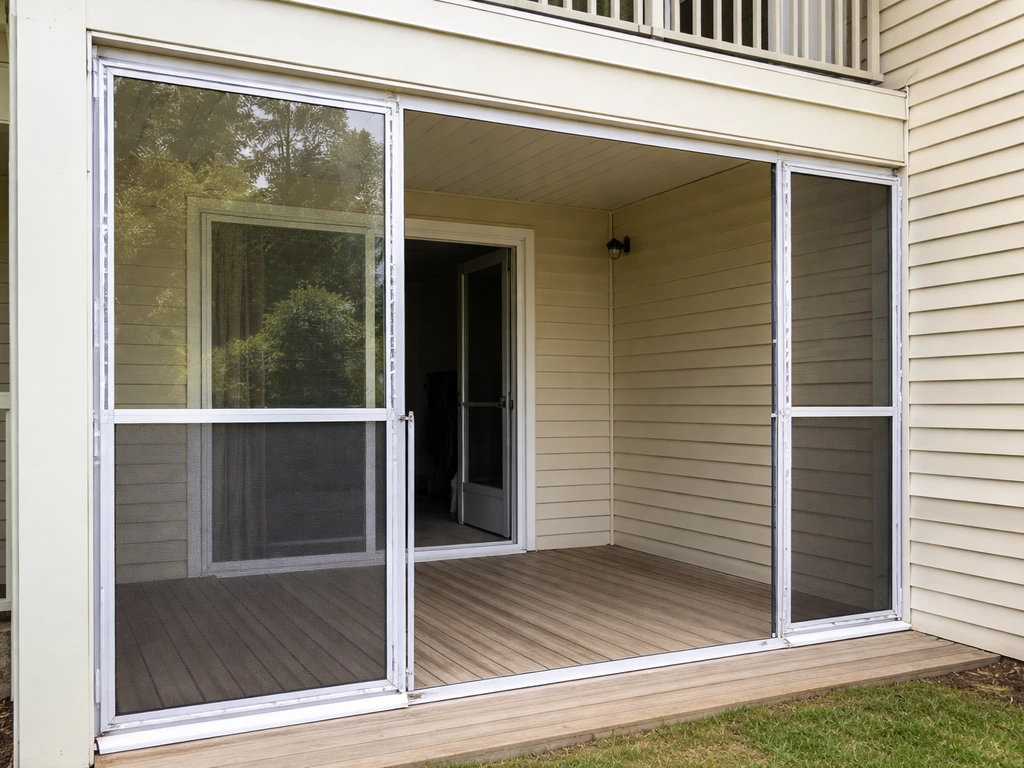
A Note on Screened Panels vs. Solid Panels
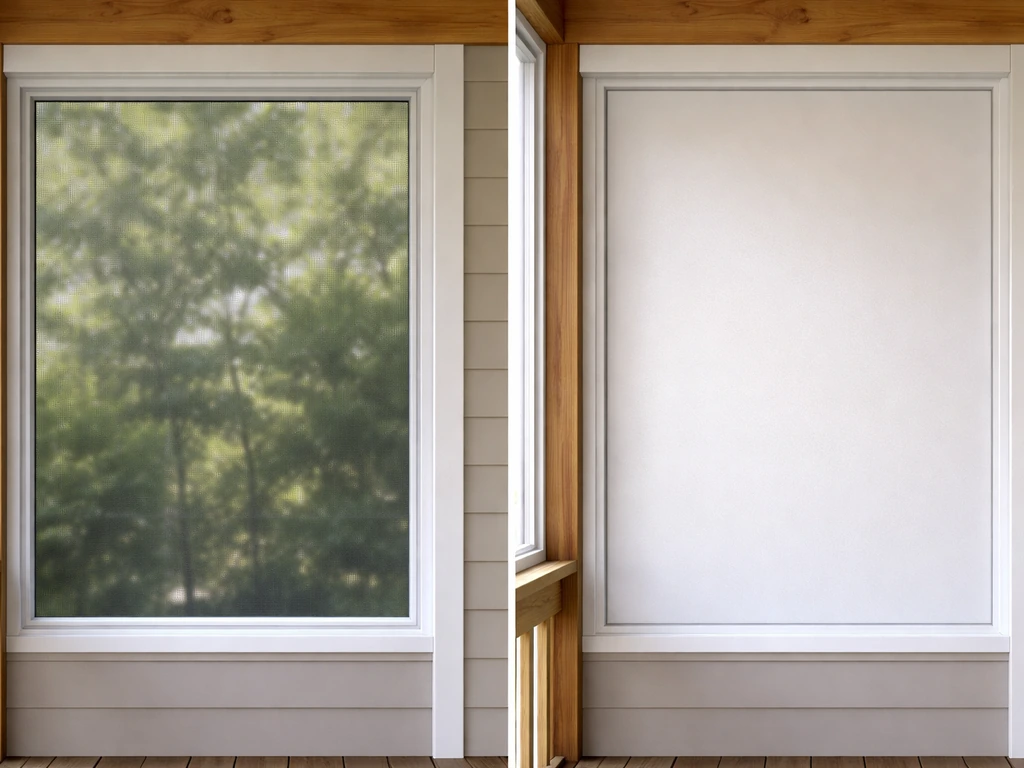
Screened enclosure panels (the kind used in screened porch systems) give you privacy and bug protection but almost no wind blocking. Solid panels block wind and view but can feel closed-in. A hybrid approach works well on apartment patios: use solid panels on the sides facing neighbors and screened or open mesh panels on the side facing your unit's door, so you get natural light and airflow where it matters most.
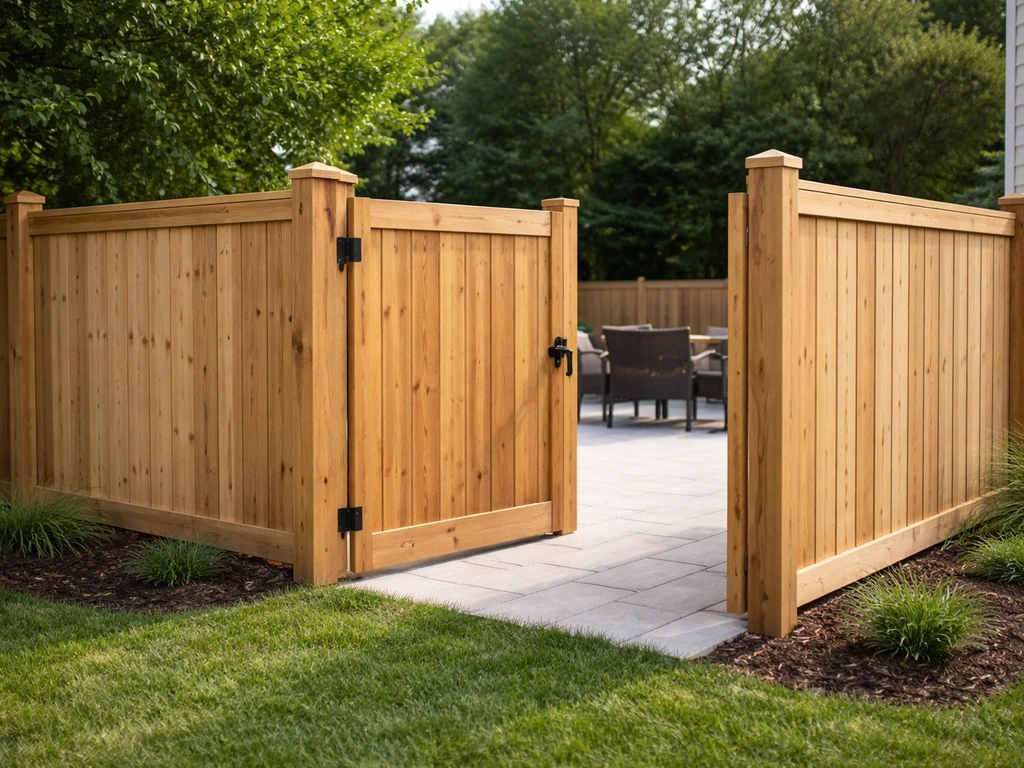
Plan Your Gate, Access, and Safety Details
A fence without a gate is just a barrier you have to climb over. Plan your gate location before you order materials, because gate posts need extra support and the opening width affects what hardware you need.
For egress compliance, the gate opening must be at least 32 inches of clear width when open. A 36-inch gate panel typically provides this after accounting for the frame and hinges. Position the gate where you naturally enter and exit the patio, and make sure it swings outward if possible so it doesn't eat into usable patio space.
For latching and safety, think about who uses the space:
- Basic slide-bolt latch: simple, inexpensive, works for most adults, easy to operate one-handed while carrying something
- Self-closing spring hinge: the gate closes automatically after you pass through, great if you're forgetful or have pets
- Child-safe latch: a top-mounted or dual-action latch placed high (54 inches or above) that small children can't reach or figure out
- Pet containment: if a dog or cat uses the patio, check that the gate latch engages positively with no gap at the bottom of the gate where a small animal could squeeze through
If your patio is elevated and the fence serves as a fall guard, the gate itself must meet the same guard requirements as the fence: no openings larger than 4 inches, and the latch hardware must not create a climbable foothold for children. A gate that opens inward over an elevated deck is a fall hazard, so always hinge it to swing away from the drop.
How to Actually Build It: Posts, Mounting, and Staying Renter-Safe
The biggest challenge in an apartment patio build is anchoring the fence without damaging the building or the concrete slab. Here are the main approaches, from least to most permanent:
Freestanding Post Bases (Best for Renters)
Freestanding deck block bases or weighted post bases sit on top of the patio surface with no drilling required. In the r/FenceBuilding discussion, people also compare setting posts directly versus using post bases or brackets that are set into the concrete, sharing practical takeaways for the decision.
The posts drop into these bases, and the weight of the base (plus any added ballast like concrete blocks or sandbags) keeps everything upright. This works well for ground-level patios with fence panels up to about 5 feet tall. For taller panels or windy locations, add weight to the bases or use a base designed to accept ballast. Connect adjacent panel sections to each other through the post to add lateral rigidity across the whole run.
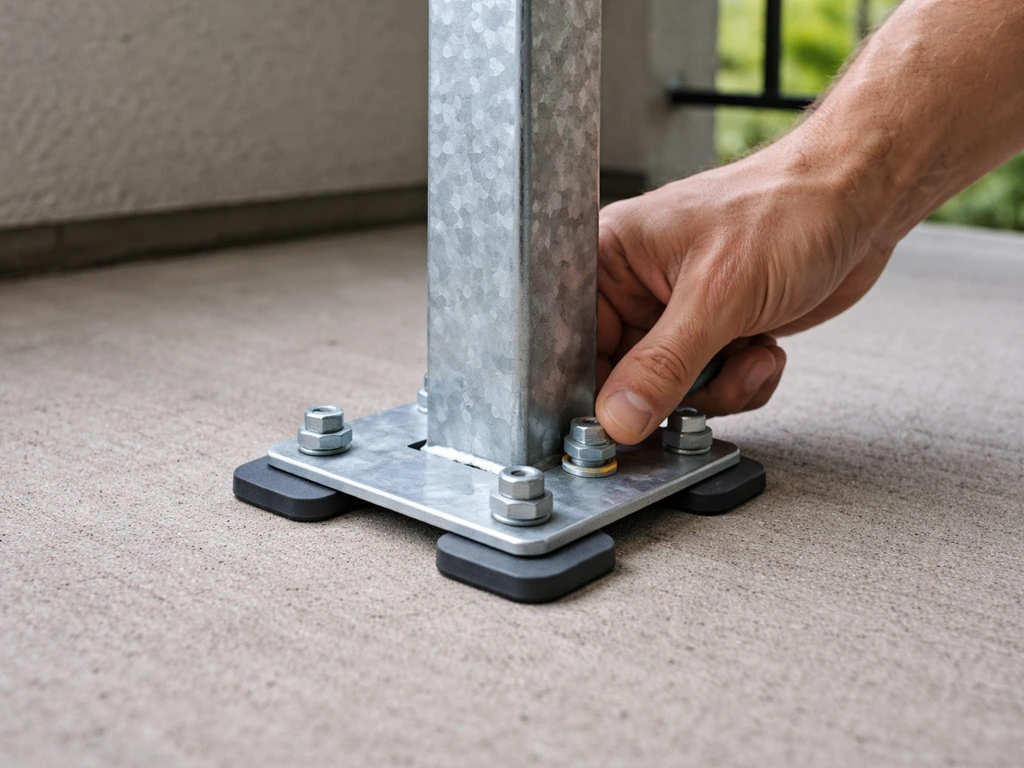
Concrete-Safe Surface Anchors (When You Can Drill)
If your landlord approves surface anchoring, use a concrete wedge anchor or sleeve anchor rated for the post load, with a base plate that spreads the force. Drill into the patio slab (not the building wall) using a hammer drill with a masonry bit. Use stainless steel or hot-dipped galvanized hardware to resist rust. When you leave, fill the holes with hydraulic cement or concrete patch compound to restore the surface, which is typically acceptable to landlords when documented in advance.
Avoiding the Building Wall
Do not attach fence panels or posts directly to the building's exterior wall unless you have explicit written permission. Drilling into stucco, brick, or siding creates water infiltration points and can void the building's weatherproofing. Instead, design the fence so it stands on its own or anchors only to the slab. If you need to brace against the building, use foam-padded standoffs that press (not attach) against the wall surface.
Step-by-Step Build Process
- Lay out your base locations on the patio surface according to your panel spacing, typically 6 to 8 feet on center
- Place post bases or mark drill points, and check that everything is square using a measuring tape diagonal measurement (equal diagonals = square corners)
- Set posts into bases or anchor base plates to the slab; use a level to confirm each post is plumb before tightening
- Attach fence panels to posts following the manufacturer's bracket system, starting from a fixed corner and working toward the gate opening
- Install gate posts last, since they need to be perfectly parallel to each other for the gate to swing correctly; brace them temporarily while the anchors cure or the ballast is set
- Hang the gate, adjust hinge height so the gate swings freely without dragging, and install the latch
- Test the full perimeter by walking around and pushing laterally on each panel; any wobble means you need more ballast or a cross-brace
Expect this project to take a full weekend if you're working alone: one day for layout and post setting, one day for panels, gate, and hardware. If you also need to disconnect a patio gas line, have a qualified technician handle it to stay safe and compliant how to disconnect patio gas. Budget roughly $300 to $800 for a basic vinyl or aluminum modular system covering a 10-by-12-foot patio perimeter, with costs scaling up for premium materials or larger spaces.
Privacy Add-Ons, Shade, Screening, and Wind Control
Once the fence is up, a few additions turn a basic barrier into a genuinely comfortable outdoor room. Think of this as layering: the fence gives you the bones, and these add-ons handle the comfort details.
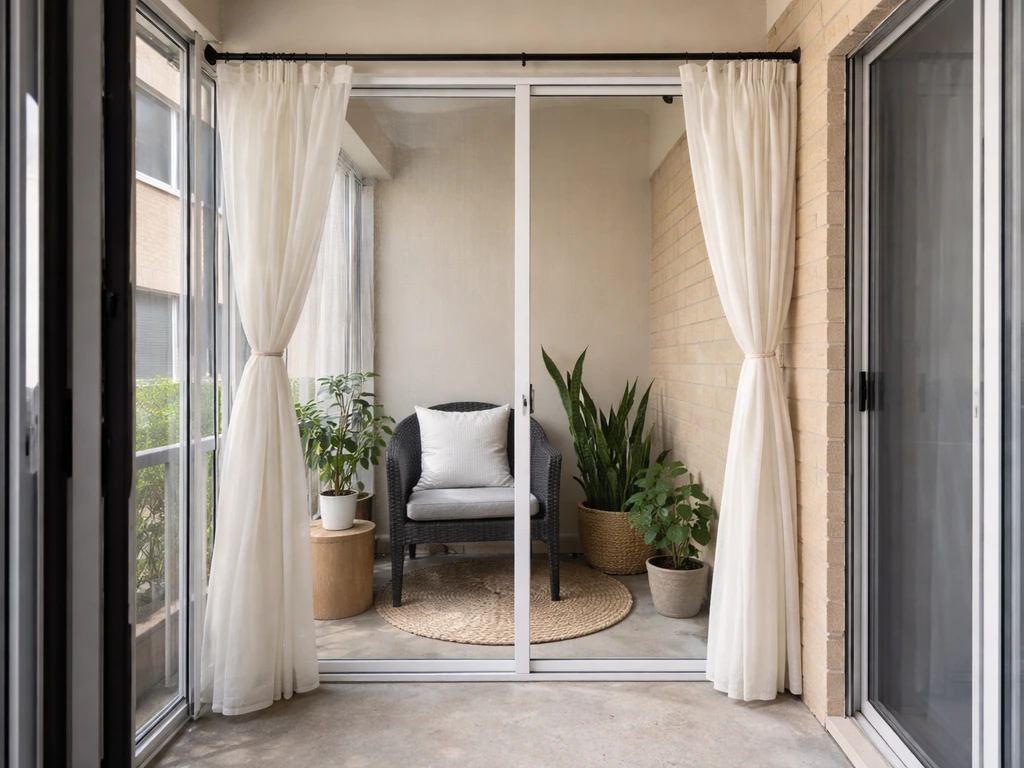
Privacy Panels and Outdoor Curtains
If you went with a cable railing or open mesh fence for airflow but still want visual privacy, attach a roll of privacy screen fabric to the fence posts with zip ties or clip rings. Shade cloth in 80% to 90% density blocks most sightlines while still letting air through. Outdoor curtains hung from a tension rod or curtain wire between posts are another renter-friendly option: easy to install, easy to remove, and they look great. Use UV-rated outdoor fabric so they don't fade or mildew.
Shade Sails and Overhead Coverage
A shade sail over the patio completes the outdoor room effect and provides real sun protection. The key is anchor points: each corner of the sail applies significant tension to whatever it's attached to, so attachment points need to be structural (a post set in the ground, a beam, or a very solid fence post, not a lightweight curtain rod). On a patio without overhead structure, you can anchor a shade sail to your fence posts if they're well-anchored themselves, but add diagonal cross-bracing to those posts first. Keep the sail taut and angled slightly so rainwater runs off rather than pooling. Adjustable turnbuckles and shackles at each corner let you re-tension the sail seasonally.
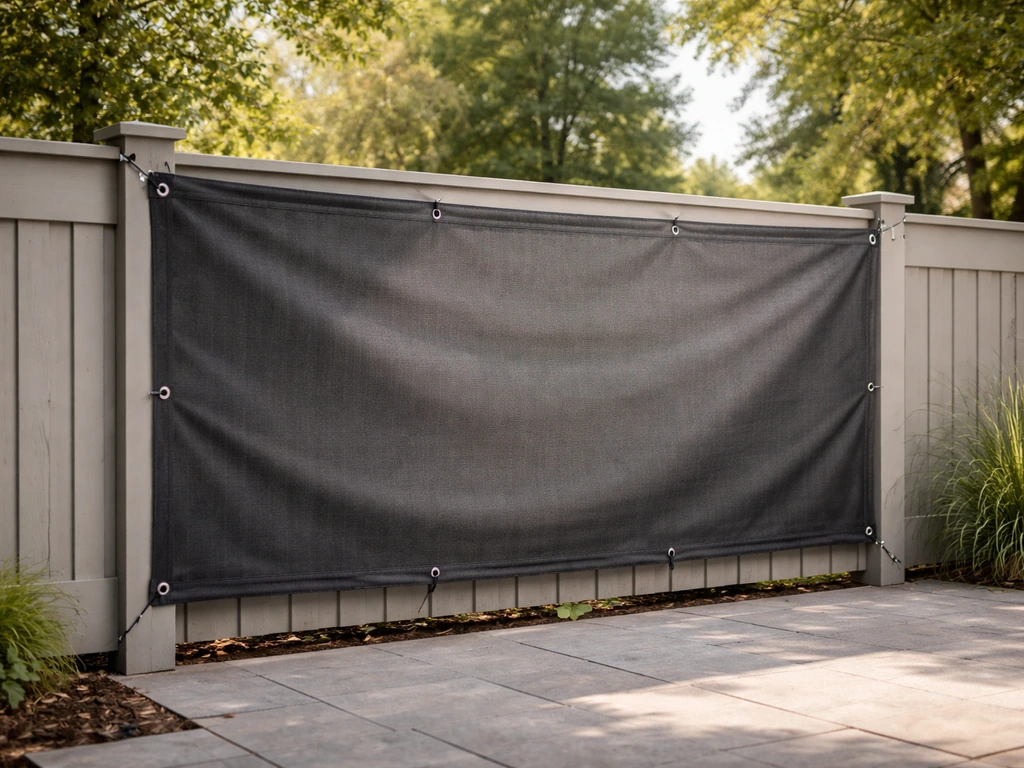
Wind Blocking
If your patio gets hammered by wind, a solid panel fence alone may not be enough. Layering a windscreen fabric (look for products tested per ASTM 737 for air permeability) on the windward side of the fence adds significant wind reduction without completely blocking airflow. These fabric screens attach to fence posts or an existing railing with grommets and zip ties, so they're fully removable. They're particularly useful on upper-floor balconies where full solid panels might be restricted by the HOA.
Bug Screening
If bugs are a problem, you can hang insect screen panels from the fence top rail using hook-and-loop tape or snap fasteners, creating a partial enclosure that's easy to open. Just remember: insect screening is not a structural guard and cannot substitute for proper railing height or opening limits on elevated patios. It's a comfort add-on, not a safety feature.
Seasonal Maintenance
Most modular aluminum and vinyl fence systems need almost no maintenance beyond a rinse with a garden hose once or twice a year. Check post base anchors every spring to make sure nothing has shifted over winter. If you used wood panels, inspect for rot or splitting at the post bases each spring and re-seal any cut ends. Shade sails and fabric windscreens should be removed or at least de-tensioned before major storms or winter, since snow load and extreme wind can tear anchor points. Taking them down in late fall and storing them flat extends their life significantly.
If you're interested in going further than a basic fence, the full enclosure approach (adding a roof structure, screen panels, or a solid cover) turns your apartment patio into a proper screened or covered room. That's a bigger project, but many of the same rules around permissions, freestanding structures, and renter-safe installation apply. Similarly, if your main goal is a solid visual barrier on one side rather than a full perimeter fence, a dedicated privacy wall panel might be a simpler solution worth considering alongside a full fencing project. If a full fence feels like too much, a dedicated privacy wall panel on one side can be a simpler alternative to help you block sightlines.
FAQ
Do I need written approval even if I’m using a freestanding fence system (no drilling)?
Yes, most lease and HOA rules still treat an added fence as an alteration, even when it’s freestanding. Ask for written permission that specifically mentions “freestanding” and “no attachment to building surfaces,” so you have documentation if the landlord later questions the change.
What’s the safest way to anchor a fence if my patio surface has cracks or weak concrete?
Don’t assume surface mounting is safe. For freestanding bases, choose heavier ballast and distribute weight evenly, then do a quick load check by confirming the slab is stable (no rocking or hollow-sounding areas). If you’re considering slab drilling, stop and ask the property manager for guidance or a professional assessment.
Can I attach the fence to a balcony railing instead of anchoring posts?
Sometimes, but only if your property manager explicitly allows it and the railing is rated for additional loads. Treat balcony rail anchoring as a separate approval topic, because many railings are designed for guardrails, not for lateral fence loads and cantilevered gate forces.
How do I measure for a gate so it won’t become too narrow after installation?
Measure your clear opening, then subtract the fence frame and hinge hardware thickness. A common mistake is ordering a “36-inch gate” without accounting for how the frame reduces the swing opening. Aim for your required clear width when the gate is fully open, not just the nominal panel size.
If my patio is near a walkway, does the gate have to swing a certain direction?
For safety and usability, request guidance on swing direction, especially in shared areas. If the gate swings into a shared path, it can violate access rules. The article mentions outward-swinging on elevated decks, but for shared ground-level entries you may also need confirmation that the swing won’t block circulation.
What clearance should I leave between the fence and my door or sliding access?
Leave enough room for full door operation and the door swing arc, typically including a small buffer so the door won’t bump the gate hardware or screen fabric. Check for door stops, handle location, and whether the door can open fully when the gate is open too (some setups conflict).
Can I cover the fence with privacy fabric or shade cloth without making it unsafe in wind?
Yes, but only if it’s rated or designed for wind exposure and is fully removable. Fabric products can act like sails, increasing leverage on posts and hinges. Use tie points at multiple heights, install taut but not overstressed, and plan for quick removal during high-wind events.
How do I prevent rust or staining on aluminum or vinyl panels near sprinkler systems or coastal air?
Even “low maintenance” systems benefit from rinsing and hardware protection. Check post bases and any exposed metal connectors annually, use hot-dipped galvanized or stainless steel for any hardware you add, and consider placing the fence so water runoff from sprinklers doesn’t constantly pool at the base.
What maintenance should I do right before moving out to avoid losing my security deposit?
Document everything before you remove it, then reinstall any original items you displaced. If you anchored by surface mounting, clean and patch holes with a compatible filler, and keep receipts or notes on what you used. Also take photos of the restored patio surface and keep an email approval copy in your move-out package.
Is a partial fence (only on the neighbor-facing side) usually easier and cheaper than a full perimeter?
Often, yes. If your main issue is sightlines, a one- or two-sided setup can reduce hardware count, gate complexity, and anchoring needs. The tradeoff is reduced airflow and less wind shielding overall, so verify wind exposure on the remaining open sides before choosing panel heights and fabric add-ons.
What if I discover HOA restrictions after I already bought materials?
Stop installation and request the HOA or landlord’s written guidance first. If the restrictions change, having the exact product specs (height, type, color, mounting method) makes it easier to get an approval outcome. If approval is denied, keep packaging and invoices, since returns are time-sensitive.
Next Articles
How to Close Off an Apartment Patio: DIY Options
DIY ways to enclose an apartment patio with screens, panels, covers, or curtains, plus code, drilling, and leak-preventi
How to Enclose an Apartment Patio: DIY Step-by-Step
Step-by-step DIY plan to enclose a first-floor apartment patio with screen or glass panels, doors, sealing, and permits.
How to Fence Off a Patio: DIY Steps, Materials, and Tips
Step-by-step DIY plan to fence off a patio: layout, posts, gate, materials, obstacles, and upkeep for privacy and safety