Furnishing a patio comes down to four moves done in the right order: figure out how you'll actually use the space, measure and mark your layout before you buy anything, choose weather-appropriate furniture and shade solutions that fit those measurements, then layer in rugs, lighting, and finishing touches that make it feel like a room. Skip the order and you'll end up with a couch that blocks the door or a dining set that leaves no room to pull out the chairs. Do it in sequence and you can transform a bare concrete slab or wood deck into a functional outdoor room in a weekend. A patio daybed can be built by measuring your space, choosing weather-ready materials, and anchoring a sturdy frame that fits your layout and clearance needs.
How to Furnish a Patio: Step-by-Step DIY Layout Guide

Felix Brennan
15 Jun 2026
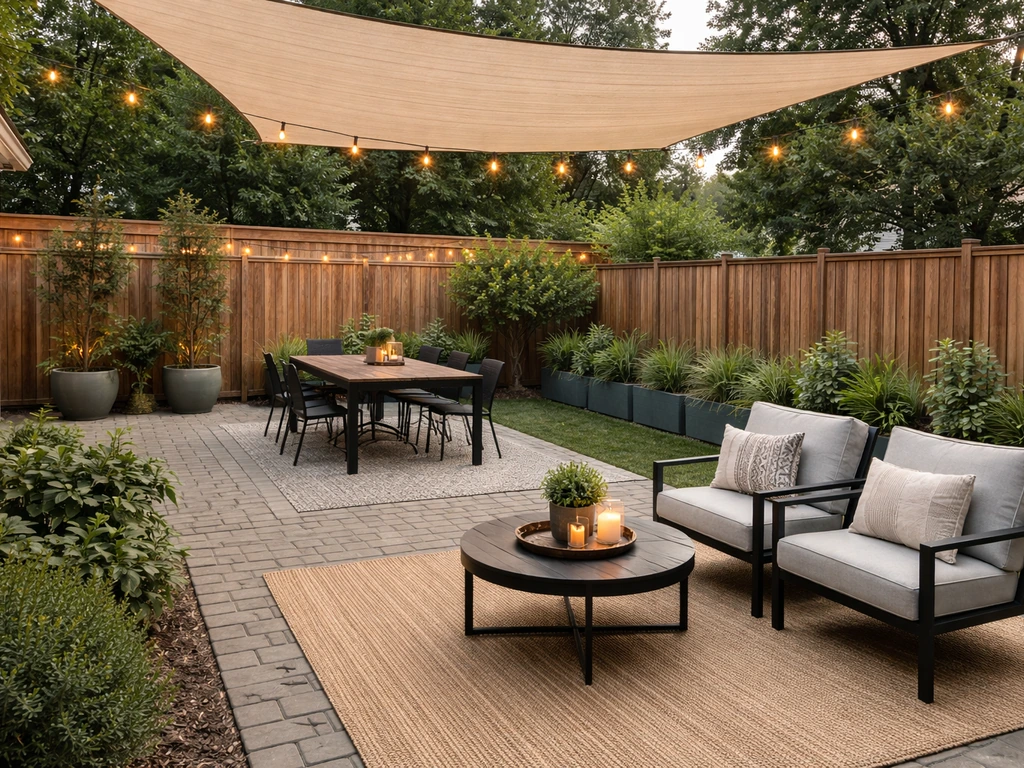
Start with what you actually want out of this space
Before you look at a single piece of furniture, spend five minutes being honest about how you use your patio right now versus how you want to use it. These two things are often different, and the gap between them tells you what to prioritize. There are three main use cases, and most patios lean toward one of them:
- Relaxing and lounging: you want deep-seated sofas, a daybed, or lounge chairs with a side table and good shade. The focus is comfort over square footage.
- Dining: you need a table and chairs as the centerpiece, with enough clearance to pull out seats and walk around the set comfortably.
- Entertaining: you need a mix of seating zones, possibly a bar cart or serving area, and room for people to circulate between spots without bottlenecking.
Next, list your constraints. How big is the space? Does a door swing outward into it? Are there support posts, steps, or a grill that can't move? Note your sun exposure (which direction does the afternoon sun hit?) and whether wind or rain is a regular problem. These constraints directly affect what furniture you can use and where you can put it. A patio that bakes in afternoon west sun needs a shade solution before you invest in fabric cushions. A space exposed to coastal wind needs weighted or secured pieces. Get this picture clear first and every decision after it becomes easier.
Measure the space and plan your layout before you shop
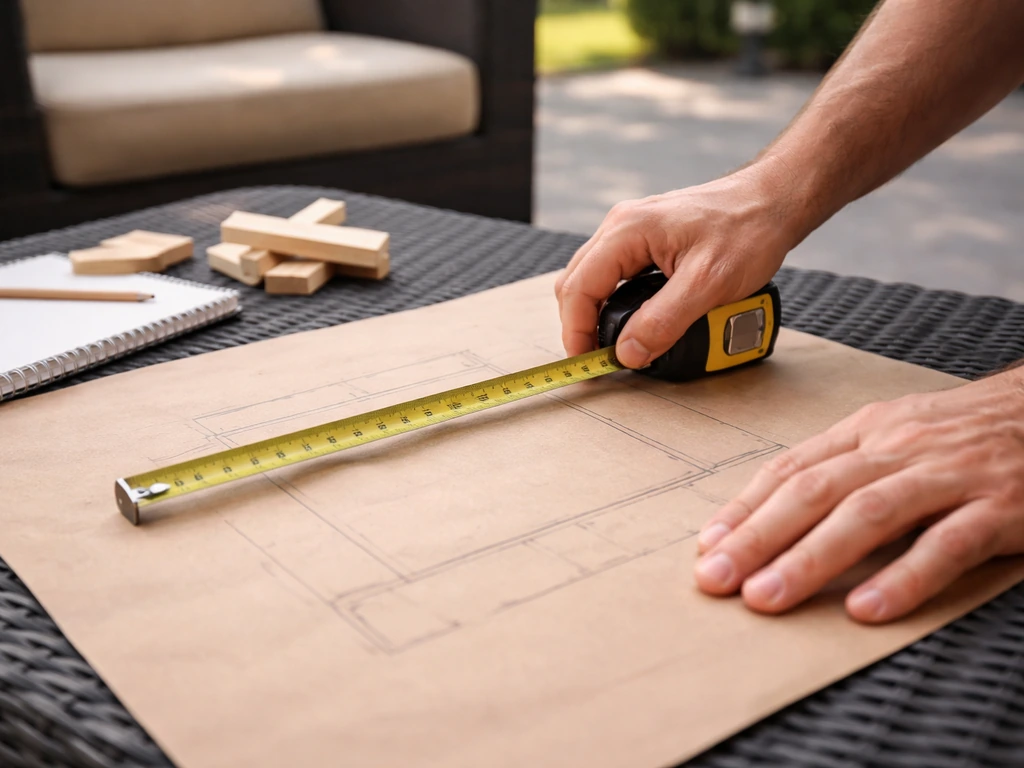
This is the step most people skip, and it's the reason so many patios end up with furniture that doesn't work. Grab a tape measure, sketch the footprint on paper, and mark every fixed obstacle: door swings, posts, stairs, outlets, and the grill pad. Your sketch doesn't need to be pretty. It just needs accurate dimensions.
Clearance numbers you need to know
Use these as your baseline when placing furniture on your sketch. Leave 30 to 40 inches of clearance in high-traffic areas like the path from the door to the yard. Secondary paths where fewer people walk can drop to 24 inches, but 30 inches minimum between furniture pieces is a good general rule. Around an outdoor dining table, plan for 36 to 48 inches from the table edge to the nearest wall or furniture so chairs can be pulled out and people can walk behind seated guests. Between a sofa and a coffee table, 14 to 18 inches is the sweet spot: close enough to reach a drink but not so close it's a shin hazard.
Door landings deserve special attention. The zone right outside a door needs to stay clear so the door can open fully and someone can step out without immediately bumping into a chair. Treat support posts and door swing arcs as hard boundaries on your sketch, the same way you'd treat a load-bearing wall indoors.
Zone your space on paper first
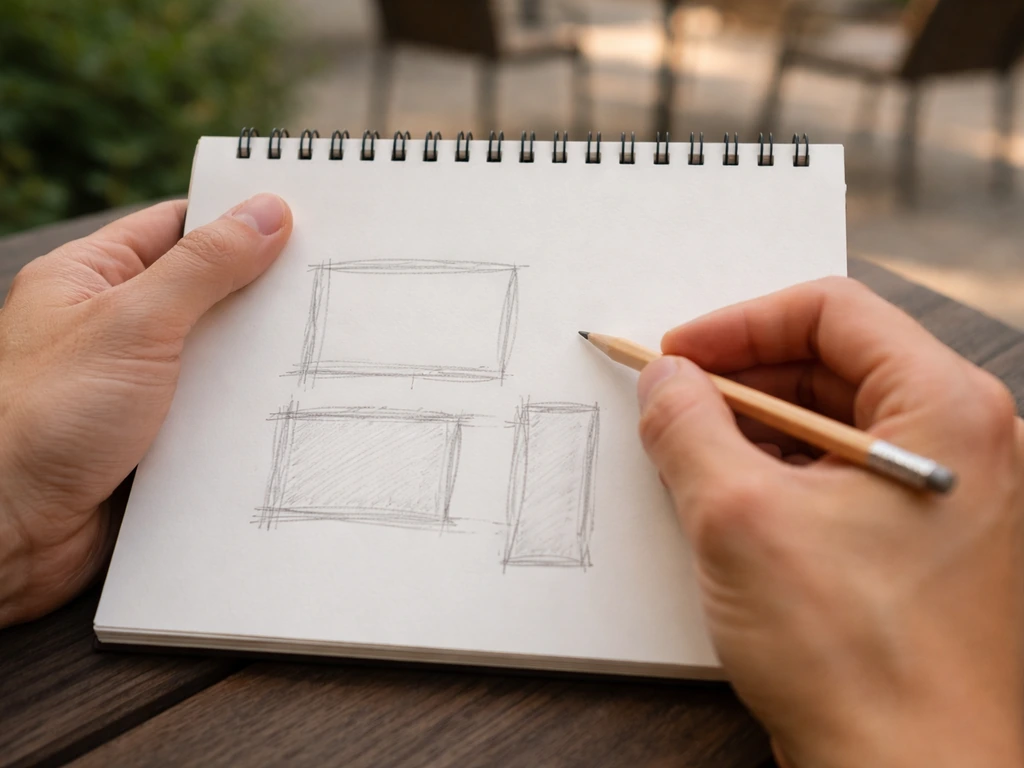
Think of your patio in zones rather than individual pieces. A dining zone, a conversation zone, and a passage zone. Draw rough rectangles for each on your sketch and make sure there's a visible path connecting them. Round dining tables are worth considering if flow is tight because they carve out more walking space around the perimeter than rectangular ones do. Once you have zones sketched, test the layout with cushions and painter's tape on the actual surface before you order anything. Place tape outlines where the sofa, table, and chairs would sit and walk through the space. You'll catch problems in ten minutes that would otherwise take weeks to return and re-order.
Seating and dining: choosing pieces and placing them right
Conversation seating

For a lounge setup, anchor the zone with a sofa or loveseat and add one or two chairs angled toward it. A sectional works well on larger patios and naturally defines the zone without needing walls. If you're working with a small or narrow space, two chairs facing each other with a small table between them achieves the same conversational feel in a fraction of the footprint. Keep the coffee table 14 to 18 inches from the sofa face. Side tables at arm height (roughly 24 to 27 inches) next to lounge chairs save people from balancing drinks on their laps.
Dining setup
A four-seat dining set can fit in roughly an 8x8 foot footprint if one side is against a wall, which handles the push-back clearance on that side. For a freestanding table with chairs on all sides, you need that full 36 to 48 inch buffer around the perimeter. Armchairs at the ends of a rectangular table improve elbow room significantly and are worth the slight extra width. If your patio is tight, look at a bench on one side: it can slide fully under the table and save 12 to 18 inches of depth when not in use. For small patios specifically, the same principles apply as you'd use when furnishing a compact outdoor space, where every inch of clearance matters and multipurpose pieces do the heavy lifting. If your goal is how to furnish a large patio, the same zone-and-clearance thinking helps you scale up without overcrowding. For more detailed guidance, follow a step-by-step approach to how to arrange furniture on small patio spaces so everything fits and still feels comfortable. These tips for planning and picking the right pieces also apply when you're learning how to furnish a small patio.
Orienting the furniture
Point seating toward the view you want to enjoy, whether that's a garden, a fire pit, or just the yard. If your fire pit is the focal point, use a clear arrangement strategy so seating has comfortable sightlines and the right clearance around the heat source how to arrange patio furniture around a fire pit. Angle chairs slightly inward rather than perfectly parallel to create a more natural conversation setup. Keep the dining zone closer to the door to the kitchen so carrying food doesn't require crossing the entire patio. If you have both a dining zone and a lounge zone, position them so one doesn't force people to walk through the other to get to the yard. If you’re working around a pool, treat it as a focal boundary and leave clear, water-safe paths so circulation and lounging stay comfortable arrange patio furniture around a pool.
Shade, wind protection, and making the space usable in real weather
A well-furnished patio that gets abandoned every afternoon because of brutal sun or wind isn't actually furnished: it's just decorated. Weather solutions aren't finishing touches. They're infrastructure, and they should be planned alongside your furniture layout, not after.
Shade options and how they integrate with layout
A retractable awning is the most flexible permanent option. If you go this route, mount it so the front edge clears at least 7 feet 6 inches from the patio floor for safe head clearance, with 9 feet or higher being the better target. That height requirement affects where on the wall you can mount it, so factor it into your layout early. A market umbrella anchored through a dining table or in a weighted base works well for smaller zones but needs to be secured against wind (weighted bases matter here). Pergolas and shade sails work well for larger areas and can define the overhead boundary of the whole space.
Screens and enclosures
If bugs and weather are a consistent issue, screening in part or all of your patio changes how usable it is year-round. A screened patio or semi-enclosed structure lets you keep furniture out longer without it being constantly pelted by rain or wind. Even a partial screen on the prevailing wind side of your patio significantly reduces how much grit, pollen, and debris land on your cushions and surfaces. Screened or enclosed patios also give you more flexibility with furniture materials since pieces aren't getting fully weathered.
Outdoor curtains for wind and privacy
Outdoor curtain panels hung from a drapery rod or tension wire along the perimeter of a pergola or covered patio soften wind, add privacy, and dramatically improve the room-like feel. For fabric longevity, hang panels so the bottom sits about half an inch to one inch off the ground. This prevents the hem from wicking moisture, dragging dirt, and wearing out from wind flutter. Use heavier, UV-resistant fabric on sun-exposed sides and sheers on sides where you want light diffusion without full blockage.
Flooring and surface upgrades that make a difference
Whatever surface your patio is built on (concrete, pavers, or wood decking) affects what you can place on it and how you protect it. A concrete slab is forgiving but can be harsh on feet and loud when chairs scrape it. A wood deck needs furniture with feet that won't dig in or trap moisture underneath. Pavers can be uneven, which means wobbly furniture legs unless you use adjustable feet or level the pavers in the furniture zone.
Outdoor rugs: materials and placement
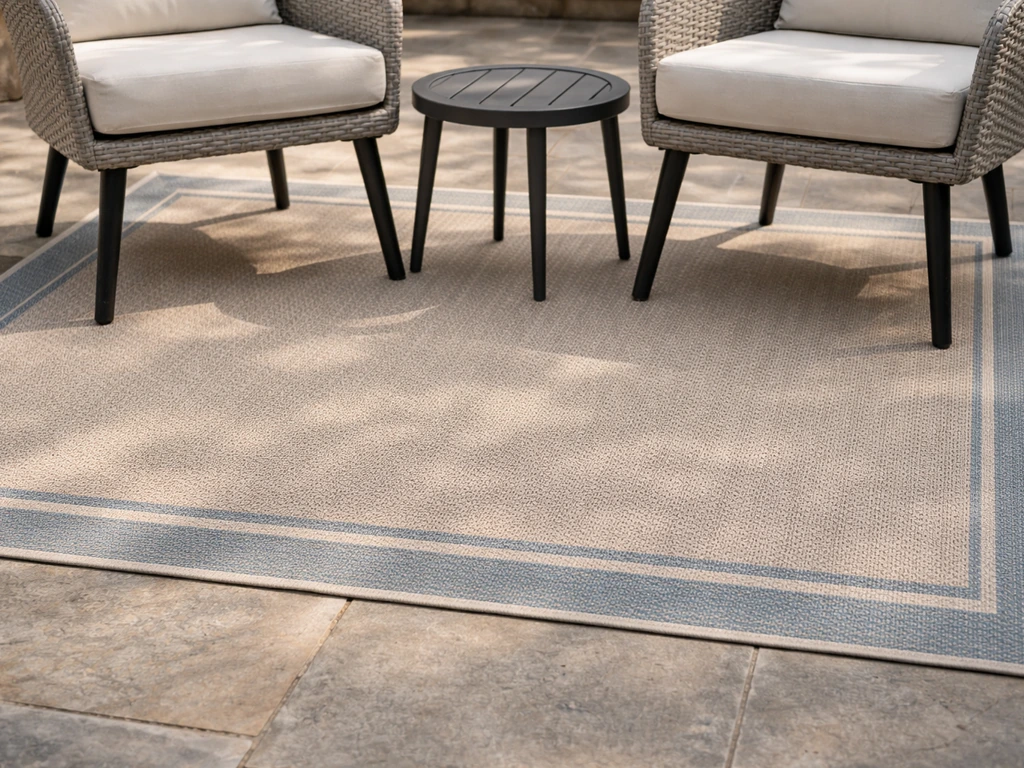
An outdoor rug is one of the highest-impact, lowest-cost upgrades you can make to a patio. It visually anchors a furniture zone, adds cushion underfoot, and ties the space together. For material, polypropylene is the most practical choice: it's UV-fade resistant, easy to hose off, and holds up in most climates. PVC and teak weave rugs handle moisture and wet conditions well. Coir fiber indoor-outdoor rugs are mold and mildew resistant and work well in covered spaces. No outdoor rug is completely weatherproof, so if yours sits in full rain exposure, plan to roll and store it when a major storm hits.
Size the rug so all front legs of seating furniture sit on it, or all four legs of the dining set rest on it. A rug that's too small makes the furniture look like it's floating. Use a rug with a rubber-backed or synthetic anti-slip underlay, especially on smooth concrete or composite decking where rugs tend to shift underfoot.
| Material | Best For | Key Strength | Watch Out For |
|---|---|---|---|
| Polypropylene | Most patios, full sun | UV-fade resistant, easy to clean | Can feel plasticky underfoot |
| PVC weave | Wet/humid climates, pool areas | Drains quickly, very durable | Gets hot in direct sun |
| Teak/wood weave | Covered patios, deck surfaces | Natural look, moisture resistant | Heavier, harder to store |
| Coir (indoor-outdoor) | Covered or semi-covered patios | Mold/mildew resistant, natural texture | Not ideal for heavy rain exposure |
Lighting, privacy, decor, and storage: the finishing layer
Outdoor lighting that actually works
Lighting is what makes a patio usable after sunset, which is when most people actually want to sit outside in summer. The simplest approach is a low-voltage landscape lighting system on a transformer that plugs into a GFCI-protected outdoor outlet. The transformer mounts near the outlet (following the manufacturer's instructions) and runs cable to path lights, uplights, or string lights. Make sure any outdoor outlet you're using is GFCI-protected: the NEC requires GFCI protection for most outdoor receptacles, and this matters for safety especially in wet conditions. Path lights along walkways or the edge of the patio perimeter improve safety and define the space visually. Spacing and placement matter more than wattage: evenly spaced fixtures at 6 to 8 foot intervals along a path do more for visibility than a single bright light dropped in the middle.
String lights draped overhead across a pergola or between posts are the fastest way to make a patio feel cozy at night. Use outdoor-rated fixtures only, and look for UL-listed products to ensure they've been tested for UV and temperature resilience appropriate for outdoor exposure.
Privacy without a full enclosure
If you're not ready to screen in the whole patio, privacy can come from vertical planters with tall grasses, bamboo, or dense shrubs along the border. Lattice panels with climbing plants achieve the same effect over time for very low cost. Outdoor curtains (mentioned above) do double duty here: they block wind and create a visual screen from neighbors. For instant privacy with minimal construction, a freestanding trellis or privacy screen on wheels can be repositioned as needed.
Storage, decor, and greenery
A deck box or outdoor storage bench handles cushions, throws, and outdoor accessories without requiring a trip inside. Position it at the edge of the seating zone so it doubles as extra seating when open or closed. For decor, keep it simple and weather-rated: a few ceramic or metal planters with low-maintenance plants (succulents, ornamental grasses, or herbs), a lantern or two, and an outdoor-rated mat at the entry point. Planters are one of the best finishing moves because they soften hard edges, add color, and signal that the space was intentionally designed. Keep them weighted or secured if wind is a factor.
Seasonal maintenance and upgrade checklist
A furnished patio lasts much longer when you treat it like the outdoor room it is and do a little maintenance at each season change. Here's a practical checklist organized by timing:
Spring (before first use)
- Inspect all furniture for rust, cracking, mold, or broken welds. Address rust on metal pieces with a protective metal spray before it spreads.
- Wipe down all surfaces and clean cushion covers. Check for mildew and treat with an appropriate cleaner before the season starts.
- Unroll and inspect outdoor rugs for any mold or damage from storage.
- Test all outdoor lighting: replace bulbs, check GFCI outlets, and inspect low-voltage cable connections.
- Check awning fabric and hardware for winter damage. Test the extension mechanism.
- Inspect screen panels or enclosure frames for tears, loose fasteners, or warping.
Midsummer (midseason check)
- Clean furniture and cushions again, especially after heavy use or rain.
- Wax metal and wood furniture surfaces. Waxing twice a year (before summer and before winter) significantly extends finish life.
- Check that rug backing hasn't shifted or worn through. Reposition if needed.
- Adjust curtain hardware if panels have stretched or shifted in the heat.
- Trim any planters or vines that have grown into walking paths.
Fall (before off-season)
- Clean all furniture thoroughly and allow to dry completely before storing or covering.
- Store cushions in breathable bags or an indoor dry space. Never seal cushions in airtight bags, which traps moisture and causes mold.
- Cover furniture that stays outside with breathable, vented covers that won't trap moisture underneath.
- Roll and store outdoor rugs in a dry location.
- Apply wood treatment or sealant to teak and wood pieces after cleaning.
- Retract and cover awnings to protect from ice and heavy snow loads.
- Turn off and store any solar lights or disconnect low-voltage systems if freezing temps are expected.
Upgrade opportunities as you go
Most people don't furnish a patio all at once, and that's completely fine. Start with the furniture pieces that match your primary use case, add shade next since it's what makes the space actually usable, then layer in the rug, lighting, and decor over the following season. If you find yourself using the space constantly but running out of room, that's a good signal to look at rearranging furniture zones or exploring how to arrange patio furniture for a specific context like around a fire pit or pool. If the space still feels cramped even after rearranging, the upgrade path often leads to screening or enclosing the patio to extend both the usable square footage and the season.
FAQ
How do I place both a dining area and a lounge area so people can still walk through easily?
If the patio is shared between dining and lounging, keep the dining zone closer to the door and route passage around one side of it (not through the seated area). Do a tape-test for chair pull clearance, then confirm people can reach the grill or kitchen without crossing seated traffic.
What should I do if a door swing makes it hard to fit patio furniture?
Use the door-swing arc as a hard boundary, then leave extra clearance for the “step-out path,” usually the first 2 to 3 feet outside the doorway. If the patio is tight, use smaller-profile chairs or a bench at one side so fewer items block the stepping zone when the door opens.
What changes if my patio gets strong wind most afternoons?
When wind is an issue, prioritize weighted bases, furniture that can be anchored, and pieces with lower sail area (shorter table legs, narrower umbrellas). For umbrellas, ensure the pole is secured and use a cover, for rugs use a non-slip underlay, and consider screen panels on the prevailing wind side.
How should I furnish a patio if it gets frequent rain and I cannot bring everything inside?
For full rain exposure, plan for mobility. Choose quick-dry, rust-resistant hardware, then roll and store rugs and keep cushions in sealed storage bins or bring them in during storms. If you use a screened or covered approach, you can keep more fabric-based items outside year-round.
What outdoor rug size and grip should I choose to stop shifting and wobbling?
On smooth concrete or composite decking, rugs shift unless you use a rubber-backed or synthetic anti-slip underlay and trim nothing where the furniture leg needs stability. Also size the rug so seating front legs land fully on it, which prevents rocking and makes the zone look intentional.
What is the best order to buy items if I want my patio to be usable quickly?
Start with the furniture you will use daily, then add shade as soon as you know where the afternoon sun lands. If you buy lighting early, run cable paths to the outlet and keep transformer placement convenient for seasonal access.
Is it worth screening in only part of my patio, or should I fully enclose it?
Yes, but keep it intentional. A partial screen on the prevailing wind side often helps enough to justify patio cushions sooner than full enclosure, and it reduces debris and pollen on surfaces. Just confirm you still maintain clearance for door swings and any access to grills or outlets.
How do I choose between a conversation layout and a view-focused layout?
If your main goal is conversation, angle chairs slightly inward and place the coffee table at the reach distance from the sofa. If your main goal is viewing (garden or fire pit), rotate the seating to sightlines first, then adjust spacing so people can still pull chairs out at the edges.
What should I do if my patio pavers are uneven and chairs wobble?
If the patio surface is uneven, prioritize leveling solutions in the furniture zone (adjustable feet or shims) and avoid relying on stacked coasters to stabilize chairs. For pavers, check each leg contact point before purchasing, then test again after seasonal settling.
How can I light my patio for safety without making it feel harsh?
Outdoor lighting should be layered, not only bright. Use path lights for safety along routes, then add string lights or uplights for ambiance. Ensure every outdoor outlet is GFCI-protected, and keep fixture spacing even (distance matters more than wattage).
What maintenance matters most for keeping outdoor furniture and fabrics from deteriorating?
Store cushions and fabric accessories in a way that prevents moisture buildup. Use breathable covers when things are dry, sealed bins for long storage, and keep items off the ground if possible. For rugs, roll and store after major storms to reduce mildew risk.
My patio still feels cramped, what should I change first: size, placement, or piece type?
When the patio feels cramped after you plan zones, the quickest fix is usually to reduce visual bulk: swap bulky chairs for armless styles, use a bench on one side of a table, choose a smaller footprint for the coffee table, or switch to a round dining table to improve walking clearance around edges.
Next Articles
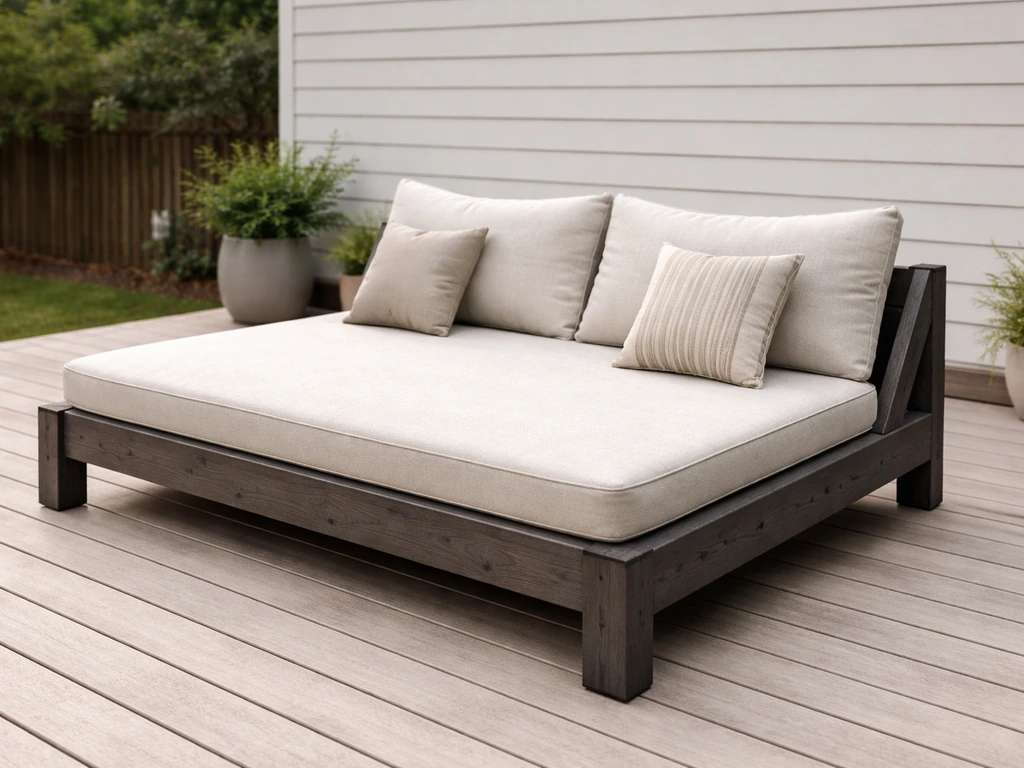
How to Build a Patio Daybed Step by Step DIY Guide
Step-by-step DIY plan to build a weatherproof patio daybed with materials, frame, backrest, comfort details, and upkeep.
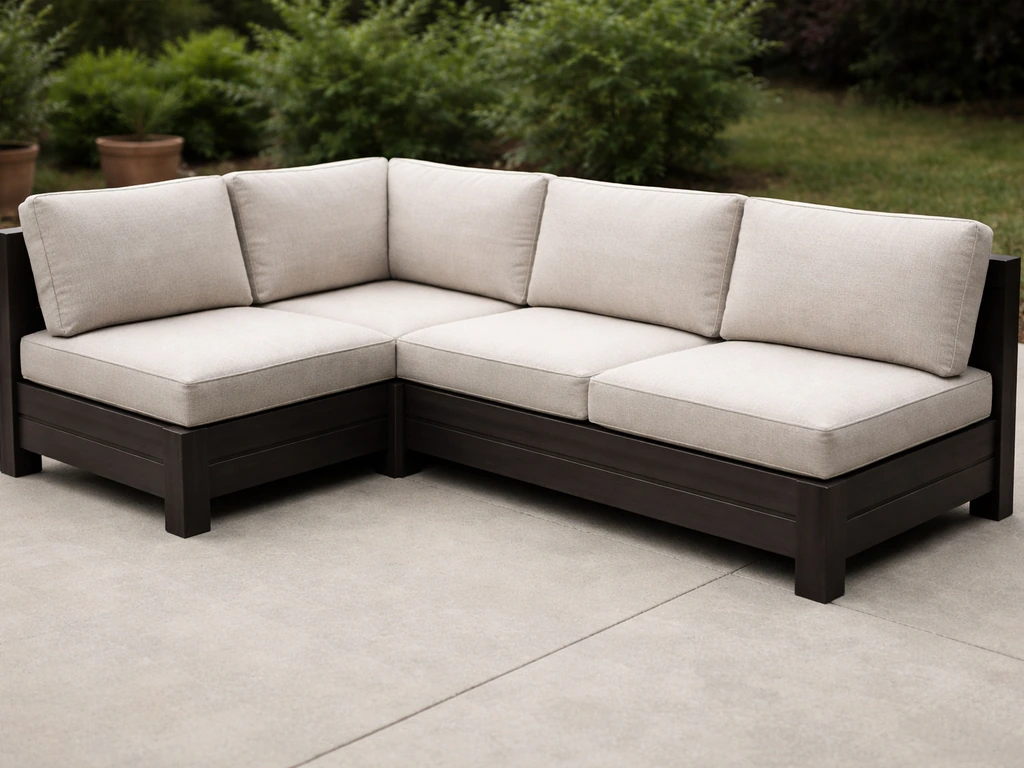
How to Build a Patio Sectional Step by Step
Step by step DIY guide to build a weatherproof patio sectional with plans, materials, frame assembly, and stable L conne
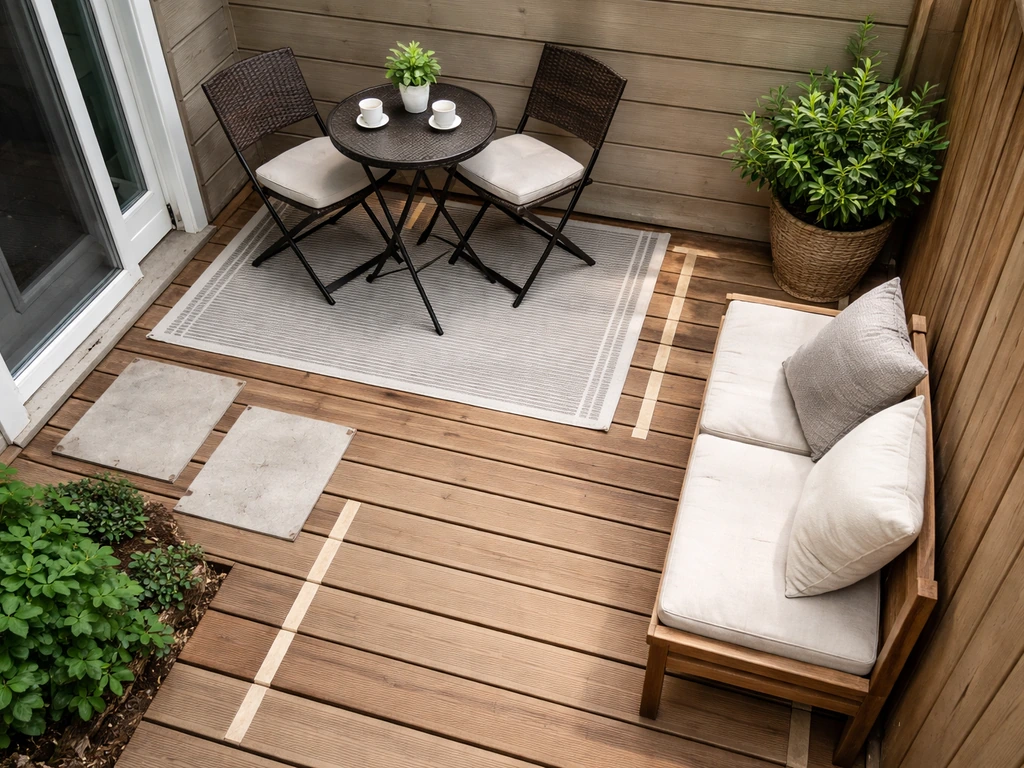
How to Arrange Patio Furniture on a Small Deck
Step by step layouts for small decks, space saving seating and tables with clearance rules, traffic flow, and comfort ti