The most effective way to keep patio blinds from blowing in the wind is to combine proper tensioning with physical anchoring at both the bottom and sides of the shade. That means securing the bottom rail with weights or tie-down straps, adding side guide cables or tracks to prevent lateral flapping, and making sure your mounting brackets are fastened into solid framing rather than just into siding or trim. Do all three and even a breezy afternoon stops being a problem. To learn how to protect a patio from wind in general, start with a plan for reducing gusts before they hit the shade.
How to Keep Patio Blinds From Blowing in the Wind

Felix Brennan
27 Jun 2026
Why your patio blinds keep blowing in the first place
Wind hitting a flat, flexible surface creates a pressure difference: higher pressure on the windward face, lower pressure on the leeward side. That gap is what causes the fabric to billow outward and then snap back, which is the flapping you hear. Every time it snaps, it tugs on the mounting hardware. Over a season, that repeated motion loosens screws, fatigues brackets, and can eventually pull the whole shade free.
The real culprits are usually one or more of these: the shade isn't tensioned tight enough so it moves freely in the breeze, the bottom hem is unweighted and acts like a flag, the sides have no guides so the fabric can swing outward at any angle, or the mounting points aren't anchored into structural members so the brackets flex with every gust. A poorly fitted shade that's slightly too narrow for the opening also flaps because wind curls around the edges and gets behind the fabric.
Wind speed matters a lot here. Outdoor shades are generally fine up to around 20 to 25 mph. Above 25 mph, even a well-secured shade starts to experience real stress loads, and fully extended awnings can sustain damage at those speeds. If you're in a region where afternoon gusts regularly hit 30 mph or more, the solution isn't just better tie-downs. It also means choosing the right shade material and design for your conditions, which we'll get into later.
Quick fixes to stop the flapping right now
If your shade is banging around today and you need a fast solution, here are the things you can do immediately without buying much or waiting for parts to arrive.
- Add weight to the bottom rail: Clip-on curtain weights, a length of chain slipped inside a hem pocket, or purpose-made blind weights sewn or clamped to the bottom edge all reduce flutter dramatically. Even a few ounces distributed evenly across the bottom hem make a big difference.
- Use bungee cords or tie-down straps: Run a bungee or ratchet strap from the bottom hem ring or grommet down to a deck post, railing, or ground anchor. This keeps the shade pulled taut rather than swinging freely.
- Partially retract the shade: If you have a roller blind or retractable shade, rolling it up by 20 to 30 percent reduces the total sail area catching the wind. It's not ideal for shade coverage, but it stops the damage until you can make a proper fix.
- Clip the sides to existing posts or columns: Use heavy-duty binder clips, outdoor snap hooks, or hook-and-loop tie-downs to attach the side edges of the shade to nearby structural posts. This eliminates lateral swing.
- Check and retighten all bracket screws: Wind-loosened hardware is incredibly common. Go around every bracket with a screwdriver or drill and check that nothing has backed out. A loose bracket amplifies every load the wind puts on the shade.
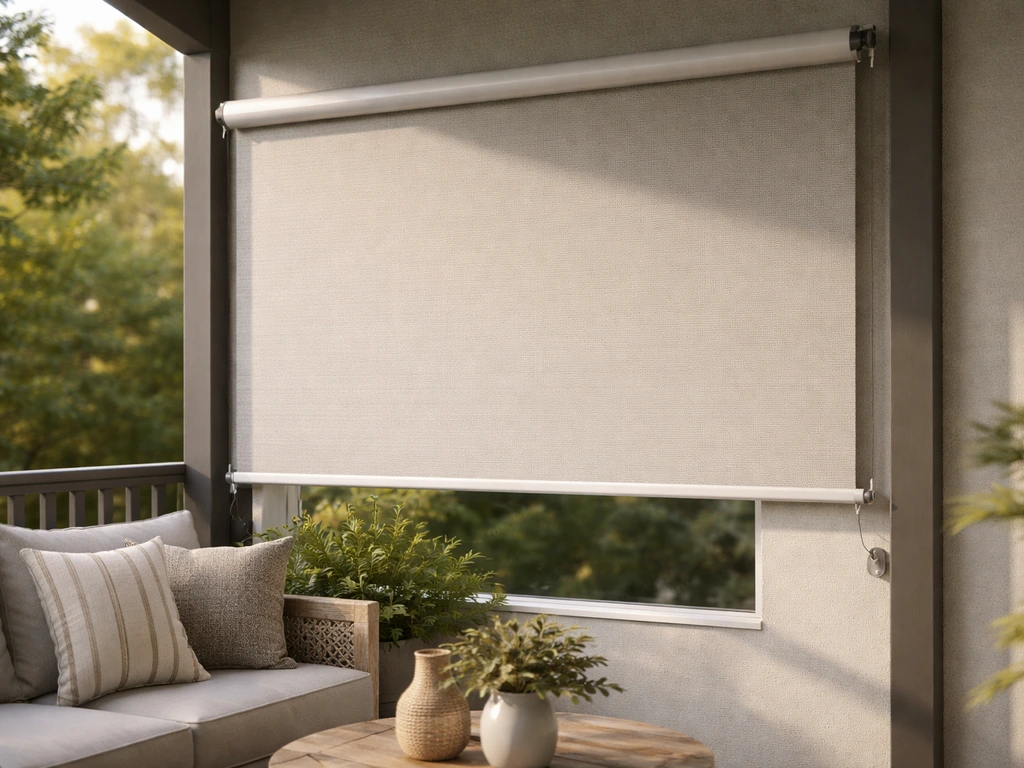
How to anchor and mount patio blinds properly
Temporary fixes buy you time, but the real solution is correct mounting. Most wind problems trace back to brackets screwed into hollow siding, vinyl trim, or a single layer of decking with no solid material behind it. When the anchor point flexes, the whole shade moves.
Mount into structural framing

Use a stud finder to locate the wall studs, header, or structural posts behind your mounting surface before you drill. For a patio pergola or wood post-and-beam structure, you usually have solid wood to work with throughout. For a house wall, you need to hit studs or the rim joist. Use 3-inch structural screws rather than the short sheet-metal screws that typically come with shade hardware. If you're mounting into concrete or masonry, use concrete anchors (sleeve anchors or wedge anchors rated for outdoor use) rather than plastic expansion plugs, which work loose over time.
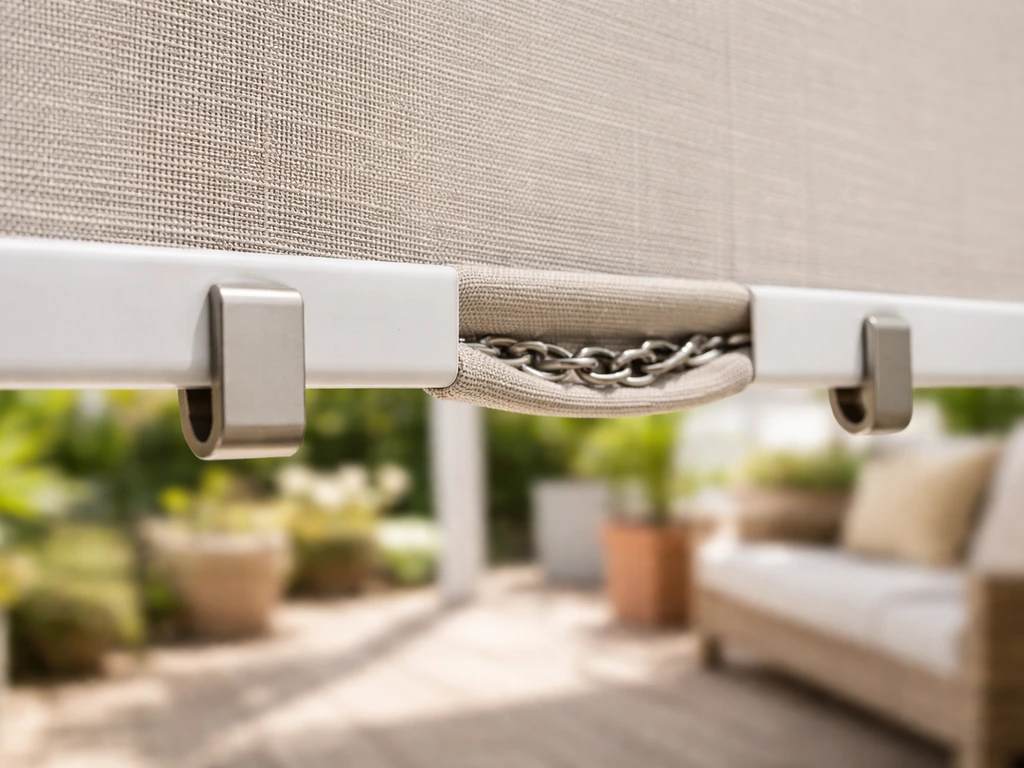
Secure the bottom of the shade
A bottom-rail anchor is one of the most effective things you can add. Screw a small eye bolt or anchor hook into the decking or post at the point where the shade hangs at full extension. Thread a bungee cord, stainless steel wire, or an adjustable nylon strap from the shade's bottom grommet or hem ring down to that anchor. Pull it taut enough that the shade has visible tension but not so tight that it strains the top mounting bracket. About 1 to 2 inches of give is right. This single step eliminates most bottom-edge flapping.
Install side guide cables or tracks
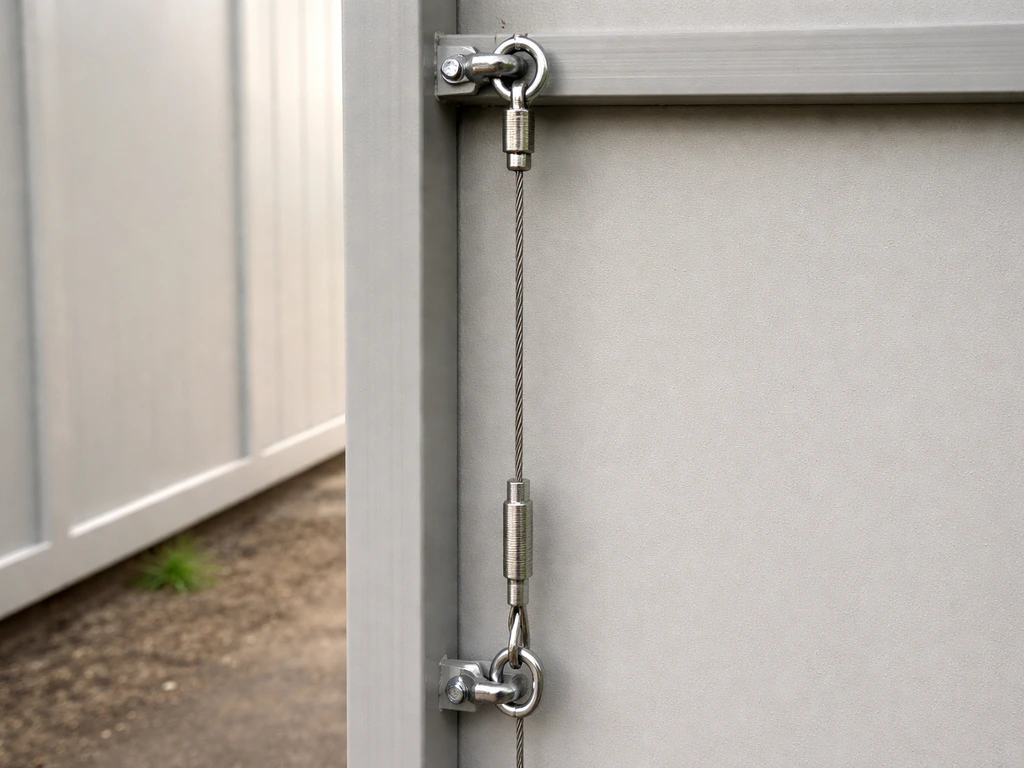
Side guides are the upgrade that makes the biggest visible difference. A guide cable system uses stainless steel wire strung vertically between a top anchor and a bottom anchor on each side of the shade opening. The shade's side hem slides along the cable, which prevents it from swinging laterally. More robust systems use aluminum channel tracks (similar to what you'd use for an outdoor roller shade system) that fully capture the side edge of the fabric. Track systems essentially eliminate wind catch on the sides entirely. They cost more, around $40 to $100 per side depending on length, but they're worth it for any shade on an exposed or coastal patio.
Wind-resistant hardware and add-ons worth knowing about
Not all outdoor shade hardware is built equally, and a few specific additions make a measurable difference in windy conditions.
- Weighted bottom bars: Some roller shades come with thin aluminum bottom rails that weigh almost nothing. Replacing or supplementing with a heavier steel or filled-aluminum bar keeps the shade tracking straight and reduces flutter.
- Tie-down kits: Several shade manufacturers sell purpose-made tie-down kits with stainless steel eye bolts, adjustable straps, and snap hooks. These are more weatherproof than DIY bungee solutions and hold up better over multiple seasons.
- Lateral cable tensioners: These stainless turnbuckles let you adjust side cable tension easily as the season changes. Fabric stretches slightly in summer heat, so having an adjustable tensioner means you can take up slack without re-anchoring the whole system.
- Heavy-duty outdoor mounting brackets: Look for brackets rated for a minimum of 50 lbs and made from galvanized steel or marine-grade aluminum. Powder-coated brackets look nicer but check the base metal underneath.
- Hook-and-ring systems at multiple points: Instead of one central bottom tie-down, use three or four anchor points spaced evenly across the bottom hem. This distributes load and prevents the shade from bowing in the middle while the edges stay tied.
Weatherproofing and reducing the sail effect
One of the most underused strategies for windy patios is choosing or modifying shade fabric to reduce the sail effect. A solid, impermeable fabric catches every bit of wind pressure and transfers all of it to your mounting hardware. An open-weave or perforated fabric lets some wind pass through, which dramatically reduces the billowing force.
Most outdoor shade fabrics are rated by openness factor, expressed as a percentage. A 1% openness fabric is nearly solid and blocks almost all light but catches maximum wind. A 10% or higher openness fabric lets a meaningful amount of airflow through, reducing the pressure load while still blocking UV and cutting glare. If you're in a regularly windy area, look for fabrics in the 5 to 10% openness range as a good balance between shade and wind resistance.
You can also reduce sail effect through smarter venting. If your patio has a solid roof or pergola with a shade hanging below it, leaving a 2 to 4 inch gap at the top of the shade rather than running it completely wall-to-wall allows pressure to equalize across both faces of the fabric. That gap eliminates the suction effect that causes violent snapping. Similarly, if you have the option to mount the shade slightly in from the edge of a structure rather than flush with the outer face, the overhang creates a partial windbreak that reduces direct wind load on the fabric.
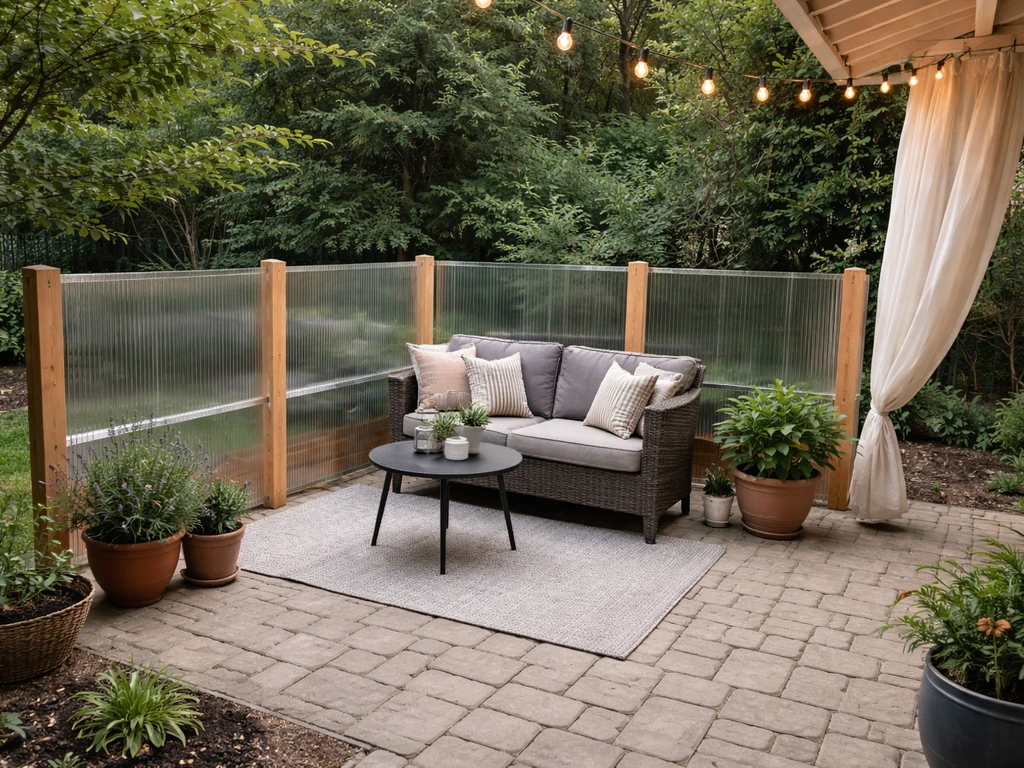
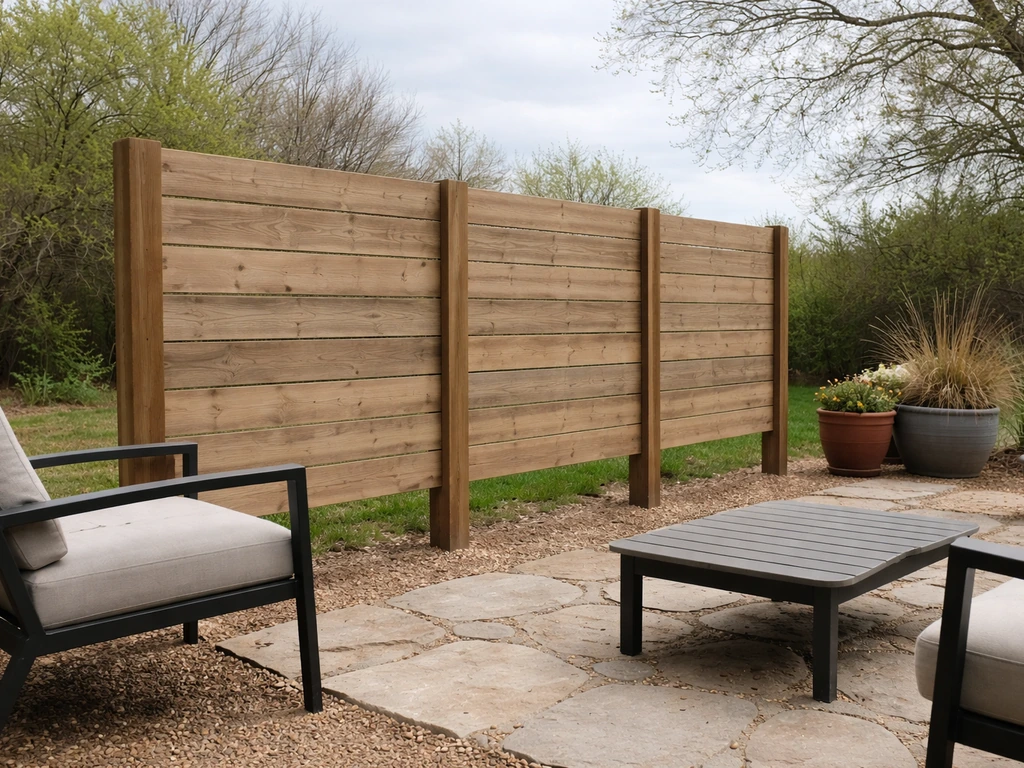
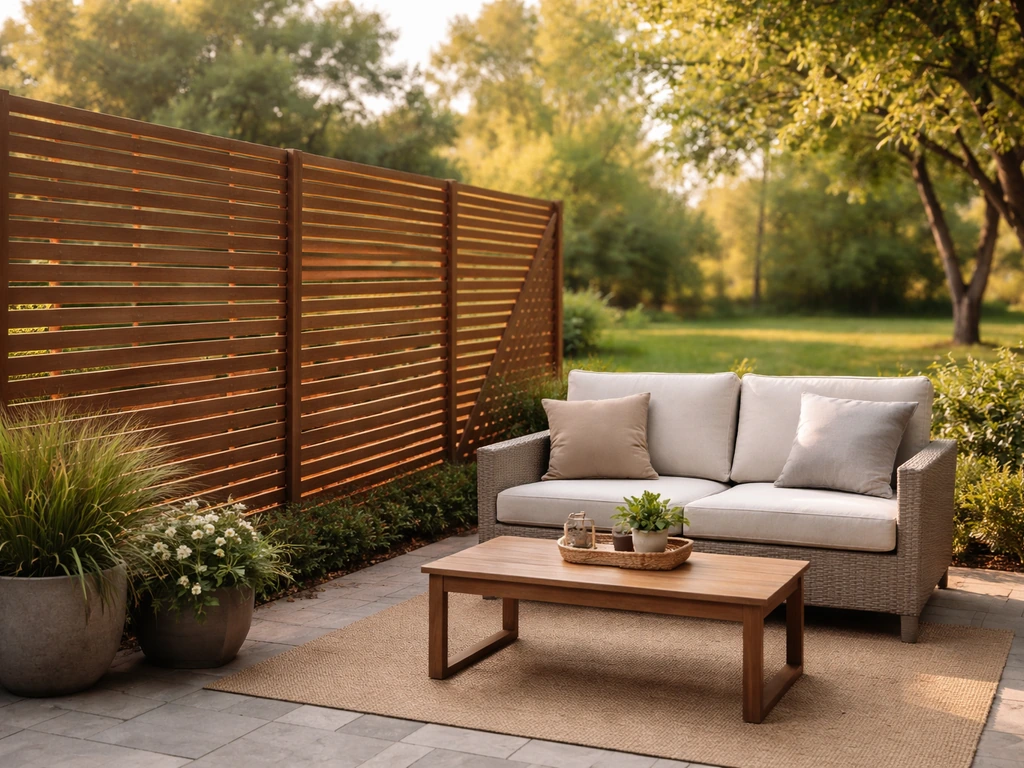
If you're working on a more permanent wind solution for the whole patio, building or adding a structural windbreak like a privacy screen, louvered wall, or planted hedge can reduce the ambient wind reaching your shade system significantly. If you want a more permanent option, build a patio windbreak like a privacy screen, louvered wall, or hedge to cut wind before it reaches your shades structural windbreak. A solid barrier reduces wind speed in the sheltered zone behind it, and while the immediate windward side sees higher pressure, the leeward area where your seating and shades live can see wind reduction of 60 to 80 percent depending on barrier height and density. That's a bigger impact on shade stability than any tie-down system alone.
Choosing the right patio shade or blind for your wind conditions
If you're buying a new shade or replacing one that's been destroyed by wind, matching the product to your wind conditions upfront will save a lot of frustration. Here's how common patio shade types stack up in windy conditions.
| Shade Type | Wind Resistance | Best Use Case | Key Weakness |
|---|---|---|---|
| Outdoor roller shades (fabric) | Moderate with tie-downs | Covered patios, pergolas | Side edges flap without guides or tracks |
| Bamboo/wood roll-up blinds | Low to moderate | Low-wind patios, decorative use | Slats spread in wind, ties can fail |
| Exterior zip-track shades | High | Exposed patios, coastal areas | Higher cost, professional install often needed |
| Shade sails (triangular/square) | Low without tensioning | Open areas with multiple anchor points | Must be very tightly tensioned or they flap badly |
| Retractable awnings | Low when extended | Covered seating areas | Must be retracted above 25 mph |
| Outdoor panel curtains | Low | Light breezes, decorative | Not suitable for consistently windy patios |
Zip-track shades (also called zip-screen shades or zipscreen blinds) are the gold standard for windy locations. The fabric edge runs inside a recessed aluminum channel track on each side, so the shade is completely constrained. Wind cannot get behind the fabric or lift the edges. They cost significantly more than standard roller shades, often $300 to $800 per panel installed, but they're the only shade type that's genuinely built for exposed, high-wind conditions without constant maintenance.
For most homeowners doing a DIY install on a budget, a quality outdoor roller shade with an open-weave fabric, a heavy bottom rail, bottom tie-down anchors, and side guide cables hits the sweet spot between cost and wind resistance. If you still notice flapping, focus on blocking wind on your patio by adding side guide cables, a weighted bottom rail, and secure tie-down anchors block wind on your patio. That setup handles the average windy afternoon without needing to be retracted every time a gust picks up.
Maintenance and seasonal adjustments to keep it working
Getting your shade secured once is only half the job. Wind exposure is ongoing, and a few maintenance habits keep the fix working season after season rather than having to start over every spring.
- Check and retighten all mounting screws at the start and end of each season. Wind vibration backs out hardware slowly, and catching a loose bracket early is far easier than repairing a bracket that's pulled through the substrate.
- Inspect and re-tension side cables or straps in late spring and early fall. Fabric stretches slightly in summer heat and contracts in cooler weather. What was taut in May may be loose by September. Most turnbuckle or strap systems take less than five minutes to adjust.
- Look at the bottom hem weighting every season. Clip-on weights can fall off, stitched-in weights can shift toward the center, and chain weights can corrode. Replace or redistribute as needed.
- Clean the fabric according to manufacturer guidelines, typically a rinse with a garden hose and a mild soap solution. Dirt and mildew add weight unevenly and can cause the shade to hang at an angle, which increases wind catch on the low side.
- Before major storm events or sustained winds forecast above 25 mph, roll up or retract your shades entirely. No mounting system is a substitute for removing the load. Retractable and roller systems exist precisely for this reason, and using that feature protects both the shade and your mounting hardware.
- At the end of the season, store fabric shades indoors if your winters include ice or heavy snow. Repeated freeze-thaw cycles degrade both fabric coatings and the plastic or aluminum hardware components faster than UV exposure does.
If you've gone through these steps and still find yourself fighting the wind every season, the real solution may be addressing the wind at the source rather than just the shade. Adding a physical windbreak, whether that's a louvered privacy wall, a planted screen, or a built pergola enclosure, reduces the wind load on everything in that outdoor space, not just your shades. If you want a more permanent solution, consider windbreaks how to block wind on patio like a planted screen or a louvered privacy wall near the seating area. That's a bigger project, but it's also a more permanent fix that makes the whole patio more usable year-round.
FAQ
What should I do if my patio blinds are flapping mostly at the top, not the bottom?
Top flapping usually means the fabric is not tensioned correctly across the full height, or the top brackets are flexing. Recheck that the head rail is level, the mounting screws are long enough to reach structural framing, and that any spring tension or roller shaft alignment is set so the shade travels smoothly without slack.
Can I stop wind from getting behind the shade without buying a zip-track system?
Yes, you can reduce behind-wind pressure by sealing gaps and adding side containment. Install side guide cables or tracks, and make sure the shade is not slightly too narrow (curling at the edges lets wind get in). Also consider a small top gap management approach, like leaving a controlled 2 to 4 inch vent gap under a pergola instead of running the shade completely flush.
How tight should I make the bungee or wire when anchoring the bottom rail?
Aim for visible tension with movement limits, about 1 to 2 inches of give when the fabric is pushed gently by hand. If the line feels like it is lifting or straining the top mounting brackets, loosen it slightly to avoid loosening hardware over time.
Is it okay to mount the brackets into vinyl siding or trim if the screws feel solid at first?
Usually no. Even if screws initially bite, vinyl siding, hollow trim, and multi-layer composites flex under gust cycles. Use a stud finder to mount into studs, rim joists, pergola beams, or use appropriately rated anchors for concrete or masonry.
What’s the safest way to anchor eye bolts or hooks for the bottom-rail tether?
Anchor to a structural surface, not just decking boards. If you are on deck planks, confirm what’s beneath them, then install into joists or posts. For outdoor exposure, use corrosion-resistant hardware (stainless steel or rated outdoor anchors) so the tether does not fail from rust.
Which is better in windy areas, side guide cables or side tracks (roller-shade style)?
Side tracks typically offer the most containment because they capture the fabric edge and prevent lateral lift. Cable guides help a lot and cost less, but if you are in coastal or consistently gusty conditions, tracks are more likely to eliminate the remaining side flapping.
My shade is the right width on paper, but it still flaps. How do I check fit in the real world?
Measure the opening after accounting for how the fabric sits when fully extended. If the shade is even slightly short, wind can curl around the edges and reach the rear. Recheck extension length and confirm the hem or side edges engage the guides without binding.
How do I know whether my wind problem is material related or hardware related?
Do a quick test: if the shade flaps less when the fabric is partially blocked (for example, adding a temporary wind screen at the windward side), it suggests a sail effect or fabric openness issue. If it flaps the same regardless of fabric exposure and you see bracket movement or loosening, it points to mounting and tension problems.
Are open-weave or perforated fabrics always the better choice?
They reduce billowing force, but they also change privacy and glare control. Use openness in the 5 to 10% range as a common balance for windy patios, but if you need stronger privacy at daytime, you may accept lower openness and compensate with side tracks and better bottom anchoring.
Can I leave the shade partially extended during wind instead of retracting it?
Avoid leaving it fully extended in high gusts. If you must keep it out, focus on reducing wind load first (side containment, bottom tethering, and ensuring hardware is structural). When gusts exceed your comfort threshold, retract it rather than relying on straps alone, especially for fully extended awning-style setups.
What maintenance should I do to keep the wind fix working year after year?
At least once per season, inspect tether lines for fraying or stretch, check that bottom hooks and eye bolts are still tight, and retighten mounting screws if they have any play. Also verify the guide cables or track screws are not loosening from vibration.
What if my patio structure is not a house wall, for example a metal pergola or freestanding post?
You can still anchor effectively, but you may need different fasteners. For metal frames, use hardware rated for outdoor loads and ensure the attachment points are not just decorative thin members. Where possible, tie into the thicker beams or cross braces so gusts do not deform the frame.
Should I add a windbreak even if I already tightened the blinds?
If your patio is exposed and gusts are frequent, a windbreak can reduce the overall wind speed reaching the shade, often making the biggest difference. Place it strategically near the seating zone so it creates a sheltered pocket behind it, then keep the shade containment hardware as your second line of defense.
Next Articles
How to Protect Patio From Wind: DIY Shelter Guide
Step-by-step DIY guide to shelter and protect your patio from wind with smart layout, barriers, panels, and enclosures.
How to Build a Patio Windbreak Step by Step DIY Guide
Step-by-step DIY patio windbreak plan: choose style, measure wind, build secure posts and panels, weatherproof, maintain
How to Block Wind on Patio: Quick Fixes and Best Options
DIY ways to block wind on patio: quick fixes and best long-term windbreaks with placement, height, steps, and tips.