
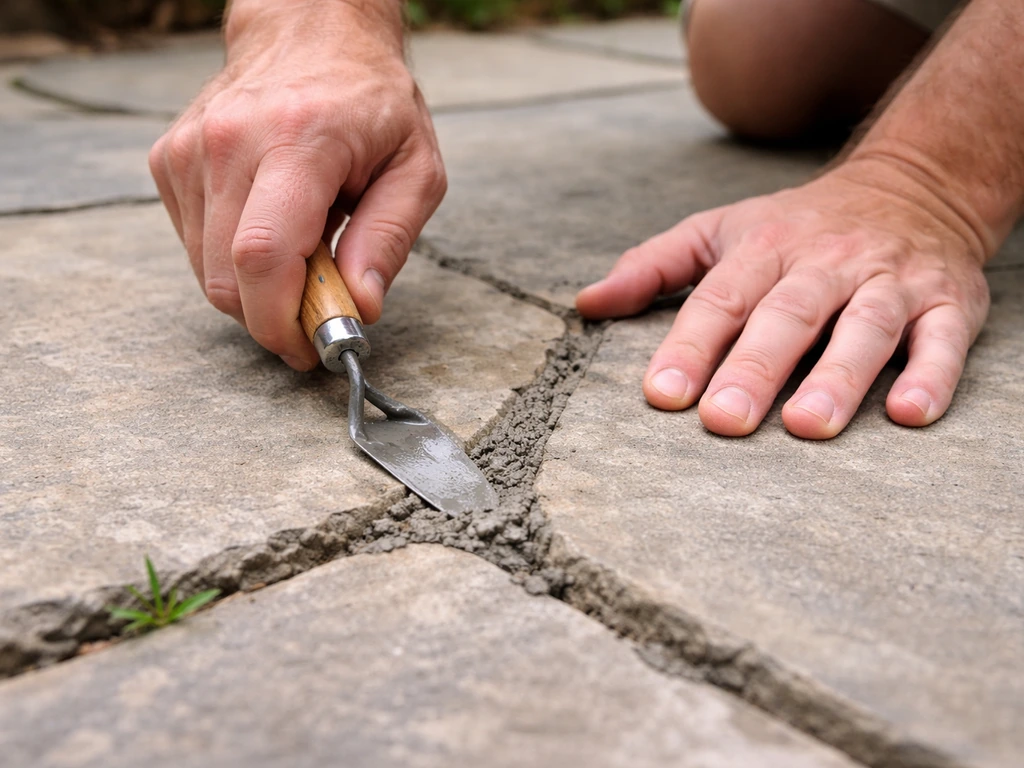
To point patio flags, you rake out the old crumbling mortar to at least 20mm deep, clean the joints thoroughly, dampen them, then pack in a fresh sand-and-cement mix (or a polymer-modified mortar) and tool the surface smooth so it sheds water. You can apply the same outdoor-setup thinking to a small patio by choosing flowers that suit the light and season, then arranging them in containers, planters, or raised pockets between paving. Done right, a re-point takes a weekend and gives you joints that stay solid for a decade or more. Done badly, the mortar fails again within a season. The difference almost always comes down to prep.
How to Point Patio Flags: DIY Repointing Guide

Felix Brennan
9 Jul 2026
When your patio actually needs re-pointing
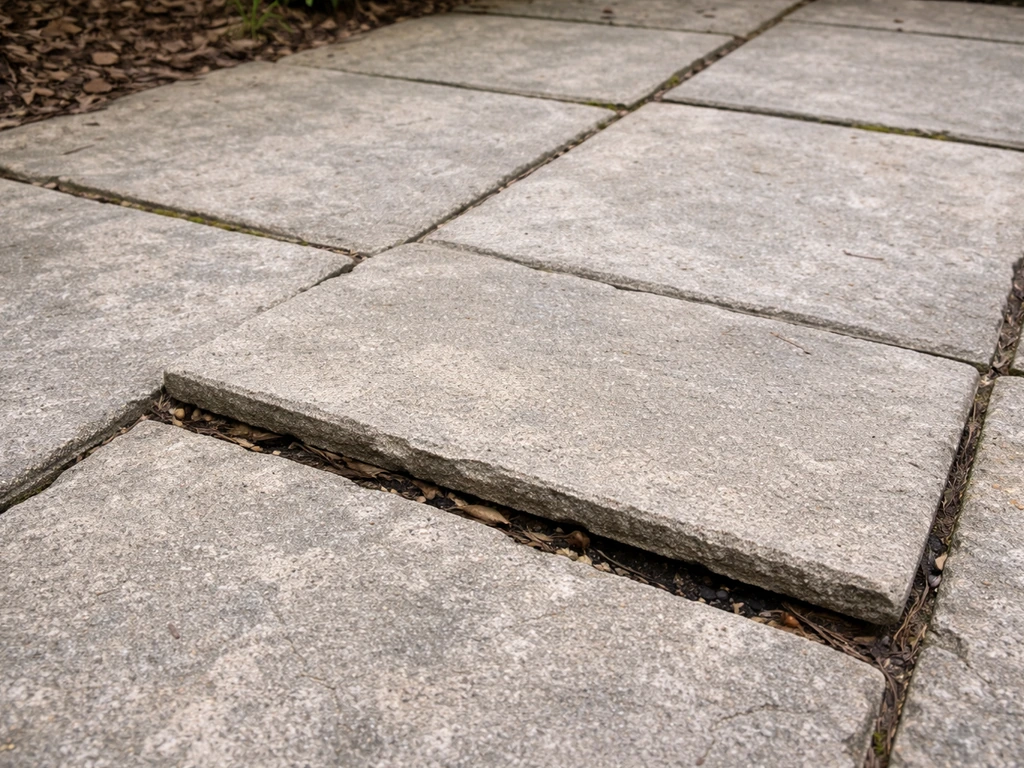
The signs are usually obvious once you know what to look for. Crumbling or cracked mortar between the slabs is the classic trigger. If you are dealing with crumbling or failed joints, learning how to flag a patio correctly starts with removing the old mortar and re-pointing the gaps. You might also notice weeds or moss rooting in the joints, gaps where mortar has fallen out entirely, or water pooling in certain spots because the joint profile no longer drains properly. Freeze-thaw cycles are a big culprit in colder climates: water gets into hairline cracks, freezes, expands, and slowly levers the mortar loose over a few winters.
Before you mix anything, press down on each flag with your foot. If a slab rocks, wobbles, or feels spongy, re-pointing alone will not fix it. That movement means the bed underneath has failed, and new mortar in the joint will just crack again in months. The only real fix for a rocking flag is to lift it, break out the old bed, lay a fresh full mortar bed, and re-set the slab firmly before you even think about the joints. Re-pointing is only the right job when the flags themselves are stable and the problem is purely in the joints.
What you'll need before you start
Mortar options
For standard patio flags, a 4:1 sharp sand-to-cement mix is the traditional go-to. It's cheap, widely available, and works well when mixed and applied correctly. For a more durable result with less chance of cracking, a polymer-modified pointing mortar (sometimes sold as a ready-mix jointing compound) is worth the extra few pounds or dollars per bag. Polymer-modified products flex slightly with movement, resist freeze-thaw damage better, and adhere more reliably to the edges of the flags. Whatever you choose, make sure it's rated for exterior use. A grout or mortar intended for indoor tiles will not survive a winter outside.
If you want to go the polymeric jointing sand route instead of mortar, that works well for certain flag types, but be aware of the joint geometry: most polymeric sand products require a minimum joint width of around 6mm (roughly 1/4 inch) and a meaningful depth. If your joints are narrower or shallower than the product's minimum, the jointing material will be weak and you'll be back to square one quickly.
Tools to gather
- Cold chisel or plugging chisel (for breaking out old mortar without damaging flag edges)
- Angle grinder with a mortar-raking disc (optional, use with care to avoid over-grinding)
- Wire brush or stiff-bristle nylon brush
- Vacuum or blower (for clearing dust and debris from joints)
- Pointing trowel
- Grout bag or mortar gun (for controlled, mess-free application in deep joints)
- Jointing tool or pointing bar (for striking/tooling the finished surface)
- Bucket and mixing paddle or drill attachment
- Spray bottle or garden hose with a gentle setting
- Stiff-bristle broom or brush for cleanup
- Drop cloths or cardboard to protect surrounding planting
Comparison: sand-cement mortar vs polymer-modified mortar vs polymeric jointing sand
| Option | Best for | Durability | Flexibility | Cost | Skill level |
|---|---|---|---|---|---|
| 4:1 Sand-cement mortar | Standard flags, budget repairs | Good if well-mixed and cured | Low | Lowest | Beginner-friendly |
| Polymer-modified mortar | Exposed patios, freeze-thaw climates, natural stone | Very good | Medium | Moderate | Beginner-friendly |
| Polymeric jointing sand | Wider joints, block paving, informal patios | Good if joint geometry is correct | High | Moderate | Very easy to apply |
For most homeowners re-pointing a standard flagstone or concrete slab patio, a polymer-modified mortar is the best balance of durability and ease. Reserve polymeric sand for joints that are wide enough to meet the product's minimum requirements and for patios where you want a slightly softer, less rigid finish.
Prep work: the part most people rush (and regret)
Good prep is genuinely 70 percent of the job. New mortar applied over dusty, contaminated, or shallow old joints will bond poorly and fail fast. Take your time here.
Remove the old mortar
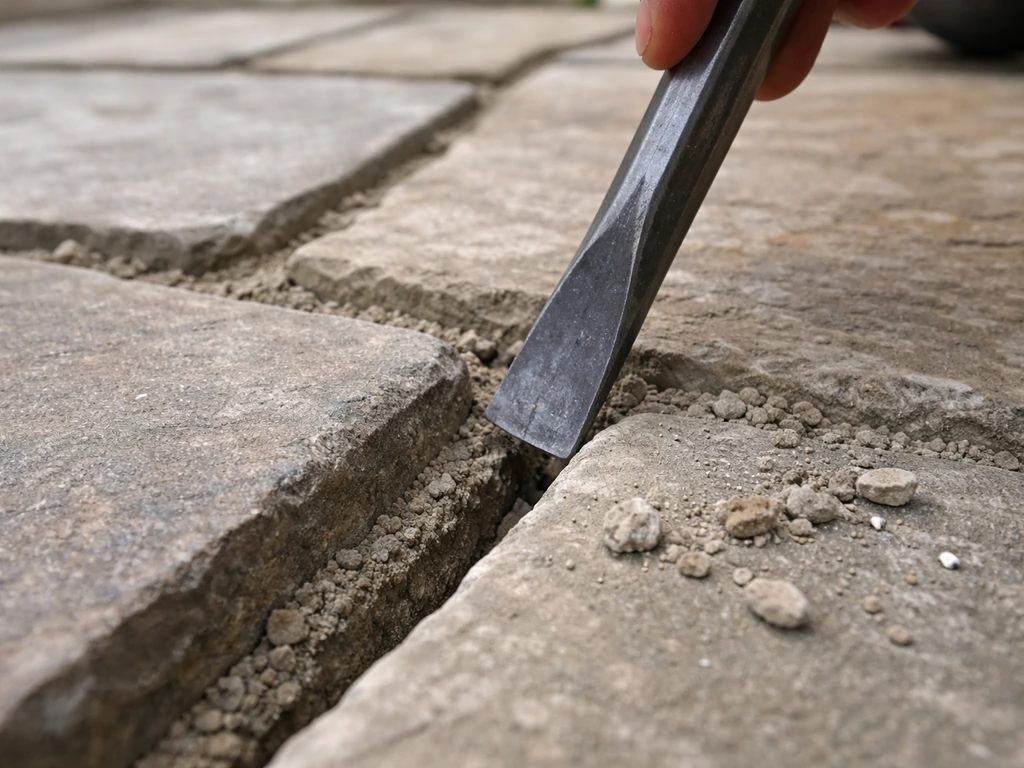
Use a cold chisel or plugging chisel to break out crumbling mortar. Work along the joint rather than directly into the flag edges to avoid chipping. You're aiming for a clean, square-backed channel. The depth matters: you need at least 20mm of clear depth for the new mortar to get a grip. More is better, with 30mm being ideal if the joint allows it. If mortar is deeply bonded and a chisel alone isn't shifting it, an angle grinder with a mortar-raking disc speeds things up, but use it carefully. Power grinding is the most common way to accidentally spall or chip flag edges, so keep the disc centered in the joint at all times. You don't need the back of the joint to be perfectly smooth, but you do need to remove all the loose, contaminated material.
Clean the joints
Once the old mortar is out, go along every joint with a stiff wire brush or nylon brush to dislodge any remaining loose debris, old sand, and fine dust. Then vacuum or blow the joints clean. This step is easy to skip but it matters: dust and debris sitting in the bottom of the joint will stop the new mortar from bonding to the substrate properly. Brush at a 45-degree angle to the joint to sweep material out without pushing it back in.
Deal with weeds and moss
Pull out any rooted weeds by hand. For moss and persistent organic growth, apply a diluted patio cleaner or a proprietary moss killer and let it work according to the product instructions before you start raking. New mortar laid over even small traces of living moss or algae will not bond well, and the growth will push through the new joint surprisingly fast. Once treated and dead, brush the residue out thoroughly before moving on.
Pre-wet the joints
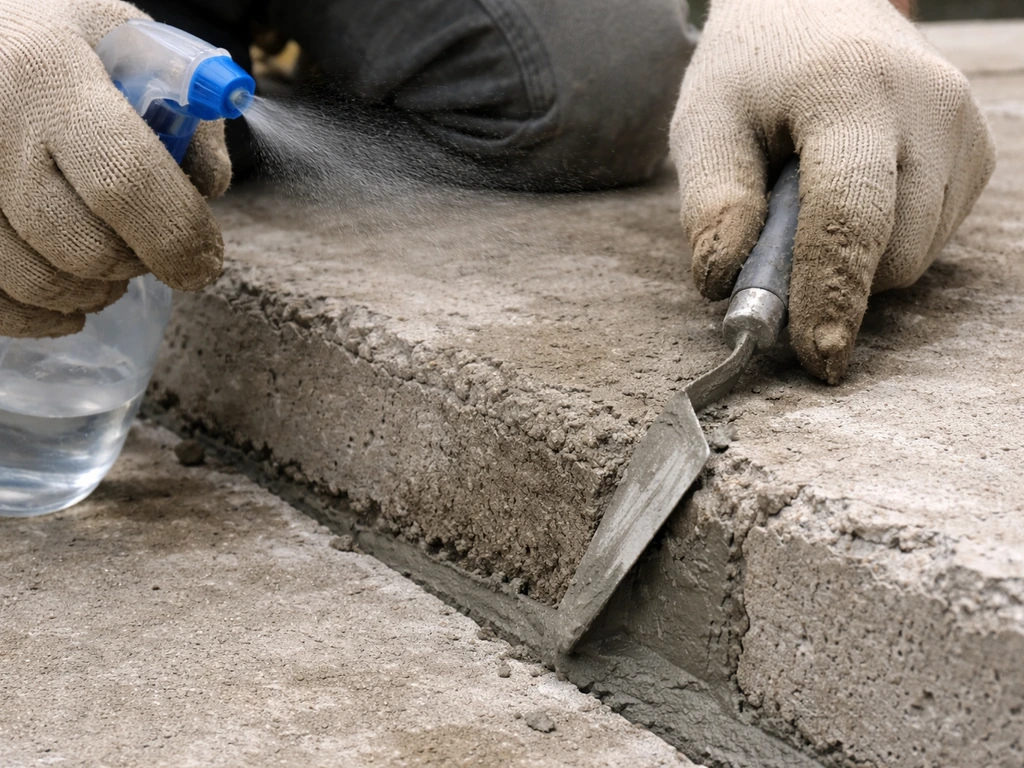
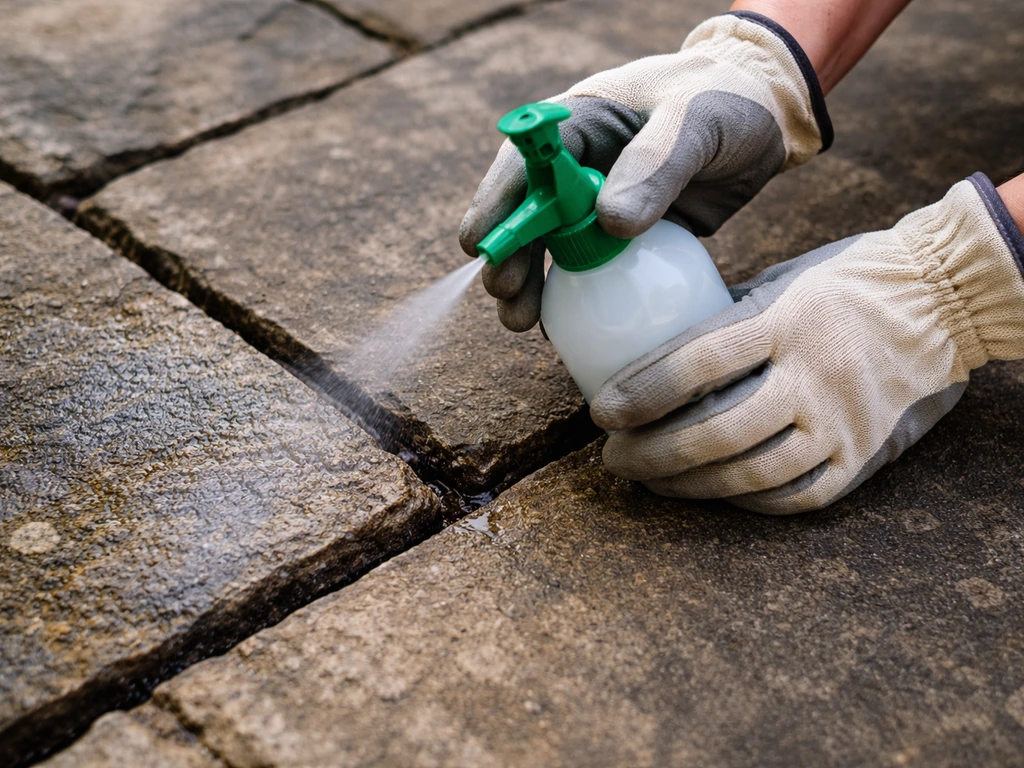
This step is non-negotiable. Dry stone and concrete slab edges will suck moisture out of fresh mortar faster than it can cure properly, leaving a weak, crumbly joint. Mist the joints with water from a spray bottle or a gentle hose setting until the edges are visibly damp but not puddling. If your mortar manufacturer specifically says to pre-wet, follow that instruction exactly. Let any surface puddles drain off for a few minutes before you apply mortar.
How to apply and tool the mortar: step by step
- Mix your mortar. For a 4: 1 sand-cement mix, combine four parts sharp sand with one part Portland cement. Add water gradually until the mix holds its shape when you squeeze it into a ball but isn't wet or sloppy. For polymer-modified bagged products, follow the bag instructions exactly. Over-watering is the single most common mixing mistake and it produces weak joints.
- Load your grout bag or pointing trowel. A grout bag works like a piping bag: fill it, cut the tip to roughly the width of your joint, and squeeze mortar directly into the joint with controlled pressure. This keeps mess off the flag faces and is much faster than trowel-only application for long runs of joints. For short repairs, a pointing trowel alone is fine.
- Pack mortar into the joint in layers if the joint is deep. Apply mortar in passes no more than about 10mm thick, compact each layer, and let it become thumb-print hard before adding the next. Trying to fill a 30mm-deep joint in one pass often results in the bottom portion curing differently from the top.
- Work in manageable sections of roughly 1–2 square metres at a time, especially in warm weather. Mortar surfaces that are exposed to sun and wind can skin over quickly, making tooling difficult.
- Strike (tool) the joints while the mortar is still workable. Use a jointing tool, pointing bar, or the edge of your pointing trowel to press and smooth the surface of the mortar. The finished profile should be very slightly recessed or flush and angled so water runs off rather than pools. A concave (slightly hollow) strike is the most common choice for outdoor paving because it sheds water well. Run the tool along the joint in one smooth pass for the neatest result.
- Remove surplus mortar from the flag faces. Use a stiff brush swept at about 45 degrees to the joint direction to progressively remove smears and excess. Do this while the mortar is still wet. Cement smears left to dry on natural stone or textured slabs are far harder to remove later and may stain.
- Check your work and re-strike any joints that look uneven or haven't filled completely. You have a window while the mortar is still not fully set to correct these. Once it's firm, leave it alone.
Finishing details that make the difference
Consistent joint depth and profile across the whole patio matters more than most people expect. If some joints are flush and others are recessed by 5mm, water finds the low spots and works its way in over time. Aim for uniformity: pick one joint profile and stick to it across the whole patio. A slightly recessed, smoothly tooled joint is more durable than a proud one because standing water can't bridge it.
Drainage is the other big finishing consideration. If parts of your patio were already pooling water before you re-pointed, new mortar won't fix that. If parts of your patio were already pooling water before you re-pointed, new mortar won't fix that, and addressing drainage also helps create better conditions for decorating my patio with flowers decorate my patio with flowers. Check that the joint profile and the overall patio surface still slopes slightly away from the house (typically 1:60 to 1:80 fall). If pooling spots exist at specific joints, a slightly more recessed strike in those areas can help channel water toward the patio edge rather than letting it sit.
Colour matching is worth a moment of thought too. Fresh mortar is usually lighter than old weathered joints and will look obvious for a few weeks. This is completely normal and fades with weathering. If colour uniformity matters to you, buy a bag of pre-coloured jointing mortar or use a mortar pigment to get closer to the existing joint tone.
Curing, sealing, and keeping the joints in good shape
Curing time and early protection
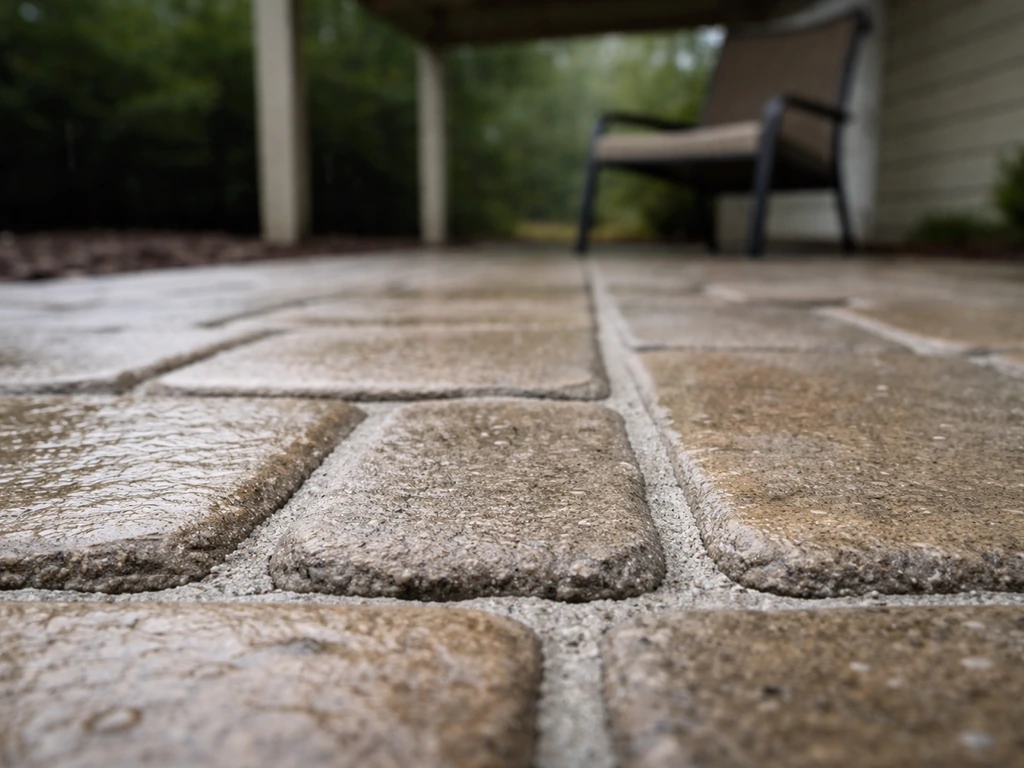
Keep foot traffic off the re-pointed patio for at least 24 hours, and ideally 48 hours. After three to seven days the mortar will be firm enough for normal pedestrian use. During the first 24 hours, if you're working in hot sunny weather, shade the fresh joints with a tarp or damp hessian to slow the cure down. Mortar that dries too fast on the surface (while the core stays soft) cures weakly. In cold weather, the reverse is true: keep the mortar above 40°F (roughly 4°C) during and for at least 48 hours after application. Frost hitting fresh uncured mortar will ruin it.
Rain is the other enemy in the first day or two. If rain is forecast within 24 hours of you finishing the work, cover the patio with a tarp. For polymeric jointing products specifically, some manufacturers extend that rain-free window to 48 hours in cold temperatures or for wider joints.
Whether to seal
Sealing is optional but it extends the life of the joints and reduces weed and moss re-establishment. An NSW Environment heritage maintenance guide also notes that sealants have been widely used for pointing and repointing joints, while cautioning about issues such as oils bleeding from sealants and the unsuitability of some elastomeric sealants for normal pointing of porous substrates sealing is optional but it extends the life of the joints and reduces weed and moss re-establishment. If you want to seal, wait at least six weeks for new mortar to fully cure and weather in before applying any sealant. The Brick Industry Association's guidance suggests waiting at least 14 days before sealant application, but most paving specialists recommend longer for full hardening and surface stability. Applying sealant too early can trap moisture in the joint and cause discolouration or even delamination. When you do seal, use a product rated for the specific stone or slab type you have, as some sealants react poorly with certain natural stones.
Long-term maintenance
A well-pointed patio needs very little maintenance beyond keeping it clear of leaf litter and debris (which traps moisture against joints) and an annual sweep with a stiff brush. You can also decorate a patio with flower pots by grouping planters near sunny edges and using different pot heights for a layered look how to decorate a patio with flower pots. Check the joints once a year, especially after a hard winter. Catching a hairline crack early and filling it with a small amount of fresh mortar takes five minutes. Ignoring it for two winters means raking out and re-pointing the whole section again.
Troubleshooting common problems
Gaps won't fill completely or mortar keeps falling out
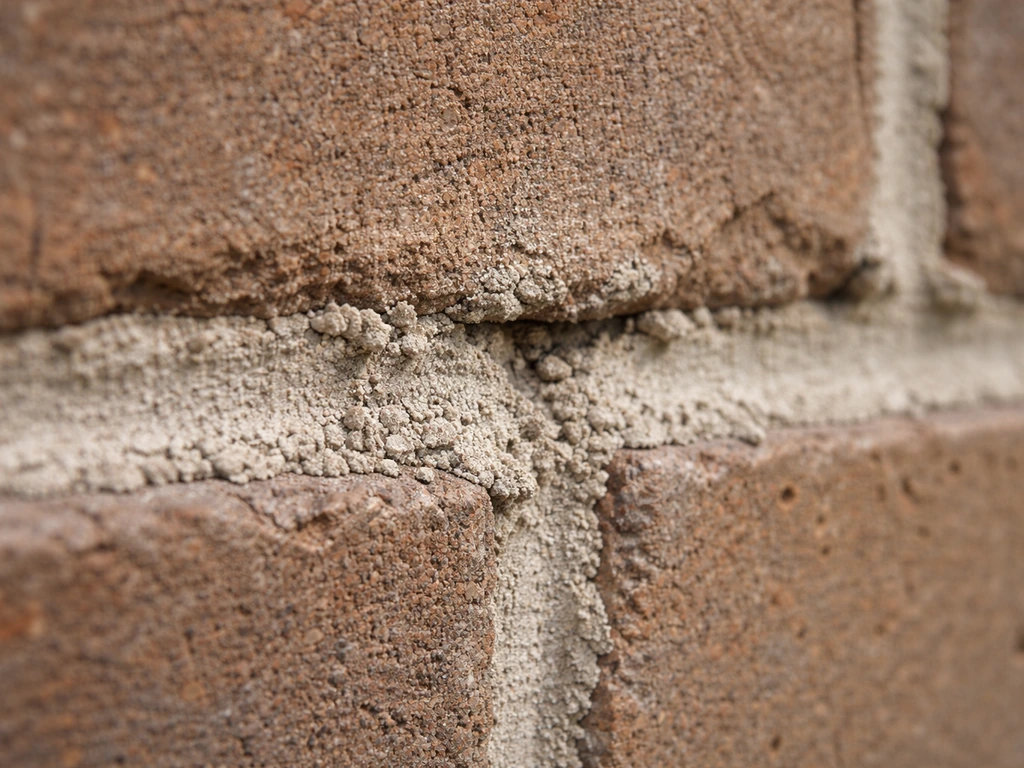
This is almost always a depth problem. If you haven't raked out enough old material, there isn't enough room for new mortar to key into the joint properly. Go back in with the chisel and clear more depth until you have at least 20mm of clean channel. Also check that the joint isn't too narrow: very tight joints (under 6mm) are genuinely hard to point effectively because you can't get enough mortar in to create a durable mass.
Joints are crumbling or soft shortly after curing
Weak mortar almost always comes back to one of three causes: the mix was too wet, the joints weren't pre-wetted (so moisture was sucked out of the mortar too fast), or the work was done in very cold or very hot conditions without adequate protection. If this keeps happening repeatedly in the same section of patio, it's worth checking whether there's a drainage issue underneath: a saturated sub-base that keeps the joint permanently damp will degrade even good mortar over time. If this keeps happening repeatedly in the same section of patio, it's worth checking whether there's a drainage issue underneath: a saturated sub-base that keeps the joint permanently damp will degrade even good mortar over time, and you may also want to plan how to display flower pots on patio so water and root growth do not aggravate weak spots.
Settling and lippage (uneven flag edges)
If you notice one flag sitting lower or higher than its neighbours, pointing is not your fix. That's a sub-base issue. Mortar in the joint can't push a flag back into alignment. The flag needs to be lifted, the bed adjusted, and the slab re-laid level before you point the joint. Pointing over a lipped edge just gives you a visible ramp of mortar that cracks at the high point within months.
Mortar keeps failing in the same spots
Repeated failure in specific joints usually means there's movement in the flags themselves (check for rocking), a drainage problem concentrating water in that area, or a sub-base that's soft or has subsided. If you've re-pointed the same joint twice in two years and it's failed both times, the right move is to lift those flags, address the underlying issue, and start fresh. No amount of high-quality mortar will compensate for a moving or waterlogged substrate. Once your patio joints are solid, you can focus on how to decorate a deck or patio with flowers, using planters, border planting, and color that suits the light.
FAQ
How can I tell if I should re-point joints or lift and re-lay the flags first?
If the flags rock or feel spongy when you press, stop and re-bed them first. Fresh pointing mortar cannot stabilize a failed flag bed, it only fills the gap, so the crack cycle will repeat.
Can I point patio flags if rain is expected soon?
Avoid doing it in the middle of wet weather or if rain is likely within about 24 hours of finishing, because surface washout and rapid drying can both weaken the joint. If rain is forecast, cover with a tarp at the end of the day.
When is it safe to seal newly pointed patio joints?
Yes, but only after full cure, typically around six weeks for fresh mortar before sealing. Sealing too early can trap moisture in the joint, leading to discoloration or premature breakdown.
Why does my patio pointing keep failing in the same spot?
If you are getting permanent crumbling or recurring failure in the same area, check whether water is staying behind joints or whether the sub-base is staying damp. Even good mortar can degrade when joints remain wet for long periods.
What does it mean if the new mortar looks weak or sandy after pointing?
That usually indicates the mix was too wet, the joints were not properly pre-wetted, or the weather was extreme during curing. Dry, powdery joints often need the old mortar raked out and replaced, not just patched on top.
How long should I keep people and furniture off the patio after re-pointing?
Do not seal or lock in moisture with a coating immediately after repointing. Keep traffic off for at least 24 hours, and in normal conditions wait 3 to 7 days for pedestrian use to reduce stress cracking.
Is polymeric jointing sand a good choice for very tight patio joints?
If you have joints under about 6 mm, polymeric sand may not work well because many products need a minimum joint width and depth to be effective. In tight joints, a compatible polymer-modified mortar is usually the more reliable option.
Why do my new patio joints look much lighter than the old ones?
A visible color difference for the first few weeks is normal because fresh mortar is lighter and weathers to match. For closer blending, use pre-coloured jointing mortar or a compatible pigment rather than trying to dye after the fact.
Will repointing fix standing water, or do I need to change the patio layout for flowers?
Yes, but ensure you maintain the correct joint depth, prep cleanliness, and drainage considerations. A container layout can improve visual interest, but it will not solve pooling water or a weak sub-base.
What if one flag is higher than its neighbors, can I point it back into place?
It is not a durable fix, because mortar in the joint cannot correct a lipped or misaligned flag. You generally need to lift the flag, adjust the bed, re-set it level, then re-point the joints.
How do I prevent weeds and moss from returning after re-pointing?
If weeds come back quickly, remove all roots and treat moss or algae before pointing, then brush out dead residue thoroughly. Also keep leaf litter off the patio since it holds moisture against the joints.
Next Articles
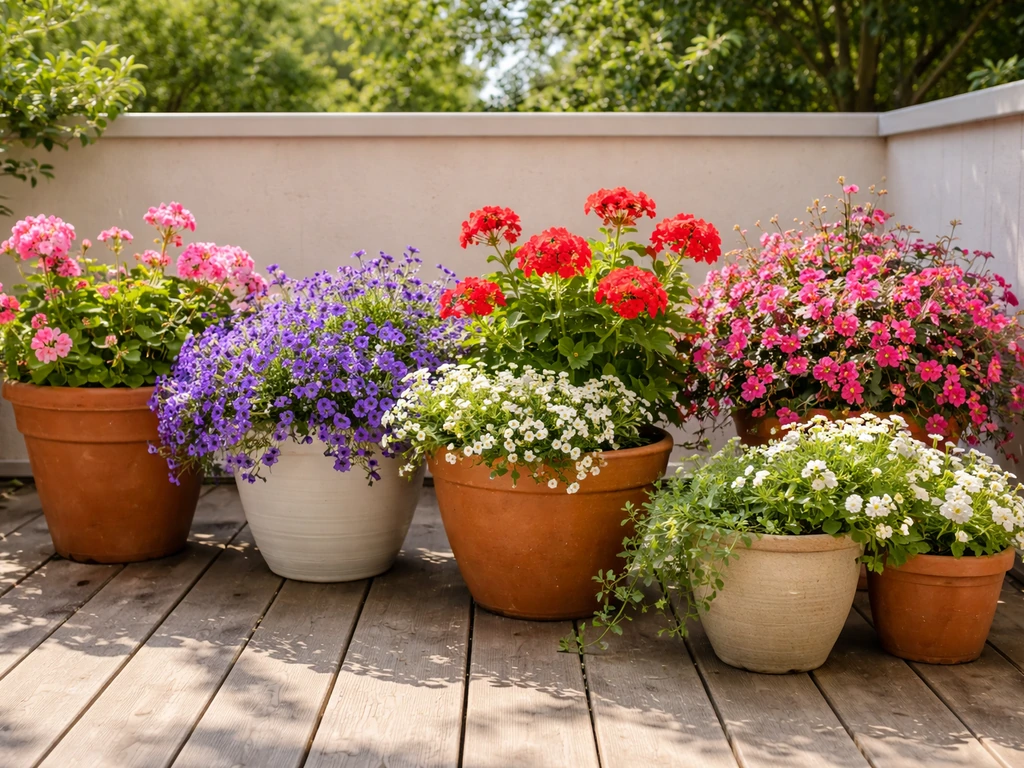
How to Decorate My Patio With Flowers: Step by Step
Step-by-step guide to decorate your patio with flowers: pick plants for sun and wind, arrange containers, and keep bloom
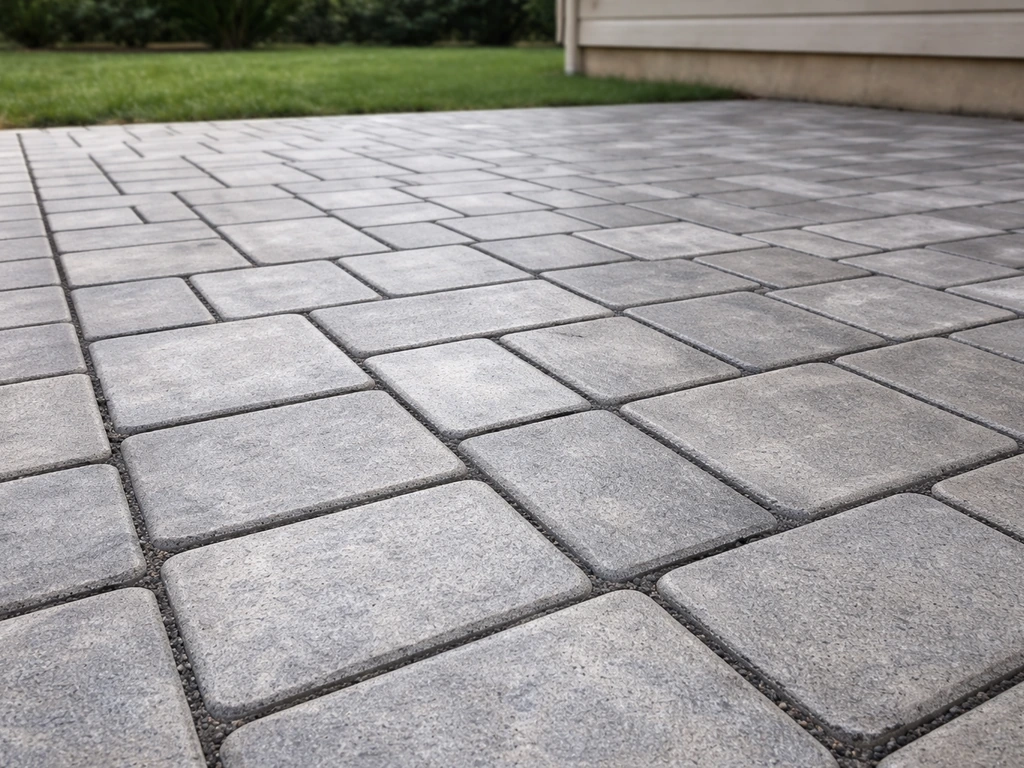
How to Flag a Patio: DIY Guide for Pavers and Repairs
Step-by-step DIY guide to flag a patio: choose pavers, prep base, set flags, cut, joint, seal, and repair.

How to Decorate a Long Narrow Patio: Layout Tips
Practical DIY layout and decor tips to widen a long narrow patio using zoning, furniture spacing, lighting, greenery, an