
Staging your outdoor patio means arranging it so it looks intentional, feels comfortable, and actually invites people to sit down and use it. Whether you're doing this for daily enjoyment or to help sell your home faster, the core steps are the same: clear the clutter, define zones with furniture and an outdoor rug, add layered lighting, and bring in enough comfort elements (shade, cushions, greenery) that the space feels like a real room rather than a storage area with a couple of lawn chairs. To help it feel fresh and inviting, use summer-focused decor like lighter cushion colors, breathable shade, and warm-weather lighting decorate your patio for summer.
How to Stage Outdoor Patio: Layout, Decor, and Lighting

Felix Brennan
11 Jul 2026
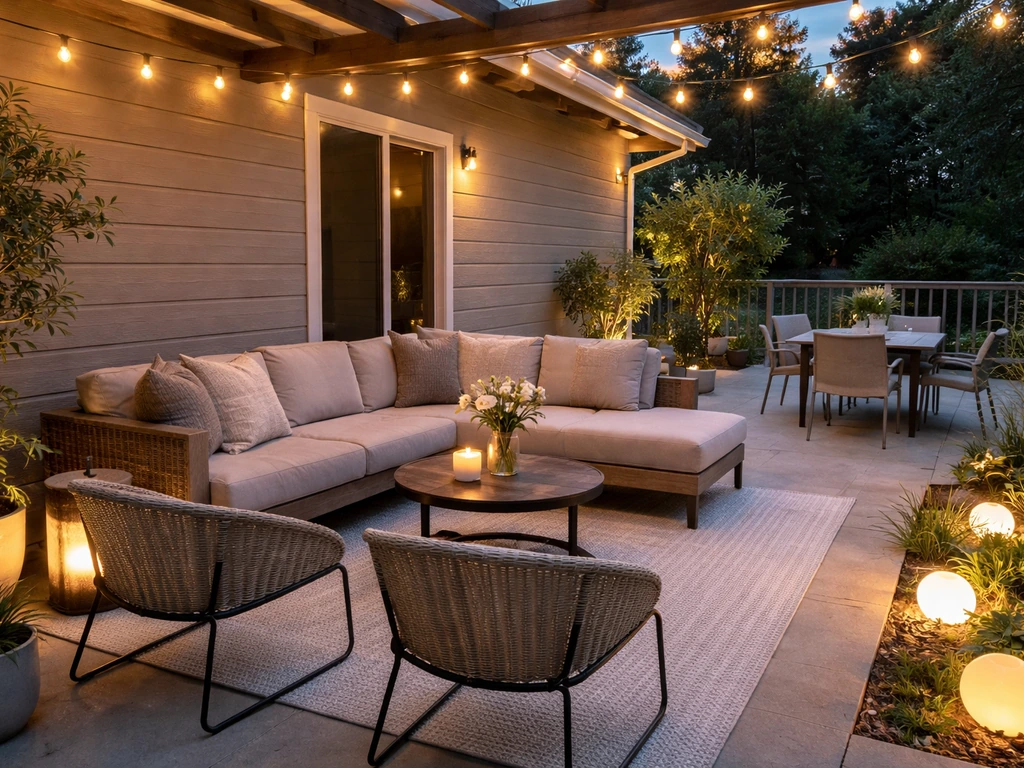
First, decide which kind of staging you're doing
The word 'staging' gets used two ways, and your goal changes the decisions you make. If you're staging for everyday living, you're designing a space you'll actually use, so personal touches, bold colors, and cozy clutter are totally fine. If you're staging to sell your home, the National Association of Realtors recommends a different mindset: create a clean, neutral backdrop that lets buyers picture themselves in the space rather than feeling like they're stepping into someone else's life. Redfin specifically calls out keeping walkways uncluttered and making the space easy for buyers to visualize themselves using. That means pulling back on anything too personal (monogrammed pillows, team flags, a collection of garden gnomes) and leaning toward neutral tones with simple, universal furniture arrangements.
For a sale, realtor.com recommends treating the patio the same way you'd treat an indoor room: purge outdoor clutter just like you would inside, and make sure furniture is present so buyers can actually imagine the space in use rather than seeing an empty concrete pad. HGTV adds that you should assess the space with a buyer's eye, repair any visible damage (cracked pavers, a wobbly fence post, flaking paint on railings), and remove furniture that's too large for the space. For personal use, skip the neutrals and style it however makes you happy, then keep reading for the layout and comfort details that apply to both goals.
Plan your layout and walkthrough flow before moving anything
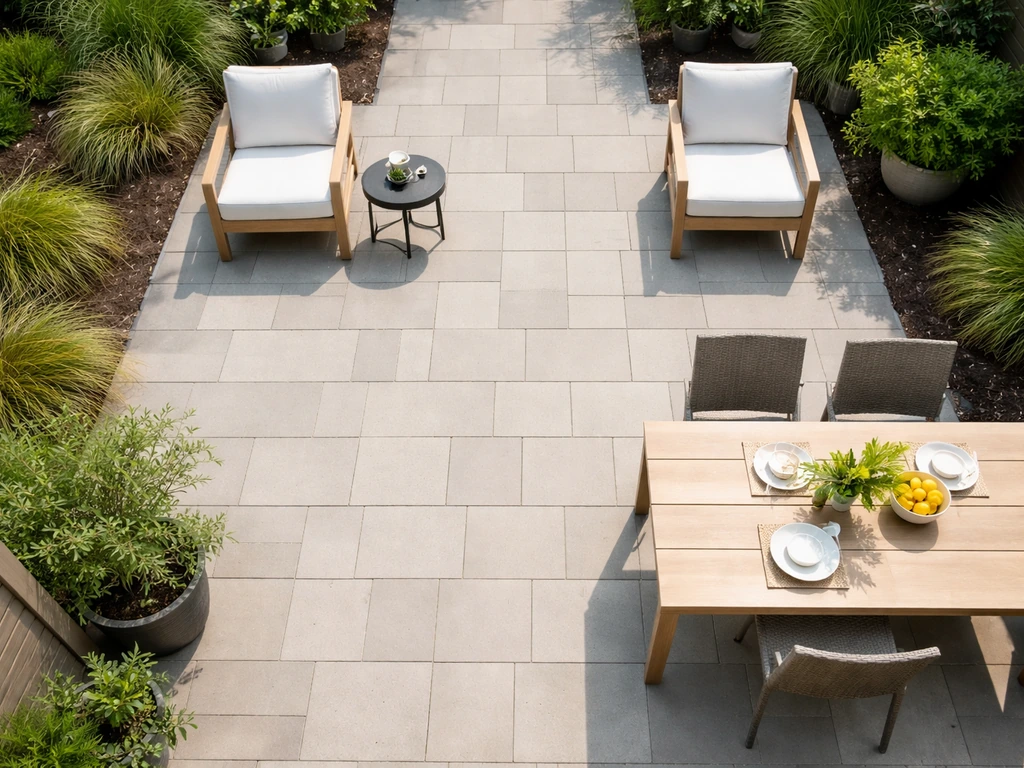
The single biggest mistake people make when staging a patio is putting furniture wherever it fits without thinking about how people actually move through the space. Before you drag anything around, walk the route you use most: out the door, across the patio, to the yard or gate. That path needs to stay clear. A good practical target is at least 36 inches of clear walkway along any main traffic path, especially from a sliding or French door out to the patio. That gives you room to walk without squeezing between a chair back and a planter, and it's the same clearance target used in accessible route planning. If chairs pull out from a dining table directly into that path, move the table.
Once the traffic path is protected, divide the rest of the patio into zones based on how you use it. A typical small-to-medium patio (say 12x16 feet) can comfortably hold one or two zones: a seating/conversation area plus a small dining spot, or just one generous lounge area. Larger patios (20x20 and up) can support three zones: dining, lounging, and a transition zone near the door. HGTV suggests rolling out an outdoor rug with its length running parallel to an exterior wall or railing as one of the easiest ways to define a zone and give the arrangement a sense of order. Think of the rug as your zone's floor plan.
How to anchor furniture to a zone
Place the rug first, then arrange furniture so at least the front legs of each seating piece sit on the rug. This is the standard approach recommended by rug guides and interior stylists alike, and it works outdoors just as well as inside. It makes the grouping read as one cohesive zone rather than a collection of random chairs floating on a patio. For a conversation area, angle chairs slightly toward each other rather than lining them up in rows, and keep the center of the seating group open (a small coffee table or fire pit works well here as a focal point). For a dining zone, center the table on the rug with chairs pulled in, and make sure there's enough room on all sides for chairs to push back without hitting anything: at least 36 to 42 inches from the table edge to the nearest wall, railing, or planter.
Furniture, lighting, and decor basics
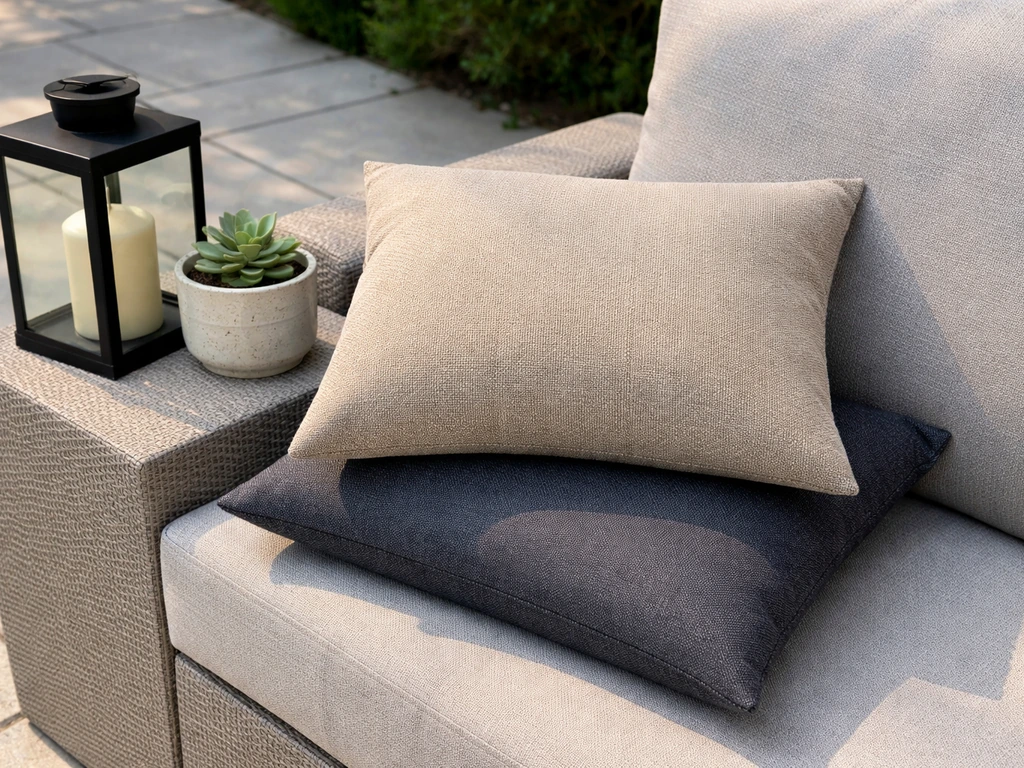
Outdoor furniture staging is about three things: scale, material durability, and visual cohesion. If you want to take it further beyond staging basics, this guide on how to decorate a patio deck can help you choose the right layout and finishing touches. On scale, furniture should fit the patio without crowding it. A sectional that seats eight looks great in a showroom but can make a 12x14 patio feel like a furniture warehouse. When in doubt, go smaller and leave breathing room. On material durability, anything you put outside needs to survive UV exposure, moisture, and temperature swings. Look for powder-coated aluminum or teak for frames, and for cushions and upholstery, solution-dyed acrylic fabrics (blank" rel="noopener noreferrer">Sunbrella is the well-known brand) are genuinely worth the extra cost: they're fade resistant, water resistant, and stain resistant in a way that basic polyester cushions simply aren't after one season.
For visual cohesion, pick a two or three-color palette and stick to it across cushions, throw pillows, and any decor pieces. If you're staging for sale, earthy neutrals (warm gray, tan, soft white, sage green) tend to photograph well and appeal to the broadest range of buyers. If you're staging for personal use, this is where you get to express yourself, whether that's a tropical palette (more on that in resources about tropical patio styling), bold jewel tones, or a clean all-white look. For a complete look, follow tropical patio styling tips like using lush greenery, warm outdoor textures, and vibrant but cohesive accents.
Lighting: layer it and keep it safe
Outdoor lighting has two jobs: safety (task lighting for stairs, paths, and transitions) and atmosphere (ambient lighting for evenings). Lowe's recommends a layered approach, placing path and stair lights close enough to each other that there are no dark spots in between. For ceiling fixtures on covered patios, make sure any fixture is rated for the exposure it will face. A UL 'damp' rating covers covered porches and pergolas where fixtures won't get rained on directly. A UL 'wet' rating is required for any spot where the fixture could be hit by rain or hose spray. Using a damp-rated fan or light in a truly exposed wet location is a common mistake that leads to early failures.
String lights are probably the easiest way to add atmosphere, but they come with a safety note worth taking seriously: always plug outdoor string lights into a GFCI-protected outlet, use cords and fixtures rated for outdoor (wet location) use, and never run extension cords through standing water. The CPSC is clear that using indoor extension cords outdoors creates shock and fire hazards. If your patio doesn't have a GFCI outlet already, adding one is a relatively inexpensive electrician job and worth doing before you string any lights. If you have covered patio flood lights, positioning them at least 9 feet off the ground improves their beam coverage and keeps them less accessible to accidental damage.
Decor touches that work outdoors
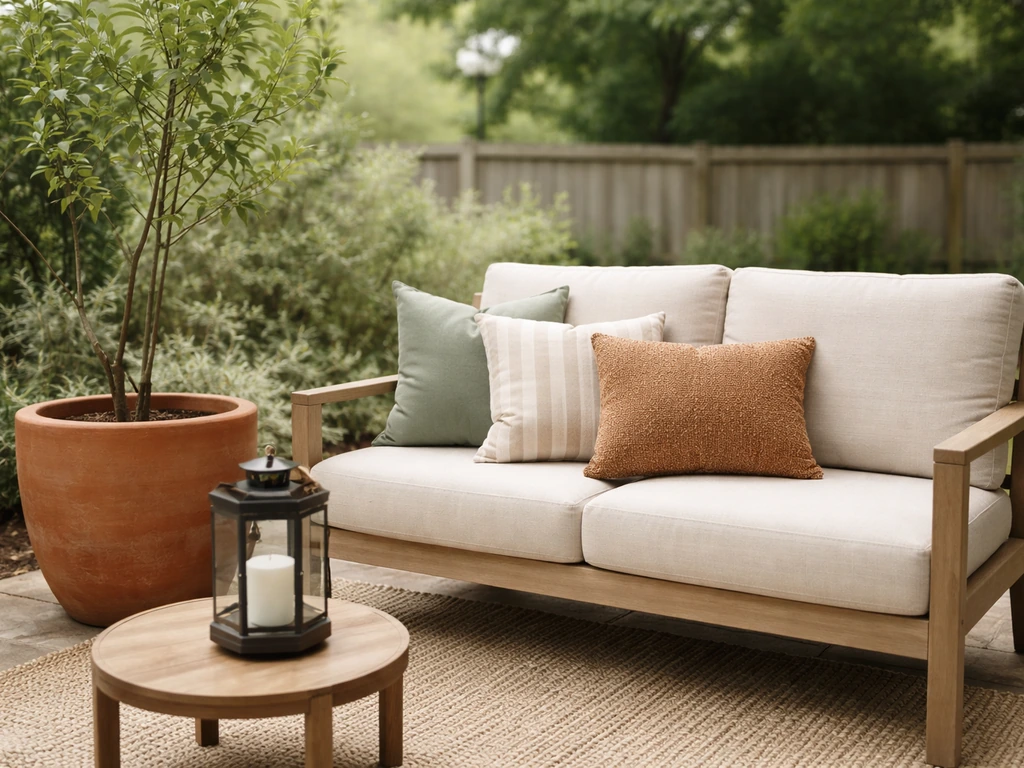
Decor on a staged patio should feel intentional but not overdone. A few well-placed elements go further than a lot of small ones: a large planter with a tall plant or small tree creates a vertical anchor, an outdoor lantern or two on a side table adds warmth, and a coordinated set of throw pillows in your palette ties everything together. HGTV frames outdoor spaces as an extension of the indoors, and the principle holds: treat it like a room and style it with the same restraint you'd use inside. If you're wondering how to decorate a patio for a wedding, use the same room-styling approach and focus on photo-ready focal points extension of the indoors. One or two accent pieces with real presence beat ten small tchotchkes scattered around.
Add comfort: shade, wind, and climate control
A patio can look perfect in photos and still be completely unusable if it's baking in direct sun or exposed to afternoon wind. Comfort elements are not optional extras: they're what turn a staged patio into a space people actually want to spend time in. This is especially true for patios attached to homes for sale, because buyers will walk out and immediately feel whether it's pleasant or miserable. A buyer standing in glaring afternoon sun with wind whipping napkins off the table is not picturing themselves relaxing there.
Your shade options from simplest to most substantial: a patio umbrella (easiest, $100 to $400, portable), a shade sail (moderate DIY, requires solid anchor points that can handle wind load, good for covering larger irregular areas), a pergola with shade fabric or lattice, and a full patio cover or enclosure on the more substantial end. Retractable awnings are a popular middle ground but come with a real caveat: they should be retracted during high winds, and most awning safety guidelines are explicit about this. If your area gets regular strong afternoon gusts, a fixed shade structure or screen enclosure will serve you better.
For wind control on an open patio, outdoor curtains hung from a pergola or shade structure are one of the most accessible DIY solutions: they cut wind, add softness and color, and can be tied back when you want an open feel. Use curtains made from outdoor-rated fabric that won't mold or fade. Screening in one or more sides of a covered patio is a more permanent option that also keeps out insects, which dramatically increases how much a patio gets used. Outdoor ceiling fans rated for wet or damp locations (depending on your coverage) help with both air circulation and insect deterrence, and they make a hot covered patio genuinely comfortable in summer.
Seasonal touches and keeping things maintenance-ready
One of the most practical staging principles is designing for ease of seasonal transitions so the patio always looks intentional with minimal effort. The simplest approach is what Sunbrella calls the 'easy swap': keep your furniture frames and base cushions in place year-round (assuming they're weather-rated), and change out accent pillows and small decor accessories by season. A set of warm-toned rust and gold pillows for fall, cool blues and whites for summer, deeper forest greens and burgundy for late fall and early winter. AAA Club Alliance specifically recommends this kind of seasonal accessory rotation as a low-effort way to keep outdoor spaces feeling current.
Cushion care is the part most people skip until they have a mold problem. Vacuum outdoor cushion seams regularly (Houzz's cushion care guide recommends this specifically). If you're in a wet climate, store standard foam cushions indoors during extended rain periods or winter, because prolonged moisture exposure causes mold and mildew even in cushions marketed as 'outdoor.' Clean cushions and let them dry fully before any long-term storage. Ballard Designs recommends this explicitly, and it's the difference between cushions that last three seasons and ones that last one. If you're leaving cushions out, furniture covers are worth using during extended periods of non-use.
For sellers, seasonal staging has one extra consideration: your patio needs to look good on the day of every showing, not just the day you photographed it. Build a quick pre-showing reset into your routine: sweep the surface, wipe down furniture, fluff cushions, replace any dead plants, and clear the walkways. It takes about 15 minutes and makes a real difference.
If you want to go further with seasonal decor, the same principles that apply to summer patio decorating and adding color to a patio apply here: swap in seasonal plants, add weather-appropriate textiles, and adjust your lighting (warmer tones in fall and winter, brighter whites in summer). If you want a faster, easier way to add color to an outdoor patio, focus on swap-in textiles like cushions and throws, plus seasonal plants and planters add color to a patio.
Budget, timeline, and your DIY checklist
Here's an honest look at what patio staging costs at different levels. Professional home staging for a whole home runs roughly $1,000 to $3,000 according to Fixr, with the national average around $1,844 per Opendoor data. Patio-only staging is a fraction of that. For DIY, a meaningful seasonal refresh with new cushions and throw pillows starts around $200. A fuller refresh with a new rug, accent furniture, plants, and lighting can run $500 to $1,500 depending on what you already own. Palm Casual estimates a statement-piece swap plus accessories at around $1,500 on the higher end for DIY. If you're staging to sell and already have decent patio furniture, you may be able to do the whole thing for under $500 by cleaning what you have, adding a new rug, fresh cushion covers, a few plants, and string lights.
| Staging Level | Typical DIY Cost | Time to Complete | Best For |
|---|---|---|---|
| Basic reset (clean, declutter, rearrange) | $0–$100 | Half a day | Quick pre-showing prep or budget refresh |
| Light refresh (new rug, pillows, plants) | $200–$500 | 1 day | Seasonal update or listing prep on a budget |
| Full DIY staging (furniture, lighting, shade) | $500–$1,500 | 1–3 weekends | New patio setup or major pre-sale improvement |
| Professional staging (whole home) | $1,000–$3,000+ | Varies | Vacant home or full-service listing preparation |
Your practical DIY staging checklist
- Clear and clean the patio surface: sweep, power wash if needed, repair any visible cracks or damage
- Remove anything that doesn't belong (tools, kids' toys, excess planters, worn-out furniture)
- Map your traffic path and mark your 36-inch minimum clearance from the door
- Identify one or two zones based on how the patio will be used (dining, lounging, or both)
- Place your outdoor rug to anchor the main seating zone, parallel to the dominant wall or railing
- Arrange furniture with front legs on the rug, chairs angled slightly inward for conversation areas
- Check all seating for 36 to 42 inches of clearance around dining tables so chairs can pull out freely
- Add layered lighting: path/step lights for safety, string lights or lanterns for atmosphere
- Plug all outdoor lights and cords into a GFCI-protected outdoor outlet, using only outdoor-rated cords and fixtures
- Identify your main shade gap (full sun, afternoon sun, wind exposure) and choose a shade solution: umbrella, shade sail, pergola, or screen
- Add comfort upgrades: outdoor ceiling fan (wet or damp rated for your coverage level), outdoor curtains for wind, or a screen enclosure if insects are a major issue
- Style with a two to three color palette: base cushions, accent pillows, one or two planters, minimal decor
- Choose solution-dyed acrylic fabrics for any cushions or upholstery you're investing in
- Plan your seasonal swap kit: a second set of accent pillows in a different palette for fall or winter
- Set a maintenance reminder: vacuum cushion seams monthly, store foam cushions during extended wet periods, wipe furniture before each use or showing
Start with steps one through four this weekend. Clearing the space and mapping the layout costs nothing and gives you a clean foundation to build from. Everything after that can happen in phases as budget allows. A staged patio doesn't have to be finished all at once: a cleared, well-arranged patio with a clean rug and a working umbrella already looks and feels significantly better than most patios out there.
FAQ
How do I stage an outdoor patio if I don’t have an outdoor dining table or lounge set yet?
Start with the pieces that define zones first, then fake the rest. Use an outdoor rug plus one conversation anchor (two chairs and a small outdoor side table, or even a pair of lounge chairs). For dining, place just the dining table (or a slim bar-height table) and style chairs around it, leaving one side slightly open so it still feels spacious. If you must rent, prioritize chairs and the table over small accessories, since those are what buyers use to “read” the layout.
What should I do if my patio is oddly shaped or has an unusable corner?
Use the rug as your “floor plan,” then let the rug shape guide the furniture placement. In irregular layouts, center one zone on the largest open area and treat the odd corner as a small landing spot with a tall planter or a narrow bench. Avoid trying to force a standard rectangle dining zone into a triangle space, it will create cramped movement paths.
How can I keep walkways clear when I have to use the same patio for multiple activities?
Choose one primary traffic route and design everything else around it. If people often go from the door to the yard, keep that line open even if it means shifting the rug or moving one chair. For dining setups, avoid placing chairs fully pulled out onto the walkway by using lighter-weight chairs that can slide back easily or selecting chairs with arms that don’t protrude past the table edge.
Can I stage with furniture that’s already old or mismatched?
Yes, as long as you control scale and cohesion. Clean and repair first (wobble fixes, fresh cushion covers, tightened hardware), then unify the look with a consistent cushion color palette and one repeating material (for example, all-weather wicker accents or powder-coated frames). A new outdoor rug and updated throw pillows usually do more visual work than replacing perfectly usable chairs.
What’s the best rug size and placement rule for staging a patio?
If you have a seating zone, choose a rug big enough that the front legs of seating pieces land on it, then extend it slightly past the outer edges so the zone feels grounded. For a dining zone, center the table on the rug and size it so chairs remain on the rug when pulled back, otherwise the grouping looks unfinished.
How do I stage a patio that gets strong afternoon sun or harsh glare?
Don’t rely only on décor for comfort. Add shade to the time when people will actually notice it, usually late afternoon, using a large umbrella positioned to cover the seating or dining area, or a retractable awning adjusted for those hours. Also choose lighter cushion colors and fabrics that don’t look washed out under direct sun (avoid very thin white textiles that become see-through in bright light).
What’s the safest way to add lighting if I don’t have outdoor outlets nearby?
Use a GFCI-protected outlet for outdoor string lights, and if you need a new outlet, get it installed before you start. Don’t run extension cords through puddles or where they can be stepped on or pinched. If outlet access is truly limited, consider battery-powered pathway lights or a solar lighting option for atmosphere, then reserve any corded fixtures for areas with safe power access.
Should I include plants in a staged patio if I’m staging for sale and want it to look good long-term?
Yes, but choose low-maintenance options that won’t require daily watering at show time. Use a mix of one vertical anchor (tall planter) plus several “instant fill” plants that look good in most lighting (such as hardy evergreens or drought-tolerant ornamentals). Replace anything struggling before showings, and avoid plants with heavy pollen or mess that could create stains on the rug.
How do I prevent cushions from making my patio look dirty or neglected during showings?
Keep a quick “cushion reset” kit: a small vacuum for seams, a lint brush for fabric, and a dry cloth for spills. Fluff and realign cushions so they look full, not flattened. If cushions have been stored, bring them out only after they are fully dry, and use furniture covers during longer non-use periods to limit dust and dampness.
What’s the right furniture height and material choice for a small patio so it doesn’t feel crowded?
For small spaces, prioritize lower-profile pieces (shorter coffee tables, slim dining chairs, armless lounge chairs) and avoid oversized sectionals. Visually, lighter colors and open frames (like powder-coated metal with thinner lines) make the patio feel bigger. On materials, choose UV-stable finishes and weather-rated upholstery so the fabric looks crisp instead of faded after a season.
If I’m staging for sale, what personal items should I remove first?
Remove anything that reads as a specific lifestyle. Start with highly personal décor (monogrammed items, team flags, family photo displays) and any collections that signal a narrow taste. Also clear functional clutter like tools, extra bags, and stacked seasonal items, because buyers interpret it as “storage,” not as a feature.
How should I handle patio staging during windy weather?
Use wind control only where it supports comfort and doesn’t create ongoing mess. Tie back outdoor curtains, choose heavier planters that won’t tip, and secure any lanterns or lightweight décor. For cover solutions, umbrellas should be tied or closed in gusts, and any retractable systems should be retracted when winds exceed safe operating conditions.
Next Articles
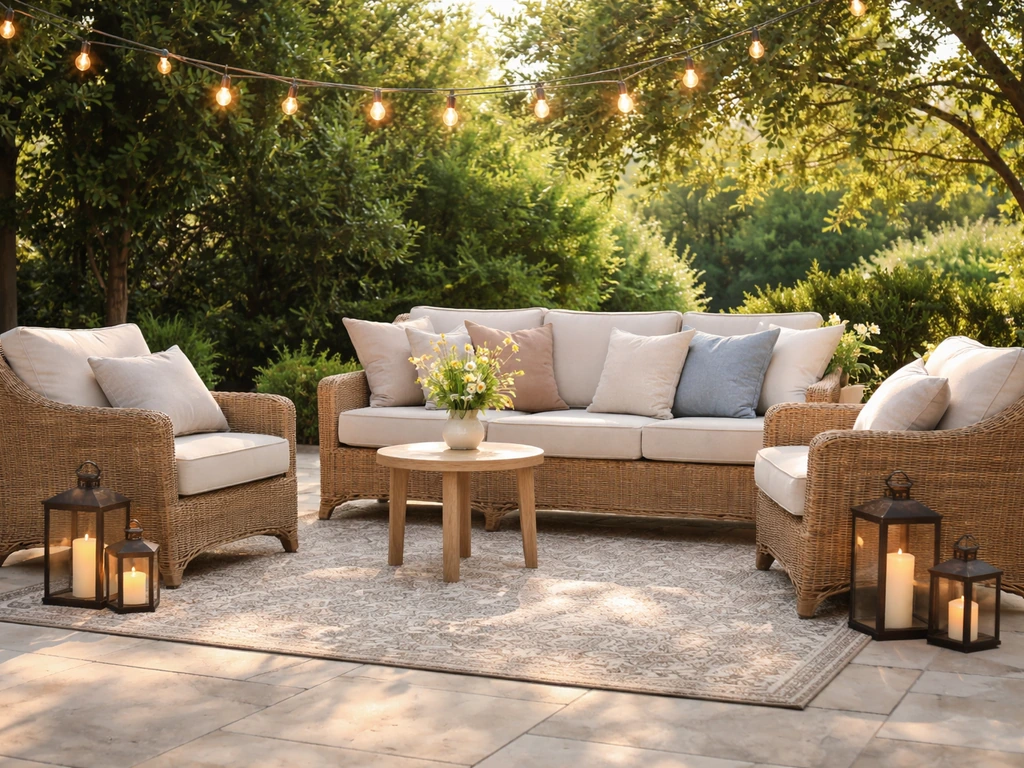
How to Decorate Your Patio for Summer: Step by Step
Step-by-step patio summer decor plan with furniture, lighting, textiles, zones, and maintenance tips for lasting comfort
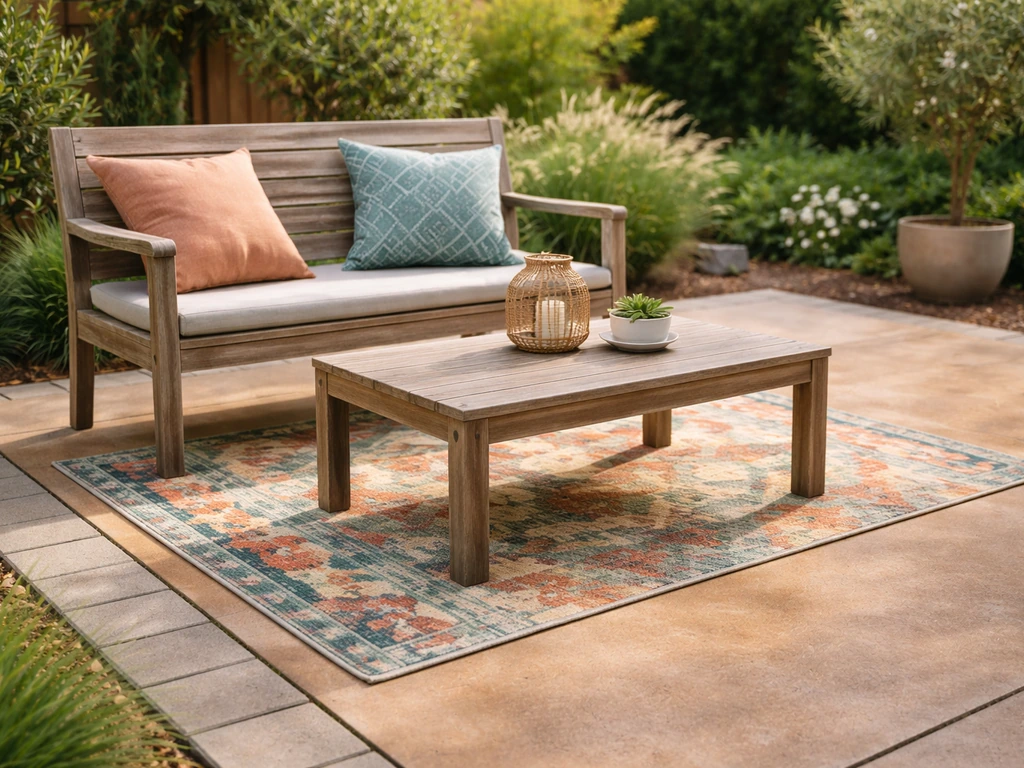
How to Add Color to an Outdoor Patio: DIY Guide
Step-by-step DIY guide to add lasting color to concrete, pavers, wood, and metal patio surfaces with prep, cure, and mai
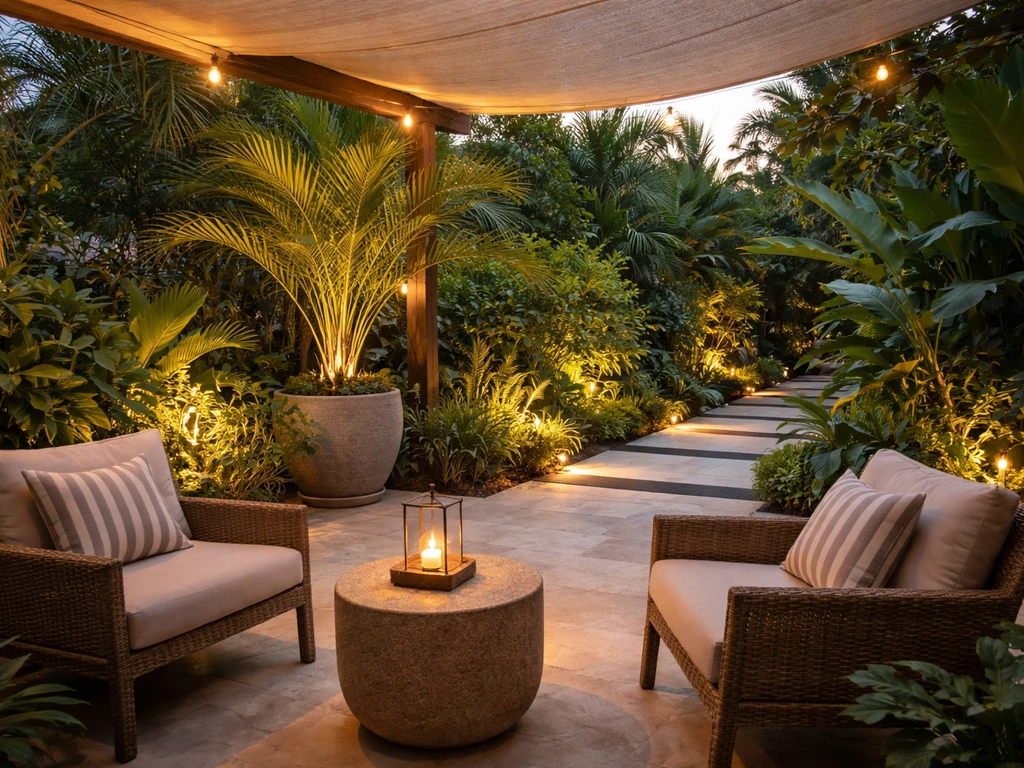
How to Make a Tropical Patio: DIY Step by Step Guide
Step-by-step DIY guide to turn your patio tropical with plant picks, shade and privacy, outdoor upgrades, and maintenanc