
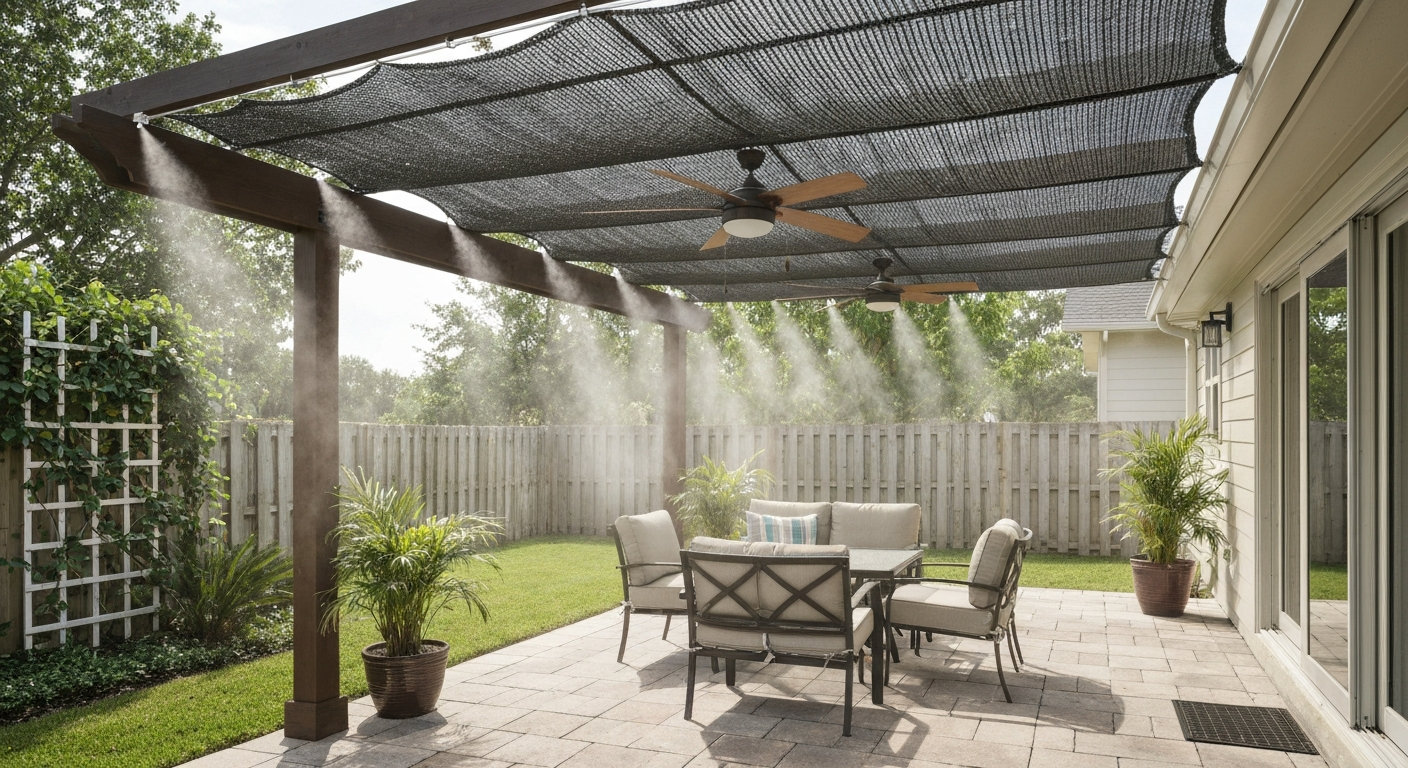
In a humid climate, the single most effective thing you can do to cool your patio is block direct sun and move the air. Shade drops the radiant heat load immediately, and a ceiling fan running at medium-to-high speed creates a wind-chill effect that makes a 90°F patio feel closer to 82°F. Misters help, but only modestly when humidity is already high, so they work best as a supplement rather than a primary strategy. Combine shade, airflow, and smart screening, and you can take 10 to 15 degrees of perceived heat off your patio without spending a fortune.
How to Cool Patio in Humid Climate: DIY Shade, Fans & Misters

Felix Brennan
21 Jul 2026
What you're actually fighting in a humid climate
Cooling a patio in a dry climate and cooling one in a humid climate are genuinely different problems. When humidity is low, your body sweats, sweat evaporates quickly, and you feel cooler. When relative humidity climbs above 60 to 70 percent, evaporation slows down, sweat lingers on your skin, and your body can't shed heat efficiently. That's why a 90°F day in New Orleans feels so much worse than 90°F in Phoenix. The discomfort isn't just temperature, it's the combination of temperature and moisture, measured as the heat index or apparent temperature.
This matters for every decision you make about cooling your patio. Evaporative coolers and misting systems work by turning liquid water into vapor, which absorbs heat from the surrounding air. But there's a hard thermodynamic ceiling: evaporative cooling cannot push air temperature below the ambient wet-bulb temperature. At 100% relative humidity, the wet-bulb temperature equals the dry-bulb temperature, so evaporative systems produce zero temperature drop. In real humid-climate conditions, say 80°F with 75% RH, the wet-bulb depression is small, and your mister might only drop air temperature 1 to 4°F instead of the 10 to 15°F you'd see in Arizona. So shade and airflow are your workhorses. Misting and evaporative tools are the supporting cast.
Quick decision checklist: pick the right combo before you buy anything
Before you spend money on fans or a misting kit, take five minutes to size up your situation. Your patio's current setup, your budget, and your DIY comfort level all point toward different solutions. Use the checklist below to identify your starting point.
| Your situation | Best first move | Estimated DIY cost | Skill level |
|---|---|---|---|
| Open patio, no overhead cover, budget under $500 | Shade sail or pergola shade cloth | $150–$400 | Beginner |
| Already shaded but still hot, budget under $300 | Outdoor ceiling fan or pedestal fan | $80–$250 | Beginner |
| Screened or enclosed patio with poor airflow | Add ceiling fan, improve vent openings | $100–$300 | Beginner–Intermediate |
| Open or partly shaded, want misting | Low-pressure mist kit on a pergola or awning | $30–$120 | Beginner |
| Serious heat and humidity, want maximum comfort | Shade roof + ceiling fan + mini-split or portable AC (enclosed patio) | $800–$3,000+ | Intermediate–Advanced |
| On a tight budget, patio gets afternoon sun | Retractable shade sail + box fan positioned to exhaust heat | $150–$300 | Beginner |
| Bugs are also a problem | Screened enclosure + ceiling fan | $400–$2,000+ | Intermediate |
If you're not sure where to start, shade almost always gives the biggest comfort payoff per dollar spent. Tackle that first, then layer in airflow, and add misting last if you want it.
Shade first: it makes everything else work better
Direct sunlight on a patio surface can raise surface temperature 40 to 60°F above air temperature. Dark concrete or brick absorbs that heat and re-radiates it back at you even after the sun moves. Shade eliminates that radiant load at the source. Once you're out of direct sun, fans and misters become dramatically more effective because they're not fighting the sun's constant heat input.
For humid climates specifically, choose shade structures that allow air movement rather than trapping it. A solid roof with no ventilation gap can actually create a hot pocket of stagnant air underneath. A pergola covered in shade cloth rated at 70 to 90 percent UV block is often better than a fully sealed roof because it lets rising hot air escape through the weave while blocking most direct sun. If you do want a solid roof, make sure one or two sides remain open to allow crossflow ventilation.
Shade structure options compared
| Structure type | Sun block | Airflow | DIY difficulty | Approximate cost | Best for |
|---|---|---|---|---|---|
| Shade sail (triangular/rectangular) | 70–90% | Good — open edges | Easy | $50–$300 | Budget builds, renters, quick setup |
| Pergola + shade cloth | 70–90% | Excellent — open sides | Moderate | $300–$1,500 | Most humid climates, DIY-friendly |
| Retractable fabric awning | 80–95% | Good when retracted | Easy to moderate | $200–$1,200 | Afternoon sun, flexible use |
| Solid patio roof (metal/polycarbonate) | 95–100% | Poor unless sides open | Advanced | $1,500–$6,000+ | Enclosed patios, rain protection |
| Fabric patio cover (attached awning structure) | 85–95% | Moderate | Moderate | $400–$2,000 | Attached patios with eave anchor points |
DIY retractable shade: a practical approach
A DIY retractable shade sail is one of the most accessible patio projects out there. You anchor stainless-steel eye bolts into your house fascia and a freestanding 4x4 post (set in a weighted base or footed into concrete), run stainless cable or rope between them, and clip a pre-made shade sail with stainless D-rings to the lines. The whole install takes an afternoon and about $150 to $250 in materials. When a storm rolls in, you unclip and fold the sail, which also extends the life of the fabric significantly. For humid climates, choose a knitted polyethylene shade cloth rated for UV resistance and mold resistance, not a woven canvas, which holds moisture and mildews quickly.
Screening and ventilation: cool air in, hot air out
A screened patio enclosure does double duty in a humid climate: it keeps insects out so you can stay outside longer, and it channels airflow if you design the openings correctly. The key phrase there is 'if you design correctly.' A fully enclosed screen room with no operable vents or panels can trap heat almost as badly as a solid wall. You want the enclosure to act like a sail, catching prevailing breezes and flushing them through.
Identify which direction your dominant summer breeze comes from (usually southwest to northeast in much of the U.S. Southeast, but check your local pattern). Place your largest or most operable screen panels on the windward and leeward sides. If you have a solid back wall, consider adding a high vent or operable transom to let hot air escape from the top of the enclosure where heat stratifies.
Mesh type matters for both bugs and airflow
Standard 18x16 fiberglass window screen is the default for most patio enclosures. The mesh openings are sized to stop mosquitoes (Aedes aegypti is roughly 1 mm body width), and it passes a reasonable amount of air. If no-see-ums or tiny midges are a problem in your area, you'll want a 20x20 or finer 'no-see-um' mesh, sometimes listed as 40 to 50 mesh count. The trade-off is real: finer mesh significantly reduces airflow, sometimes by 30 to 50 percent compared to standard screen. In a climate where you're already fighting stagnant air and humidity, that reduction matters. If you use fine mesh, compensate by adding more screened area (a larger screen door, extra panels) and definitely add a ceiling fan.
- 18x16 fiberglass: standard mosquito protection, best airflow, lowest cost (~$0.15–$0.30/sq ft)
- 20x20 aluminum: no-see-um protection, moderate airflow reduction, more durable than fiberglass
- 40–50 mesh no-see-um screen: stops smallest midges, significant airflow reduction — use a fan to compensate
- Solar/privacy screen (40–80% opacity): blocks heat and glare, but drastically cuts airflow — generally not recommended as primary patio screen in humid climates unless solar gain is the dominant problem
- Petscreen (7x7 PVC-coated polyester): pet-resistant, comparable airflow to standard screen, good for households with dogs or cats
Simple ventilation upgrades you can retrofit
If you already have a screened enclosure and it still feels stuffy, look at your screen door placement first. A single screen door on one side creates one air path. Adding a second door on the opposite side creates crossflow that moves far more air than a single opening ever will. You can also replace a solid kick panel at the base of your screen wall with screen material, hot air rises, so pulling cool ground-level air in from below while hot air exits through a high vent creates a natural thermal chimney effect even without a fan.
Fan selection and placement: the most underrated cooling upgrade
A well-placed outdoor ceiling fan is, honestly, one of the best investments you can make for a humid patio. Moving air across skin accelerates moisture evaporation, which is exactly how your body cools itself. A fan running at medium speed creates roughly a 4 to 8°F drop in perceived temperature, not in actual air temperature, but in how you feel. In humid conditions where your body's own cooling is compromised, that perceived drop is significant.
Choosing the right outdoor fan
For any covered patio, look for a fan rated UL-listed 'Damp' at minimum if it's under a fully enclosed overhead cover, or 'Wet' rated if it can be exposed to rain spray or direct moisture. In humid climates, wet-rated fans are the safer choice regardless, because high-humidity air alone can corrode unprotected motor windings over time. Fan blade span should match your space: a 10x12-foot screened room works well with a 44 to 52-inch fan; a 16x20-foot patio needs at least a 60-inch fan, or two 44-inch fans if the ceiling is low.
| Space size | Recommended fan diameter | Ideal ceiling height | Blade clearance from floor |
|---|---|---|---|
| Up to 75 sq ft | 36–44 inches | 8–9 ft | Minimum 7 ft |
| 75–150 sq ft | 44–52 inches | 8–10 ft | Minimum 7 ft |
| 150–300 sq ft | 52–60 inches | 9–12 ft | Minimum 7 ft |
| 300+ sq ft | 60+ inches or multiple fans | 10+ ft | Minimum 7 ft |
Ceiling fan installation: key steps and what to watch for
- Turn off power at the breaker and confirm it's dead with a non-contact voltage tester — no exceptions.
- Check your existing junction box. Patio ceiling boxes must be rated for fan support (a standard light-fixture box is not). If the existing box wobbles or is unrated, replace it with a UL-listed fan-rated brace box before hanging the fan.
- Hang the fan bracket to the brace box, then connect wiring: black to black (hot), white to white (neutral), green or bare copper to the ground screw on the bracket.
- For patios without a separate switch, add a remote-control receiver kit (under $30 at most hardware stores) inside the canopy — it lets you control the fan wirelessly without rewiring.
- Set the fan to run counter-clockwise (when viewed from below) in summer — this pushes air straight down for maximum wind-chill effect.
- Use a 1-inch downrod at minimum for 8-foot ceilings; add 6 inches of downrod for every foot of ceiling above 9 feet to keep blades in the effective airflow zone.
Pedestal and oscillating fans for open patios
If you have an open patio without overhead cover, a ceiling fan isn't an option yet. A 20-inch or larger pedestal fan positioned to blow across the seating area, angled slightly upward, keeps air moving effectively. For larger open spaces, aim two pedestal fans toward each other at a slight angle to create an air-mixing zone rather than a single directional stream. Outdoor-rated box fans placed in a window-frame style at the edge of a covered space can also exhaust hot air outward while drawing cooler shaded air in, this works especially well in late afternoons when air outside the shade is cooler than the stagnant air trapped under your cover.
Water-based cooling: misters, foggers, and fountains
Misting systems are popular, and they can make a real difference, but in humid climates, you need to go in with realistic expectations and some specific safety knowledge. The physics is straightforward: water droplets evaporate in the air around you, absorbing heat in the process. The problem is that humid air already contains a lot of water vapor, so evaporation is slower and less complete. Field studies in humid and semi-open outdoor settings typically show air temperature drops of only 1 to 4°F (roughly 1 to 2°C) from misting, compared to drops of 10 to 15°F or more in dry desert conditions. You'll still feel a comfort improvement, the visible mist and any skin cooling both contribute to perceived relief, but don't expect a dramatic air-temperature change. Field studies report a pronounced psychological comfort effect from visible mist even when measured air‑temperature reductions are modest (MDPI review: "A Literature Review of Cooling Center, Misting Station, Cool Pavement, and Cool Roof Intervention Evaluations") Field studies report a pronounced psychological comfort effect from visible mist even when measured air‑temperature reductions are modest..
Low-pressure vs. high-pressure misting systems
Most misting kits sold at hardware stores for $30 to $120 run at garden-hose pressure: roughly 40 to 80 psi. At that pressure, nozzles produce relatively large droplets (often 50 to 100+ microns) that don't fully evaporate before they hit surfaces. In dry climates, this is fine. In humid climates, those droplets wet your furniture, make the air feel clammier, and add to your humidity problem rather than solving it. If you go with a misting system in a humid climate, a high-pressure pump system (700 to 1,000+ psi) is worth considering. At those pressures, nozzles atomize water into ultra-fine droplets under 20 microns that evaporate almost completely in mid-air, keeping surfaces dry. High-pressure systems cost more, a residential pump unit typically runs $300 to $700, but they actually work in humid conditions, where the low-pressure kits largely don't.
Sizing a misting system correctly
Each nozzle has a rated flow at a given pressure, for a small 0.15 mm orifice nozzle at 1,000 psi, that's roughly 0.65 to 0.91 gallons per hour. If you're running 10 nozzles, your pump needs to supply at least 7 to 10 GPH at full pressure without dropping below the design psi. If pump capacity is undersized for your nozzle count, pressure drops, droplet size increases, and you end up wet. Always match your pump's rated GPM and psi to the total nozzle load, the nozzle manufacturer's technical data sheet will give you the per-nozzle GPM at your target operating pressure.
When and where misting actually helps
Misting works best in the hottest, least humid part of your day, typically early afternoon when temperature peaks and relative humidity dips slightly. It also helps most in shaded, partially open spaces where the evaporated water has somewhere to go rather than accumulating. If your screened patio is already holding 80%+ RH, running a mister inside it will wet surfaces and make the air feel wetter without meaningfully cooling it. Run misters on your open patio or pergola edge rather than inside an enclosed screen room, and point them upward or outward so the mist drifts into the seating area from above rather than spraying directly at people.
Outdoor fountains and water features contribute a small passive cooling effect through natural evaporation at the water surface, and their acoustic effect, the sound of moving water, reliably makes a space feel cooler even before any measurable temperature change occurs. They're not high-output cooling tools, but in a shaded patio with a running fountain and a fan, the combined sensory experience can feel meaningfully more comfortable than the thermometer suggests.
Misting system installation basics
- Run the misting line along the outer edge of your shade structure at 8 to 10 feet above finished floor — high enough that mist drifts down into the occupied zone rather than blowing directly on people.
- Space nozzles 18 to 24 inches apart for consistent coverage; tighter spacing increases moisture in the zone, which helps in dry climates and hurts in humid ones.
- Install an inline sediment filter between the water supply and the pump to catch minerals and particulates that clog nozzles. For hard water areas, add a water softener or reverse-osmosis pre-filter — mineral scale buildup is the number-one reason misting nozzles fail prematurely.
- Use tubing rated for your system pressure. Standard garden-hose tubing is not rated for 700–1,000 psi; high-pressure systems require reinforced tubing and brass or stainless fittings.
- Install a timer or use a smart-home controller so the system runs automatically during peak afternoon heat and shuts off in the evening when cooling needs drop and overnight humidity rises.
Safety: Legionella, standing water, and maintenance
This part is worth taking seriously. Any misting or spray system that creates fine water aerosols and has a water reservoir or supply line that can sit stagnant is a potential Legionella environment. Legionella bacteria thrive in warm, stagnant water (77 to 113°F is the ideal growth range), and fine mist droplets in the 2 to 10 micron range are exactly the size that can be inhaled into the lungs. The risk is manageable with basic discipline: never let water sit in the system when it's not running, drain reservoirs completely when not in use for extended periods, flush lines at startup, and clean nozzles and filter housings monthly during the season. National health guidance recommends insulating supply lines to prevent warming, avoiding stagnation, and considering periodic disinfection with appropriate products for the materials in your system. Don't run any misting system from a barrel or tank of standing water that hasn't been maintained, the convenience isn't worth the risk. EPA, Mosquito Misting Systems guidance notes that misting systems are subject to pesticide labeling and recommends securing reservoirs, aligning and calibrating nozzles, and keeping sprays away from food and water bodies to prevent unintended pesticide exposure EPA — Mosquito Misting Systems guidance.
Humidity caution: know when to turn it off
ASHRAE's comfort guidance pegs 60% relative humidity at 78°F as roughly the upper limit of the comfort zone. If your ambient outdoor RH is already at or above 70 to 75%, running a misting system will push the RH in your patio zone higher, which makes the air feel more oppressive even if the dry-bulb temperature dropped 2°F. Check your weather app's humidity reading before you start the mister. On days when it reads above 75% RH, your ceiling fan is a better primary tool than the mister. Save the misting for drier, hotter afternoons when you're more likely to actually see and feel a benefit.
A few more upgrades worth stacking
Once you've handled shade, airflow, and misting, several smaller upgrades can close the remaining comfort gap. Light-colored or reflective patio flooring materials (light gray concrete, composite decking, light travertine) stay significantly cooler underfoot than dark materials. If you're stuck with dark concrete, outdoor rugs made from open-weave polypropylene allow air circulation and provide insulation from the hot surface. Furniture with open weave or breathable mesh fabrics, rather than solid cushions with vinyl or polyester covers, allows air to move around and under you, which makes a real difference in heat retention on your body. Plants and trellised vines along a west-facing fence or wall provide passive shading and minor evapotranspiration cooling; a mature wisteria or climbing hydrangea on a west trellis can reduce radiant heat from that wall measurably.
For enclosed patios where you want serious cooling power, a mini-split ductless air conditioner is the most effective option. A 9,000 to 12,000 BTU mini-split can maintain a 400 to 600 square-foot screened or enclosed patio at comfortable temperature and humidity even on the worst summer days. It also dehumidifies, which is the real win in a humid climate. A portable AC vented through a screen panel or a small wall penetration is a lower-cost starting point ($300 to $600), though less efficient. Both require electrical work, mini-split installation typically requires a licensed electrician for the disconnect and final connection. If you're tackling this project, make sure your patio enclosure is reasonably airtight first, because trying to air-condition a wide-open space is a losing battle.
On the organizational side, keeping your patio functional during hot weather means having storage and trash management that doesn't require frequent trips inside. A DIY patio storage box built from cedar or pressure-treated lumber gives you a place to stash cushions, fan remotes, and misting supplies out of the elements, and it doubles as bench seating. Similarly, a simple trash can enclosure keeps the patio tidy without a plastic bin sitting in direct sun getting hot and odorous. Consider building a simple DIY patio trash can enclosure to keep bins shaded, reduce odors, and integrate storage with your seating. Both are straightforward builds that pair well with a weekend patio overhaul.
Maintenance and seasonal care
Every cooling system you install needs a maintenance routine to stay effective and safe. For shade structures, inspect anchor points, fabric condition, and hardware for corrosion at the start and end of each season, humid climates are hard on hardware, and a rusted eye bolt failing under a loaded shade sail is a hazard. For screen panels, check for tears and re-screen any sections that have gaps where insects can enter. For fans, clean blade surfaces and motor housing at least twice a season, humid air carries pollen, dust, and mold spores that accumulate and can reduce airflow efficiency. For misting systems, flush lines at the start of each season, clean or replace nozzles annually, replace inline filter cartridges mid-season, and winterize by draining the entire system before first frost.
- Start of season: inspect all hardware for rust, retighten shade sail anchor points, flush misting lines, check fan motor mounts
- Mid-season: replace misting filter cartridge, clean fan blades, inspect screen panels for tears or pet damage, check electrical connections on outdoor fans for moisture ingress
- End of season: drain and dry misting system completely, store or cover shade sail fabric, lubricate fan bearing if manufacturer allows, cover or store pedestal fans
- Year-round: after any major storm, check shade structure tension and hardware, inspect screen frames for warping or loose spline
Cooling a humid patio is really a layered problem: no single product solves it, but a few well-chosen upgrades working together make a dramatic difference. Start with shade, add airflow, then consider misting with realistic expectations and proper safety habits. That combination gives you a genuinely usable outdoor space through even the most brutal summer months, which is the whole point. For step-by-step projects and product recommendations on how to make a patio cooler, see our detailed guide. See our detailed guide on how to keep patio cool in summer for step-by-step tips and product recommendations.
FAQ
Why does humidity change how well common patio cooling methods work?
High humidity limits evaporative cooling because evaporation rate falls as air approaches saturation; evaporative systems (misters, low‑pressure sprays) cannot cool air below the ambient wet‑bulb temperature. In practice that means misting and swamp‑style cooling are far less effective in very humid climates, may leave surfaces damp, and increase absolute humidity. Fans increase comfort mainly by increasing air speed over skin (convective and evaporative heat loss) — they don’t lower air temperature. Enclosed mechanical cooling (portable AC, mini‑split) removes heat and humidity but costs more and needs proper sealing and condensate/water handling.
What’s the best prioritization when planning patio cooling upgrades in a humid climate?
1) Maximize shade and reduce direct solar gain (roof, awning, pergola with solid or reflective cover). 2) Maximize cross‑ventilation and unobstructed airflow (open sides, screened vents, well‑placed fans). 3) Use targeted evaporative tactics only as an adjunct (misters/fountains) and understand limits. 4) For enclosed patios where real temperature/humidity control is needed, plan for active refrigeration (portable AC or ductless mini‑split). 5) Add passive cooling finishes (light, reflective surfaces, breathable furniture, cool flooring) and landscaping to reduce radiant heat.
How do I choose shade/roofing options for humid climates? Pros and cons.
Solid roof (metal, polycarbonate, asphalt): best at blocking solar heat and rain; allows ceiling fans/lighting; may trap heat unless ventilated. Permeable roof (lattice, pergola with fabric or slats): good airflow and partial shade, lower radiant trapping but less solar blocking. Retractable awning: flexible shading; needs durable fabric and proper mounting for storms. Insulated/vented roof panels: reduce trapped heat for covered patios. Tradeoffs: more airtight/solid roofs improve rain protection and allow AC use but require ventilation or mechanical cooling to avoid heat build‑up; open roofs improve airflow but offer less sun and rain protection.
How should I design screening and ventilation to keep air moving without inviting insects or reducing cooling effectiveness?
Use screened enclosures sized for airflow — larger openings and fewer obstructions support cross‑ventilation. Select screen mesh balancing insect exclusion vs airflow: standard 18×16 mesh blocks common mosquitoes with modest airflow loss; very fine 'no‑see‑um' mesh reduces airflow more noticeably. Add passive vents or screened high vents to let hot air escape; mount intake openings low and exhaust high when using ceiling fans. Consider removable storm panels or zip screens so you can open fully on low‑insect days for maximum airflow.
What fan types and placements work best on humid patios?
Ceiling fans: best for covered patios — circulate air downward to enhance skin evaporation; choose outdoor‑rated motor and blades, and 52–72" sizes depending on space. Oscillating fans: good for open patios and creating cross‑breezes; mount on walls or stands to direct airflow across seating zones. High‑velocity fans: useful to offset heavy humidity by maximizing convective cooling but can increase perceived humidity if misting adds moisture. Placement tips: orient fan airflow across seating and toward exit paths (not directly at faces for long periods); combine ceiling fans with wall fans to move air from low to high openings.
Should I use misters in a humid climate? What are the trade‑offs and safety concerns?
Misters can improve local perceived comfort in humid climates by cooling skin and producing a psychological cooling effect, but air‑temperature reductions are limited as humidity rises and systems can leave surfaces wet. Use high‑pressure dry‑mist systems (proper nozzle selection and pump pressure) to atomize droplets so they evaporate before hitting surfaces; low‑pressure kits often waste water and wet surfaces. Safety/health: aerosolized water can carry Legionella and other microbes if water stagnates — follow CDC guidance: use clean water, avoid stagnation, drain systems when idle, clean and disinfect reservoirs/lines periodically, and use filtration. Also avoid placing misters near electrical fixtures and food prep areas.
Next Articles
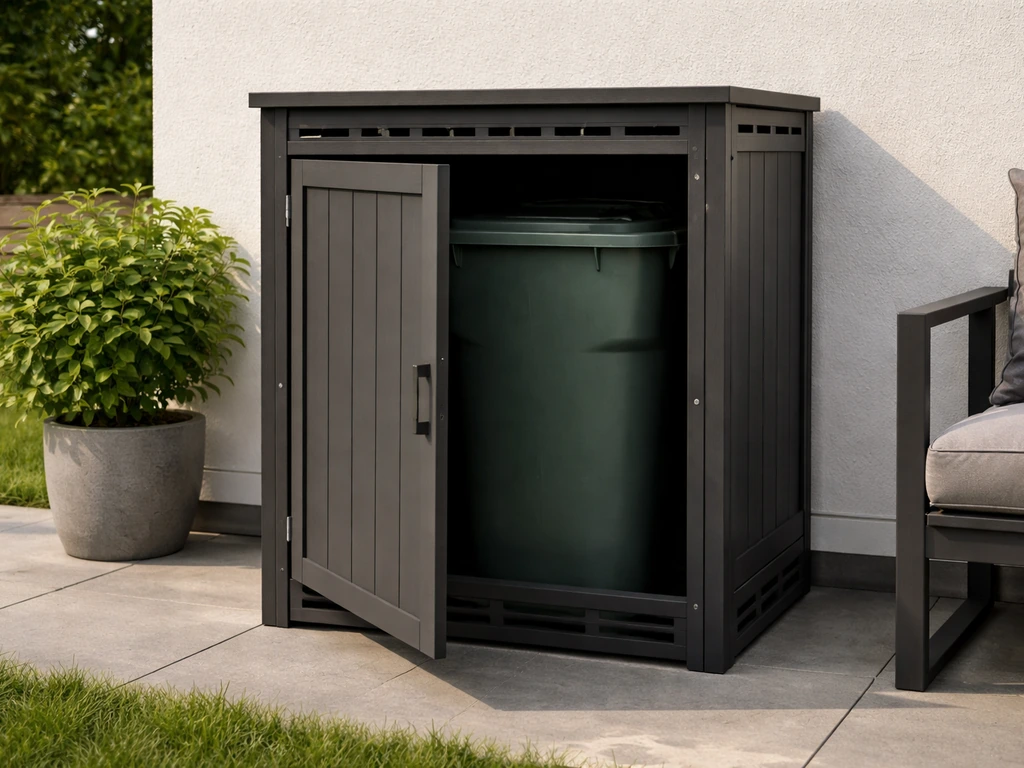
DIY Patio Trash Can Build Guide for Your Outdoor Space
Build a patio-ready DIY trash can with cover or enclosure, weatherproofing, odor control, and easy clean access.
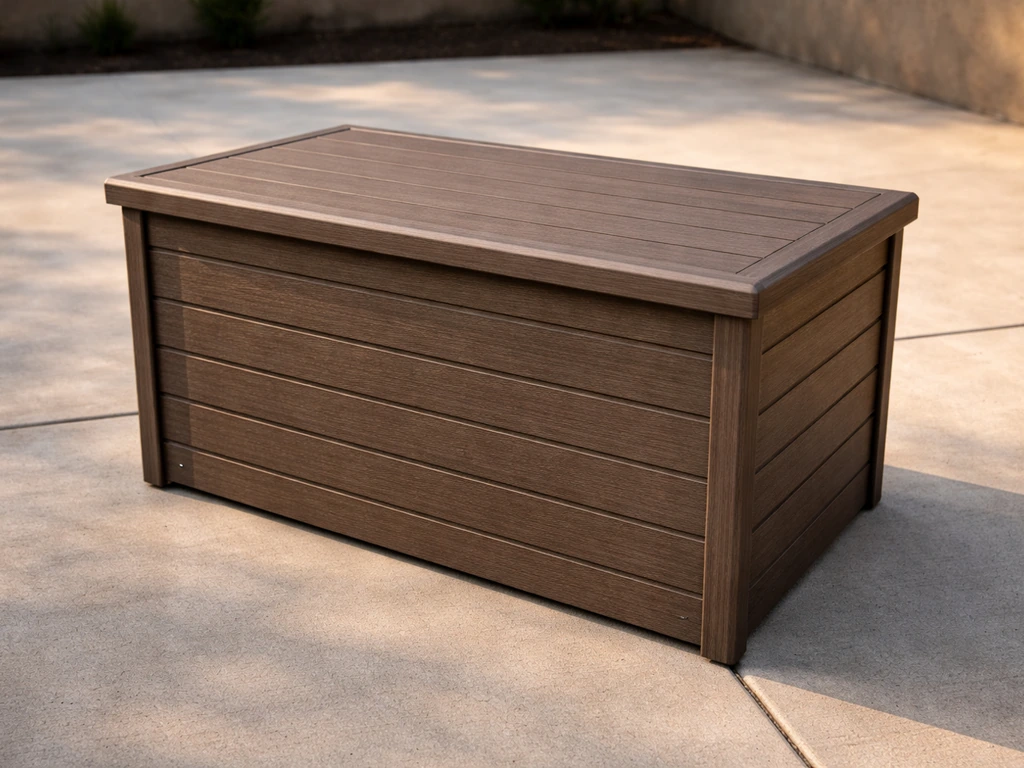
How to Make a Patio Storage Box: DIY Step-by-Step
Step-by-step guide to build a durable patio storage box: plan size, choose weatherproof materials, waterproof lid, and f
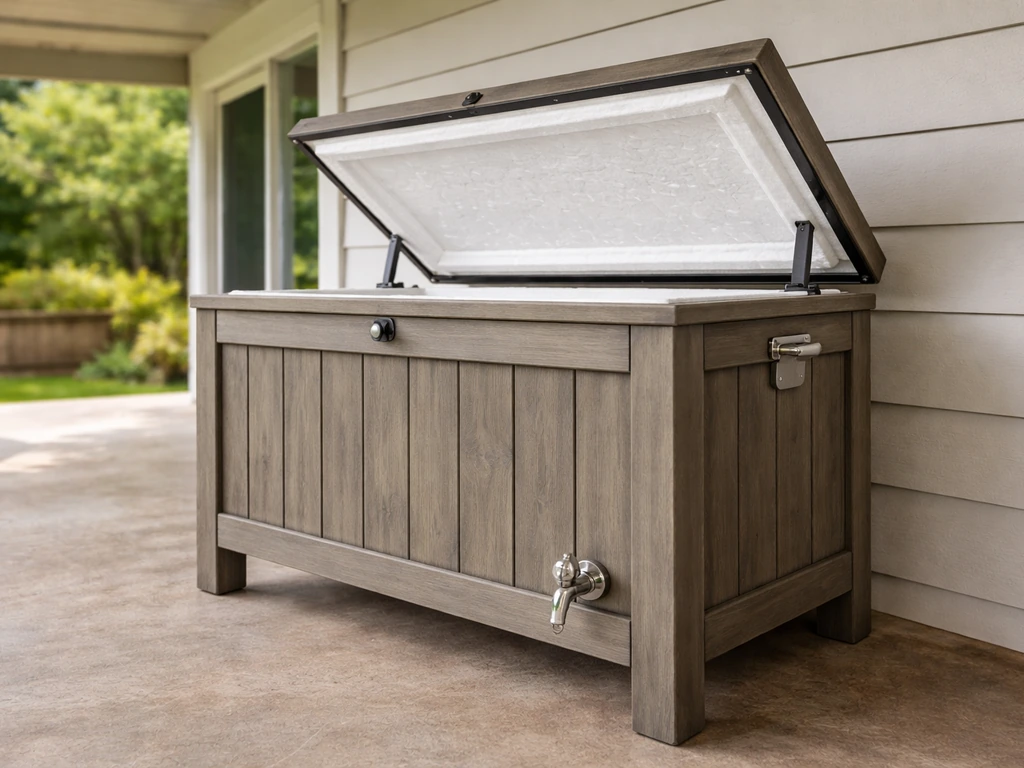
How to Make a Patio Cooler: DIY Ice Chest Guide
Build a DIY patio ice chest with insulation, weatherproof lid, sizing tips, drainage, and maintenance for longer cooler