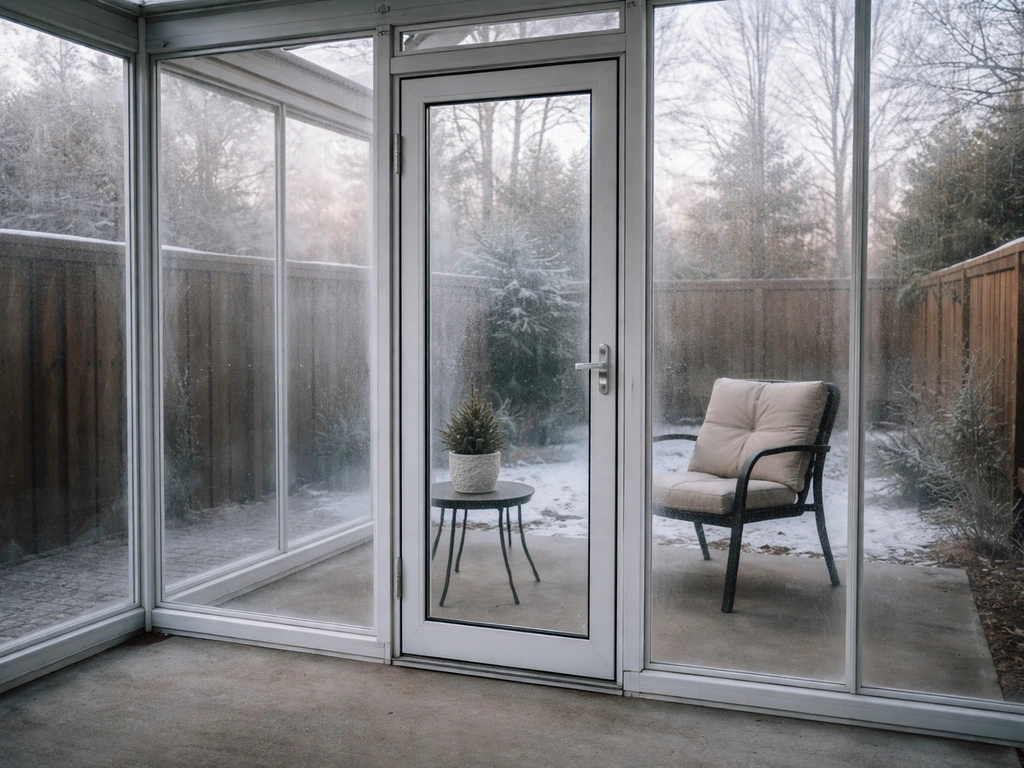
You can enclose a patio for winter by installing a frame system with clear polycarbonate panels, tempered glass, or heavy-gauge vinyl film to block wind, rain, and cold while keeping the space usable. The right approach depends on how much cold you're dealing with, how permanent you want the enclosure to be, and what your budget looks like. A basic clear vinyl panel setup can go up in a weekend for a few hundred dollars. A fully framed polycarbonate or glass enclosure takes longer and costs more, but gives you a true four-season room. Either way, success comes down to getting the frame plumb, sealing every gap, and managing moisture so you don't end up with a cold, dripping space that's worse than just leaving the patio open.
How to Enclose a Patio for Winter: DIY Step-by-Step

Felix Brennan
29 Apr 2026
First: Figure Out What You're Actually Trying to Block
Before you buy a single panel or post, be honest about what "enclosed for winter" means for your situation. People use that phrase to mean very different things, and the right solution is completely different depending on your answer.
- Wind and rain protection only: You want to sit outside on mild winter days without getting blasted. A clear vinyl curtain or removable panel system is enough.
- Bug-free shoulder-season use: A screened enclosure with a solid roof handles this, but screens alone won't do much once temps drop below 50°F.
- Warmth and cold-weather usability: You need a sealed, insulated enclosure with a heat source. Think polycarbonate or glass panels in a solid frame with weatherstripped edges and a proper door.
- Full four-season room: You're essentially building a sunroom. This often requires permits, a concrete or insulated floor, and possibly electrical work.
Most DIYers fall into the third category: they want a space that's genuinely usable when it's 30 to 45°F outside, not a full sunroom addition. That's the focus of this guide. If you're already working through how to close in a patio more permanently or how to insulate a patio's walls and floor, those projects layer on top of what we're covering here. If you also need to insulate the patio’s walls and floor, focus on air sealing and insulation underneath the enclosure so drafts and cold spots don’t undercut your panel system insulate a patio's walls and floor. For more detailed guidance on how to close in a patio for winter, follow the step-by-step approach in the enclosure sections. If you still need to decide on the right enclosure approach, these tips will show you practical options for how to close in a patio for winter.
Choose Your Enclosure Style and Materials
Here's where most people overthink it. There are really three practical options for a winter patio enclosure, and each has a clear use case.
Clear Vinyl Film Panels (Budget, Removable)
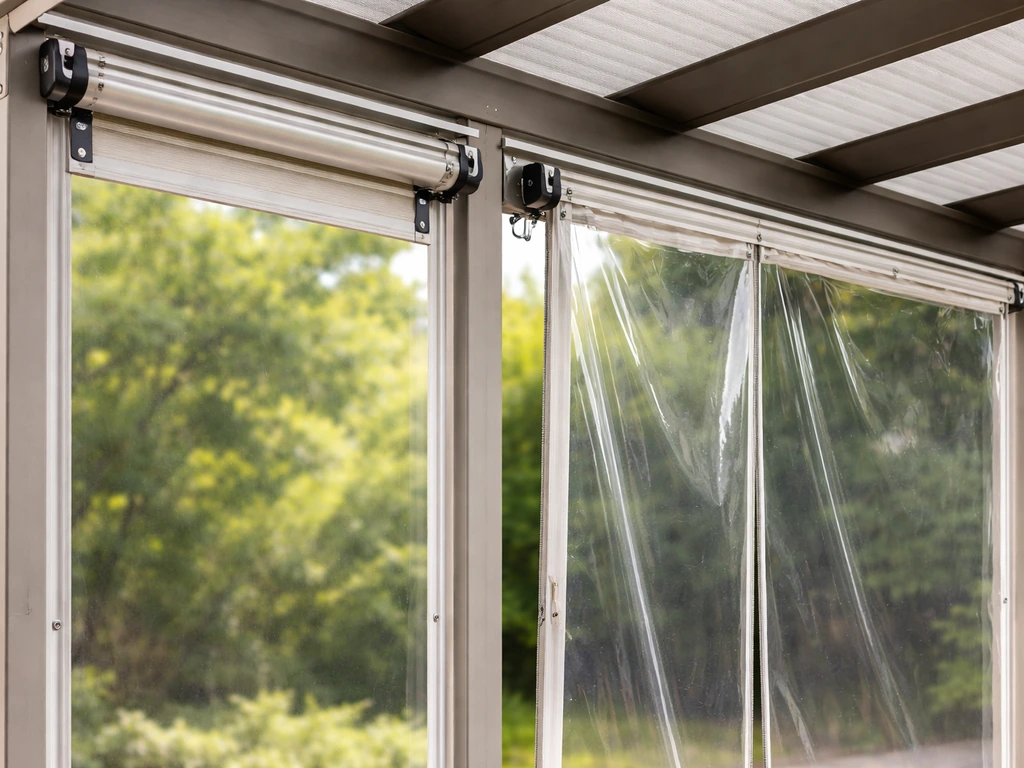
Heavy-gauge clear vinyl panels (think 20 mil or thicker) attach to a track system on your existing patio cover or pergola frame. They roll up or zip out in warm weather, and they're the easiest DIY install. The real limitation: vinyl is not suitable for high-wind conditions. Manufacturers are explicit about this. If you're in a region with regular winter gusts over 30 to 40 mph, vinyl will flap, stress the track hardware, and eventually tear or pull out. For sheltered patios in moderate climates, though, vinyl curtain systems work well and cost $300 to $700 for a typical 12-by-16-foot patio. One important handling note: if you're installing in cold weather, bring the vinyl rolls inside and let them warm up for at least 24 hours first. Cold vinyl is stiff and won't seat properly in the tracks, and forcing it risks cracking and poor alignment that creates drafts.
Multiwall Polycarbonate Panels (Mid-Range, Semi-Permanent)
Twin-wall or triple-wall polycarbonate panels are the sweet spot for most DIY winter enclosures. They're lightweight (a 4-by-8 sheet weighs about 4 to 6 pounds), cut with a circular saw, handle snow and wind loads well when properly framed, and provide real insulation value. Twin-wall polycarbonate has an R-value around 1.5 to 2; triple-wall jumps to R-2.5 to R-3. That's not house-wall insulation, but it's meaningful compared to a single-pane glass equivalent at R-1. The catch is that polycarbonate panels require attention to expansion gaps and drainage during installation. The panels expand and contract significantly with temperature swings, so you need to leave about 1/16 to 1/8 inch of gap at end-cap seating and use oversized holes when fastening. MULTIWALL polycarbonate installation guides recommend leaving an expansion allowance when using H-channel connections so the system can move with temperature changes (for example, about a 1/4-inch gap) leave about 1/16 to 1/8 inch of gap at end-cap seating. Skipping this step causes cracking during freeze-thaw cycles. Snow and wind loads are the main structural concerns; always follow the manufacturer's span tables rather than guessing on framing spacing.
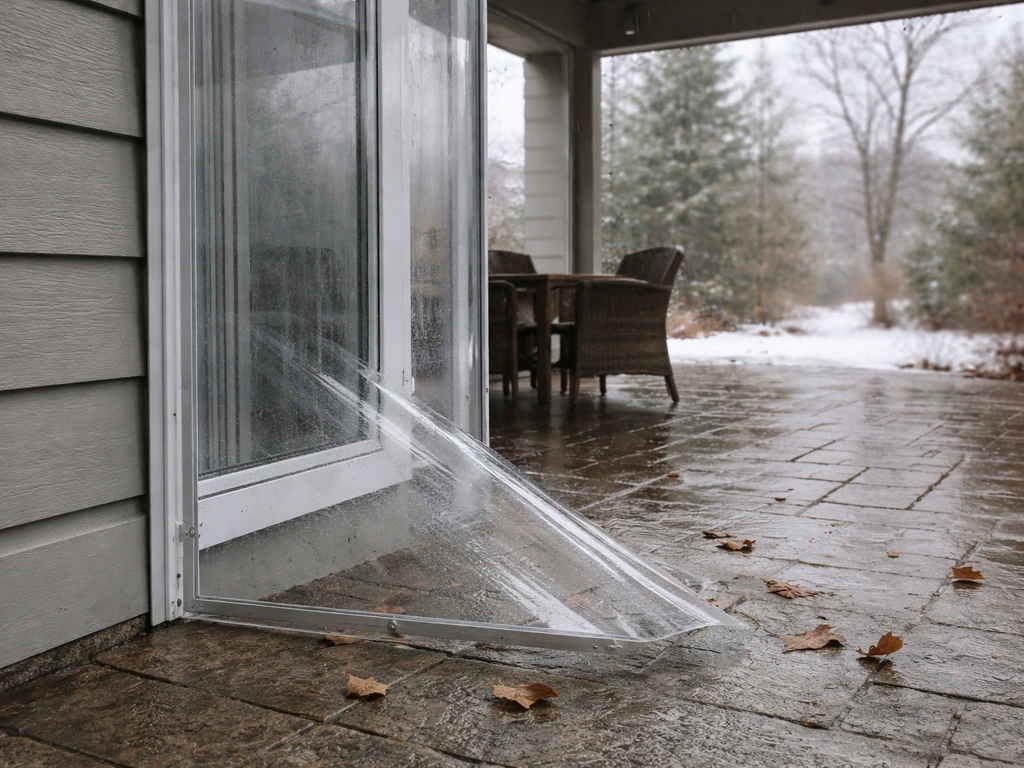
Tempered Glass or Framed Window Panels (Permanent, Best Performance)
If you want the nicest result and have the budget, framed tempered glass panels or prefab aluminum-framed sunroom panel systems give you the most durable, weather-tight enclosure. Cost jumps significantly (often $150 to $400 per linear foot installed), but the result is a true room extension. This is where a product like a PatioEnclosures-style system fits in. For most DIYers reading this guide, polycarbonate or vinyl is the practical choice, so that's where we'll spend most of our detail below.
| Material | Best For | Approx. DIY Cost (12x16 patio) | Wind/Snow Resistance | Insulation (R-value) | Removable? |
|---|---|---|---|---|---|
| Clear vinyl film | Mild climates, sheltered patios, budget builds | $300–$700 | Low (not for high winds) | R-0.5 or less | Yes |
| Multiwall polycarbonate | Most DIYers, semi-permanent, 4-season use | $800–$2,000 | Good (follow span tables) | R-1.5 to R-3 | With effort |
| Tempered glass panels | Permanent rooms, best aesthetics and performance | $2,500–$6,000+ | Excellent | R-1 to R-4 (IGU) | No |
Measuring, Planning, and Laying Out the Frame
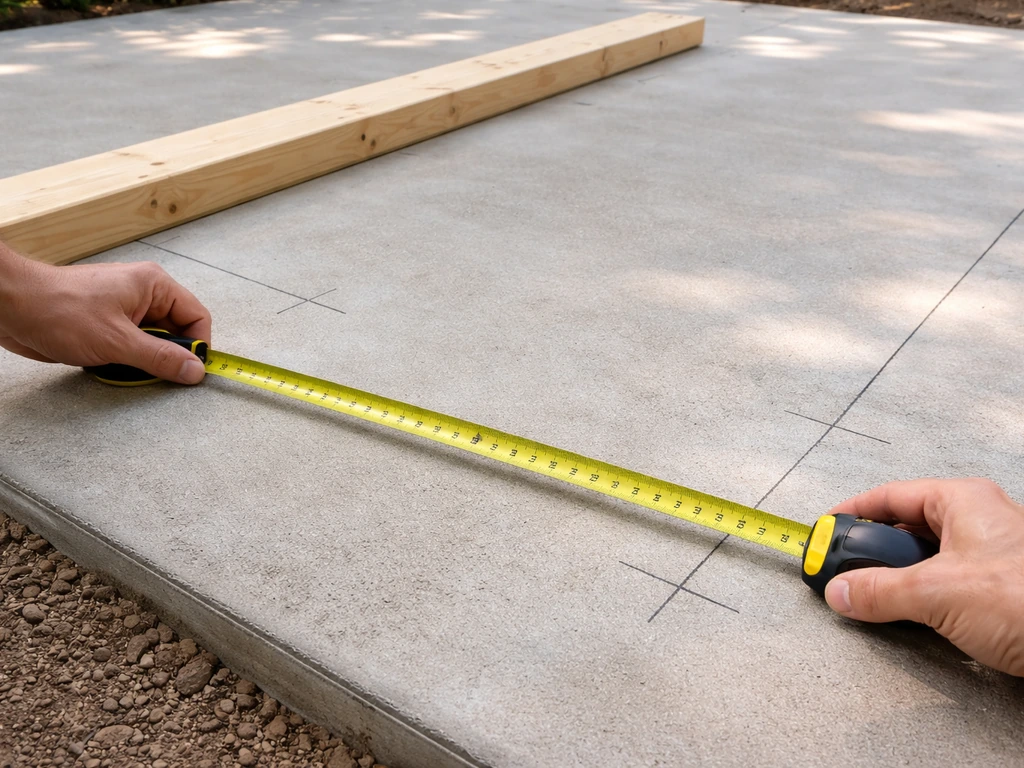
Measure everything twice before you order anything. A patio that measures 14 feet 2 inches is not a 14-foot patio for ordering purposes. Here's how to approach the planning phase so you don't end up with gaps, short panels, or a frame that fights you during install.
- Measure the full perimeter of the patio opening: width at the top, width at the bottom, and height on both sides. Note if anything is out of square, because you'll need to account for it.
- Decide on panel size and work backward to set post spacing. For twin-wall polycarbonate, standard sheets are 4 feet wide and 8 or 12 feet tall. Plan your frame so vertical posts land at panel seams, typically every 4 feet on center.
- Check your existing patio cover or pergola header. If you're attaching the top rail of your enclosure to an existing ledger or beam, verify it's solid and level. If it sags or is rotted, fix it before you build on it.
- Mark your post locations on the patio slab with chalk. Use a framing square to confirm corners are 90 degrees. Even a 1-inch error at the corner compounds into a 2 to 3-inch gap at the far side.
- Check local codes. Enclosures over a certain size, or ones that add structural posts to a slab, often require a permit. A quick call to your local building department takes 10 minutes and can save you from having to tear something down.
For tools, you'll need a tape measure, chalk line, framing square, level (a 4-foot level is worth it), circular saw with a fine-tooth blade for polycarbonate, cordless drill, and a caulking gun. If you're setting posts in brackets on a slab, you'll also need a hammer drill with a masonry bit. Plan for 4 to 6 hours of measuring and layout before a single panel goes up.
Step-by-Step Installation: Frame, Panels, and Sealing
Step 1: Install the Posts and Frame
Set your vertical posts first. For a semi-permanent polycarbonate enclosure, 4x4 pressure-treated lumber or aluminum square tube (2-inch or 2.5-inch) both work. Aluminum is lighter and won't rot or warp, but costs more. Attach posts to the slab using surface-mount post bases with concrete anchors (3/8-inch wedge anchors are standard for 4-inch concrete). Set the base, drill, hammer in the anchor, torque it down, then set the post. Check plumb on two faces with your level before fastening. Attach the top horizontal rail (header) across the posts, tying it into your existing patio cover or roof beam. Add a bottom rail (sill) at slab level if your design uses one; otherwise, you'll seal the bottom panel edge directly to the slab with weatherstrip foam and caulk.
Step 2: Install the Panels or Glazing
For polycarbonate panels, peel the protective film back about 2 inches from all edges before installation, not after. Leaving the film on during install traps moisture under it and makes removing it later almost impossible. Dry-fit each panel before fastening. Polycarbonate expands and contracts roughly 1/8 inch per 10°F change per 10 feet of panel, so drill fastener holes 1/8 inch larger than the screw shank and use neoprene washers to allow movement. At the top and bottom edges, seat the panel in an H-channel or U-channel extrusion; leave the small gap (1/16 to 1/8 inch) at end-cap seating for drainage and expansion. Use manufacturer-specified aluminum or polycarbonate H-channels at vertical panel joints, and seal the top edge with an aluminum end cap and tape. Never seal the bottom edge shut; that's where condensation and any moisture drain out. For vinyl panels, follow the manufacturer's track-mounting sequence carefully: install all screw studs to the center vertical first, then stretch and attach the vinyl to avoid tension misalignment that creates drafts.
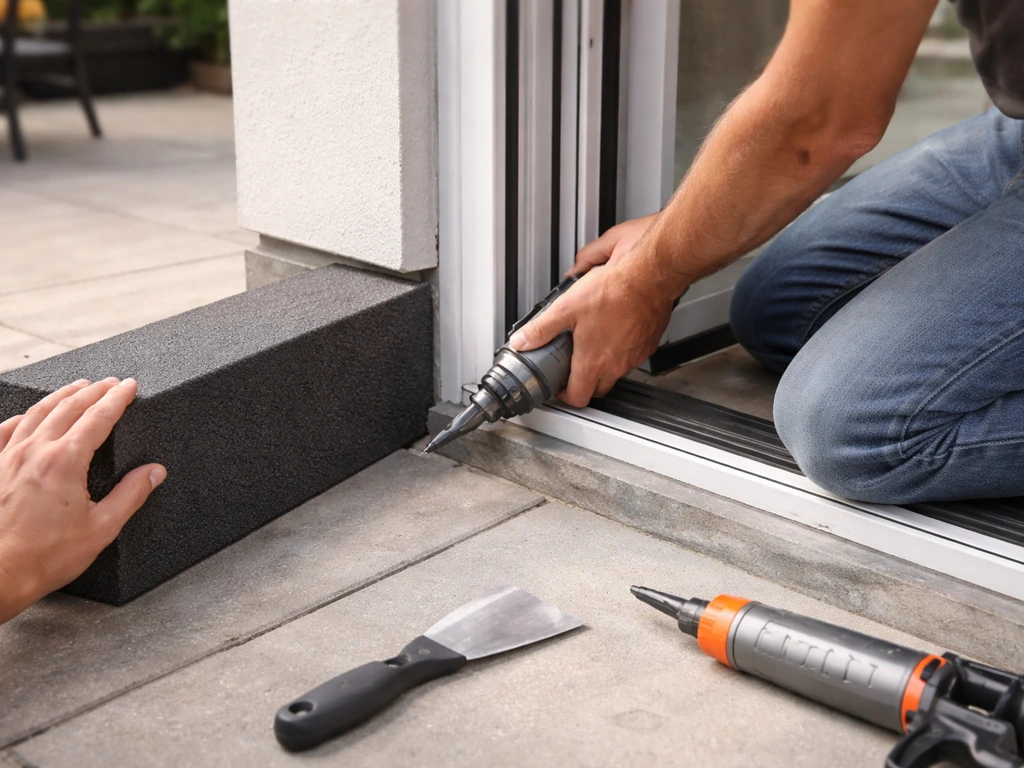
Step 3: Seal Gaps and Weatherproof the Enclosure
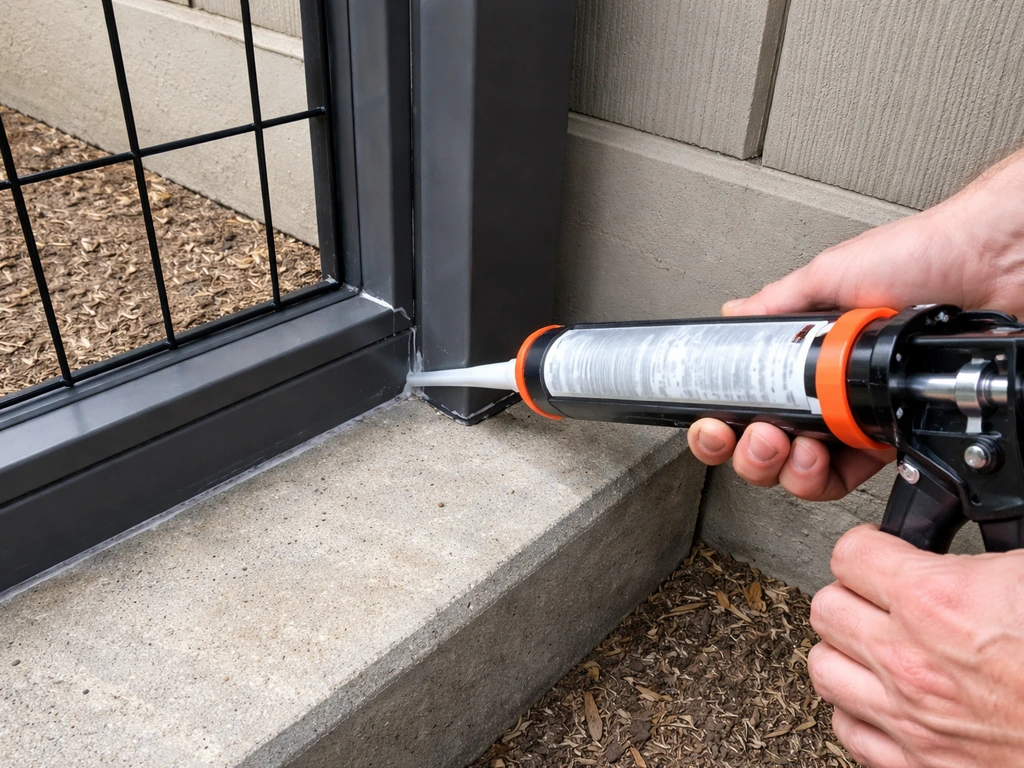
Sealing is where most DIY winter enclosures succeed or fail. Run a bead of silicone caulk along every junction where panels meet posts, where posts meet the slab, and where the top rail meets the existing structure. Use a paintable exterior silicone or a polyurethane sealant, not cheap latex caulk that cracks in freezing temps. For larger gaps (1/4 inch or more), use backer rod foam before caulking. Along the bottom sill, apply a compressible foam weatherstrip tape between the panel edge and the slab before caulking over it. Check every joint from the inside on a sunny day: hold your hand near seams and feel for cold air, or use a stick of incense to watch for smoke deflection at drafty spots. Don't skip this step, it makes a huge difference in how warm the space actually gets.
Doors, Ventilation, and Keeping Condensation Under Control
A solid door is non-negotiable for a winter enclosure. A screen door won't cut it once temps drop. At minimum, use an insulated steel or fiberglass exterior door with a proper door sweep and weatherstripping on all four sides. If you're using a sliding panel or a hinged polycarbonate door, make sure it seals at the top and bottom, because these are almost always where cold air infiltrates. Budget around $200 to $400 for a basic pre-hung exterior door unit if you're adding a permanent entry.
Ventilation is a real tension in winter enclosures: you want to keep cold out, but you also need some air movement to control moisture. A fully sealed space with people inside generates humidity fast, and that humidity hits your cold panel surfaces and condenses. Condensation forms whenever a surface temperature drops below the dew point of the indoor air. For example, when outdoor air at 30°F is heated indoors to 70°F, the dew point inside can still sit around 25°F. If your panel surface drops to 28°F overnight, you wake up to dripping walls. The fix isn't to seal tighter; it's to manage humidity. Install one or two operable vent panels or a small sliding window so you can purge moist air after use. A bathroom exhaust fan (80 CFM is plenty for a 200-square-foot patio) run for 15 to 20 minutes after using the space dramatically reduces condensation. Condensation on the inside of panels is a humidity and temperature problem, not necessarily a sign your panels are defective.
A few specific condensation management habits: keep indoor relative humidity below 40 to 50% in the enclosed space, run a small dehumidifier or the exhaust fan during and after use, and don't hang wet gear or towels in the space to dry. Exterior condensation (dew on the outside surface of your panels in the morning) is normal and harmless; it happens when the glass or panel surface is cooler than the outdoor dew point and typically burns off within an hour of sunrise.
Heating and Lighting So the Space Actually Gets Used
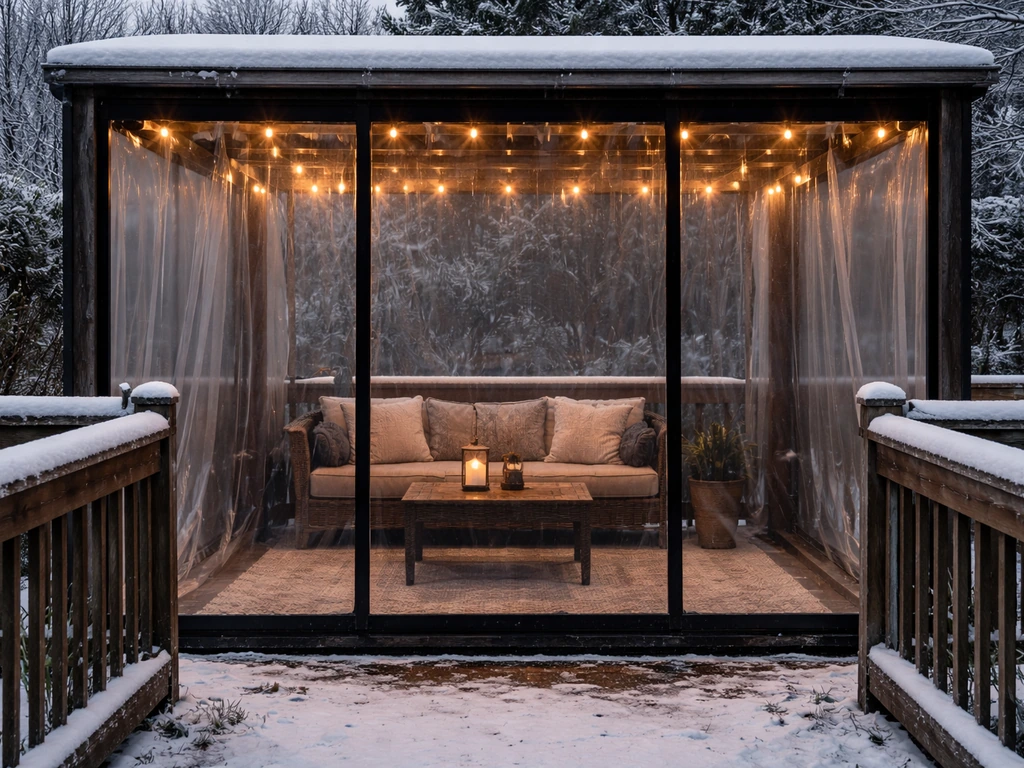
A well-sealed polycarbonate or glass enclosure will feel significantly warmer than the outdoors just from solar gain on a sunny day. On a 30°F day with full sun, the interior can reach 55 to 65°F without any supplemental heat. That's often enough for sitting in a jacket and enjoying the space. But for evening use or cloudy stretches, you'll want a heat source.
Portable electric space heaters are the simplest option for most enclosed patios. Choose a unit with an automatic tip-over shutoff and a thermostat. Keep it at least 3 feet from any vinyl panels, fabric, or combustible materials; some heater specs list minimum clearances from combustibles, and you should follow them. Any electrical outlets in or feeding the enclosed patio must be GFCI protected, full stop. This is a code requirement for outdoor and near-moisture locations, and it's a real safety issue. If you're adding new circuits or outlets to the space, that work needs to meet NEC requirements, and it's often worth having a licensed electrician handle it if you're not experienced with electrical work.
Propane patio heaters can work in an enclosed space only if you have adequate ventilation. Running a propane heater in a tightly sealed room builds up carbon monoxide, which is deadly. If you go this route, keep a vent open and install a CO detector. Most people in a true enclosed patio are better served by electric heat. For a more permanent setup, a mini-split heat pump can be a great choice: it heats and cools, runs on 240V, and provides precise temperature control without combustion risk. Expect to spend $1,500 to $3,500 installed for a single-zone unit.
For lighting, LED string lights or plug-in LED fixtures are quick to install and create a warm atmosphere. If you're adding hardwired fixtures, again, GFCI protection and proper weatherproof-rated fixtures are required. Keep fixtures rated for damp or wet locations. A 4,000K to 5,000K color temperature LED provides good task lighting; 2,700K to 3,000K is warmer and better for ambiance.
Winter Maintenance and Mistakes to Avoid
Once your enclosure is up, a little ongoing attention keeps it performing well through the season. Here's a practical checklist to run through monthly and at season's end, plus the most common mistakes we see people make.
Monthly Winter Maintenance Checklist
- Check all caulk seams and weatherstripping for cracks, shrinkage, or gaps, and reapply where needed.
- Clear snow and ice from panel surfaces promptly. Use a soft-bristle broom; never use a metal scraper on polycarbonate or vinyl.
- Inspect panel fasteners for any that have worked loose due to thermal expansion cycling.
- Run the ventilation fan or open a vent briefly after each use session to purge moisture.
- Check that the door sweep is still sealing against the threshold. Sweeps compress over time and often need replacing mid-season.
- Verify that GFCI outlets are functioning by pressing the test and reset buttons.
Common DIY Mistakes to Avoid
- Sealing the bottom edge of polycarbonate panels completely: moisture and condensation inside the flutes need an exit path. Leave the bottom open or use a vented end cap.
- Installing vinyl panels in the cold without letting them warm up indoors first: cold vinyl won't seat correctly and creates draft-prone gaps.
- Skipping expansion gaps on polycarbonate: panels crack during temperature swings if fastened too tightly. Use oversized holes and neoprene washers.
- Using cheap latex caulk in freeze-thaw conditions: it cracks within weeks. Use silicone or polyurethane exterior sealant.
- Relying on a propane heater in a tightly enclosed space without ventilation: carbon monoxide risk is real. Use electric heat or maintain ventilation.
- Ignoring post plumb: a post that's 1/2 inch out of plumb throws every panel seam off and creates gaps that no amount of caulk fully fixes.
- Not checking snow load capacity: if your patio roof is flat or low-slope and you're adding heavy glazing, verify that the structure can handle combined dead load, panel weight, and snow load before you build. Manufacturer span tables exist for polycarbonate panels for exactly this reason.
Your Starting Point for This Week
If you want to start today, here's the short version of your action plan: measure your patio opening fully, decide between vinyl film (budget, quick) or polycarbonate panels (better performance, more work), check your local permit requirements, order materials with at least a 5% overage on panels, and plan a weekend for frame install and a second session for sealing and door work. If noise is also a concern, plan for soundproofing a patio by sealing gaps and choosing materials that help reduce airborne sound. If you're building on an existing screened enclosure or a patio that needs more work before winter panels go in, thinking through how to close in a patio for winter as a broader project will help you sequence the work correctly. If you are deciding what to buy and how to plan your weekend workflow, you can use this guide to get the full how to winterize a patio checklist and avoid common slip-ups. For deeper cold climates where you want the patio to feel genuinely warm, pairing a good enclosure with proper insulation and a heating plan brings the space up to a completely different level of comfort.
FAQ
Can I enclose my patio and still use it comfortably while running a space heater?
Yes, but you must match the venting and moisture control to the heating level. If you keep the enclosure mostly closed while using a space heater, humidity can rise quickly and cause condensation on the cold panel surfaces. Use a dehumidifier or run an exhaust fan after heating, and include at least one operable vent panel or window so you can purge moist air.
How can I tell if condensation is normal or if my enclosure was built wrong?
Exterior condensation on the outside of glass or polycarbonate in the morning is usually normal and not a sign of a failure. The key difference is where it forms and whether it stays wet. If water is collecting inside seams or dripping from the top, focus on ventilation and sealing gaps, and confirm the bottom edge is not sealed shut.
What happens if I don’t leave expansion gaps when installing polycarbonate panels?
Polycarbonate should not be installed “tight” like foam board. Leave the expansion gaps called out by the manufacturer, drill oversized fastening holes, and use the correct channel system so panels can move with temperature swings. If you skip those steps, freeze thaw cycles can crack end caps or warp panels even if the enclosure looks fine at first.
Is heavy-gauge clear vinyl film safe to use in windy winter conditions?
Vinyl curtain systems are typically designed for moderate wind, not storm gusts. If your area gets winter gusts above the manufacturer’s limit, the vinyl can flap, loosen track hardware, and tear at fastener points. Consider polycarbonate or a framed glass system if wind exposure is frequent or if you cannot reliably close and secure the system during storms.
Should I seal the bottom of the panel enclosure to the slab completely?
Avoid sealing the bottom edge completely. Use compressible weatherstrip and caulk where designed, but keep a pathway for condensation and water to drain. When the bottom is trapped, moisture has nowhere to go and can freeze, causing adhesion failures, streaking, or water intrusion at joints.
What electrical code and safety details do I need to plan for?
Plan for GFCI protection on all outlets in or serving the enclosure, and use weather-rated (damp or wet location) fixtures if you go hardwired. Also keep heaters and extension cords away from panel edges, and verify any new electrical work meets local requirements. If you are extending circuits to outdoor-rated equipment, a licensed electrician can prevent both safety and permit issues.
Why does my enclosed patio feel cold even after adding polycarbonate panels?
For polycarbonate frame setups, a “true” insulation upgrade comes from reducing air leakage and managing cold bridging, not from adding more panel thickness alone. Seal junctions carefully, insulate drafts underneath the enclosure when applicable, and make sure your door seals top and bottom. If the enclosure still feels cold with vents closed, air leaks are usually the culprit.
Can I use a sliding door or interior door for a winter patio enclosure?
You can, but you should treat door selection and weatherstripping as part of the sealing system. Choose an exterior insulated door with a proper sweep and perimeter seals, and confirm the top and bottom shut tightly if you use sliding panels. Test for drafts on a sunny day and again during a cold snap, since seals can compress differently with temperature.
Do I need a permit to enclose a patio for winter?
In many regions, you will need permits when you build a permanent enclosure frame, attach it to existing structures, or install electrical and HVAC equipment. Requirements vary by municipality and enclosure size, so check local rules before you order materials. A quick call to the building department can save you from remodeling after installation.
Is it better to install the enclosure panels in warm weather?
If you install the panels too early or in unseasonable cold, stiffness can make alignment harder, especially with vinyl. For vinyl rolls, allow them to warm up indoors before seating them in tracks so they install flat and align without forcing. For polycarbonate, manage expansion by following the stated gap and hole sizing regardless of season.
How much extra material should I order to avoid running short on polycarbonate or vinyl?
Order panels with overage to cover miscuts, end-cap needs, and rework from small measurement mistakes. A 5% buffer is a good baseline, but add more if your layout has many corners, offsets, or irregular patio cover beams. Also double-check that you are counting panel widths correctly, including overlaps and channel seating.
What is the realistic temperature range for an enclosed patio without insulation work?
If you only want daytime comfort, an enclosure with good sealing plus solar gain can be enough, especially on clear days. If you expect evening use during long cloudy stretches, add a dedicated heat plan (heater or mini-split) and keep humidity controls in place, since heating increases indoor moisture. Set expectations early, because “usable at 30 to 45°F” is different from “thermally comfortable all night.”
Next Articles
How to Close in a Patio for Winter: DIY Guide
Step-by-step DIY options to close a patio for winter, from quick wind curtains to full screened enclosures and sealing t
How to Soundproof a Patio: DIY Steps That Actually Work
DIY guide for how to soundproof a patio: find leaks, seal gaps, add barriers, enclosure upgrades, and weatherproof mater
How to Winterize a Patio: Step-by-Step DIY Checklist
Step-by-step DIY checklist to winterize your patio: coverings, flooring, drainage, furniture, cushions, screens, and spr