Winterizing a patio comes down to five things: cleaning everything thoroughly, protecting furniture and fabrics from moisture and cold, securing any coverings or screens against wind, managing drainage so water doesn't freeze and crack things, and packing away anything that can't survive a hard freeze. Do it once in the fall and you'll spend a weekend afternoon now instead of a full weekend of repairs in spring.
How to Winterize a Patio: Step-by-Step DIY Checklist

Felix Brennan
29 Apr 2026
Quick assessment and winterization checklist
Before you touch anything, walk the patio and take a quick inventory. What you have determines what you need to do. An open concrete patio with a few chairs is a two-hour job. A screened enclosure with furniture, a grill, plants, a ceiling fan, and a drip irrigation line is a half-day project. Knowing your setup ahead of time means you're not running to the hardware store mid-task.
Use this checklist to figure out which sections apply to you. Check off what's present on your patio:
- Outdoor furniture (chairs, tables, sofas, benches)
- Cushions, throw pillows, and outdoor rugs
- Grill, smoker, pizza oven, or outdoor kitchen components
- Potted plants or container gardens
- In-ground or raised landscaping around the patio perimeter
- Outdoor hose bibs, irrigation lines, or spigots
- Patio cover, pergola, or shade sail
- Screen enclosure, screened porch, or patio screen panels
- Hard enclosure walls (vinyl, glass, acrylic, or aluminum)
- Patio ceiling fan, lighting, or electrical components
- Concrete, pavers, tile, wood deck boards, or composite flooring
Once you know what you're working with, run through these tasks in order. They're organized so each step builds on the last, and you're not tracking dirt onto furniture you just covered or moving plants after you've already secured the screens.
Clean and prep the patio surfaces
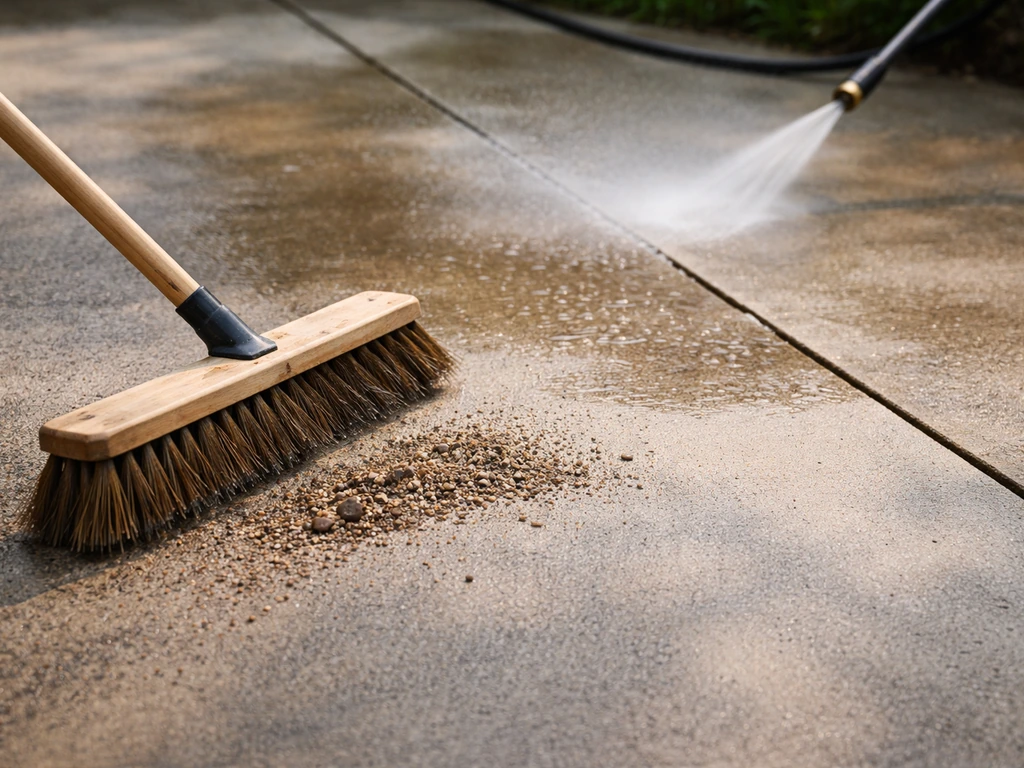
Start with the floor. Sweep the entire patio surface, then hose it down or pressure-wash it if you have one. You want debris, dirt, and organic material removed before cold weather sets in because wet leaves sitting on concrete, pavers, or tile all winter will stain the surface and trap moisture against it. This is especially important for natural stone and unglazed tile, which are more porous than they look.
Once the surface is clean and fully dry (give it 24 to 48 hours after washing), this is the time to seal it. Concrete is the biggest one to pay attention to here. Moisture seeps into tiny pores in the concrete surface, and when it freezes and expands, you get surface spalling, cracking, and pop-outs that are expensive to repair. A penetrating concrete sealer applied to a clean, dry surface every one to two years dramatically reduces that risk. Pay extra attention to the expansion joints, the precut lines in the concrete slab, and use a flexible polyurethane or silicone joint sealant in those gaps to keep water from pooling in them and freezing.
For pavers, check whether any have shifted or heaved. If so, reset them now so the problem doesn't worsen over winter. For wood decking, inspect for soft spots, loose boards, or cracked boards, then apply a water-repellent sealer or deck oil rated for your wood type. For composite decking, a good cleaning is usually enough, most composites don't need sealing. For tile, check that the grout lines are intact; cracked grout lets water in, and that water will freeze.
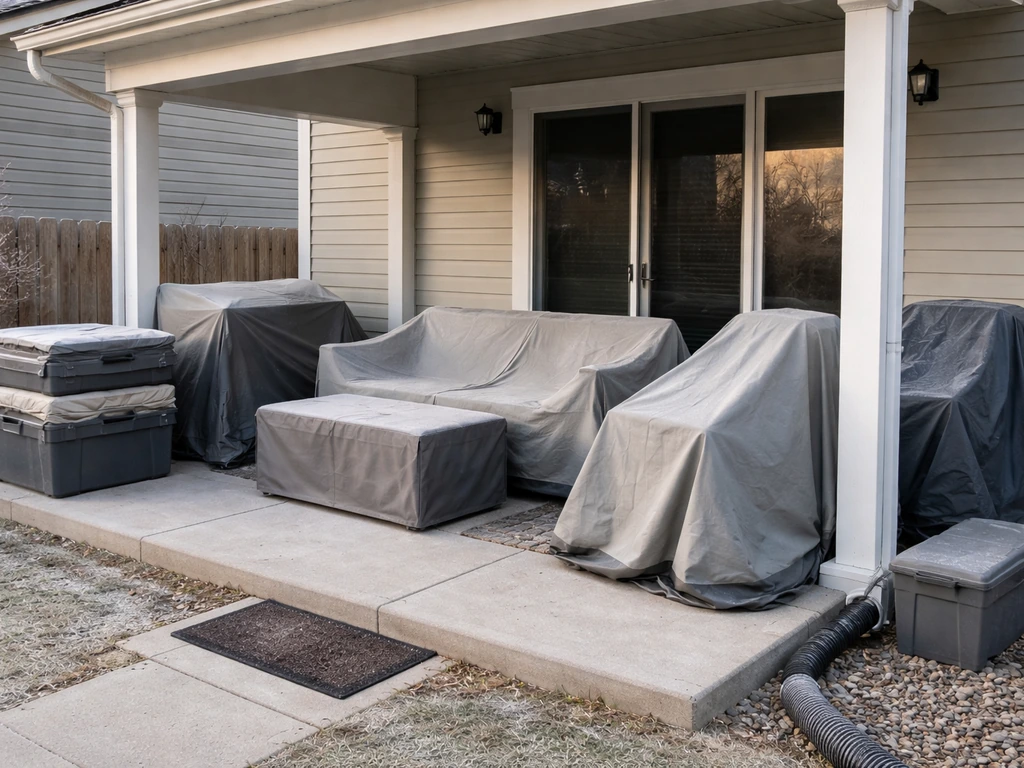
Protect and pack outdoor furniture, cushions, and decor
Outdoor furniture handles winter very differently depending on the material, so approach each type intentionally rather than just throwing a tarp over everything and hoping for the best.
Furniture frames by material
| Material | Winter Risk | Best Approach |
|---|---|---|
| Aluminum | Minimal — won't rust or crack | Clean, store indoors if possible, or cover with a fitted furniture cover outdoors |
| Wrought iron / steel | Rust if paint or coating chips | Clean, touch up any bare metal with rust-inhibiting paint, then cover or store indoors |
| Teak / hardwood | Can crack or split if unprotected | Apply teak oil or wood sealer, then store indoors or in a shed if possible |
| Resin wicker / plastic | Can become brittle and crack in very cold temps | Clean and store indoors; avoid leaving in sub-freezing temps if resin is older |
| All-weather wicker (polyethylene) | More cold-tolerant than resin, but UV and wind can degrade it | Cover with breathable furniture covers or bring inside |
| Concrete / stone | Heavy and largely freeze-resistant, but moisture can spall surfaces | Clean and seal; leave in place unless you're concerned about hard freeze damage to decorative finishes |
If you're storing furniture in a garage or shed, stack chairs, fold tables flat, and use moving blankets or old towels between metal frames to prevent scratching. For furniture that stays outside (a large sectional, for example), invest in quality fitted covers with vented panels and tie-downs. Cheap tarps trap condensation and create the exact humid, dark environment that promotes mold and rust.
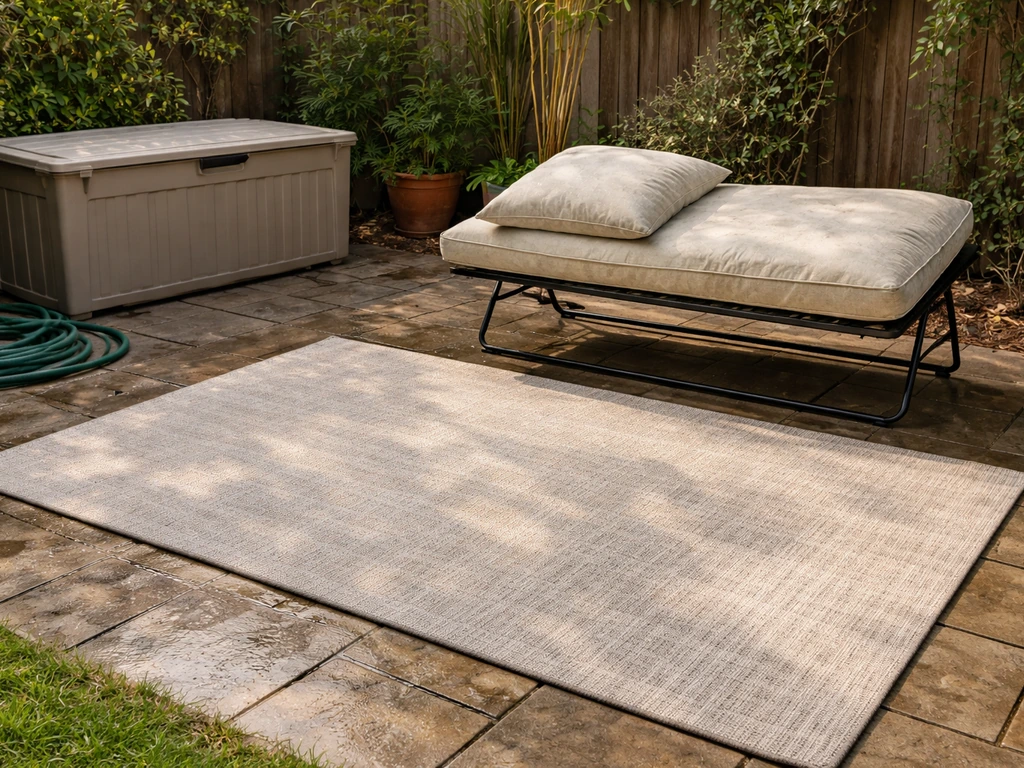
Cushions, pillows, and outdoor rugs
This is the one area where people consistently lose money every year by skipping a simple step. Outdoor cushions are not waterproof, they're water-resistant at best. Left outside all winter, even the best Sunbrella fabric cushions will trap moisture, grow mildew, and develop a smell that's nearly impossible to eliminate. Remove all cushions, pillows, and throws. Shake them out, wipe down the foam inserts if they're removable, and let everything air out fully in the sun before storing. Pack them in large plastic storage bags or airtight deck boxes in a dry location. A garage shelf works great. A damp basement does not.
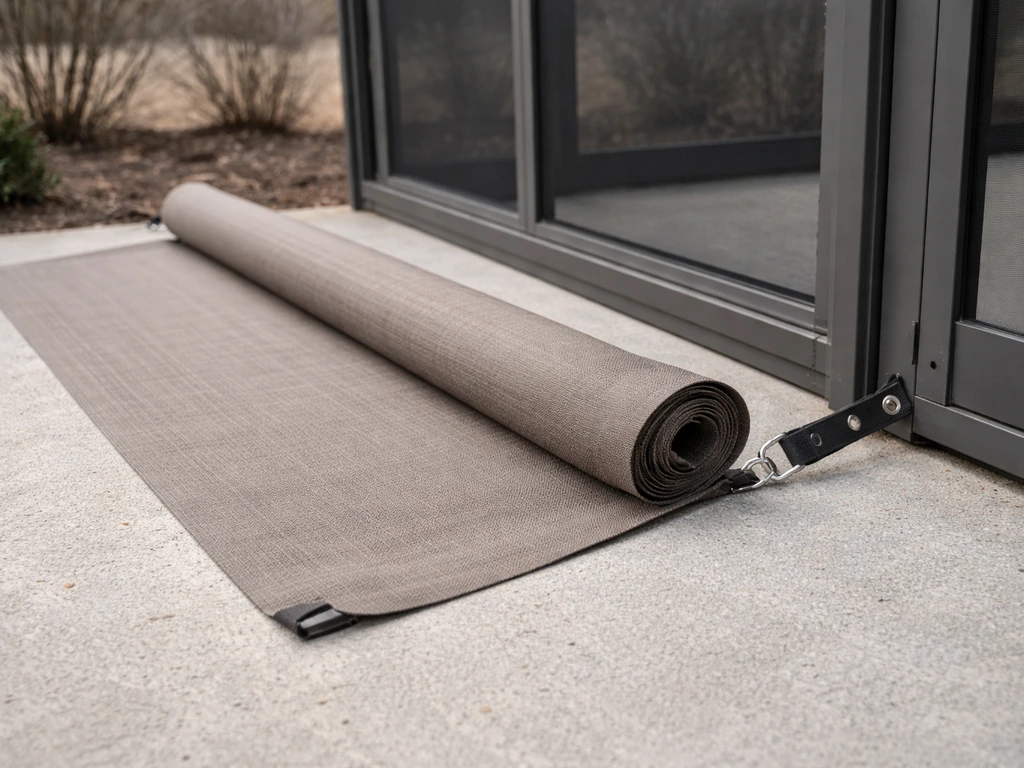
Outdoor rugs are similar. Shake them out, hose them off, let them dry completely (both sides), roll them with the pile inward, and store them horizontally in a dry spot. Rolling a wet rug and storing it vertically is how you get a moldy rug by March.
Decorative items and accessories
String lights are worth removing and storing if they're not permanently installed. Cold and ice can crack the sockets and deteriorate the insulation. Ceramic or terra cotta planters, fountains, and decorative pots are vulnerable to freeze-thaw cracking, even one that's labeled frost-resistant can crack if it holds water that freezes solid. Bring them inside or wrap them in horticultural fleece.
Winterize your grill and other outdoor cooking gear

If you have a grill, smoker, outdoor pizza oven, or any kind of outdoor kitchen setup, don't just drop a cover over it and call it done. A good fall cleaning protects your investment and means you're not starting spring with grease fires from last year's residue.
- For gas grills: Turn off the gas at the tank, then run the burners for a few minutes to burn off residual gas in the lines. Remove the propane tank and store it outdoors (not in an enclosed garage or shed — propane tanks should never be stored indoors). Clean the grates, burners, and interior thoroughly. Check the burner ports for clogs or spider webs, which are a major cause of flare-ups in spring.
- For charcoal grills: Remove all ash, which holds moisture and accelerates rust. Clean the grates and interior. Check that the vent mechanisms still move freely and apply a light coat of cooking oil to cast iron grates before storing.
- For natural gas grills: Shut off the gas at the shutoff valve. Clean everything the same way. If you have a gas line running to an outdoor kitchen, have a plumber confirm the line is properly isolated for winter if you're in a region with sustained freezing temps.
- For outdoor pizza ovens (wood-fired): Remove all ash. Cover the vent opening with a weatherproof cap or tape heavy plastic over it to prevent moisture and pests from entering the dome.
- For mini-fridges or outdoor refrigerators: Empty, clean, and unplug them. Leave the door slightly open to prevent mold inside. If it's a built-in unit, consult the manufacturer's manual for cold-weather storage — some outdoor-rated fridges can handle freezing temps; others cannot.
Cover everything with a fitted, breathable grill cover. Avoid non-breathable plastic tarps for the same reason as furniture, you want moisture to escape, not pool. If you have a fully enclosed outdoor kitchen with a roof, the structure itself provides some protection, but you still want the grill covered and any exposed stone or tile surfaces sealed.
Manage moisture, drainage, and weatherproofing
Freeze damage from water is the most common and most expensive type of winter patio damage. The fix is almost always the same: get the water moving before it has a chance to sit and freeze.
Start with your hose bibs and outdoor spigots. Reddit users note that even frost-free hose bibs still need to be able to drain so they stay frost-free Start with your hose bibs and outdoor spigots.
If your home has an interior shutoff valve for outdoor water lines (most homes built after the 1980s do), turn it off at the shutoff and then go outside and open the outdoor spigot to let the trapped water drain out completely. Leave the spigot open slightly or drain it fully, any water left sitting in that pipe can freeze and split the pipe, which you won't discover until it starts leaking inside the wall in spring.
If you're not sure you have a shutoff valve, a plumber can add one for under $200 and it pays for itself the first winter.
Disconnect and drain your garden hoses. This one is easy to forget because it seems minor, but a water-filled hose left connected to a spigot creates back-pressure if it freezes, which can force the freeze damage back into the pipe fitting inside the wall. Drain the hose, coil it, and store it in a shed or garage.
Check your patio drainage. Look at the slope of the surface, water should drain away from the house, not toward it. If you see low spots where water pools, address them now. A quick fix is to redirect a downspout extension so runoff flows away from the patio. A more permanent fix for paver patios with chronic pooling is to reset the low pavers with additional base material to correct the slope. Standing water that freezes against a foundation or slab edge is one of the faster ways to create structural cracking.
If you have a patio roof or covered area, check that the gutters and drainage channels are clear of debris. Blocked gutters cause ice dams in cold climates, and an ice dam on a patio roof can force water under the roofing material and into the structure. Clean them now, and if you're in a heavy-snow zone, consider a gutter guard before winter.
Secure coverings, screens, and patio enclosure components
This section is especially relevant if you have a screened patio, a patio enclosure with removable panels, or any kind of shade sail or awning system. This section is especially relevant if you have a screened patio, a patio enclosure with removable panels, or any kind of shade sail or awning system how to enclose a patio for winter. These components are designed to handle a lot of weather, but winter wind and ice loading are different categories of stress than summer rain, and they need a bit of specific attention.
Screen enclosures and screened porches
If you're in a mild-winter climate (Zone 8 and warmer), leaving your screen enclosure up year-round is usually fine, just inspect the screen fabric and frame for any damage that might worsen over winter. Look for tears, loose spline, sagging panels, and bent or loose frame sections. Repair or tighten anything before cold weather makes the materials more brittle and harder to work with. Screen mesh (especially fiberglass screen) becomes noticeably stiffer and more fragile in sub-freezing temperatures.
If you're in a cold-winter climate and your screen enclosure includes removable season panels or convertible openings, swap out or close those panels before the first hard freeze. If you want step-by-step guidance, see our full guide on how to close in patio for winter for the right approach based on your openings and wind protection needs close those panels.
If you want to fully understand how to close in a patio, focus on which openings you can seal and what windproof panels or curtains will fit your layout how to enclose a patio for winter. Some screen enclosures are designed to accept vinyl or acrylic winter panels that replace the screen sections, this is worth doing if your setup supports it, since it converts the enclosure into a windbreak and adds meaningful cold-weather usability.
This ties directly into the idea of how to enclose a patio for winter, which is a separate project if you want to go further than just closing existing panels. If you are wondering how to close in patio spaces, focus on sealing gaps, swapping to winter panels, and keeping wind from pushing into the enclosure enclose a patio for winter.
Check all screen frame connections, fasteners, and anchoring points. Screen enclosure frames are typically aluminum and handle cold well, but any loose anchor bolts or L-brackets at the base should be tightened. Wind loading on a screen enclosure during a winter storm is significant, and a frame that's slightly loose in summer can flex enough to pop panels in a January wind.
Patio covers, pergolas, and shade sails
Shade sails should come down before winter in most climates. They're designed for UV protection, not snow and ice loads, and a shade sail left up through winter can stretch, tear at the attachment points, or bring down the hardware it's anchored to. Remove them, roll them loosely (don't fold), and store them in a dry bag or box.
Retractable awnings should be fully retracted for winter. If they have a manual crank, retract fully, lock the crank, and if the awning housing is not already weatherproof, cover the housing with a breathable cover or close the integrated housing cover if your model has one. For motorized awnings, most manufacturers recommend retracting and then cutting power to the motor to avoid condensation issues in the control unit.
Solid patio covers and pergolas with fixed roofing (polycarbonate panels, metal roofing, lattice) generally stay in place. Inspect the fasteners, particularly at the ledger board connection to the house, and check that polycarbonate or acrylic panels are still properly seated in their channels. Loose panels rattle and can lift in high wind. Also clear any debris from on top of the cover, accumulated wet leaves and pine needles hold moisture against the surface and can cause algae growth and staining over winter.
Patio ceiling fans and outdoor electrical
If you have a ceiling fan in a covered patio or screened enclosure, switch it to its winter (clockwise, low-speed) setting, this actually helps in partially enclosed spaces by pushing warm air that rises down toward the floor. But more importantly for winterization, turn off the circuit breaker for any outdoor outlets, lighting circuits, and fan circuits that won't be in use. This protects against condensation causing shorts in outdoor-rated but seasonally unused fixtures. Make sure any outdoor light fixtures have intact, sealed gaskets so moisture can't enter the housing.
Protect plants and landscaping around the patio
Potted plants on or around the patio are the most vulnerable items in your setup during a cold snap. The soil in a container freezes much faster than in-ground soil because it has no insulation from the earth around it, and a hard freeze can kill even cold-hardy plants when they're containerized. Your approach depends on how cold your winters get.
Containerized and potted plants
For plants that can survive cold but not a freeze: move them close to the house or under the patio cover, where they get some heat radiating from the structure. Cluster them together to conserve warmth between pots. Wrap the pots themselves in burlap or bubble wrap to insulate the root zone. For tropical or tender plants that absolutely cannot handle frost: bring them inside well before the first freeze. A garage, sunroom, or even a bright indoor corner works. Water them very sparingly indoors, overwatering dormant or low-light plants indoors is a fast way to kill them.
Empty any decorative containers you're not using for plants. Terra cotta pots left with soil in them hold water and can crack spectacularly when that water freezes. Even frost-resistant pots benefit from being emptied, turned upside down, or stored if possible.
In-ground planting beds and borders around the patio
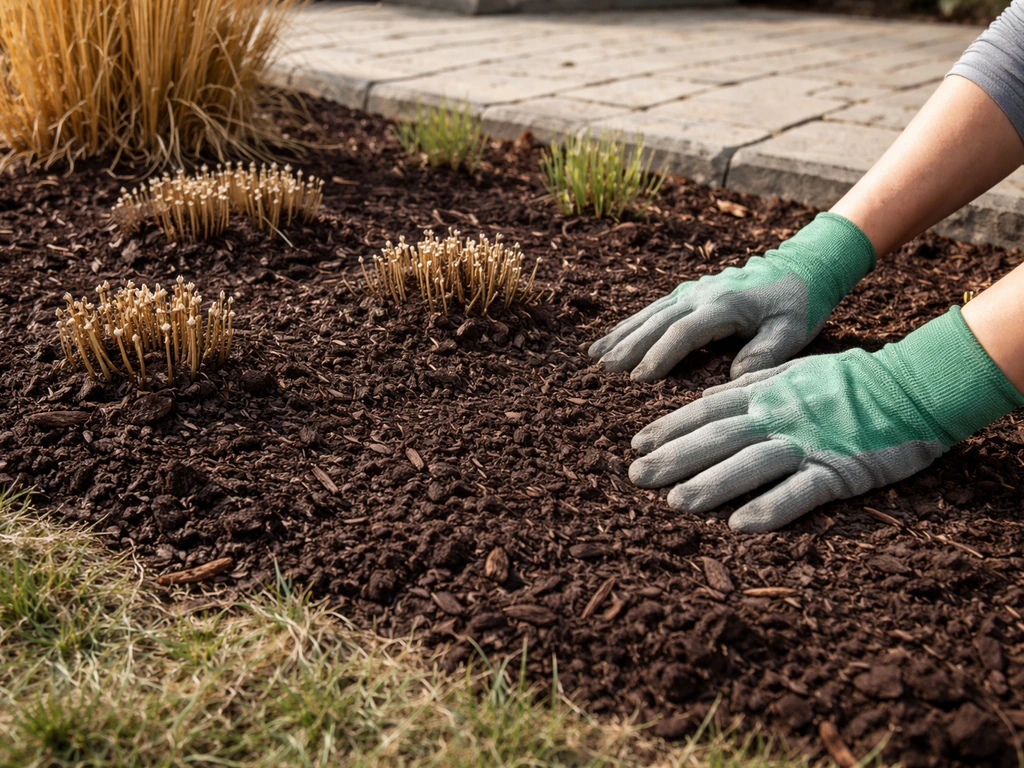
Cut back perennials that have died back (leave ornamental grasses and plants that provide winter structure or wildlife habitat). Apply a 2 to 3 inch layer of mulch around the base of any shrubs or perennials near the patio edge, this insulates the root zone and also prevents freeze-thaw heaving of the soil around patio borders, which can shift pavers or crack edging. For any drip irrigation or soaker hose lines running through patio-adjacent beds, drain and disconnect them the same way you would a garden hose.
How to reopen your patio safely in spring
Spring reopening is mostly about reversing what you did in fall, but do it systematically rather than just throwing everything back out at once. Rushing the spring setup means you miss damage that happened over winter and end up dealing with it mid-season when you're trying to enjoy the space.
- Wait until nighttime temps are consistently above freezing (usually late March to May depending on your region) before bringing out cushions, plants, or anything moisture-sensitive.
- Inspect the patio surface first. Look for new cracks, spalling, or heaved pavers before you put furniture back. It's much easier to repair the surface when it's clear.
- Turn the outdoor water back on slowly. Open the interior shutoff valve gradually, then check the outdoor spigot and hose bib for any leaks. A small drip at a fitting usually means a washer needs replacing — catch it now before you attach a hose and forget about it.
- Reinstall or reopen enclosure panels and screens. Inspect the screen fabric for any winter damage: small tears, loose spline, or sagging sections. Repair them before bug season arrives.
- Reinstall shade sails, retractable awnings, or any hardware you removed. Check all anchor points and tension before the first windstorm.
- Wipe down furniture frames before setting them out, especially metal frames that were stored in a shed — condensation can cause surface oxidation even on aluminum.
- Air out cushions and rugs outdoors in the sun before using them. Even if they were stored dry, a few hours of sun exposure freshens them up and kills any surface mold spores.
- Fire up the grill with the lid open for 10 to 15 minutes before cooking to burn off any residual dust, condensation, or pests that may have set up shop in the burners over winter. Check the gas connections and burner ports before use.
- Check and reconnect any drip irrigation or patio water features, then run them briefly to confirm no cracked lines before you need them regularly.
If you want to go beyond just reopening and actually upgrade the space for next season, spring is the best time to think about adding or improving patio enclosures, insulation, or weatherproofing systems. If you want more comfort outside, learning how to soundproof a patio can be part of the same upgrade plan. If you are planning how to insulate a patio for winter comfort, focus on the ceiling and draft-prone edges first, then add moisture protection. Projects like insulating a covered patio, adding a more complete winter enclosure, or upgrading your screen system are all much easier to tackle before summer heat and humidity arrive.
The whole point of winterizing properly is that spring setup takes an afternoon instead of a week. Do the work once in the fall, and your patio will be ready to use the first nice day you get, not after a round of cleaning up damage that could have been prevented.
FAQ
How early in the fall should I start winterizing a patio?
Aim to complete the work before nighttime temperatures consistently drop below freezing, not just before the first frost. If your forecast suggests an early hard-freeze, prioritize drainage tasks (hose bib shutoff, hose disconnect, pooling low spots) before you move on to sealing or furniture storage.
Can I winterize a patio without pressure-washing?
Yes, but you need the surface fully clean and truly dry. A hose rinse plus thorough sweeping can work for many patios, but avoid trapping moisture under covers, and give the surface the same drying window (often 24 to 48 hours) before sealing or covering items that contact the floor.
Do I need to seal pavers and tile too, or only concrete?
Concrete is the highest priority for sealing, but other surfaces may need different treatments. If you seal natural stone, unglazed tile, or pavers, choose products rated for that specific material and confirm they are compatible with grout or joint materials, otherwise you can reduce breathability and increase moisture trapping.
What’s the best way to handle standing water on a patio if I can’t redo the slope right now?
In the short term, redirect downspout runoff with an extension or a splash block so it does not feed the low spot. Also clear debris from gutters and any patio edge drains, because additional water during freeze cycles will worsen pooling even if you correct the slope later.
Should I cover furniture if I’m leaving it outdoors all winter?
Use fitted, breathable covers for the best results, and make sure items are dry before covering. Avoid plastic tarps, they trap moisture and can accelerate rust and mold, especially for metal frames and cushion storage systems that sit close to the ground.
What if I have outdoor cushions but no place to store them indoors?
A dry, temperature-stable space is the goal. A garage is often workable if it stays dry, use airtight deck boxes or large storage bags, and keep cushions off damp floors by placing boxes on shelves or a raised platform.
Is it okay to leave patio umbrellas and wind-resistant planters outside during winter?
Umbrellas and their stands can act like sails in wind and get bent or split, so it’s safer to close and store the fabric section if you expect harsh weather. Planters can crack from trapped water, even if labeled frost-resistant, so empty soil from containers you can move and bring truly decorative water-holding pieces inside or wrap them with horticultural fleece.
Do I need to drain my pool or water feature lines even if I cover the equipment?
Covering alone is not enough if water can freeze inside lines, valves, or fittings. Drain and disconnect hoses or irrigation lines that connect to the patio, and for any water feature with plumbing, shut off power and follow the system’s winter-drain procedure so water cannot sit in sections that expand.
How do I protect patio pipes if I don’t have an interior shutoff valve for outdoor lines?
If you cannot locate an interior shutoff, you may still be able to turn off a separate exterior valve, but confirm what it actually isolates before relying on it. If you have to guess, call a plumber to install a shutoff, it is often cheaper than repairing freeze-split pipes inside walls.
What should I do about screen enclosures in very cold climates?
Before the first hard freeze, close or swap out removable panels so the screen fabric is not flexing through ice and wind. Tighten frame connections and anchoring points first, because even small looseness can allow panels to pop out during winter gusts.
Should shade sails be folded or rolled for winter storage?
Roll them loosely rather than folding. Folding creates stress points that can tear fabric and strain attachment hardware, especially when temperatures drop and the material stiffens.
How do I winterize a patio ceiling fan and outdoor lights safely?
Switch the fan to the winter direction setting and low speed, then turn off the circuit breaker for any outdoor outlets and lighting that won’t be used. Also check that outdoor fixture gaskets are intact, moisture intrusion plus condensation can cause failures in seasonally unused hardware.
What’s the biggest mistake people make when winterizing a patio?
Skipping the drying and storage details for cushions, rugs, and any fabric items. Wet, trapped materials under covers can develop mildew and odors by March, and once moisture is trapped in storage, it is much harder to fully remediate.
When spring arrives, what order should I reopen everything in?
Start with the systems most likely to have shifted or accumulated debris, drainage areas and any outdoor plumbing first, then remove covers and inspect surfaces. After that, reassemble furniture and reinstall cushions or rugs only once they are fully dry, so you do not seal in any condensation from storage.
Next Articles

How to Decorate a Long Narrow Patio: Layout Tips
Practical DIY layout and decor tips to widen a long narrow patio using zoning, furniture spacing, lighting, greenery, an

How to Decorate a Rectangular Patio Step by Step
Step-by-step plan to decorate a rectangular patio with smart layout, zones, furniture fit, lighting, plants, and seasona
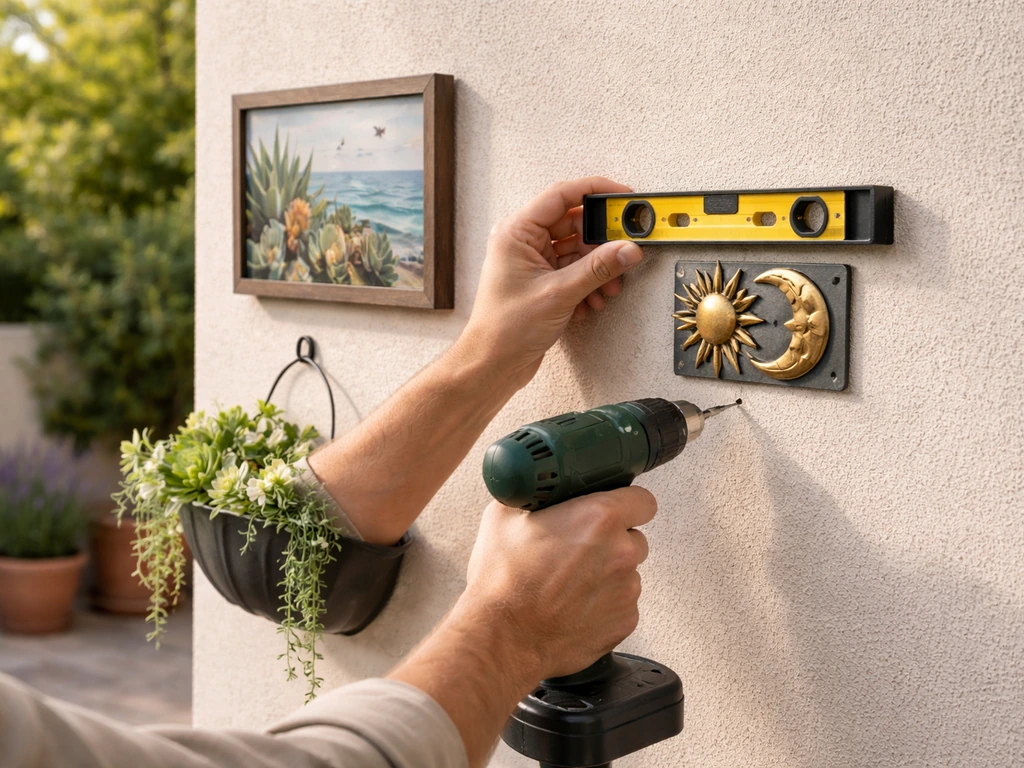
How to Decorate a Patio Wall: DIY Ideas and Mounting Tips
DIY patio wall decor for brick, stucco, wood, concrete, or siding with weatherproof mounting tips and maintenance.