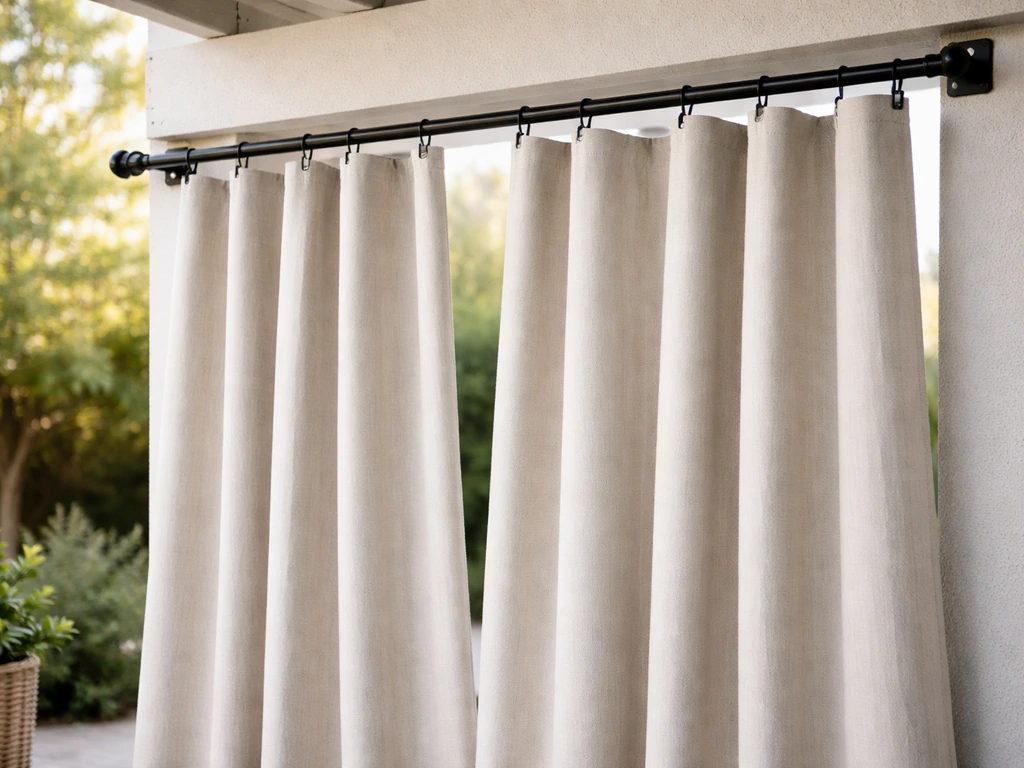
You can make patio blinds yourself in a weekend using roller shade fabric, basic mounting hardware, and a few common tools. If you want the curtain-style look instead of roller blinds, the same measuring and mounting basics apply when you learn how to put up patio curtains. If you want a softer, more budget-friendly option, you can also learn how to make patio curtains out of drop cloths and mount them for weather-ready coverage.
How to Make Patio Blinds: DIY Build, Measure, Install

Felix Brennan
15 Jun 2026
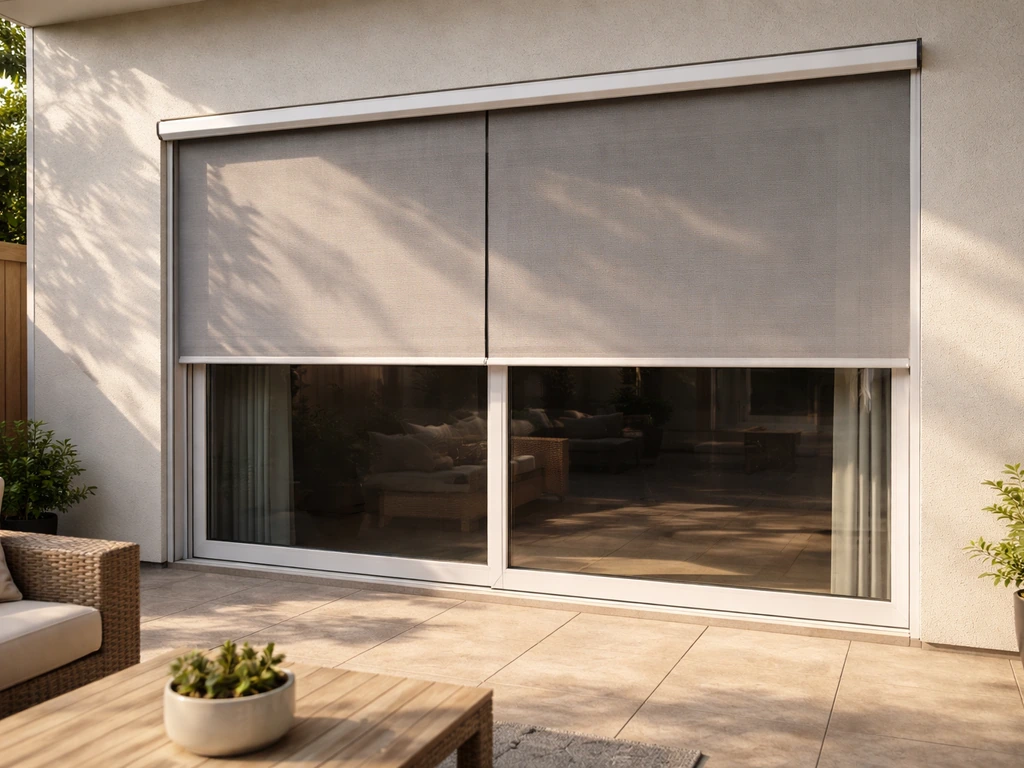
The most DIY-friendly approach is to buy outdoor solar shade fabric by the roll, cut it to your measurements, and mount it with standard roller shade brackets to your patio posts, beams, or ceiling. For most homeowners, this means choosing between a fixed fabric panel (simple and cheap), a DIY roller setup (more polished and functional), or store-bought exterior roller shades that you cut to fit and install yourself.
All three work well outdoors if you use the right materials and mount them properly.
Choose the right patio blind style

Before you buy anything, pick a format that actually fits how you use your patio. There are three main DIY-friendly styles, and each suits a different situation.
| Style | Best For | Difficulty | Rough Cost |
|---|---|---|---|
| Fixed fabric panel | Simple sun/privacy block on posts or beams | Beginner | $20–$60 per panel |
| DIY roller shade | Adjustable coverage, cleaner look | Intermediate | $50–$150 per shade |
| Pre-made exterior roller shade (trimmed to fit) | Fastest install, consistent operation | Beginner–Intermediate | $60–$200+ per shade |
Fixed fabric panels are basically outdoor curtains with a bottom rod sewn in to keep them taut, which is a trick borrowed from restaurant-style privacy drapes. They do not roll up, but they are the cheapest and easiest option if you just need shade and privacy on one or two sides. A DIY roller setup uses a roller tube, fabric, and brackets you assemble yourself, giving you the ability to raise or lower coverage.
Pre-made exterior roller shades (brands like Coolaroo are widely available at home improvement stores) are the fastest path: you buy a shade close to your size, trim it, and mount it. If you want something closer to curtains, the approaches covered in guides on how to make curtains for outdoor patio or how to add curtains to patio overlap heavily with the fixed panel approach described here.
For most enclosed or screened patios, a roller-style blind is the most practical choice. It gives you full light control, rolls out of the way when not needed, and holds up better against wind than a loose hanging panel. If your patio has posts every 6 to 10 feet, plan one blind per bay rather than trying to span the whole side with one wide unit.
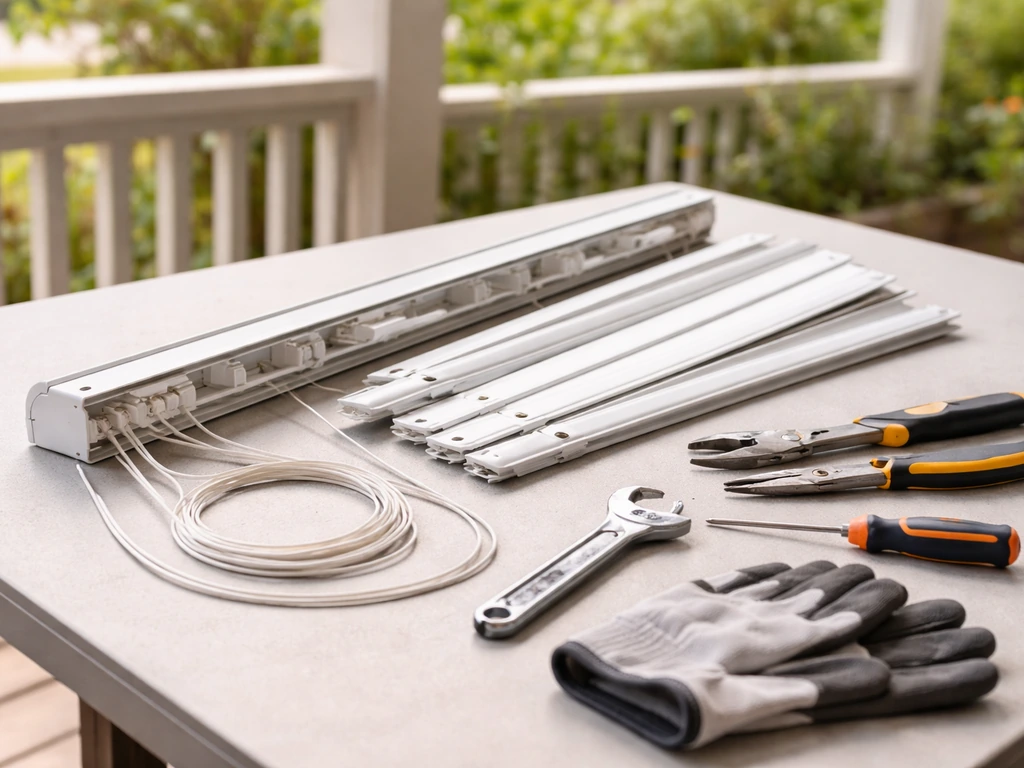
Materials and tools checklist
Fabric choice is where most people either get this right or regret it later. Outdoor solar shade fabric needs to handle UV exposure, moisture, and wind without sagging, rotting, or fading out within a season. Here are the materials that consistently perform well.
Fabric options
- Phifer SunTex 80: Vinyl-coated polyester mesh, mildew and fade resistant, Microban antimicrobial protection, blocks approximately 75% of UV rays. Good mid-range choice for partial shade.
- Phifer SunTex 95/97: Heavier vinyl-coated polyester, pet, fade, and mildew resistant, blocks up to 95–97% of UV. Best for hot, sunny exposures where you want serious heat and glare reduction.
- Coolaroo knitted HDPE fabric: Lock-stitch construction that claims up to 98% UV blockage, breathable rather than solid, good airflow while still blocking sun.
- Sunbrella acrylic canvas: More of a premium upholstery-grade outdoor fabric, UV protective, fade resistant, mold and mildew resistant, spot-cleans easily including with a diluted bleach solution for stubborn mold. Best for fixed panels or valances rather than rollers.
For a roller blind, stick with SunTex or Coolaroo-style knitted mesh. They roll smoothly, shed water, and do not trap debris like woven canvas can. For a fixed panel where appearance matters more, Sunbrella is worth the extra cost.
Hardware and tools
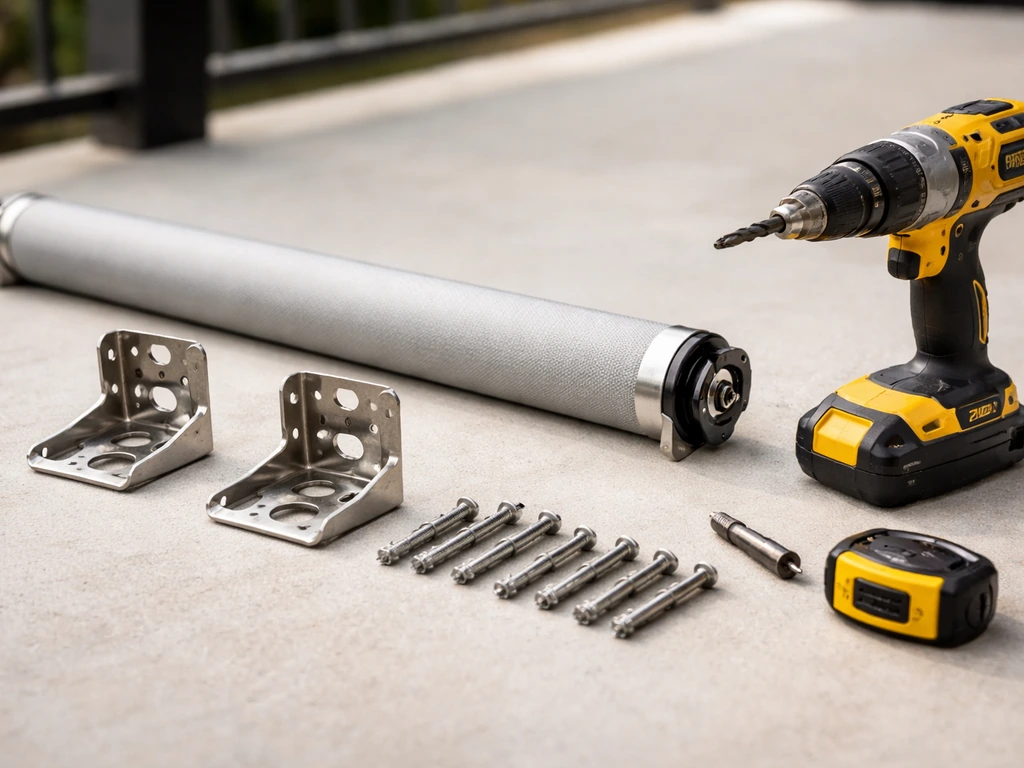
- Roller tube and end caps (if building a DIY roller), or a pre-made roller shade kit
- Heavy-duty mounting brackets rated for outdoor use (stainless steel or powder-coated aluminum to resist rust)
- Stainless steel or exterior-grade screws and wall anchors appropriate for your mounting surface (wood, aluminum, or masonry)
- Tension bar or bottom rail (aluminum channel or wooden dowel) to weight the bottom of the shade
- Measuring tape and a level
- Cordless drill with bits (start pilot holes with a 3/32-inch bit for most wood and light aluminum frames)
- Masonry bit and hammer drill if mounting into concrete or brick
- Sharp fabric scissors or a rotary cutter and cutting mat
- Heat-sealing tape or an outdoor-rated seam tape for finishing raw fabric edges
- Pencil or chalk line for marking bracket positions
If you are mounting into aluminum patio framing (common on screen enclosures), use self-tapping screws designed for aluminum rather than wood screws, which can strip out the thin extrusion walls. For masonry pillars or a block wall, you will need concrete anchors and a hammer drill. Do not skip pilot holes regardless of the surface: they keep brackets aligned and prevent cracking.
Measure, plan layout, and account for openings
Measuring for patio blinds is not quite the same as measuring for interior window blinds, because your patio has posts, rails, screens, doors, and sometimes uneven surfaces that all affect where the blind sits and how wide it needs to be. Measure each opening individually, even if they look identical, because patio frames rarely are.
Width
Measure the width of the opening at three points: top, middle, and bottom. Use the narrowest measurement as your reference. For a roller shade that mounts inside a bay between two posts, your shade width should match the inside post-to-post distance. For outside mounts (bracket goes on the face of the post or wall face), add at least 2 to 3 inches to each side of the opening to minimize light gaps and maximize privacy. That overlap matters: a shade that is exactly as wide as the opening will let in light strips down both sides and reduce privacy noticeably.
Height (drop length)
Measure from where the bottom of the roller or mounting bracket will sit down to where you want the shade to reach. For full privacy on a patio rail, that is usually to the top of the rail or just below it. For full enclosure on an open patio side, that might be floor level. Add a few inches to your drop measurement to account for the fabric rolling onto the tube (the tube reduces the maximum usable drop as fabric accumulates on it).
Accounting for doors, screens, and uneven walls
Mark every obstruction on a simple sketch: doors, screen panels, electrical outlets, and any walls that are not plumb. If an opening has a screen door, your shade will need to mount high enough to clear the door track when fully raised, or you need to plan a side-track system so the shade does not interfere with the door swing. For uneven or sloped mounting surfaces, you may need to shim brackets to create a level mount, because a roller shade that is not level will drift to one side as it rolls.
Plan your layout before you drill
Sketch out where each blind sits relative to the others and mark bracket positions with tape before drilling anything. The mounting type (ceiling mount vs. wall mount vs. post face mount) determines where everything else goes, so commit to that first. A ceiling mount on a beam gives a cleaner look and keeps the shade closer to the opening. A wall mount on the post face works better when there is no overhead beam to attach to. Identifying the correct mount type and placement before drilling is the step most DIYers rush and later regret.
Build and install the blinds
The steps below cover the most common DIY approach: installing a roller shade (either a pre-made exterior roller shade trimmed to fit, or a DIY roller kit). If you are making a fixed fabric panel instead, the bracket and mounting steps are the same, but you skip the roller tube assembly and instead attach the fabric top to a curtain rod or cleat.
Step 1: Cut and finish the fabric
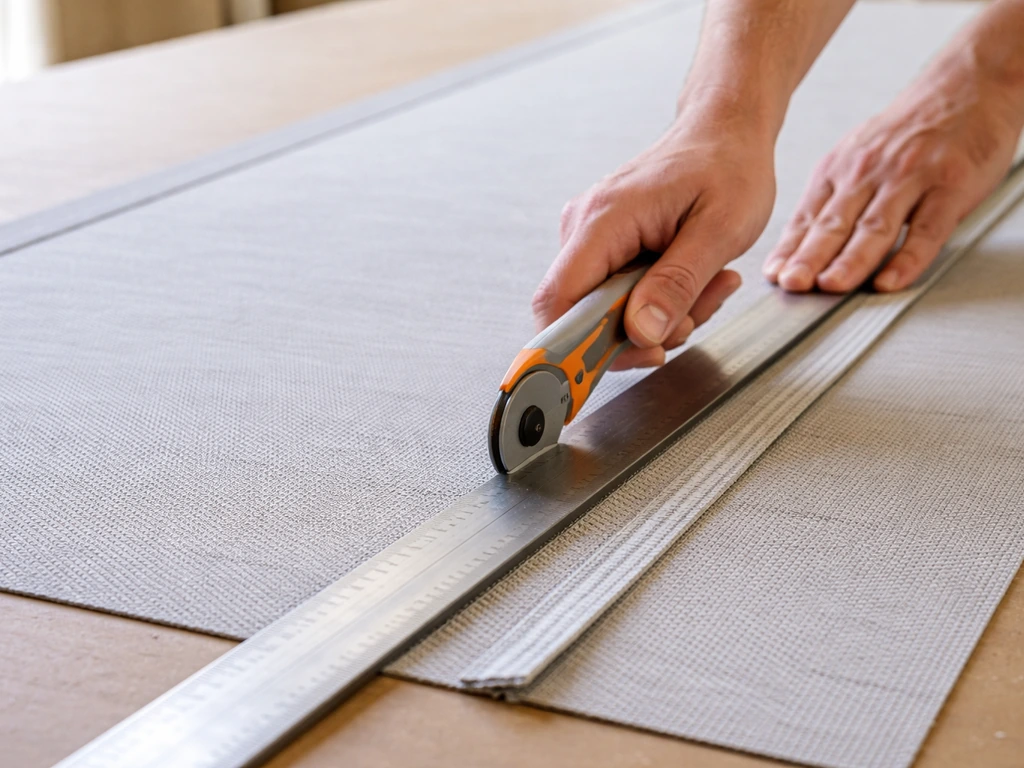
If you are cutting fabric to size, cut it 1/2 inch narrower than your final shade width to give clearance inside the brackets. Use a sharp rotary cutter against a straight edge for a clean line. Seal all raw edges immediately with heat-sealing tape or outdoor seam tape to prevent fraying. If you bought a pre-made roller shade that is too wide, most exterior solar shade fabrics can be trimmed with scissors or a utility knife by scoring along a straightedge, and the roller tube can be cut with a hacksaw. Always re-seal any cut edge on the fabric.
Step 2: Attach fabric to the roller tube
If you are building a DIY roller, attach the top edge of the fabric to the roller tube using the clip or adhesive strip that comes with most roller kits, or with heavy-duty double-sided outdoor tape plus staples if your tube is wood. Make sure the fabric is perfectly square to the tube before securing it: lay the tube on a flat surface, align the fabric top edge flush, and roll a few inches to check that it tracks straight. A crooked start means the shade will drift and bunch as you roll it.
Step 3: Attach the bottom rail
Slide an aluminum bottom rail or insert a wooden dowel through the hem pocket at the fabric's bottom edge. This weights the shade so it hangs straight, keeps it from billowing in wind, and gives you something to grab when pulling it down. For fixed panels, a bottom rail is especially important: it is what blank" rel="noopener noreferrer">keeps the fabric taut and prevents the ballooning effect that makes fabric panels look sloppy and behave poorly in a breeze.
Step 4: Mark and drill bracket locations
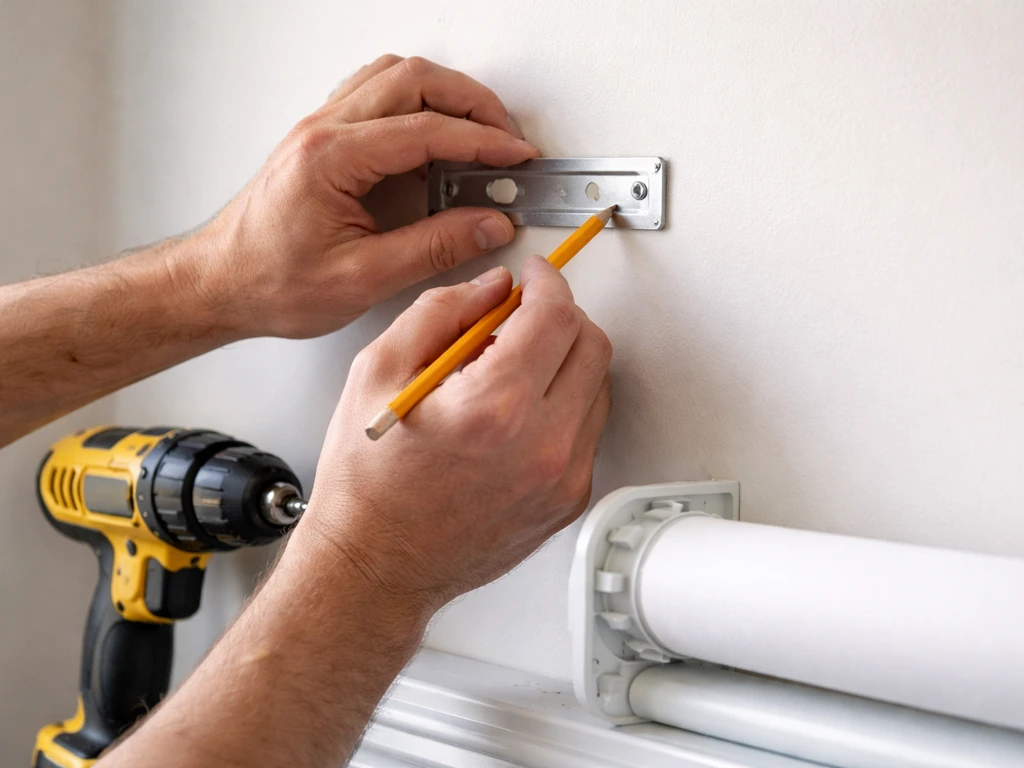
Hold the mounting bracket against the surface and use a pencil to mark the hole locations directly through the bracket's pre-drilled holes. This is more accurate than measuring and marking separately. Then set the bracket aside, drill pilot holes at your marks using a 3/32-inch bit for wood or a masonry bit for concrete, and mount the bracket with exterior-grade screws. Check with a level before the final tightening. Repeat for the second bracket, making sure both are at exactly the same height or your shade will hang crooked.
Step 5: Insert the roller and test operation
Slide the roller tube end caps into the mounted brackets. Most roller shade brackets have a fixed side and a spring-tension side: the spring side compresses slightly to accept the pin, then snaps into place. Lower the shade fully and check that it unrolls straight without drifting left or right. Raise it and check that the tension is enough to hold it partially open without slipping. If the shade drifts to one side, the brackets are not level: loosen one, adjust, re-check, and re-tighten.
Mounting to different patio surfaces
- Wood posts or beams: Pilot holes and exterior wood screws work well. Use 2-inch screws minimum to get solid bite into the wood behind any trim.
- Aluminum extrusion framing: Use self-tapping screws sized for the wall thickness of your specific extrusion, typically #10 or #12 sheet metal screws. Pre-drill to avoid deforming the frame.
- Masonry or concrete: Use a hammer drill with a masonry bit, insert concrete sleeve anchors or Tapcon screws, and confirm the anchor is rated for the load before hanging heavy fabric.
- Stucco over concrete block: Drill through the stucco into the block beneath, use concrete anchors, and seal around the bracket plate with exterior silicone caulk to prevent water intrusion behind the bracket.
Weatherproofing, privacy, and light control setup
Getting the blind installed is only half the job. Making it perform well in real outdoor conditions, including rain, UV exposure, wind, and privacy gaps, requires a few extra steps that are easy to skip and annoying to fix later.
Fabric density and UV blockage
The openness factor of your fabric controls the balance between privacy, UV blockage, and airflow. A tighter weave (SunTex 95 or 97, or Coolaroo's denser mesh) blocks up to 95 to 98% of UV and provides strong privacy even in daylight, but restricts airflow more. A more open weave like SunTex 80 blocks around 75% of UV, allows more breeze, and is less claustrophobic but offers less privacy when backlit. Choose based on your main goal: if you are primarily stopping heat gain and glare on a hot, west-facing patio, go denser. If airflow and a lighter feel matter more, go with the 80% range.
Eliminating light and privacy gaps
The biggest complaint with patio blinds is light leaking in around the edges. The overlap you added during measuring (2 to 3 inches per side on outside mounts) handles most of it, but for posts with gaps behind them, you can add a simple side channel made from aluminum U-channel that the blind edge slides into. This keeps the shade edge close to the post face and dramatically reduces side leakage. For bottom gaps, make sure your bottom rail is heavy enough to keep the shade pressed against the railing or floor stop below.
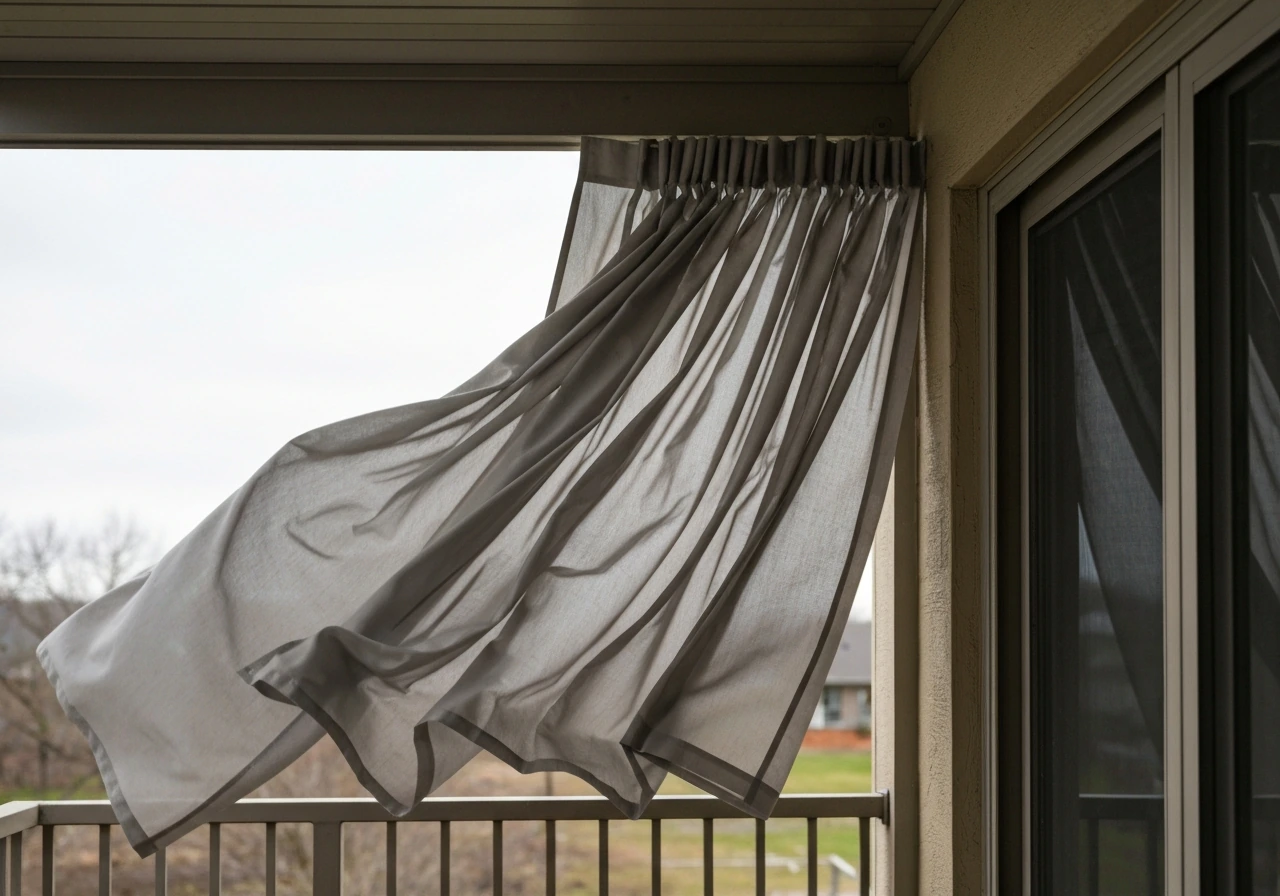
Wind management
Outdoor blinds are not rated as storm protection and should not be left down during high winds or severe weather. That said, for normal breezy conditions, a weighted bottom rail and secure bracket mounting go a long way. For fixed fabric panels, securing tie-down straps or clips to the bottom rail and anchoring them to the post or railing prevents the panel from swinging and stressing the mounting hardware. For roller shades, some systems include side zip channels or guide wires that keep the shade edge tracking in a groove, which is the most wind-stable setup available for roller-style blinds.
Sealing bracket penetrations
Anywhere you drive a screw into an exterior surface is a potential water intrusion point. Apply a small bead of exterior silicone caulk around each bracket base plate after mounting, especially on stucco, masonry, or wood that is exposed to rain. This takes five minutes and prevents rot or corrosion from developing behind the bracket over several seasons.
Maintenance, seasonal adjustments, and troubleshooting
Patio blinds in good condition can last five to ten years or more with basic maintenance. Most problems, including sagging, wrinkling, snagging, and poor coverage, are easy to prevent with a consistent seasonal routine. If your patio blinds still do not open, close, or sit straight, use these troubleshooting steps to fix common installation issues how to fix patio blinds.
Regular cleaning
For mesh and vinyl-coated polyester fabrics like SunTex, the easiest cleaning method is a gentle rinse with a garden hose to remove dust, pollen, and surface dirt. Do this every month or two during heavy-use seasons. Avoid high-pressure washing, which can stress seams and degrade the fabric coating over time. For mold or mildew spots on Sunbrella-type acrylic fabrics, a diluted bleach solution (typically a small amount of bleach per gallon of water mixed with mild soap) applied with a soft brush and rinsed thoroughly will clear stubborn spots without damaging the fabric.
Seasonal inspection checklist
- Check all bracket screws for loosening, especially after winter freeze-thaw cycles, and re-tighten or replace with a larger screw if the hole has widened
- Inspect roller mechanism spring tension: if the shade slips down when partially raised, the spring needs replacing or the tube needs re-tensioning
- Look for fraying or delamination at the fabric edges, especially at the bottom rail hem, and re-seal with seam tape before the fray spreads
- Check bottom rail for corrosion if it is steel, and replace with aluminum if rust is developing
- Inspect the fabric itself for UV degradation (chalky texture, brittleness, or color bleaching), which signals the fabric is near end of life and should be replaced before it tears
- Re-caulk bracket bases if the caulk has cracked or pulled away from the mounting surface
Off-season storage or leaving shades up
If you live somewhere with harsh winters, rolling blinds up fully and covering the roller assembly with a simple fabric sleeve or removing them entirely for indoor storage will dramatically extend their life. If you leave them installed year-round, roll them up fully (do not leave them hanging unattended in drop position through extended periods of wind, ice, or snow) and make sure the roller brackets are secure enough to handle the extra stress of winter conditions.
Troubleshooting common problems
| Problem | Likely Cause | Fix |
|---|---|---|
| Shade drifts to one side when rolling | Brackets are not level or fabric is crooked on tube | Re-level brackets or re-attach fabric square to tube |
| Fabric sags or billows in wind | Bottom rail too light or not secured | Add a heavier aluminum rail or add tie-down clips to anchor the bottom |
| Shade won't stay at partial height | Roller spring tension is weak | Re-tension the roller spring or replace the roller mechanism |
| Light gaps along the sides | Shade is too narrow for the opening | Add side aluminum U-channel tracks or replace with a wider shade |
| Mold or mildew spots on fabric | Moisture trapped in rolled fabric | Clean with appropriate solution, dry fully before rolling up, improve air circulation |
| Snagging or uneven rolling | Debris in roller groove or fabric crease | Clean the roller tube, unroll fully to smooth the crease, check for grit in brackets |
Once your blinds are dialed in, you have a patio that works in real weather, not just on perfect days. If you want to go further with wind control or want curtain-style coverage instead of rollers, the approach for keeping fabric panels from blowing and the methods for mounting curtain rods to various patio surfaces cover the next level of wind-management and fabric styling in more detail.
FAQ
What’s the best way to choose between inside mount and outside mount for patio blinds?
If you want maximum privacy and minimal light gaps, outside mount usually wins because you can overlap the opening by 2 to 3 inches per side. Inside mount looks more “built-in,” but it requires extra precision and will show more side leakage if posts or framing aren’t perfectly aligned.
My roller shade keeps drifting left or right after installation, what should I check first?
First confirm both brackets are truly level at the same height, then re-check the roller tube seats fully into both end caps. Also verify the fabric is square to the tube before securing, because a crooked starting edge will cause gradual side drift even if the brackets are level.
How much should I overlap for light blocking if my patio has rounded posts or decorative trim?
Use the 2 to 3 inches overlap per side as a baseline, then increase slightly if trim creates a recessed edge that causes a “shadow gap.” The goal is to keep the shade edge close to any protrusions, so measure the widest gap you can see when the shade is fully down, not just the door or post width.
Can I mount patio blinds on screen enclosures, and what screw type should I use?
Yes, but you need to match the fastener to the enclosure material. For aluminum framing, use self-tapping screws made for aluminum, and always drill pilot holes. Avoid wood screws because they can strip the thin extrusion walls or loosen as the frame flexes.
What fabric openness should I pick if I’m trying to reduce glare but still keep airflow?
For a balance of privacy and ventilation, choose the more open mesh range (around the 80% UV blockage tier in common SunTex/Coolaroo options). If you’re dealing with intense sun gain and want stronger privacy during daytime, pick the denser fabric range (around the 95% UV blockage tier), but expect less breeze and a darker feel.
How do I prevent fraying if I cut outdoor solar shade fabric or trim a pre-made roller shade?
Seal every raw edge right after cutting using outdoor seam tape or heat-sealing tape. Even small unsealed edges can start to unravel or shed fibers, which then collect dust and can stain the fabric over time.
My patio blinds don’t clear a door when fully raised, what options do I have?
Measure the clearance at the track height, then either raise the mount higher, choose a different roller hardware model with a shorter roll-up profile, or switch to a side-track or offset system so the shade clears the door swing. “Raising it later” often isn’t possible without re-drilling bracket holes, so confirm before mounting.
Is it okay to leave patio blinds down during windy weather?
Avoid leaving them down in high winds or severe weather. For normal breezes, use a weighted bottom rail and ensure brackets are solidly mounted, but if your area gets gusts, consider adding side guide channels (zip channels) or guide wires for better edge stability.
Do I need to caulk bracket mounts, and where is it most important?
Caulk is most valuable anywhere water can seep behind the bracket base plate. Apply a small bead of exterior silicone caulk around each bracket after mounting, especially on stucco, masonry, and exposed wood, to reduce rot or corrosion over multiple seasons.
What’s the safest way to clean outdoor mesh or acrylic patio blind fabric?
For mesh and coated polyester types, use a gentle garden hose rinse and avoid pressure washing, which can weaken seams and degrade coatings. For mildew on acrylic-style fabrics, use a diluted bleach solution with mild soap and rinse thoroughly, then let it fully dry before rolling to prevent odor recurrence.
How should I store patio blinds for harsh winters if I don’t want to remove them?
Roll them fully up and do not leave them hanging in partial-drop position during extended wind, ice, or snow. If you can, add a simple protective fabric sleeve over the rolled assembly, and confirm the brackets are tightened enough to handle seasonal vibration.
How do I prevent bottom gaps that reduce privacy?
Ensure the bottom rail is properly weighted and that the shade presses against the railing or the floor stop beneath it. If there’s still a gap, check whether the shade is rolling squarely (misalignment makes one side sit higher) before assuming the hardware is fine.
Next Articles
How to Fix Patio Blinds: DIY Repair Guide
Quick DIY steps to fix patio blinds: diagnose issues, repair cords, slats, tracks, tilt, and brackets safely.
How to Make Curtains for Outdoor Patio: DIY Guide
Step-by-step DIY for outdoor patio curtains: measure, choose fabrics, sew or assemble panels, add hardware, weatherproof
How to Keep Patio Curtains From Blowing in Wind
Step-by-step fixes to stop patio curtains blowing fast, using weights, tiebacks, anchoring, and wind-proof hardware.