Most patio blind problems come down to five things: damaged slats or fabric, a stuck or broken tilt mechanism, tangled or snapped cords, misaligned tracks or busted brackets, or a motor/control fault on motorized units. The good news is that the majority of these fixes take less than an hour, cost under $20 in parts, and need nothing more than a screwdriver, some silicone spray, and a bit of patience. Start by figuring out exactly which part has failed, and the right fix becomes obvious fast.
How to Fix Patio Blinds: DIY Repair Guide

Felix Brennan
4 Jun 2026
Quick diagnosis: what's actually broken?
Before you touch anything, spend two minutes watching what the blinds do (and don't do). This narrows the problem to one of five zones and stops you from wasting time fixing the wrong thing. Run through these checks in order.
- Try to open and close the blinds fully. If they move but jerk or stop short, look for debris or a twisted vane in the track.
- Try the tilt function. If the lift works fine but the slats won't rotate, the tilt rod or tilt mechanism is your culprit, not the cords.
- Look at the slats or fabric panels. Cracked, bent, or torn individual slats are isolated repairs. A whole section of missing or warped panels usually means heat or impact damage.
- Check the cords or chain. A lift cord that won't move freely is often twisted or looped around itself inside the headrail. Snap or fray means replacement.
- Look at the brackets and mounting hardware. If the whole blind tilts to one side or wobbles when touched, a bracket has worked loose or pulled out of the wall or ceiling.
- If the blinds are motorized, check whether the issue is mechanical (the blind itself won't move) or electrical (nothing happens when you hit the remote or switch).
Write down what you observe before grabbing tools. "Slats spin freely but won't lock in position" and "blind won't open past halfway" point to completely different repairs, so being specific here saves real time.
Common failure causes and their most likely fixes
| Symptom | Most Likely Cause | Likely Fix |
|---|---|---|
| Blind won't open or close | Debris in track, twisted vane, or broken carrier | Clean track, realign vanes, replace carrier |
| Slats won't tilt but lift works | Tilt rod disconnected or tilt mechanism worn | Reconnect tilt rod or replace tilt mechanism |
| Lift cord won't move or feels stuck | Twisted lift cord or jammed cord lock | Untwist cord, clear cord lock |
| Slat cracked or snapped | Impact or heat damage | Replace individual slat |
| Fabric panel torn or discolored | UV degradation or physical damage | Replace fabric panel or full blind |
| Whole blind sags to one side | Loose or pulled-out mounting bracket | Retighten screws or re-anchor bracket |
| Motorized blind unresponsive | Dead battery, lost pairing, or motor fault | Replace battery, re-pair remote, or service motor |
| Chain or cord snapped | Wear or overloading | Replace cord or chain kit |
Repairing and replacing slats, fabric, and tilt mechanisms
Replacing a broken slat
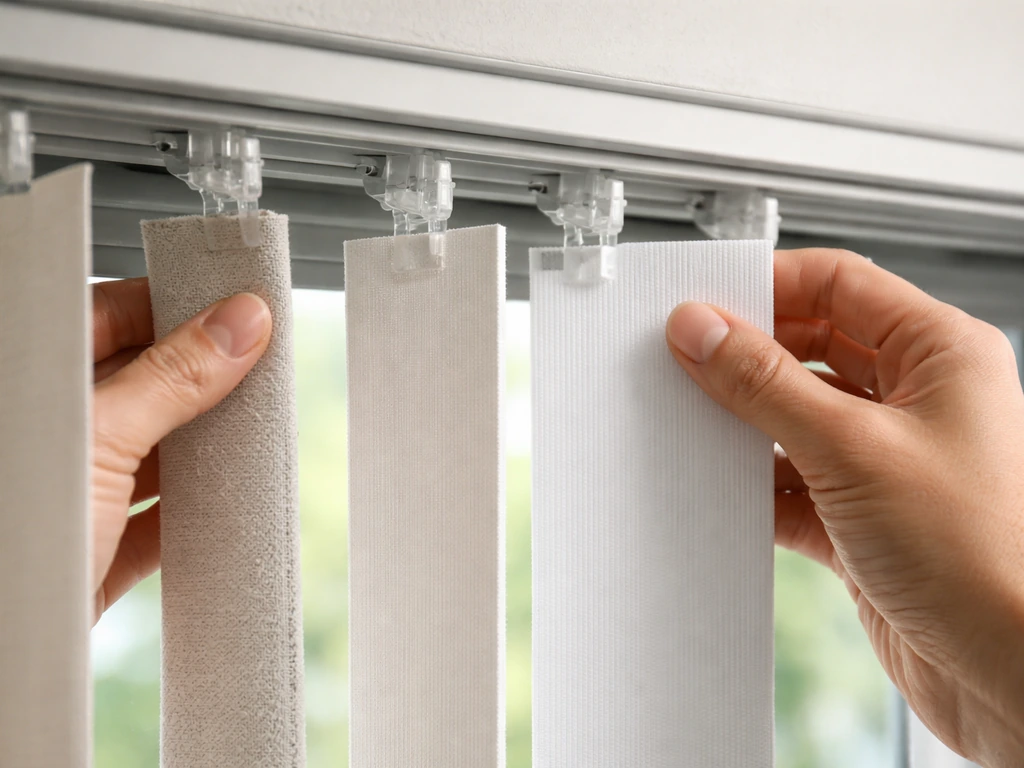
Individual slat replacement is one of the easiest blind repairs there is. For vertical blinds, the slat (called a vane or louver) clips into a carrier at the top. To swap one out: unhook the damaged vane from its carrier clip, slide the new vane into place until the clip snaps, and check that it hangs level with the neighboring vanes. Bring a damaged vane to the hardware store or measure its width and length precisely (most patio verticals are 3.5 inches wide) so you get an exact match. For horizontal slatted blinds, thread the lift cord and ladder cord back through the replacement slat the same way the original was threaded, using the adjacent slats as a template.
Repairing or replacing fabric roller panels
Outdoor fabric blinds, including shade cloth rollers and woven wood panels, suffer most from UV breakdown and moisture. If a panel has a small tear along a seam, a strip of outdoor-rated seam tape pressed from behind can buy you another season. For tears in the middle of the panel or significant discoloration, replacement is the better call. Roller fabric is typically sold by the meter in standard widths (60, 72, or 84 inches). Cut the new fabric to match the old, reattach it to the roller tube using the original adhesive strip or double-sided outdoor tape, and re-hem the bottom edge if needed to keep it from curling.
Fixing the tilt mechanism
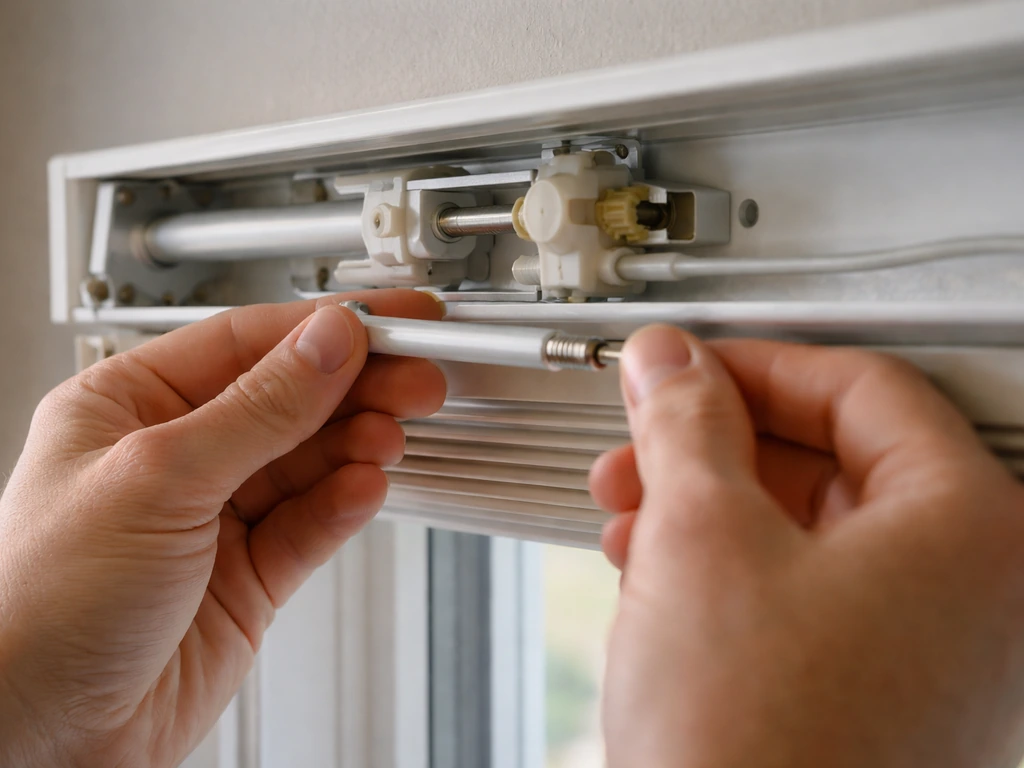
If your lift cord still works but the slats refuse to tilt, the tilt rod has almost certainly disconnected from the tilt mechanism inside the headrail. Take the headrail cover off (usually just a few snap-clips or screws) and look for a small plastic gear assembly. The tilt rod, a thin wand that runs the length of the headrail, should slot into this gear. If it has popped out, press it back in and test the tilt wand or cord. If the gear itself is cracked or stripped (you'll see chipped plastic teeth), the whole tilt mechanism needs swapping. Tilt mechanism kits are sold by blind type and cost $5 to $15. Remove the two screws holding the old one in, slide in the new unit, reconnect the tilt rod, and replace the headrail cover.
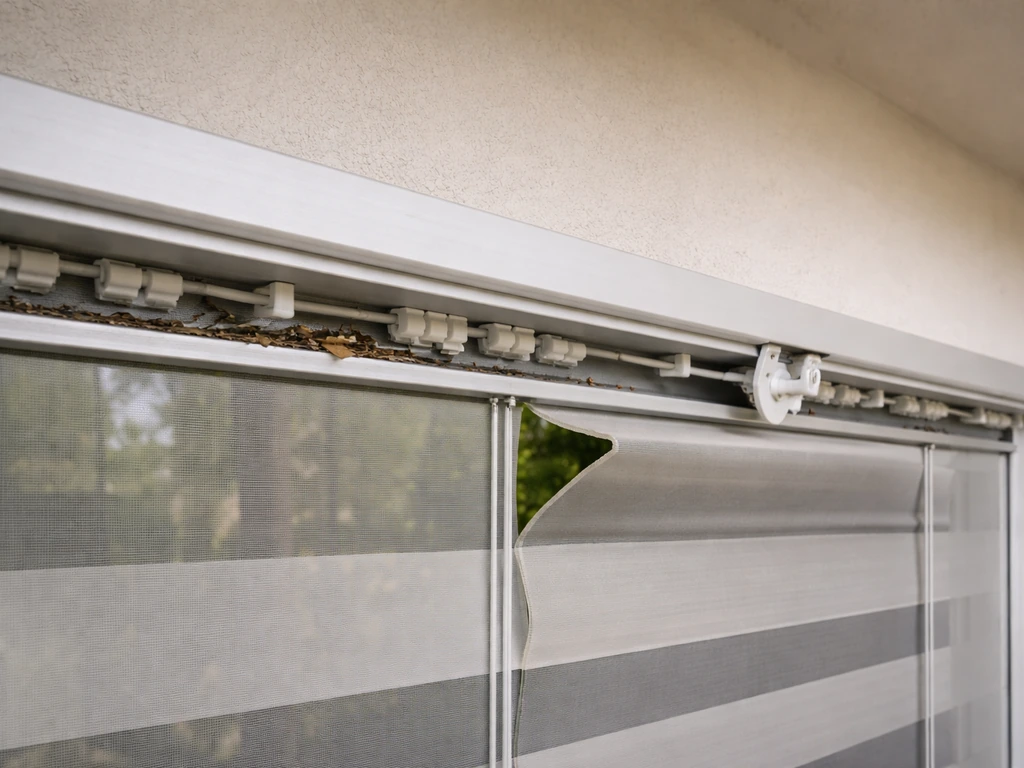
Fixing tracks, brackets, and mounting hardware
Cleaning and realigning the track
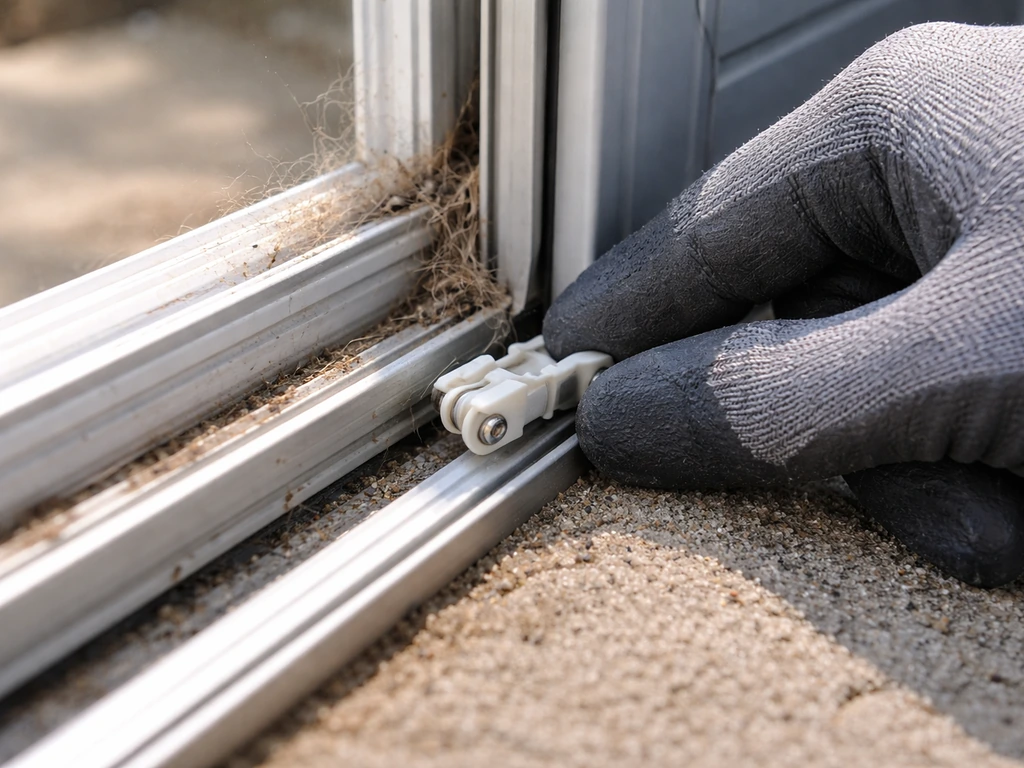
Patio environments are brutal on tracks. Insects, grit, pollen, and spider webs all find their way in, and any of them can stop a vane carrier dead in its tracks. Remove the blinds or slide them fully to one end, then use a vacuum with a narrow nozzle along the full length of the track. Follow with a damp cloth, dry completely, and apply a light coat of dry silicone spray (not WD-40, which attracts dust). Reattach the vanes and slide them back and forth a few times to work in the lubricant. If a carrier is cracked, it will catch and drag, so check each one by hand as you slide them. Replacement carriers for most standard tracks cost under $2 each.
Realigning twisted or misaligned vanes
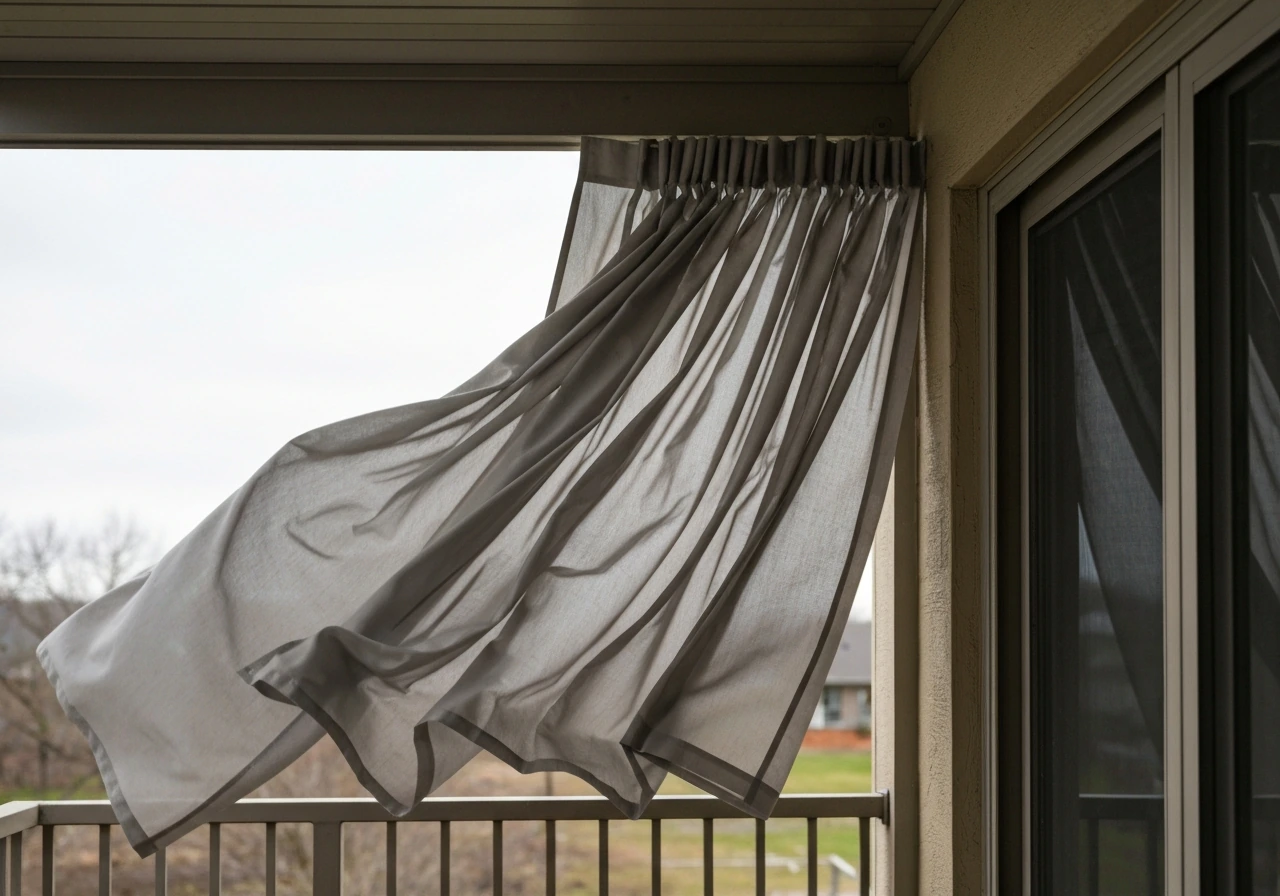
Vanes that won't rotate properly are often just twisted in their carriers. This is especially common after a windy day on an open patio. Unhook the vane at the bottom, let it hang straight, and gently rotate the carrier until the vane seats flat. If several vanes are out of alignment at once, use the tilt wand to push them all to one position, then straighten any outliers by hand before letting the mechanism drive them back. The key is getting all vanes oriented the same direction before engaging the tilt function, otherwise one or two will fight the rest and snap.
Reseating and re-anchoring mounting brackets
A blind that sags or wobbles has at least one bracket that's given up. Start by tightening the screws in every bracket with a screwdriver. If a screw spins without biting, the anchor hole has stripped. For wood framing, inject a small amount of wood glue or use a slightly larger screw. For masonry or stucco walls (common on covered patios), remove the screw, tap in a new plastic anchor sized for the screw diameter, and drive the screw back in. If a bracket has actually broken, bring it to a hardware store for a matching replacement before reinstalling. Never leave a blind hanging from just one bracket, even temporarily.
Troubleshooting corded and motorized patio blinds
Fixing stuck or twisted lift cords
A lift cord that moves stiffly or not at all is usually twisted on itself somewhere between the cord lock and the bottom rail. Pull the blind all the way up, remove the bottom rail end caps, and let the cords hang free. Look for any loop or twist and straighten the cord from bottom to top, making sure it runs in a straight line into the cord lock with no diversion. The cord lock itself can also jam: press the cord lock button and work the cord back and forth to free it. If the cord is frayed or has a hard knot that won't release, replace the full lift cord set rather than splice it, since a repaired cord puts uneven stress on the mechanism.
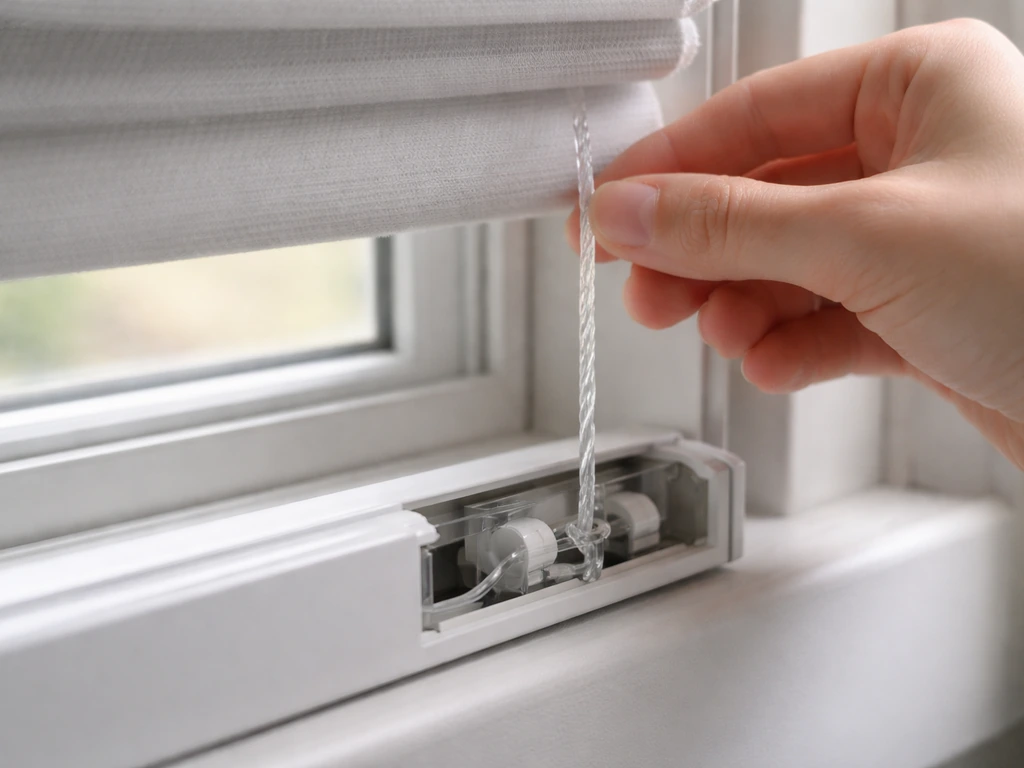
Chain and clutch repairs
Roller blinds with a beaded chain drive fail in two ways: the chain snaps, or the clutch mechanism inside the headrail stops gripping. A snapped chain is a straightforward swap. Buy a matching bead-pitch replacement chain (measure the bead diameter and spacing before ordering, typically 4.5mm or 6mm), thread it through the clutch, and join the ends with the included connector bead. A slipping clutch is trickier. If pulling the chain moves the roller sluggishly or the roller spins back on release, the clutch is worn. Clutch units are sold separately for most standard roller systems and screw directly into the headrail end.
Motorized blind troubleshooting
Motorized patio blinds fail in predictable steps, so work through them in order before assuming a motor fault. First, replace the remote batteries and test. Second, check whether the blind responds to a wall switch if one is installed. Third, try re-pairing the remote to the motor using the pairing button on the motor head (usually a small button on the end of the tube or headrail). If the motor hums but the blind doesn't move, the mechanical drive has likely seized and the motor unit itself needs service or replacement. If the motor makes no sound at all after battery replacement and re-pairing, check that the power supply or transformer is live with a multimeter or by plugging something else into the same circuit. At that point, if the power is confirmed good and the motor is silent, the motor itself has failed.
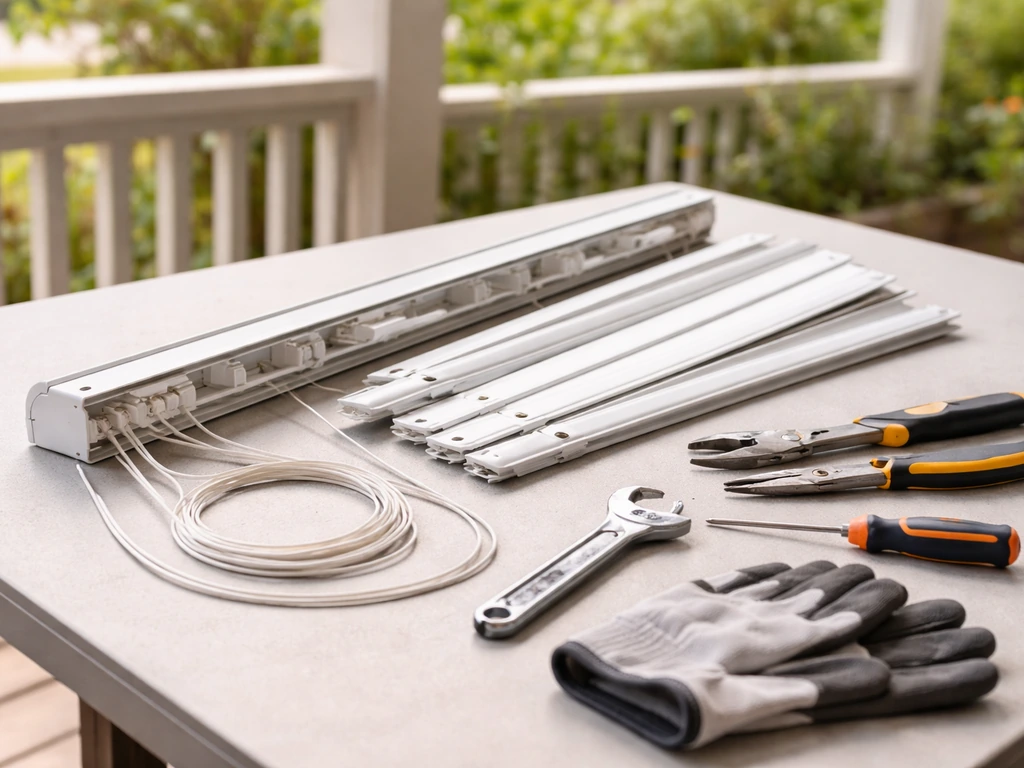
Tools, materials, and a step-by-step repair workflow
What to gather before you start
- Phillips and flathead screwdrivers
- Needle-nose pliers
- Utility knife
- Dry silicone lubricant spray
- Replacement vanes or slats (measure width and drop before ordering)
- Carrier clips and/or cord lock if those are suspect
- Lift cord or bead chain replacement kit if cords are frayed
- Plastic wall anchors and screws sized for your bracket hardware
- Outdoor-rated double-sided tape or seam tape (for fabric panels)
- Multimeter (only needed for motorized blinds)
Step-by-step repair workflow
- Photograph the blind before disassembly so you have a reference for reassembly.
- Remove the blind from its brackets and lay it on a flat surface or hang it from two sawhorses. Do not work with the blind fully suspended for anything beyond a quick cord check.
- Clean the track and carriers before replacing any parts. A dirty track causes the same symptoms as a broken carrier.
- Replace or repair only the identified failed component. Avoid swapping parts speculatively.
- Lubricate the track with dry silicone spray after any mechanical repair.
- Rehang the blind and test the full range of motion slowly, slat by slat if it's a vertical blind.
- Check level with a spirit level. A blind that's even slightly off-level will wear unevenly and fail sooner.
- Operate the blind through three full open-and-close cycles before calling the job done.
Budget roughly 30 to 60 minutes for a slat replacement or track cleaning, and 1 to 2 hours for a cord replacement or bracket re-anchoring. Tilt mechanism and clutch repairs fall in the middle at about 45 minutes once you have the parts in hand. Factor in parts delivery time if you're ordering online rather than pulling from a local hardware store.
When to put the screwdriver down and call a pro
Most patio blind repairs are genuinely DIY-friendly, but a few situations make professional help the smarter call. If the headrail track itself is bent or cracked (not just dirty), realigning it is rarely successful and a warped track will keep causing the same problems. If multiple brackets have pulled out of a structural beam or the mounting surface is deteriorating, you're looking at a structural fix that goes beyond the blind itself. For motorized units, any fault that persists after battery replacement, re-pairing, and confirmed power supply is almost certainly a motor or control board failure that requires manufacturer service or a certified electrician if the system is hardwired into your home's electrical panel.
It's also worth being honest about age. Patio blinds exposed to sun, wind, and rain typically have a practical lifespan of 5 to 10 years depending on material. If the fabric is brittle, multiple slats are cracked, the headrail is corroded, and the cords are frayed all at once, the cost and time of individual repairs will quickly exceed the cost of a replacement set. At that point, a new set of outdoor blinds installed fresh on clean, solid brackets is the better investment. If you are starting from scratch, you can also review a guide on how to make patio blinds to match your space and materials.
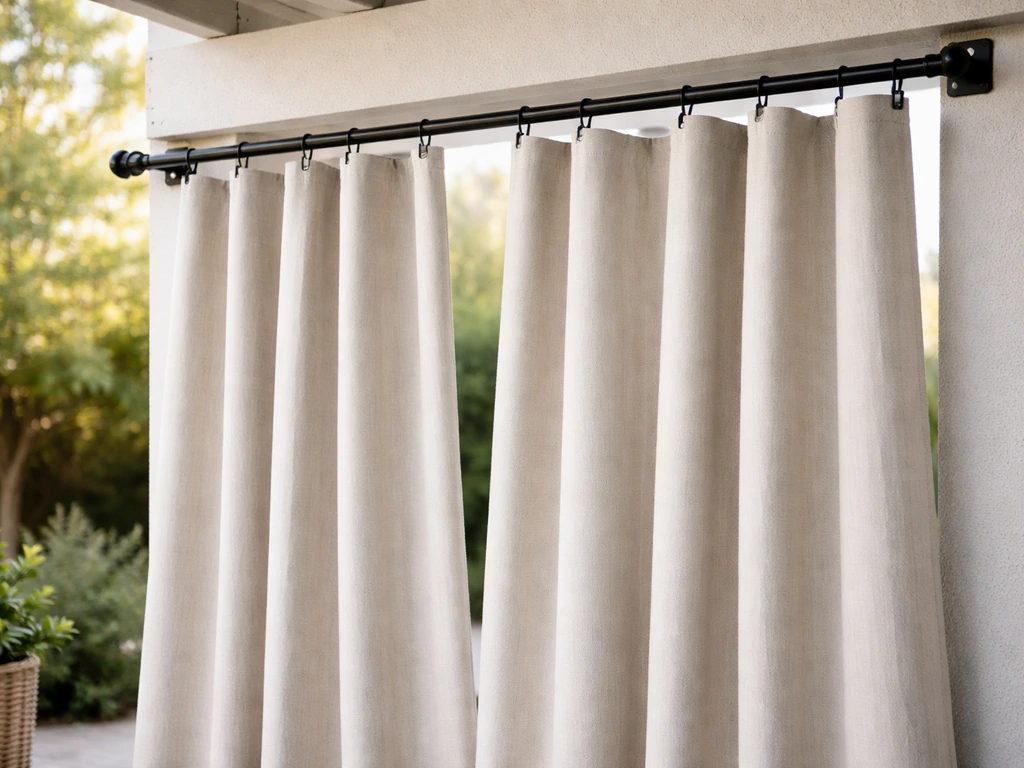
If you end up replacing rather than repairing, that opens up the chance to think about the full patio shading setup. Whether you go back to blinds or consider outdoor curtains as an alternative is worth a moment's thought, since curtains and blinds solve slightly different problems on a patio, and wind behavior affects both types differently. If you decide on outdoor curtains instead of blinds, the next step is learning how to put up patio curtains so they hang at the right height and stay secure in wind. If you choose outdoor curtains, make sure you measure the opening and plan the mounting hardware so they hang correctly on your patio space. If you are going with curtains instead of blinds, you can even learn how to make patio curtains out of drop cloths for a budget-friendly custom look. Outdoor patio curtains are a great option when you want more fabric coverage and style, and you can even tailor them for weather and privacy outdoor curtains. If you choose patio curtains, use tie-backs or weights so they stay in place and do not blow open in the wind.
FAQ
How do I tell whether my patio blind issue is lubrication and dirt versus a broken part?
Test movement without forcing it. If carriers slide more freely after vacuuming and dry silicone spray, the problem is usually grit or debris. If you feel grinding, repeated catching at the same spot, or a carrier you can’t move by hand, suspect a cracked carrier, bent track, or damaged tilt/cord components rather than just dirt.
What should I do if a slat or vane won’t unclip for replacement?
Don’t pry randomly. Position the vane so it is unloaded (tilt to a neutral alignment first if possible), then press the clip area while pulling the vane straight out. If the clip is brittle from sun, warm it with gentle heat (like a hair dryer on low for a minute) to reduce snapping, then replace the entire vane rather than trying to reuse a weakened carrier.
Can I use WD-40 or oil if the track feels sticky?
Avoid WD-40 and heavy oils. They tend to attract dust and grit, which recreates the jam. Dry silicone spray is preferred because it lubricates with less residue. After spraying, move the blinds back and forth several times to distribute it, then wipe any overspray from visible surfaces.
My vertical blind slats tilt but one stubborn vane keeps fighting the mechanism. What’s the correct fix?
Check for a twisted vane and also confirm the vane is the correct width and clip design. A mismatched replacement vane can sit slightly off and resist the tilt direction. Unhook it, let it hang straight, and reseat it, then align all vanes to the same position before testing the tilt again.
What’s the safest way to tighten bracket screws when the anchor keeps spinning?
If the screw spins without biting, stop and re-anchor. For wood, use wood glue on the threads and reinstall or switch to a slightly larger screw bite. For masonry or stucco, remove the screw, insert an appropriately sized new plastic anchor for that screw diameter, and reinstall. Only “go tighter” if you can actually feel the screw biting into material.
How do I prevent cord twist when reinstalling a lift cord set?
Before threading, lay the cord flat and unwind any loops. When you let the cords hang free, look for twists and straighten from bottom to top so the line enters the cord lock straight. Make sure the cord lock aligns with the cord path, because even a slight bend at the lock can recreate stiff or jerky lifting.
If my beaded chain roller won’t advance, how do I know if it’s the chain versus the clutch?
Try moving the chain by hand slowly. If the chain itself is broken you will see an obvious gap or the chain ends won’t advance together. If the chain moves but the roller doesn’t roll (or the roller spins back when you release), the clutch is slipping. Also check for debris in the headrail area before assuming a worn clutch unit.
Motorized patio blinds respond to the remote sometimes but fail other times. What should I check first?
Beyond fresh batteries, verify line-of-sight and antenna sensitivity (avoid placing metal objects or plants directly in front of the receiver area). Then test pairing again. If the motor hums during a command, mechanical seizure is likely. If there is no sound and power is confirmed, the receiver/control or motor may be intermittent rather than fully failed.
When should I stop repairing and replace the blind set instead?
If you see multiple simultaneous failure points, like frayed cords plus corroded headrail plus many cracked slats, replacement usually wins on time and total cost. Also replace rather than realign if the headrail track is bent or cracked, because a warped structure will keep causing repeat jams even with new parts.
Do I need special tools or safety steps before starting patio blind repairs?
Most jobs can be done with a screwdriver, but use basic safety habits: keep fingers clear of pinch points when reattaching vanes, and avoid forcing mechanisms that feel seized. For motorized units, disconnect power at the source before opening the headrail area or checking transformer wiring, and only use a multimeter if you know how to interpret the readings safely.
Next Articles
How to Make Curtains for Outdoor Patio: DIY Guide
Step-by-step DIY for outdoor patio curtains: measure, choose fabrics, sew or assemble panels, add hardware, weatherproof
How to Keep Patio Curtains From Blowing in Wind
Step-by-step fixes to stop patio curtains blowing fast, using weights, tiebacks, anchoring, and wind-proof hardware.

How to Decorate a Long Narrow Patio: Layout Tips
Practical DIY layout and decor tips to widen a long narrow patio using zoning, furniture spacing, lighting, greenery, an