
You can enclose a patio with lattice panels for as little as a few hundred dollars in materials, using standard 4 ft x 8 ft panels, basic framing lumber, and a weekend or two of work. Lattice won't seal out rain or cold the way glass or plastic panels will, but it adds real privacy, filters wind, supports climbing plants, and gives your patio a finished, enclosed feel without a full construction project. This guide walks you through every step: deciding if lattice is actually the right call for your situation, pulling permits, planning your layout, building the frame, installing panels, and finishing everything so it lasts.
How to Enclose a Patio with Lattice: DIY Plan, Materials & Steps

Felix Brennan
28 Jul 2026
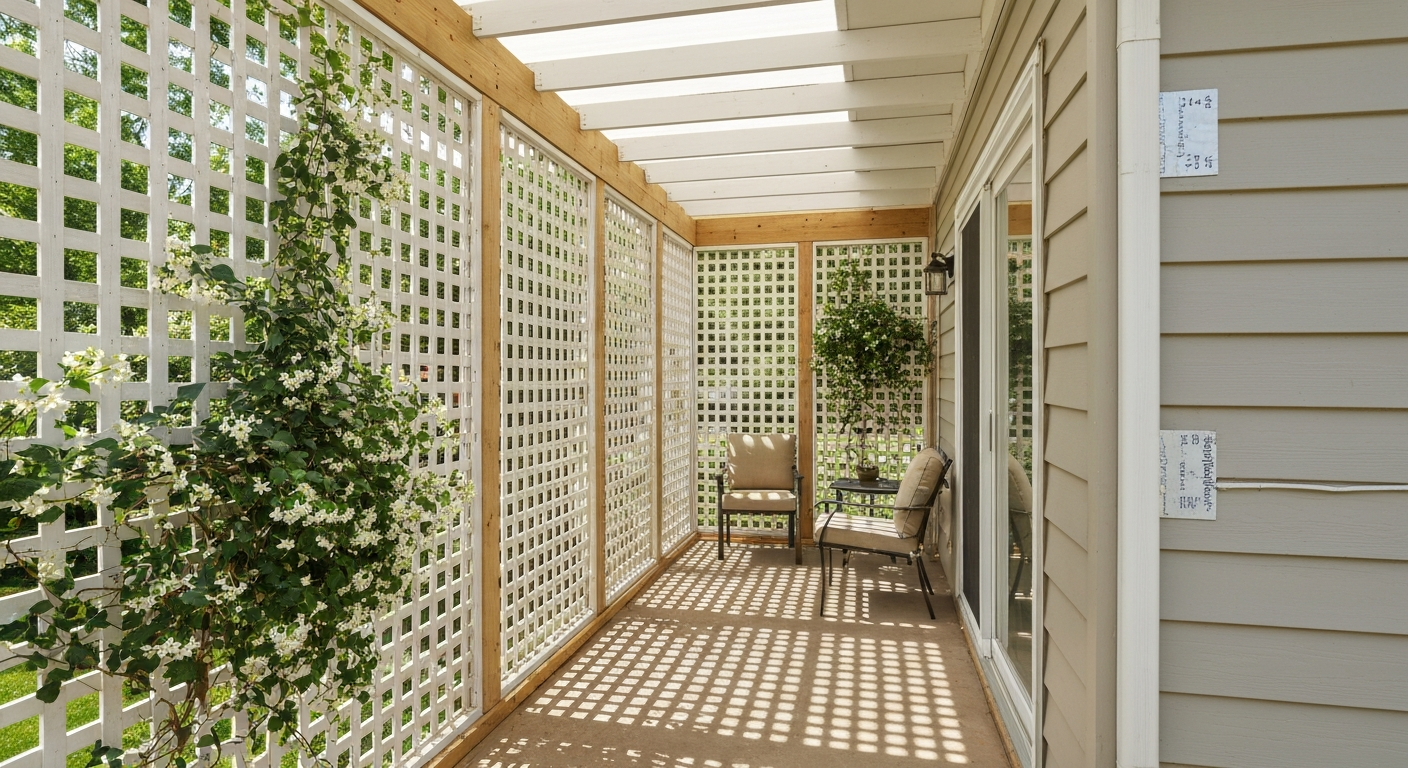
Why enclose a patio with lattice, and what it won't do
Lattice is one of the most forgiving enclosure materials a DIYer can work with. Panels cut easily with a circular saw, fasten with standard screws and nails, and don't require anything heavier than basic lumber framing. The result is a semi-open enclosure that lets air move freely, which keeps the space comfortable in warm weather and prevents the trapped-heat problem you sometimes get inside a fully glazed sunroom.
That said, it's worth being honest upfront about what lattice won't do. It won't keep rain out. It won't stop insects unless you add a mesh layer behind the panels. And in cold climates, an open lattice wall offers almost no thermal protection. If your main goal is a true four-season room or a bug-proof screened space, lattice alone isn't the finish line. It can be a foundation you build on later, adding screening behind it, or panels in front of it, but go in with realistic expectations. This guide will help you figure out whether lattice fits your goals or whether a different enclosure approach makes more sense.
Is lattice actually right for your patio? Honest pros and cons
Before you buy anything, it's worth comparing lattice to the other common enclosure options: glass, plastic or polycarbonate panels, screened mesh, and full solid walls. Each approach sits at a different point on the cost, protection, and complexity spectrum.
| Enclosure Type | Privacy | Weather Protection | Insect Protection | Ventilation | Typical DIY Cost (small patio) | Complexity |
|---|---|---|---|---|---|---|
| Lattice panels | Moderate | Minimal (wind only) | None unless mesh added | Excellent | $300–$900 materials | Low–Medium |
| Screening / mesh only | Low | Minimal | Good | Excellent | $200–$700 materials | Low |
| Plastic / polycarbonate panels | Moderate–High | Good (3-season) | Good if sealed | Moderate (with vents) | $600–$2,000+ materials | Medium |
| Glass panels / windows | High | Excellent (4-season) | Excellent if sealed | Operable only | $2,000–$10,000+ | High |
| Full solid walls | Excellent | Excellent | Excellent | Requires windows/vents | $5,000–$20,000+ | Very High |
If your primary goals are privacy from neighbors, a backdrop for plants, and a finished look without a huge budget or permit headache, lattice is a strong choice. If you need reliable insect protection, pair it with fiberglass screen mesh stapled to the frame behind the lattice. If you eventually want weathertight enclosure, know that lattice framing can be retrofitted later with polycarbonate or glass panels, the frame you build now doesn't have to be thrown away. For anyone seriously considering a weathertight space from day one, our guides on enclosing a patio with glass or plastic panels cover those paths in detail.
Permits, local codes, and structural checks, don't skip this part
This is the step most DIYers want to skip, and the one that causes the biggest headaches later. Most U.S. municipalities require a building permit when you substantially enclose or alter an existing porch or patio. Jurisdictions like Dublin, CA, Spotsylvania County, VA, and Troutdale, OR explicitly list new enclosures, structural attachments, and changes to the building envelope as permit triggers. Even if your project feels small, attaching a framed wall to your house changes the load path and creates a watertight detail that inspectors care about.
Call your local building department before you buy materials. Tell them you want to attach framed lattice panels to your house wall or existing patio roof. Ask specifically whether a permit is required, whether you need drawings, and whether any of the work needs to be inspected. If your project modifies the primary structure, alters the roof, or adds conditioned space, many jurisdictions will require engineer-stamped drawings. See When are plans required for a permit?, Troutdale, OR building department guidance for local examples of when engineered/architect‑stamped drawings are required When are plans required for a permit? — Troutdale, OR building department guidance. Freestanding lattice structures (not attached to the house) generally face lighter scrutiny, but don't assume, check first.
Beyond the permit question, do a structural check before you design anything. If you're attaching to an existing patio roof or house wall, inspect the ledger board, the rim joist, and the condition of any existing posts. Rot or insect damage at the ledger is the leading cause of attached-structure collapses, so probe the wood with a screwdriver. If it sinks in easily, you have rot to address before you attach anything new. Also check your patio slab or ground conditions if you're setting new posts, concrete footings poured to local frost depth are required in most climates for permanent freestanding posts.
Planning your enclosure: scope, dimensions, and the details that matter
Start by sketching your patio to scale on paper. Measure the perimeter you want to enclose, note which sides already have a roof or overhang above them, and mark any existing posts, walls, or columns. Then think through these four variables before you finalize your plan.
- Privacy: Which direction are your neighbors? A solid or tightly-spaced lattice pattern on that side and a more open pattern elsewhere gives you targeted privacy without blocking all views.
- Light: Lattice casts moving shadow patterns that most people find attractive. But if you want maximum light, choose a larger diamond opening (2.75" openings are common on standard 4x8 panels) or orient panels to let in afternoon sun.
- Ventilation: One of lattice's biggest advantages is natural airflow. Don't fight it by backing every panel with solid material — leave at least one or two sides open or screened rather than solid.
- Wind exposure: If your patio faces a prevailing wind or sits on an elevated or coastal lot, design for lateral loads. Freestanding posts need adequate footing depth and diagonal bracing. Attached walls need proper ledger connections per IRC Table R507.9.1.3(1) — your permit reviewer will check this.
- Panel layout: Standard panels are 4 ft x 8 ft and run to about 1/2" thick. Plan your framing bay spacing to match panel dimensions — 4 ft on-center framing means minimal cutting and waste.
Decide early whether you're building an attached enclosure (framing connects to the house wall or existing roof framing) or a freestanding structure (its own posts and footings, set away from the house). Attached enclosures feel more integrated and share the existing roof, but they require flashing, ledger hardware, and more permit scrutiny. Freestanding structures are simpler to permit and build, but you'll need to handle the roof gap between the new structure and the house separately.
Materials and tools checklist
Here's a complete list of what you'll need for a standard attached lattice enclosure. Quantities depend on your specific dimensions, use this as a category checklist and calculate exact counts once your plan is drawn.
Lattice and framing materials
- Lattice panels: 4 ft x 8 ft panels in your chosen material (wood, vinyl, or composite); count bays and add 10% for waste
- Pressure-treated 4x4 posts for any new vertical supports (use ground-contact rated PT if posts will touch soil or concrete)
- Pressure-treated 2x4 or 2x6 framing lumber for top plates, sill plates, and intermediate rails
- Pressure-treated ledger board (2x6 or 2x8) if attaching to the house
- Lattice cap molding or 1x2 trim strips to cover panel edges in the frame
- Post base hardware (standoff post bases keep post ends off concrete and reduce rot)
- Metal joist hangers, hurricane ties, and post caps as needed for your connection points
- Self-adhered flashing membrane (4" to 6" wide roll) and metal Z-flashing or step flashing for any roof or ledger tie-in
- Exterior-grade caulk and paintable wood filler for trim gaps
Fasteners and hardware
- 1/2" hot-dip galvanized lag screws or structural screws for ledger attachment (per IRC Table R507.9.1.3(1) spacing requirements)
- 3" exterior-grade deck screws for framing connections
- 1-5/8" exterior screws or stainless staples for attaching lattice panels to frame
- Post anchor bolts for concrete footings (if setting new posts)
- Carriage bolts with washers and nuts for any through-bolt connections
Optional screening layer
- Fiberglass insect screen mesh (18x16 mesh standard for most insects) — buy in bulk rolls if doing multiple panels
- Screen spline and a spline roller tool if using screen frames
- Staple gun with 1/4" or 3/8" staples if stapling screen directly to the frame (cover staples with trim)
Tools
- Circular saw (with a fine-tooth blade for clean lattice cuts) or jigsaw
- Miter saw for trim and framing cuts
- Drill/driver with bits and a socket set for lag screws
- Level (4 ft), tape measure, speed square, chalk line
- Post hole digger or rented auger if setting new footings
- Caulk gun
- Safety glasses, hearing protection, work gloves
Cost and time planning: what to budget for a typical DIY lattice enclosure
For a small to medium patio (roughly 10 ft x 12 ft) with three enclosed sides, you can realistically budget $400–$900 for materials using wood or vinyl lattice panels, standard PT framing lumber, and basic hardware. Larger patios (16 ft x 20 ft and up) with more panels, new footings, and a roof integration detail can push material costs to $1,500–$2,500 or more. These numbers don't include any roofing work if your patio isn't already covered.
| Project Size | Approximate Material Cost | DIY Time Estimate | Key Variables |
|---|---|---|---|
| Small (10x10 ft, 2–3 sides) | $350–$700 | 1–2 weekends | Panel type, existing roof or not |
| Medium (12x16 ft, 3 sides) | $700–$1,200 | 2–3 weekends | New posts, screening layer, flashing |
| Large (16x20 ft+, 3–4 sides) | $1,200–$2,500+ | 3–5 weekends | Footings, roof tie-in, trim complexity |
| Add screening to any size | +$80–$200 | +4–8 hours | Panel count and mesh quality |
| Professional installation (any size) | 2–4x material cost in labor | N/A | Regional labor rates vary significantly |
Time-wise, plan for the permit and planning phase (1–2 weeks just for the permit approval process), a site prep and footing day, a framing day, and a panel and trim day. Don't compress this into one weekend unless you have helpers and everything staged in advance. Budget an extra 15–20% on materials for waste, extra fasteners, and the inevitable trip back to the store.
Choosing your lattice and frame materials
The three main lattice materials you'll find at any big-box store are pressure-treated pine, redwood, and vinyl. Each has real trade-offs that matter for a patio enclosure specifically.
Wood lattice: pressure-treated pine and redwood
Pressure-treated pine is the most affordable and most widely stocked option. A standard 4 ft x 8 ft panel runs about 1/2" thick and cuts cleanly with a fine-tooth blade. It's rated for ground contact in most grades, takes paint or stain well, and is strong enough for a framed patio enclosure. The downside is that it will eventually warp, crack, or splinter if left unfinished or if moisture management isn't done right. Plan to prime and paint or stain it within a few months of installation.
Redwood is a natural rot-resistant option with a better appearance right off the shelf. It's sold in the same 4 ft x 8 ft size (diamond-pattern openings of about 2.75" are typical for standard panels) and is a good choice if you want a natural wood look without as much finishing urgency. It's more expensive than PT pine and less available in some regions, but in the western U.S. it's often the default stocked option.
Vinyl lattice
Vinyl is the low-maintenance choice. It doesn't rot, doesn't need painting, and holds its color well for many years. Brands like Barrette Outdoor Living sell 4 ft x 8 ft vinyl panels in both privacy (tight spacing) and standard diamond patterns. The trade-off is flexibility: vinyl panels can bow or flex more than wood in a wide bay, so you'll want intermediate horizontal rails no more than 24–32 inches apart in your frame. Vinyl also can't be painted if you change your color scheme later, so pick a color you'll live with. It costs more upfront than PT pine but saves on finish work and long-term maintenance.
Composite lattice
Composite and polypropylene lattice panels sit between wood and vinyl in most characteristics. They're more rigid than vinyl, resist moisture and insects like vinyl, and can sometimes be painted. They're not as widely stocked, so you may need to order them. For most DIYers, PT pine or vinyl will be the practical choice.
| Material | Cost (4x8 panel, approx.) | Maintenance | Strength/Rigidity | Paintable | Best For |
|---|---|---|---|---|---|
| Pressure-treated pine | $25–$45 | Paint/stain every 2–4 years | Good | Yes | Budget builds, painted finishes |
| Redwood | $40–$75 | Stain every 3–5 years | Good | Yes | Natural look, western climates |
| Vinyl | $35–$65 | Wash occasionally | Moderate (needs closer rail spacing) | No | Low-maintenance, long-term use |
| Composite/polypropylene | $45–$80 | Minimal | Good–Very good | Sometimes | Premium durability |
Frame lumber
For the frame, use pressure-treated lumber throughout, PT 4x4 posts, PT 2x4 or 2x6 top and bottom plates, and PT 2x4 intermediate rails. Even if the lattice panels themselves are vinyl, the framing should be rot-resistant because it sits close to the ground and catches water. If you're attaching a ledger to the house, the ledger board should also be PT, and your fasteners must be hot-dip galvanized or stainless to avoid corrosion from the chemical treatment in modern PT lumber.
Foundations and anchoring: choosing your attachment method
How you anchor the enclosure is one of the most structurally important decisions in the whole project, and it's also the point where permit requirements hit hardest. There are three main approaches, and your site conditions, existing structure, and local codes will determine which one applies.
Option 1: Attaching to the house (ledger-based)
If your patio already has a covered roof attached to the house, you'll likely run a ledger board along the house wall and hang your top plate or framing from it. This is structurally efficient and makes the enclosure feel like part of the house, but it requires the most attention to code compliance. The ledger must be fastened with hot-dip galvanized or stainless 1/2" lag screws or structural screws at spacings that meet IRC Table R507.9.1.3(1), your inspector will check both the fastener type and spacing. Critically, you must install continuous flashing behind and over the ledger. Ledger rot from missing or failed flashing is the leading cause of attached-structure failures. Use a self-adhered flashing membrane behind the ledger and metal Z-flashing over the top edge, following the correct sequence: WRB/housewrap first, then the self-adhered membrane, then the ledger, then Z-flashing over the top of the ledger, then counterflashing and siding. If your installation meets a sloped roof, add kick-out diverter flashings at the bottom of the roof slope to redirect water into a gutter rather than down your new wall.
Option 2: Tying into existing roof joists or beams
If your patio already has an independent overhead structure (a pergola, a covered patio roof on its own posts), you can often hang your lattice frame walls directly from the existing beams or rafters with joist hangers and post hardware. This avoids the ledger-to-house detail entirely. Check the existing posts and beams for rot, confirm the footings are solid, and use proper structural connectors rather than toenailed screws.
Option 3: Freestanding posts and footings
A fully freestanding lattice enclosure uses its own posts set in concrete footings and doesn't attach to the house at all. This is the simplest to permit (no house modification), avoids all ledger and flashing concerns, and works well when the patio sits away from the house wall. The catch is that freestanding structures need footings poured below the local frost depth (which can be 12 inches in warm climates or 42+ inches in northern states), and the frame needs diagonal bracing or knee bracing to resist lateral wind loads. Use standoff post base hardware to keep the post bottom off the footing surface and reduce rot risk. For each post, dig the hole to frost depth, pour a concrete tube footing, and set the post base anchor while the concrete is wet. Let it cure fully (typically 24–48 hours) before loading the frame.
Step-by-step: building your lattice patio enclosure
Step 1: Lay out your frame and mark post locations
Use batter boards and string lines to establish your perimeter. Mark post locations at 4 ft intervals to align with your panel widths, this eliminates most cuts. Double-check that corners are square using the 3-4-5 triangle method (measure 3 ft along one side, 4 ft along the adjacent side, and the diagonal should be exactly 5 ft if the corner is square). Mark each post center on the concrete slab with chalk or a marker.
Step 2: Set posts or attach ledger board
For freestanding posts, drill or hammer anchor bolts into the slab or pour tube footings to frost depth, then set standoff post bases and bolt them down. Cut 4x4 posts to your wall height, set them in the post bases, and brace them plumb with temporary diagonal braces while you continue. For attached builds, remove the siding in the ledger zone, install the flashing sequence described above, then fasten your ledger board with properly-sized and spaced lag screws or structural screws into the house's rim joist or wall framing.
Step 3: Install top plates and bottom rails
Run a 2x4 or 2x6 top plate across the tops of your posts and fasten with post caps or through-bolts. Then run a 2x4 bottom sill plate along the base of each wall section, fastened to the slab with concrete anchors or to a pressure-treated mudsill. For walls taller than 4 ft, add a horizontal mid-rail at the 4 ft mark so each lattice panel can span from sill to mid-rail and mid-rail to top plate without sagging.
Step 4: Install screening (if using)
If you want insect protection, install your fiberglass screen mesh now, before the lattice panels go on. Staple the mesh to the inside face of the frame with 1/4" or 3/8" staples, pulling it taut as you go. Overlap the mesh at any splices by at least 2 inches. You'll cover the staple lines with trim strips in the final step. Installing the screen first (hidden behind the lattice) means the lattice provides physical protection for the mesh and you can't see the staples from outside.
Step 5: Cut and install lattice panels
Measure each bay carefully before cutting, framing bays are rarely identical even when you planned for 4 ft spacing. Mark the cut line with a chalk line and use a circular saw with a fine-tooth blade. Clamp a straight-edge to the panel as a fence for clean cuts. Position each panel in its bay, leaving a 1/4" gap at the edges to allow for expansion (especially important for wood panels in humid climates). Fasten with 1-5/8" exterior screws or galvanized nails every 8–12 inches around the perimeter into the frame. For vinyl panels, use the manufacturer's recommended fasteners and don't overtighten, vinyl needs room to expand.
Step 6: Add trim, corner boards, and cap molding
Lattice cap molding (typically 1x2 or purpose-made U-channel trim) covers the panel edges and staple lines and gives the enclosure a clean finished look. Miter the corners at 45 degrees. Nail or screw trim into the frame, not into the panel itself. Add corner boards at all exterior corners for a tidy finish. Caulk all trim-to-frame joints with exterior-grade paintable caulk, especially at the top where water can run in.
Step 7: Roof integration and flashing
If your enclosure walls run up to an existing roof or overhang, the joint between the top of the wall and the roof underside is a water-entry point. At a minimum, run a bead of exterior caulk in a back-rod joint. For a proper detail (and code-compliant one if inspectors are involved), install step flashing or Z-flashing along the roof-to-wall intersection so water sheds away from the wall. blank" rel="noopener noreferrer">FEMA P‑499 Home Builder's Guide to Coastal Construction (2010, PDF) documents step‑flashing, counterflashing and kick‑out diverters as standard best practices to prevent water intrusion at roof‑to‑wall intersections. If a sloped roof surface drains toward your new wall, add a kick-out diverter at the bottom of the slope to direct water into a gutter. This single detail prevents the majority of water intrusion problems in attached enclosures.
Finishing touches: paint, stain, planters, and lighting
For wood lattice, prime all cut ends and surfaces before or immediately after installation, cut ends absorb moisture faster than any other surface and are where splitting starts. Use an exterior oil-based primer and follow with two coats of exterior paint or a penetrating stain. For PT lumber, let the wood dry for 4–6 weeks after installation before painting if it was wet-treated from the store (kiln-dried PT can be finished right away). Vinyl panels need no finish, but you can wipe them down with a vinyl-safe cleaner to restore brightness.
Climbing plants like jasmine, clematis, and climbing roses are a natural fit for lattice enclosures. Secure plant ties to the lattice and keep soil away from the wood frame itself to avoid accelerating rot. Add outdoor-rated string lights or low-voltage track lighting along the top plate for evening use. A row of planter boxes along the base of the lattice panels adds color and visual weight at ground level.
Wind safety and structural checks
Lattice panels have a surprising amount of wind surface area. In high-wind areas or on exposed lots, a solid run of lattice panels acts like a sail and puts real lateral force on your posts and connections. If you're in a hurricane, high-wind, or coastal zone, consult a local engineer before finalizing your design, FEMA guidance for coastal construction (FEMA P-499) specifically addresses structural connections at new patio additions. For most inland sites, you can handle wind loads by keeping post spans under 8 ft, using through-bolted connections at post tops and bases, and adding diagonal knee braces at corners. Check every connection point with a firm push-and-pull test before finishing: nothing should rack, twist, or shift under hand pressure.
Seasonal maintenance and common problems
Run a maintenance check each spring. Look for split or cupped wood panels (replace individual panels, they're cheap), loose fasteners at post bases and ledger connections (tighten or replace), failed caulk at trim joints (reapply), and signs of rot at post bases and ledger ends (probe with a screwdriver). Touch up paint or stain wherever the finish is peeling or worn before moisture gets a foothold.
- Warping wood panels: usually caused by unfinished edges absorbing moisture; sand flat if mild, replace if severe
- Screen mesh tears: patch small tears with adhesive mesh patches from the hardware store; replace the full panel if the tear is large
- Loose post bases: re-tighten anchor bolts, or re-drill and use larger anchors if the original holes have stripped
- Water pooling at sill plate: check that the sill plate is sloped slightly away from the house or has drainage gaps; re-caulk any cracks
- Lattice discoloration (vinyl): scrub with white vinegar solution or a commercial vinyl cleaner; avoid abrasive pads
Upgrade paths: where to go from here
One of the best things about a well-built lattice enclosure is that the framing you've put up is a platform for future upgrades. If you decide after a season that you want more weather protection, you can install clear or tinted polycarbonate panels over or in place of the lattice panels, polycarbonate is lighter and more impact-resistant than glass and can often be cut to fit your existing bays. If you're considering a full glass conversion, see guidance on how to enclose a patio with glass for details on glazing options, framing requirements, and weatherproofing steps. For step-by-step instructions on using plastic or polycarbonate panels, see our guide on how to enclose a patio with plastic. If you want operable ventilation and insect protection together, adding screened window inserts in one or two bays is straightforward. For a full conversion to a glass enclosure or a windowed three-season room, the post framing you've already anchored and footings you've already poured become the skeleton of that more involved project. For step-by-step instructions on converting an existing lattice or frame into a windowed enclosure, see how to enclose a patio with windows.
If you're already thinking about a more weathertight enclosure, guides on enclosing a patio with plastic or polycarbonate panels, enclosing a patio with windows, and building a glass patio enclosure cover those upgrade paths in detail and can help you decide how ambitious to get at each stage.
FAQ
Is lattice a good choice to enclose my patio compared with glass, plastic or full walls?
Lattice is a low‑cost, lightweight option that provides privacy, shade and ventilation. Pros: affordable, easy to cut/attach, good airflow, decorative, works with climbing plants. Cons: limited weather and sound protection, not typically insulated or fully insect‑proof unless combined with screening, less secure than solid walls or glazing. Glass/insulated windows give year‑round use and weatherproofing but cost more and often require foundations/permits. Polycarbonate (multiwall) is lighter, impact‑resistant and cheaper than glass but less clear. Choose lattice for low‑cost partial enclosures, screens or pergola‑style upgrades; choose glazing/walls for full, conditioned, year‑round space.
Will I need a permit to enclose my patio with lattice panels?
Often yes. Most U.S. jurisdictions require permits for enclosures that alter the building envelope, attach to the house or add roof/structural framing. Freestanding, non‑roofed screens may be exempt in some areas. Check your local building department (AHJ) before starting. If your project attaches to the house, adds a roof, changes load paths, or converts to conditioned space you should expect a permit and possibly plans or engineered details.
What structural checks should I do before attaching lattice to my house?
Inspect the attachment wall/ledger: verify the existing band/joist or rim board condition (no rot), locate studs/joists for fastening, and confirm siding/WRB condition. Follow code guidance for ledger attachments: use code‑specified lag bolts/structural screws (not nails) and install continuous flashing to prevent moisture intrusion. If you’ll add a roof or larger framed walls, check roof load paths and consult an engineer if in doubt or if spans exceed prescriptive limits.
What materials and tools will I need for a typical lattice patio enclosure?
Materials (typical): lattice panels (common 4×8, or 2×8/3×6 sizes) in wood, vinyl or composite; 2×4/2×6 framing lumber for rails and posts (pressure‑treated if ground contact); post anchors or concrete footings for freestanding posts; exterior screws and/or coated lag bolts; galvanized or stainless fasteners; exterior framing lumber for panel frames (1×4 or 2×2 trim); self‑adhered flashing or metal flashing for ledger ties; housewrap/WRB repair materials; exterior caulk and sealant; insect screening or spline/screen frame if needed; paint or stain and primer; trim, post caps and planters as desired. Tools: circular saw/jigsaw, drill/driver, impact driver, level and plumb, tape measure, framing square, posthole digger or auger (if footings), hammer, utility knife, caulk gun, ladder, clamps, impact wrench/socket set for lag bolts, safety gear (glasses, gloves).
How much will a DIY lattice enclosure cost and how long will it take?
Ballpark costs vary by material and size. A small patio (10×10) lattice enclosure with pressure‑treated wood framing and wood lattice panels can run a few hundred to a few thousand dollars (materials only). Upgrading to vinyl lattice, screening, and a lightweight polycarbonate roof increases costs to low thousands. Adding framed roofing or engineered attachment escalates costs further. Time: a small enclosure can be built over a weekend by two people for a basic framed lattice screen; attaching a roof or building to code with footings and inspections commonly requires several days to a few weekends (including curing/inspection times). Get local material prices and estimate labor—larger, attached, or roofed projects take longer.
What are common off‑the‑shelf lattice sizes and materials?
Common panels are 4 ft × 8 ft; smaller sizes such as 2×8 and 3×6 exist. Materials include wood (redwood, cedar, pressure‑treated pine), vinyl, and polypropylene/composite. Typical wood lattice thickness is about 1/2 in. Choose wood for a traditional look and stain/paint options; vinyl for low maintenance and rot resistance; composite for durability and consistent finish.
Next Articles
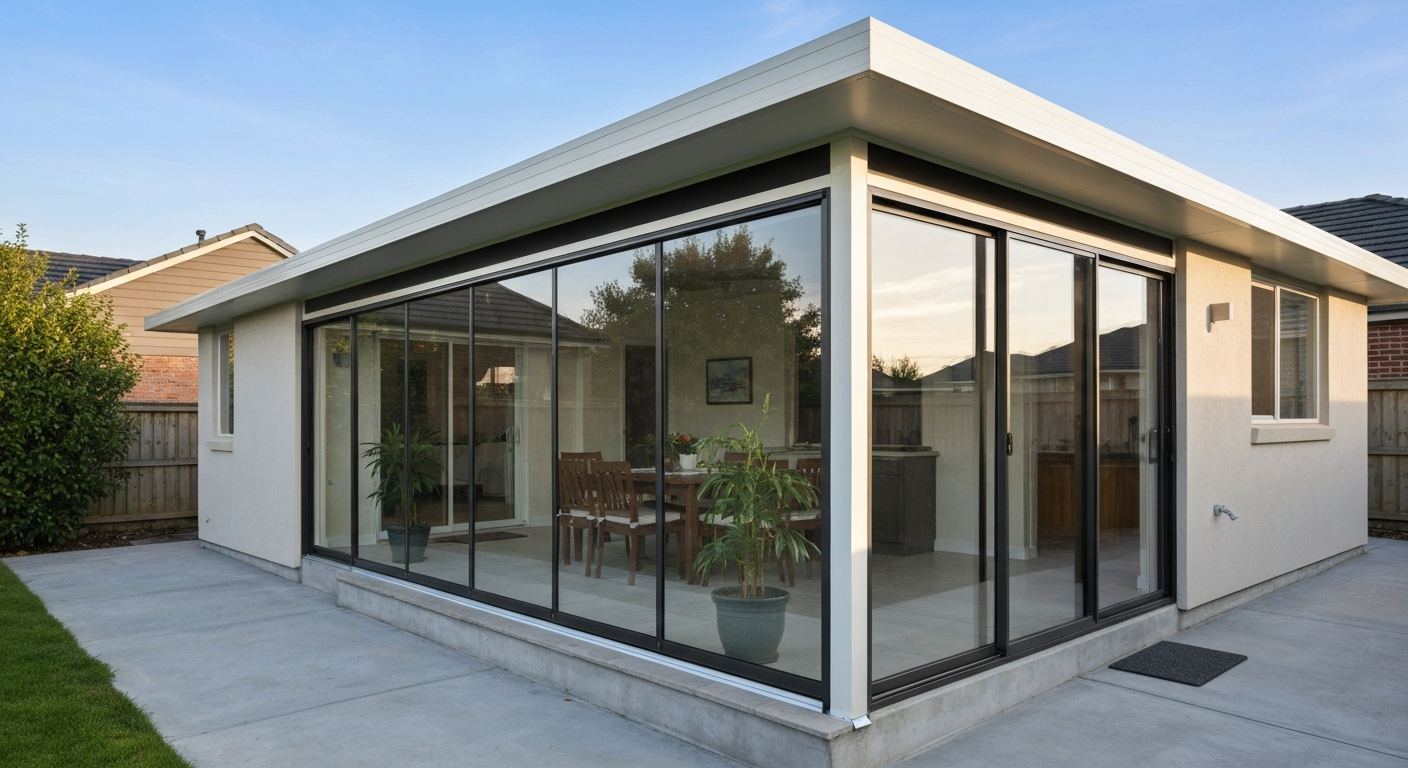
How to Enclose a Patio with Glass: DIY Year-Round Guide
How to enclose a patio with glass: DIY step-by-step guide to a weatherproof outdoor room, tools, costs, permits
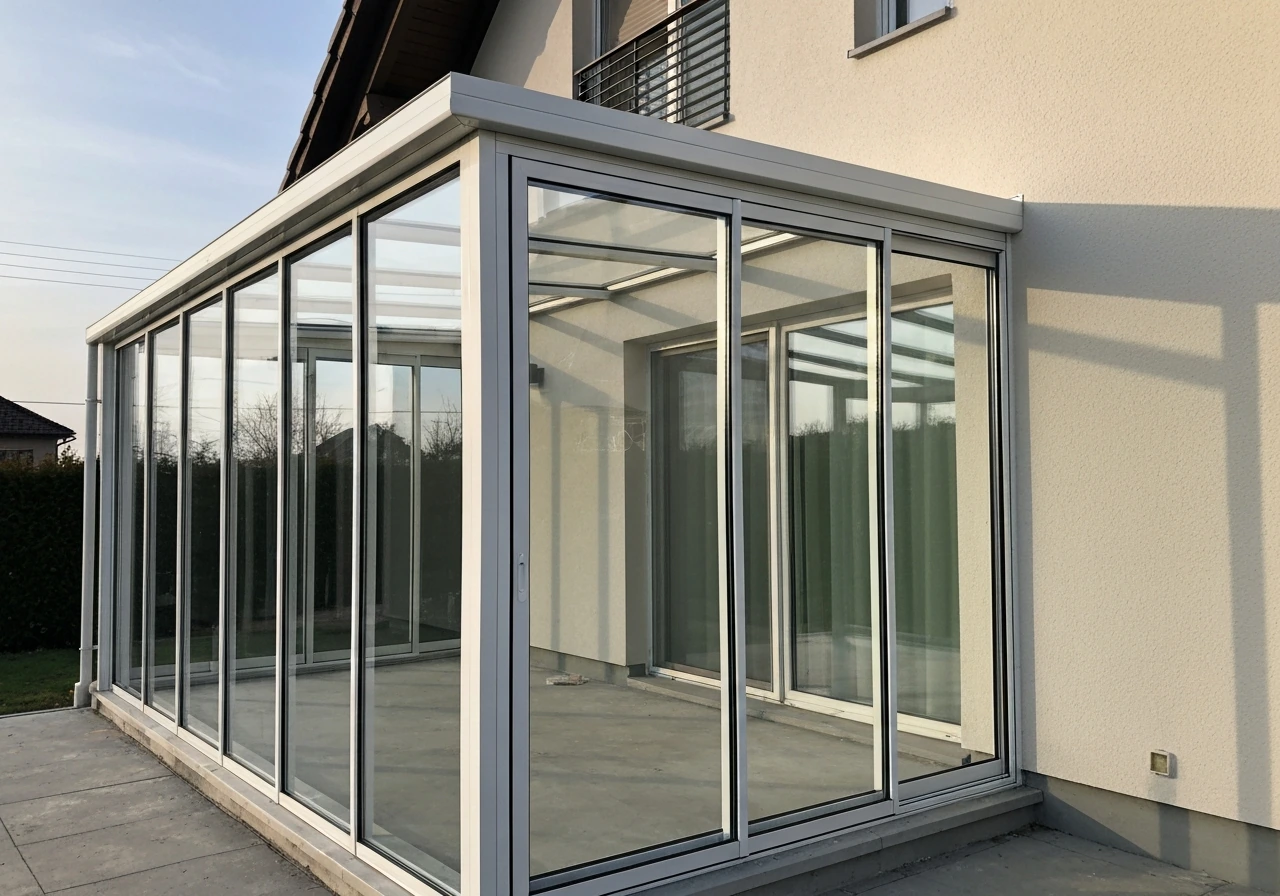
How to Build a Glass Patio Enclosure Step by Step
Step-by-step guide to build a glass patio enclosure: permits, measurements, frame, glass, sealing, ventilation, safety,
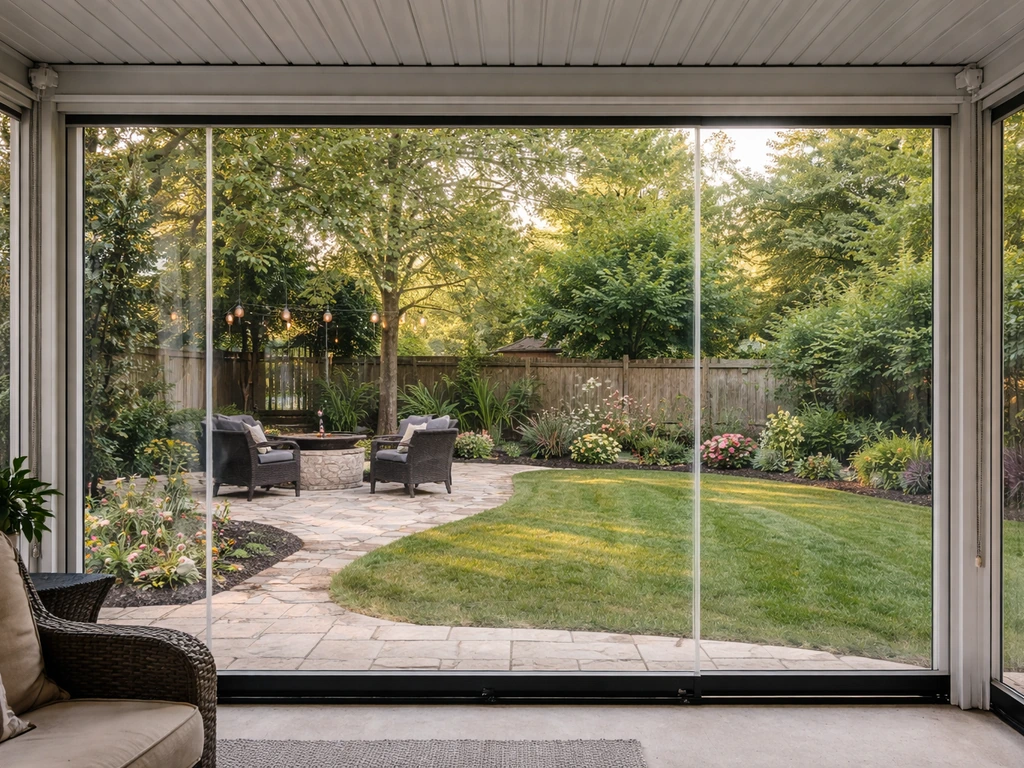
How to Enclose a Patio With Plastic: Step by Step DIY
Step-by-step DIY for enclosing a patio with plastic: measure, choose tracks or sheeting, anchor, seal, and prevent flapp