You can shade a patio with almost any budget and skill level. Umbrellas and shade sails go up in an afternoon. Retractable awnings and pergola kits take a weekend. Permanent roof additions take longer but last decades. The right pick depends on four things: where your sun comes from (west afternoon sun is the toughest to block), whether you rent or own, how much coverage you need, and how much you want to spend. Run through the quick questions below first, then jump to whichever solution fits.
What Can I Use for Shade on My Patio: Options

Felix Brennan
2 Jun 2026
Quick questions to pick the right shade type
Before you buy anything, answer these five questions. They'll narrow a big list down to two or three real options fast.
- Do you rent or own? Renters need non-permanent solutions (umbrellas, freestanding canopies, shade sails clipped to existing structures). Owners can bolt things to walls and pour footings.
- Where does the sun hit hardest — morning east, midday overhead, or afternoon west? West-facing patios need shade on the side, not just overhead, which rules out flat covers and favors angled sails or side curtains.
- How big is your patio? Measure length and width now. A 10x12 ft space can be covered by a large umbrella or single sail. Anything over 200 sq ft usually needs multiple sails, a canopy frame, or a structural solution.
- What's your budget? Under $100 gets you an umbrella or basic canopy. $200–$800 covers a shade sail setup or pop-up canopy. $1,000–$5,000 covers a retractable awning or pergola kit. $5,000+ opens the door to solid roof structures and full enclosures.
- Do you need rain and wind protection, or sun only? Fabric options block sun but not rain. Solid panels, attached roofs, and polycarbonate covers handle all three.
If you're dealing specifically with brutal late-afternoon west sun, that problem has its own nuances worth exploring in depth. For now, know that side-blocking solutions (curtains, vertical sails, lattice screens) beat overhead covers alone when the sun is low and coming in sideways.
Fastest fixes: temporary shade you can set up today
If you need shade this weekend without drilling a single hole, these are your options. They're also the best starting point if you're renting or just want to test what kind of coverage actually works for your space before committing money to something permanent.
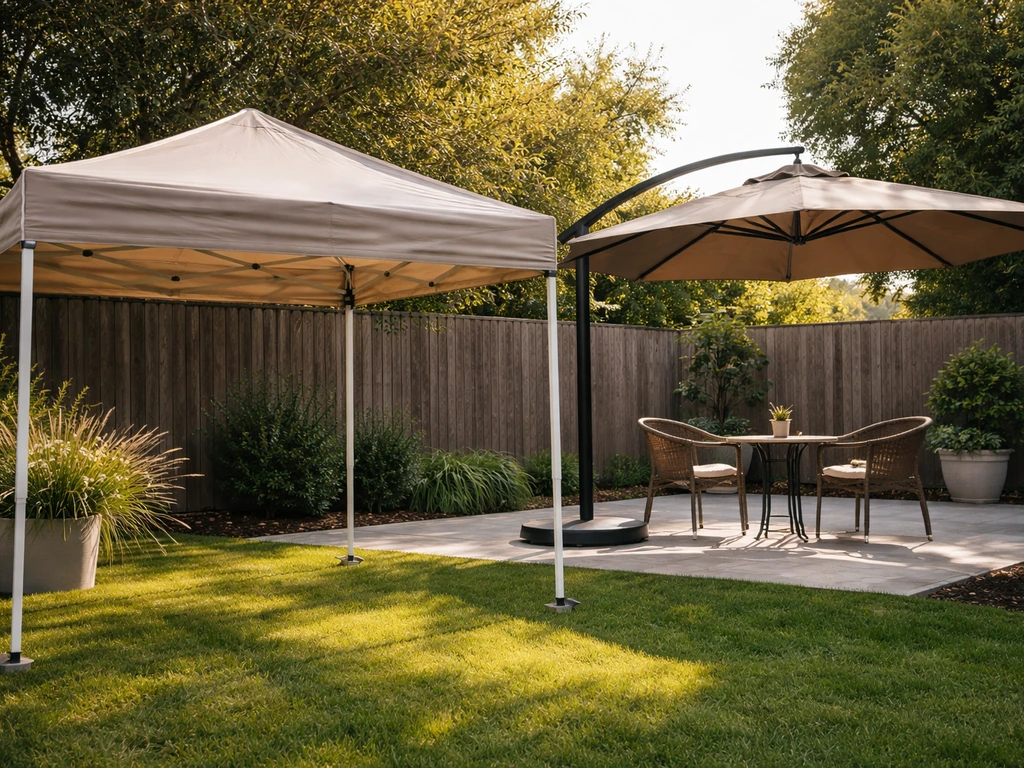
Patio umbrellas
A good offset (cantilever) umbrella in the 9–11 ft range covers a dining table or small seating area and costs between $80 and $400 depending on fabric quality and base weight. Standard center-pole umbrellas are cheaper but require a table with a center hole, which limits placement. Offset umbrellas sit off to the side on a weighted base and can tilt and rotate, making them genuinely useful for tracking sun angles through the day. Look for a base weighing at least 50 lbs or use a sandbag kit, an underweighted umbrella is a safety hazard in even moderate wind. Umbrellas are not rain solutions; they'll invert or tear in a storm, so bring them in when weather rolls in.
Pop-up canopy tents
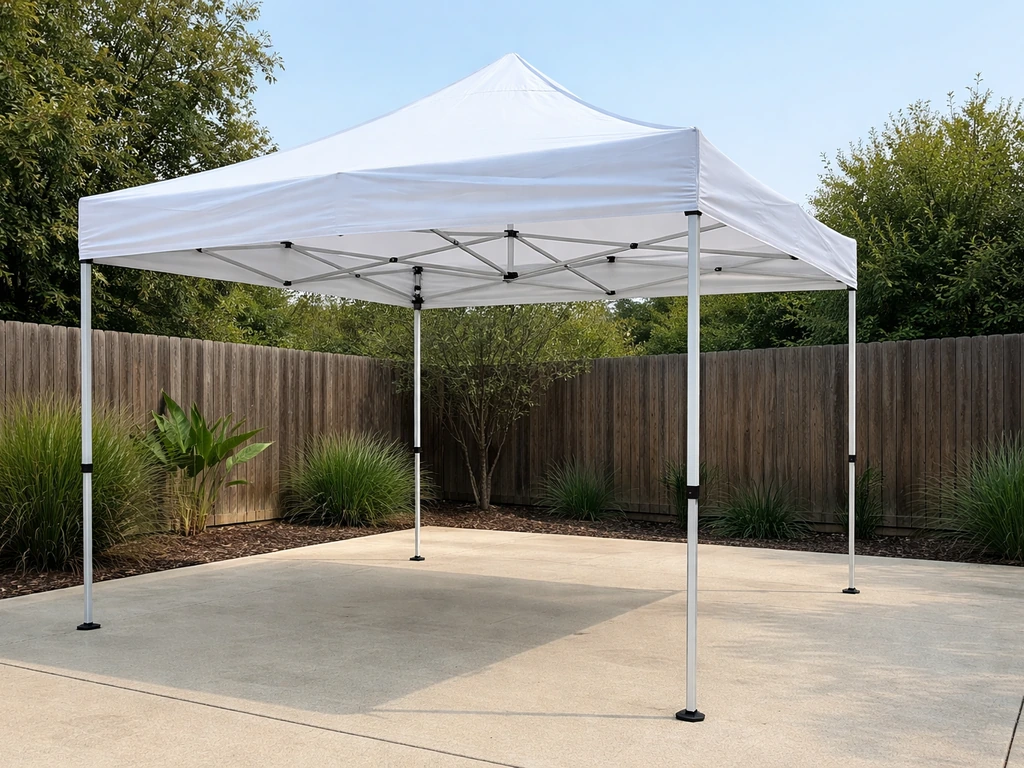
A 10x10 ft pop-up canopy (the folding-leg kind) costs $60 to $200 and sets up in under 10 minutes. They're great for events or occasional use but aren't designed to stay up permanently. The frame legs need to be staked or weighted at every corner, these become airborne in wind if left unsecured. Most pop-up canopies have a lifespan of one to three seasons with regular use before the fabric and frame start failing. They're a smart temporary fix while you plan something better, not a long-term solution.
Outdoor curtain panels
For renters or anyone who can't touch walls, clip-on curtain rods that hook over an existing fence, railing, or pergola beam let you hang outdoor fabric panels without any hardware. These block low west sun surprisingly well when hung on the sun-facing side. UV-resistant outdoor curtain panels run $30 to $80 per panel. They won't survive heavy rain well (water pools and fabric mildews if not dried out), but for afternoon sun blocking they're hard to beat for zero-install effort.
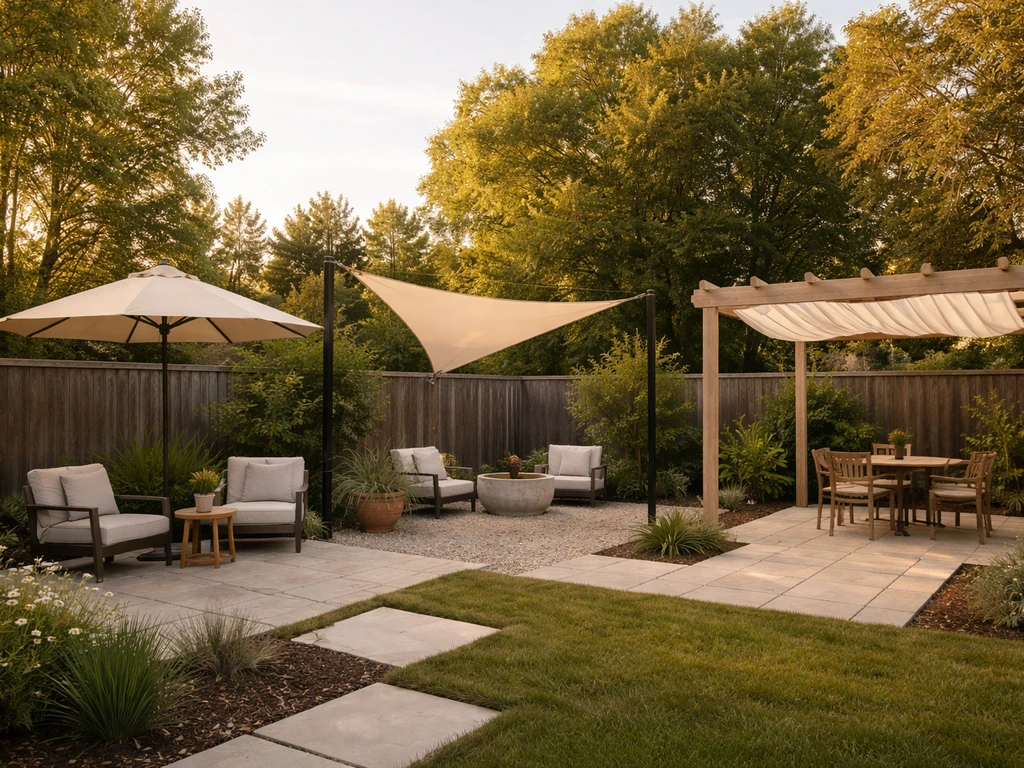
Freestanding and semi-permanent shade (sails, frames, and canopies)
This is the sweet spot for most DIYers. These solutions take a few hours to a full day to install, look intentional rather than temporary, and don't require you to touch your house's siding or structure.
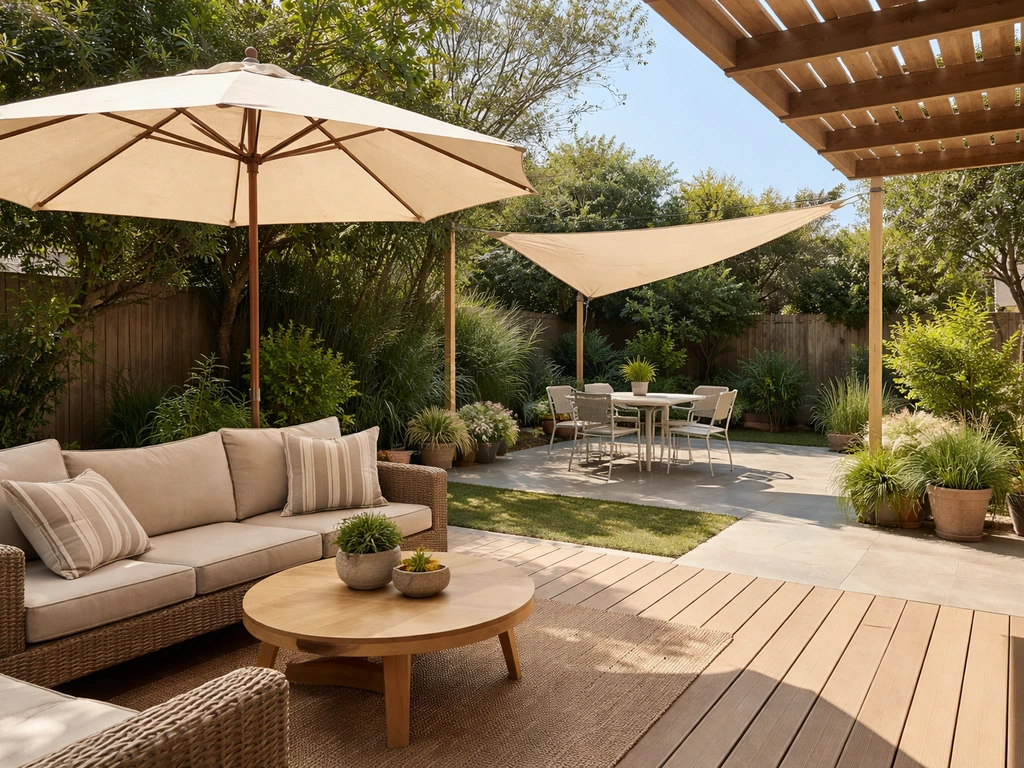
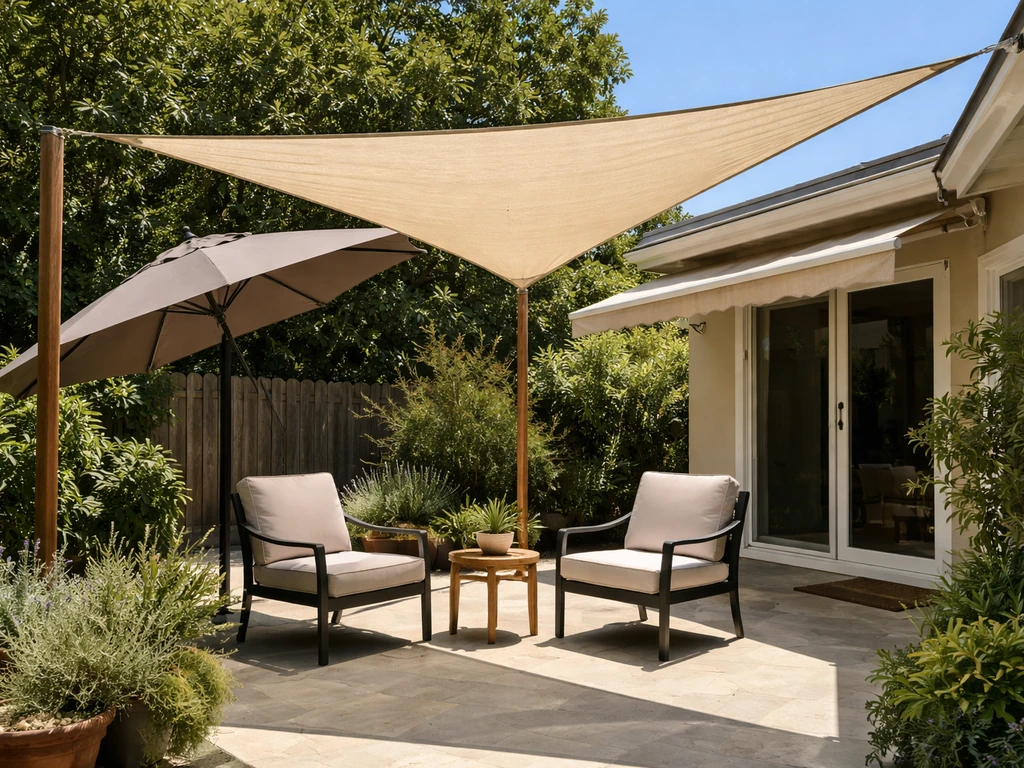
Shade sails
Shade sails are triangular or rectangular fabric panels tensioned between anchor points. A single 12x12 ft triangle covers roughly 70 sq ft of actual shade area and costs $40 to $200 depending on fabric density (look for HDPE fabric with 90%+ UV block rating). They look clean and modern, install without a frame, and can be overlapped for larger coverage. The critical rule: never install a shade sail flat. Each sail needs a noticeable downward pitch, at least 20 to 30 degrees at one corner, so rainwater runs off instead of pooling in the center. A flat sail will sag under water weight and eventually fail at the seams or attachment points.
Each attachment point on a shade sail handles significant tension load. A good rule of thumb is to design each anchor to handle about 100 lbs of pre-tension load, and that load increases significantly when wind or water weight is added. Shade Sails LLC’s Helpful Hints recommends designing each shade sail attachment point to handle about 100 lbs of pre-tension load and urges checking the strength of existing anchor structures before installation. Before you attach a sail to a fence post, deck railing, or wall bracket, honestly assess whether that structure can take it. Flimsy fence posts, rotted wood, and hollow-wall anchors are common failure points. For dedicated poles, use 4-inch steel or heavy wood posts set at least 24 inches deep in concrete.
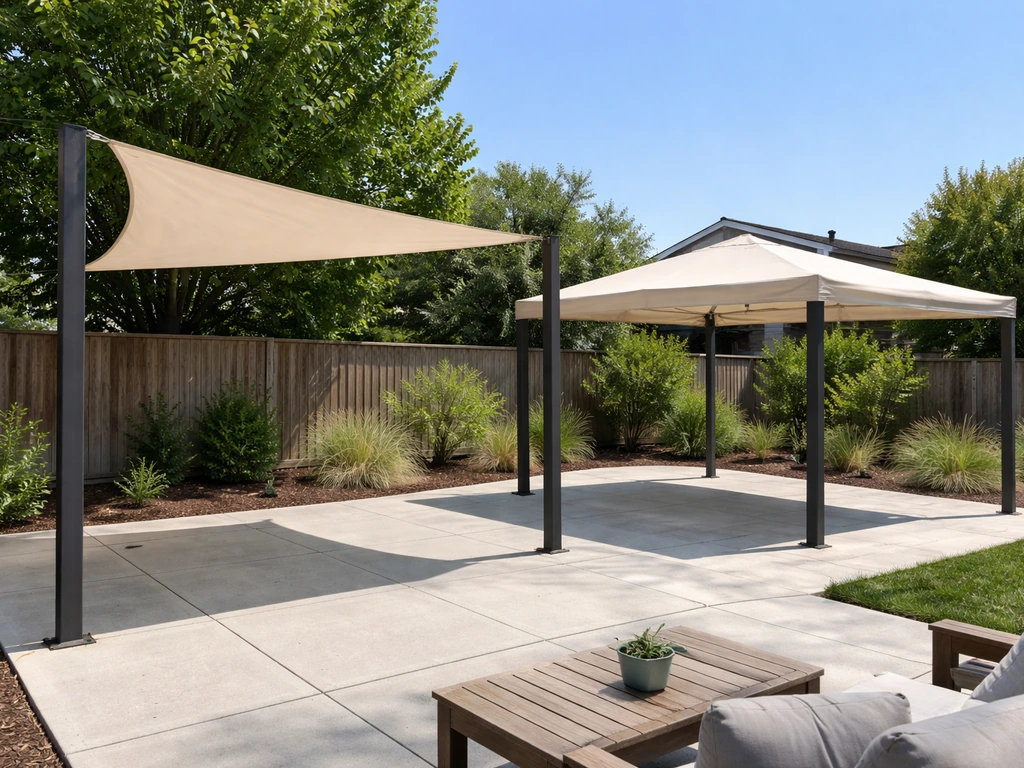
Freestanding pergola kits and canopy frames
Freestanding pergola kits made of aluminum or pressure-treated wood start around $300 for a basic 10x10 structure and go up to $2,000 for larger powder-coated aluminum kits with louvered or fabric canopy tops. These stand on their own four posts (either anchored into concrete footings or weighted base plates) and don't attach to the house at all, which makes them renter-friendly with landlord permission or perfect for free-floating placement in the middle of a patio. Most come with fabric canopy panels or shade cloth that can be swapped out seasonally. Assembly time is typically 4 to 8 hours for two people.
Attached shade solutions (awnings, covers, and wall-mounted options)
If you own your home and want a more integrated look, attaching shade directly to the house creates a cleaner result and usually provides better coverage angle. This requires mounting hardware into your exterior wall, so you need to locate studs or use appropriate masonry anchors depending on your wall type.
Retractable awnings
A motorized or manual retractable awning is one of the most practical permanent shade upgrades you can make. They mount to a ledger board on the house wall, extend 8 to 14 feet out over the patio, and retract completely when you don't need them or when wind picks up. Manual versions cost $500 to $1,500. Motorized versions with wind sensors run $1,500 to $4,000 installed. The fabric (usually acrylic canvas) lasts 10 to 15 years with basic care. Mount the header into wall studs or into solid masonry using wedge anchors, never into just siding or sheathing. For wood-framed houses, you'll want lag screws into studs at 16-inch spacing. The projection angle matters: a 45-degree pitch shades an area equal to about 70% of the awning's projection length, so a 12-foot extension shades roughly 8 feet of patio depth.
Wall-mounted shade sails and brackets
You can mount one or two anchor points of a shade sail directly to the house wall using heavy-duty D-ring or eye-bolt hardware, then run the other corners to freestanding posts. This hybrid approach saves money on posts and often creates better geometry for blocking low-angle sun. Use stainless steel hardware rated for outdoor use, and again, make sure wall anchors go into structural framing or use appropriate masonry anchors, not just into drywall or vinyl siding.
Exterior curtains on a rod or cable system
For side-sun blocking (especially west afternoon sun), a cable-and-grommet curtain system mounted between two posts or between a post and the house wall is one of the cheapest effective solutions at $100 to $300 total. Use a stainless steel wire rope threaded through grommets in outdoor fabric panels, tensioned with turnbuckles at each end. The panels slide open and closed as needed. This works well as a complement to an overhead cover rather than a standalone solution.
Permanent shade structures (pergolas, solid roofs, and material choices)
When you want something that lasts decades and significantly expands the usability of your patio, a permanent structure is the right direction. These require more planning, possibly a permit, and real construction work, but the payoff in comfort and home value is substantial.
Open pergolas with shade cloth or slats
A traditionally built or kit pergola with open rafters blocks partial sun (roughly 50% depending on rafter spacing) and creates the classic filtered-light look. Adding shade cloth to the top takes coverage up to 70 to 90%. Pressure-treated wood pergolas cost $1,500 to $5,000 in materials for a 12x16 structure depending on lumber prices. Cedar and redwood are naturally rot-resistant options that look better but cost more. Aluminum pergola kits in the same size run $2,000 to $6,000 and require virtually no maintenance. Most pergolas over 200 sq ft or attached to the house require a permit in most municipalities, so check with your local building department before you start.
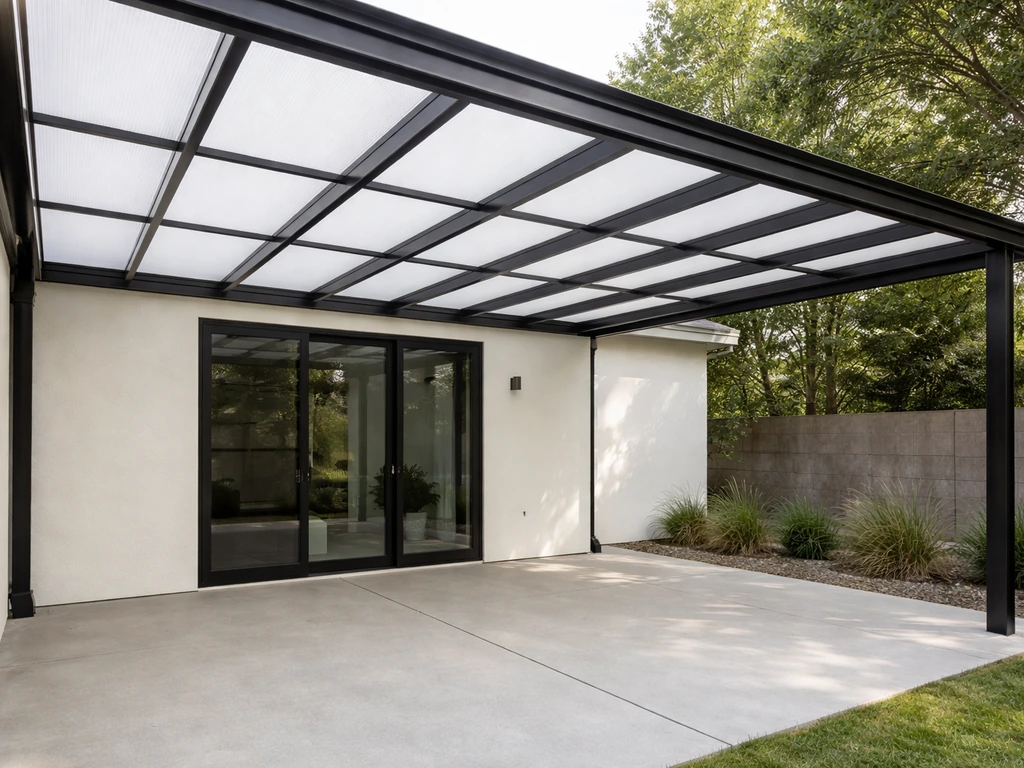
Solid roof panels and patio covers
For full rain and sun protection, solid panel patio covers are the answer. The main material choices are polycarbonate (translucent, allows diffused light, $3 to $8 per sq ft for panels), corrugated metal roofing ($2 to $5 per sq ft), insulated aluminum panels (the premium option at $15 to $30 per sq ft installed), and wood-framed shingle roofs (matches the house but costs $8,000 to $20,000+ for a full attached structure). Polycarbonate twin-wall panels are popular for DIYers because they're lightweight and easy to cut with standard tools. They do yellow over time (expect 10 to 15 years before significant discoloration on budget panels). Insulated aluminum patio cover kits are the most durable DIY-friendly solid option and come in snap-together systems designed for homeowner installation.
Permits and structural attachment
Any structure attached to the house that adds a roof is almost certainly going to need a permit in most jurisdictions. Freestanding structures under a certain square footage (often 200 sq ft) are sometimes exempt, but rules vary widely. HOA communities add another layer of approval. The permitting process for a basic patio cover typically takes 2 to 6 weeks and costs $100 to $400 in fees. It's worth it: unpermitted structures can create problems when selling, and insurance may not cover damage to unpermitted additions. For attached structures, the ledger board connection to the house is the most critical structural point and usually what inspectors focus on, it needs to be flashed properly to prevent water intrusion.
Landscaping, trellises, and vine shading
Plants are the most beautiful long-term shade solution and the slowest. But if you're thinking 3 to 5 years ahead, strategic planting can transform a patio completely. A fast-growing deciduous tree planted 10 to 15 feet west of a patio can provide meaningful afternoon shade within 3 years and full canopy coverage in 5 to 7. Deciduous trees also have the bonus of dropping leaves in winter, letting in winter sun when you actually want it. Good options for fast shade include Red Maple, Tulip Poplar, and Zelkova (hardiness zones 4–8), or Crape Myrtle and Chinese Pistache for warmer climates.
Trellises and climbing vines work differently, they create a living shade wall or overhead canopy on a structure you build first. A basic wood or metal trellis panel costs $30 to $150. Wisteria, Virginia Creeper, and Trumpet Vine are aggressive growers that provide dense shade within two seasons. Hops vines are fast (up to 20 feet in a season) and create great patio shade. Be aware that woody vines like wisteria can exert significant force on lightweight structures over time, build the trellis sturdy, with 4x4 posts and heavy galvanized hardware, if you're going the vine route.
A pergola-plus-vine combination is one of the best patio shade strategies around: the pergola gives you immediate partial shade while the vines fill in over two or three seasons to create a full, natural canopy. It works especially well if you're not ready to add a solid roof but want something more than fabric.
Installation basics, safety, and how options compare
Before installing anything, measure your patio and mark where the sun actually hits at the worst time of day (usually 2–5 PM for west-facing patios). That tells you whether you need overhead coverage, side blocking, or both. A quick shadow check at noon versus 3 PM shows you how much the sun angle changes and whether a simple overhead solution will cut it.
For any hardware going into an exterior wall, identify your wall type first. Wood-framed walls: use lag screws (3/8 inch diameter minimum) driven into studs. Brick or concrete block: use wedge anchors or sleeve anchors rated for the load. Stucco over foam: you need to get through to the framing, stucco alone won't hold tension loads. Vinyl siding: you generally need to remove a section of siding to hit the sheathing and framing beneath it.
| Option | Approx. Cost | DIY Difficulty | Sun Block | Rain Protection | Lifespan | Renter-Friendly |
|---|---|---|---|---|---|---|
| Patio umbrella | $80–$400 | Easy | Good (localized) | No | 3–7 years | Yes |
| Pop-up canopy | $60–$200 | Easy | Good | Light only | 1–3 seasons | Yes |
| Shade sail | $40–$400 + hardware | Moderate | Good–Excellent | No (sloped only) | 5–10 years | With permission |
| Freestanding pergola kit | $300–$2,000 | Moderate | Partial–Good | With canopy top | 10–20 years | With permission |
| Retractable awning | $500–$4,000 | Moderate–Hard | Excellent | Yes | 10–15 years | No (owner only) |
| Solid panel patio cover | $1,500–$8,000+ | Hard | Excellent | Yes | 20–30 years | No (owner only) |
| Wood/aluminum pergola (built) | $1,500–$6,000 | Hard | Partial | With additions | 15–30 years | No (owner only) |
| Trellis + vines | $100–$500 + time | Easy–Moderate | Good (after 2–3 yrs) | Partial | Indefinite | With permission |
| Tree planting | $50–$400 per tree | Easy | Excellent (after 5 yrs) | Partial | Indefinite | With permission |
A simple decision framework
If you need shade this week and can't modify the space, get an offset umbrella or shade sail hung from existing structures. If you want something solid that lasts but don't need a full roof, a freestanding pergola kit with shade cloth is the best DIY middle ground, it looks permanent, doesn't require permits in most cases under 200 sq ft, and can be taken down if you move. If you want maximum comfort including rain coverage and are ready to commit, a retractable awning (for flexibility) or insulated panel patio cover (for permanence) is the upgrade worth doing right. And if you're playing a long game and love the idea of a living canopy, start a pergola-and-vine project now so it matures in a few years.
One last thing worth planning before you buy: check your HOA rules and local permit requirements for anything structural. A quick call or online search for your city's building department can save you a lot of headaches. Most temporary setups (umbrellas, canopies, curtains) fly under the radar. Anything with posts in the ground or bolted to the house is worth a 10-minute check first.
FAQ
What can I use for shade on my patio if I live in a windy area?
Prioritize shade that can handle lateral loads. Offset umbrellas should be either weighted to at least the base’s rated limit or brought in before gusts, shade sails require proper downward pitch and very solid anchors, and pop-up canopies must be staked or fully weighted at every leg. If wind is frequent, consider a retractable awning with wind sensors, or a freestanding pergola that stays put year-round.
My patio faces west, what’s the best type of shade to block low afternoon sun?
Overhead shade alone often leaves side glare when the sun is low. Use side-blocking approaches like outdoor curtains on a tensioned wire system, vertical sails, or lattice screens positioned on the sun-facing side. A hybrid setup, one shade sail corner angled to block sideways light plus a small overhead cover, usually performs better than a single overhead solution.
Can I use a shade sail for both sun and rain?
You’ll get sun reduction, and rain will shed if the sail has a noticeable downward pitch, but it is not the same as a roof. Expect some water to run along the fabric and collect at attachment areas, and plan for faster wear if it gets heavy storms. For real rain protection, use polycarbonate or insulated patio cover panels instead.
How do I choose the right shade sail fabric for UV and durability?
Look for HDPE shade sail fabric with a stated 90%+ UV block rating if sun reduction is your main goal. For longevity, consider higher fabric density and thicker edge stitching, and treat the sail as an outdoor system with proper tensioning. If you’re ordering online, confirm the sail’s installed size versus its nominal dimensions, because the geometry affects actual coverage.
What’s the safest way to anchor an umbrella or canopy on my patio surface?
Umbrellas rely on base weight and correct surface contact. Use a base weight appropriate for the umbrella size (and sandbag kits if the base is light), and avoid placing the umbrella in a spot where the pole can tip toward open edges. For pop-up canopies, do not trust corner weights alone, stake or add dedicated weights at every corner because frames can lift and twist in wind.
If I rent, what can I use for patio shade without drilling into anything?
Choose systems that clip or stand. Clip-on curtain rods that hook over a fence or railing let you hang outdoor panels without wall drilling, and offset umbrellas can be positioned to follow the sun. Freestanding pergola kits can work if your landlord approves placement, but avoid anything requiring permanent footings or wall attachment.
What’s a realistic timeline for shade sails, pergola kits, and awnings?
Shade sails are usually a quick install, but planning anchor locations and getting correct pitch can take time. Pergola kits typically take a weekend for two people, longer if concrete footings are needed. Retractable awnings are often quicker to install but require precise mounting, locating studs or suitable masonry anchoring, and sometimes scheduling to coordinate parts and wall prep.
Will climbing vines or wisteria damage my patio structure?
Some vines exert significant force as they mature, especially heavy woody species. Build a trellis that can take tension and leverage, use large posts and heavy outdoor hardware, and assume the plant will increase wind loading once it grows dense. If you’re using a lightweight pergola, plan for reinforcement before planting.
How do I decide between a pergola with shade cloth and a solid patio cover?
Use a pergola with shade cloth if your goal is comfort from sun with partial coverage, filtered light, and lower cost or simpler permitting. Choose insulated panel patio covers if you want consistent rain protection and stronger temperature reduction. If you frequently host during storms, prioritize a solid cover rather than expecting cloth or rafters to manage heavy rain.
Do I need a permit for patio shade options that don’t add a full roof?
Often, yes if it involves structural attachments, posts in the ground, or bolting to the house, because permits are triggered by anchoring and roof-like additions. Freestanding structures below a local square-foot threshold may be exempt, but rules vary by city and HOA. Anything mounted to the exterior wall or anchored into concrete is worth checking before you buy.
What hardware should I use when attaching shade to a wall?
Match hardware to the wall type. Use lag screws into studs for wood framing, wedge or sleeve anchors rated for the load into masonry, and do not rely on siding or sheathing for tension loads. For stucco over foam, you generally must anchor through the exterior layer to framing, otherwise the attachment can fail.
How can I estimate coverage before buying anything?
Do a worst-day shadow check at the time that hurts most (commonly 2 to 5 PM for west-facing patios). Mark where sunlight hits and compare it to the intended coverage footprint of each option, overhead covers block roughly based on pitch and extension, and side-blocking systems depend on which direction the sun comes from. This prevents buying a solution that looks right but misses the actual glare zone.
Next Articles
How to Shade Patio From Sun: DIY Options and Installation
Step-by-step DIY guide to shade a patio from sun with umbrellas, sails, pergolas, awnings, and installs, measurements, a
How to Shade a Patio: Best DIY Options and Steps
Step-by-step DIY guide to shade a patio with sails, awnings, umbrellas, pergolas, and secure anchoring for lasting cover

How to Decorate a Long Narrow Patio: Layout Tips
Practical DIY layout and decor tips to widen a long narrow patio using zoning, furniture spacing, lighting, greenery, an