
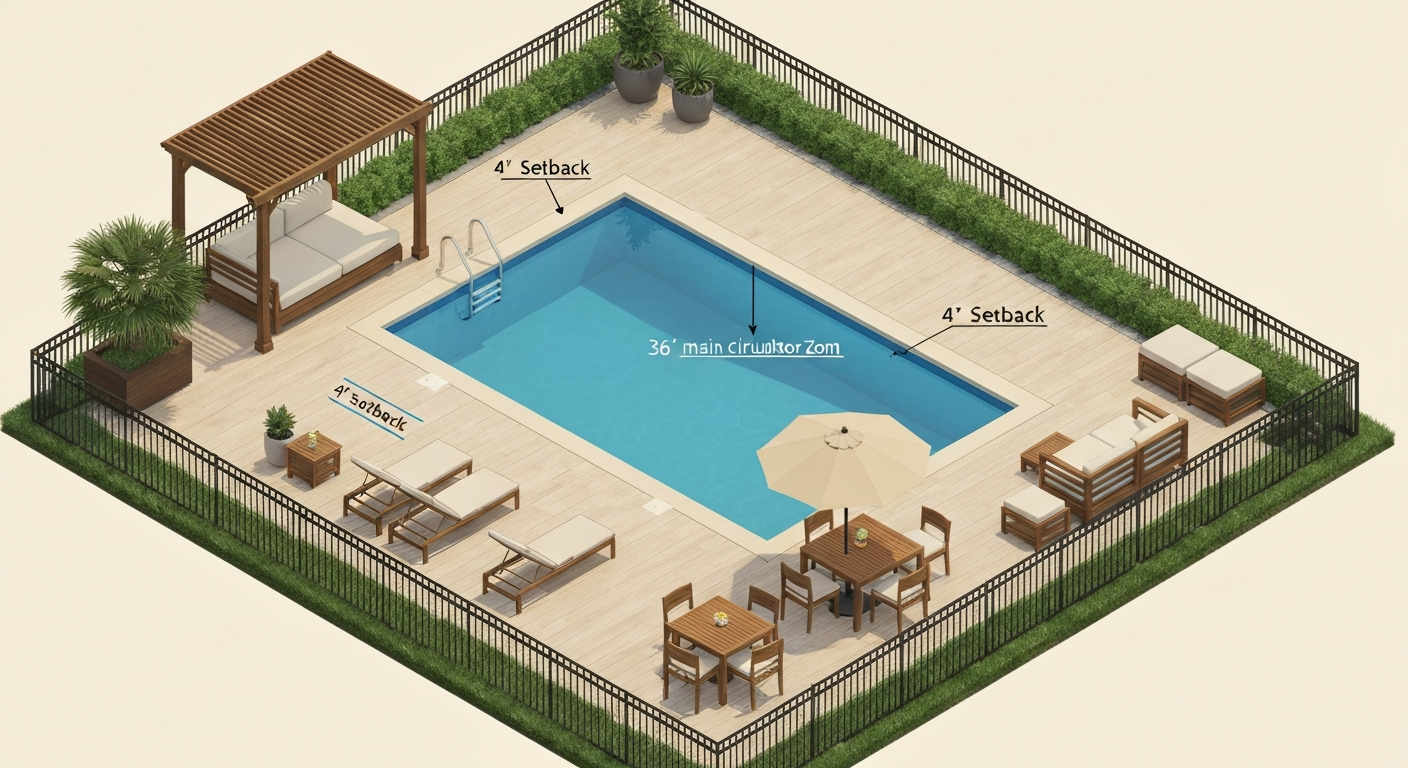
Arranging patio furniture around a pool comes down to three things: keeping a clear 36-inch circulation path at all times, placing loungers and dining sets outside the 4-foot deck zone closest to the water, and making sure nothing near the pool fence is climbable by a child. Get those three rules right first, then layer in comfort zones for sunbathing, dining, and shade, and you'll end up with a poolside layout that's both safe and genuinely enjoyable to use every day.
How to Arrange Patio Furniture Around a Pool: Step-by-Step Guide

Felix Brennan
15 Jul 2026
Who this guide is for and what you'll walk away with
Whether you're working with a narrow strip of concrete around a small above-ground pool or a generous deck surrounding a full inground setup, this guide gives you a repeatable system. We'll go from blank deck to finished layout: measuring your space, sketching use zones, applying clearance rules, choosing the right furniture for wet environments, and running through a safety and anchoring checklist before anything gets moved in. By the end, you'll have a plan you can execute in a weekend, with material and spacing numbers you can take straight to the hardware store or furniture retailer.
Quick planning checklist: decisions to make before you move a single chair
Rushing into layout decisions without a clear picture of your goals is the fastest way to end up rearranging everything three times. Run through this checklist first and you'll save yourself the frustration.
- Goals: Are you prioritizing sunbathing, outdoor dining, entertaining guests, or a quiet reading corner? Rank them — your top use case gets the prime real estate.
- Users: How many adults use the pool regularly? Do you have young children or pets? Child presence immediately changes safety zone priorities and furniture placement near barriers.
- Climate: How much direct sun does the deck get and from which direction? Strong afternoon sun shifts where you'll want shade structures. High-humidity or coastal climates demand specific material choices (more on that in the furniture section).
- Screening and enclosure: Is your pool enclosed in a screen room or open to the yard? A screened pool enclosure changes wind exposure, UV load, and how you anchor shade products. If you're considering a screen enclosure as your next project, that decision affects the furniture footprint you plan for today.
- Local codes: Pull your municipality's pool barrier ordinance. Many adopt the International Swimming Pool and Spa Code (ISPSC) or a local variant that dictates fence height, gate behavior, and deck zone clearances.
- Budget range: Decide before shopping whether you're equipping the space in one pass or phasing it over a season or two.
- DIY vs. buy: Decide upfront which pieces you'll build (a daybed or sectional) and which you'll purchase. Building gives you custom sizes that fit tight decks, but it adds weekend time.
Measuring the poolside area: get the numbers before you get the furniture
I've learned to do this step twice, once quickly, once carefully. The first pass gives you a rough sense of scale. The second pass, with a tape measure and a notepad, gives you the numbers that actually matter.
Tools you need
- 25-foot tape measure (50-foot for large decks)
- Graph paper or a free room-planning app on your phone (1 square = 1 foot works well)
- Marking chalk or painter's tape for testing furniture footprints on the deck surface
- Camera or phone to photograph the space from multiple angles
- Compass app to record which direction each side of the deck faces
What to measure and record
- Overall deck perimeter: measure each straight run of deck and note any irregular shapes, steps, or bump-outs.
- Pool edge to deck edge on every side: this tells you how much usable deck you have on each side and where the 4-foot deck zone falls.
- Obstacle locations: note gates, doors, equipment pads (pump, filter, heater), outdoor showers, steps into the pool, handrails, and any existing fixed posts.
- Sun path: note which sides get morning sun, midday sun, and afternoon shade. A compass app reading takes 30 seconds and prevents you from placing a dining area in brutal west-afternoon exposure.
- Drainage slope: run your hand across the deck surface away from the pool. Most properly built decks slope 1/4 inch per foot away from the water (MAHC minimum for moderately textured surfaces). Low spots where water collects are slip hazards and future maintenance headaches — note them.
- Fence and gate positions: measure gate swing radius; you'll need to keep that arc completely clear of furniture.
- Overhead obstructions: note any existing overhead structures, tree branches, or roof overhangs that limit umbrella or shade sail placement.
Transfer everything onto your graph paper sketch. Use a 1-inch = 1-foot scale for decks under 400 square feet, or 1 inch = 2 feet for larger spaces. Cut out scaled paper rectangles representing each furniture piece and move them around on your sketch before touching anything on the actual deck.
Defining use zones: sunbathing, dining, entertaining, shade, and storage
Think of your pool deck the same way you'd think about rooms in a house. Each zone has a function, and functions that conflict with each other need separation. Wet feet running from the pool to a dining table will knock over drinks and create slip hazards. Loungers placed in the shade defeat their purpose. Getting zones right is the difference between a layout that works and one that frustrates people every time they use it.
The five zones and where they belong
| Zone | Best location | Typical furniture | Notes |
|---|---|---|---|
| Sunbathing | Longest sunny run of deck, outside the 4-ft pool-edge zone | Chaise loungers, daybeds | Orient so the foot end faces the pool for easy access in/out of the water |
| Dining | Shaded side or under a pergola/umbrella; away from pool splash zone | Dining table and chairs, bar-height table | Needs 36-in clearance on all chair pull-out sides; avoid near gate swings |
| Entertaining/lounging | Larger open area; can connect to dining zone | Sectional, loveseat, accent chairs | Keep 36-in main path through this area; sectionals work well in corners |
| Shade/retreat | Naturally shaded side or under fixed shade structure | Daybed, hammock chair, side tables | Ideal for a screened or covered portion of the deck if one exists |
| Storage/utility | Near pool equipment or far corner | Deck box, storage bench, towel bar | Keep equipment access paths clear at all times; deck boxes double as extra seating |
For most households with children, the sunbathing zone gets priority placement because it keeps supervising adults facing the water. If you're more of an entertaining household, anchor the sectional in a corner spot where it has a clear sightline to the pool. You can only supervise what you can see.
Sample layouts for small, medium, and large decks
Small pool deck (under 300 sq ft): Keep it to two zones maximum. Two to four chaise loungers along the longest sunny side and a compact two-person bistro set in a corner cover most use cases. Skip the sectional entirely and use a storage bench to handle seating overflow and towel storage in one piece.
Medium pool deck (300 to 600 sq ft): You can comfortably fit three zones. Run four to six loungers along the sunny long side, place a four-person dining set under an umbrella on the shaded end, and tuck a two-seat loveseat or small sectional in a corner. Leave the fourth side as a clear circulation lane connecting the house door to the pool steps.
Large pool deck (over 600 sq ft): All five zones become feasible. For more detailed guidance on how to furnish a large patio, see our expanded planning checklist and layout examples. A pergola or shade sail over the dining zone anchors the layout. A six to eight piece sectional on the far entertaining end, four to six loungers on the main sunny side, and a dedicated shade/daybed corner round out the space. On a large deck, the storage and utility zone can be a full outdoor kitchen or a standalone deck box station near the equipment.
Spacing and measurement rules: the numbers that keep your layout functional
Eyeballing clearances around a pool is how people end up with furniture that blocks emergency access or creates ankle-catching gaps. Use these numbers as non-negotiables in your layout.
| Clearance type | Minimum dimension | Why it matters |
|---|---|---|
| Main circulation path (pool deck perimeter) | 36 inches | Matches ADA accessible route minimum; wide enough for two people to pass and for emergency responder access |
| Secondary walkways (between furniture clusters) | 18 to 24 inches | Acceptable for low-traffic pass-throughs; not for primary paths |
| Chair pull-out from dining table edge | 30 to 36 inches | Allows comfortable seating and standing without moving the chair into a path |
| Lounger to lounger side spacing | 24 inches minimum | Allows a person to walk between them without stepping on towels or bags |
| Furniture setback from pool edge (deck zone) | 4 feet minimum | MAHC-defined deck zone; keep this clear for safety, slip-risk reduction, and drainage function |
| Furniture setback from pool fence/barrier | Clear of any climbable position | CPSC/ISPSC: no furniture, planters, or objects that could allow a child to climb over the barrier |
| Gate swing arc | Fully clear on both sides | ISPSC gates must open away from pool and self-close; furniture must not obstruct the arc |
Chaise loungers typically run 60 to 80 inches long and 26 to 32 inches wide. When you're placing a pair side by side, plan on a footprint of roughly 5.5 to 7 feet in length and 5 to 6 feet wide for the pair including the 24-inch gap between them. Sketching these scaled rectangles on your plan before buying anything is the single most time-saving step in the whole process.
Safety considerations specific to pools
Pool decks are genuinely different from other patio spaces when it comes to safety. The combination of wet surfaces, active children, and a body of water means a few hazards deserve specific attention before you finalize any layout.
Child safety and barrier integrity
The U.S. Consumer Product Safety Commission recommends a four-foot minimum non-climbable fence completely surrounding the pool on all four sides, with self-closing, self-latching gates as a first layer of protection. The critical furniture rule here: never place a chair, table, planter, or storage box close enough to the fence that a child could use it as a step. The CPSC and the American Academy of Pediatrics both document cases where children climbed barriers using nearby objects. Treat the area within arm's reach of the fence as a permanent furniture-free zone.
Slip and trip hazards
Wet pool decks require flooring with a wet dynamic coefficient of friction (DCOF) of at least 0.42 for level surfaces, and ideally 0.55 or higher for open rain-exposed pool decks according to ANSI/TCNA A326.3 guidance. If you're choosing new deck tiles or pavers, look for those ratings. For existing surfaces, add non-slip mats at the pool steps and outdoor shower. Furniture legs should have rubber feet to prevent movement and reduce trip risk. Avoid furniture with thin crossbars or low-profile feet that create ankle-level obstacles.
Drainage clearance
Your deck's drainage slope (1/4 inch per foot minimum for textured surfaces) needs to remain unobstructed. The CDC Model Aquatic Health Code (MAHC), Facility Design & Construction (table: Minimum Slopes for Drainage) defines the pool "deck zone" and lists minimum drainage slopes by surface finish (smooth: 1/8 in/ft; moderately textured: 1/4 in/ft) Model Aquatic Health Code (MAHC) — Facility Design & Construction (table: Minimum Slopes for Drainage). Heavy furniture, rubber mats, and area rugs can dam water flow and create puddles. Check that the drainage path from the pool edge to the deck drain or yard stays clear after furniture is in place. If a piece of furniture sits in a low spot, water will pool under it, accelerating frame corrosion and creating a slippery zone.
Emergency access
Keep a continuous 36-inch clear path from the pool gate to the pool steps, and a second route from the house door to the pool. Emergency responders and supervising adults need to reach the water immediately. Test your layout by physically walking the routes before finalizing placement.
A note on local codes
Most U.S. municipalities have adopted some version of the ISPSC or a state-specific pool code. Gate requirements under ISPSC include self-closing, self-latching mechanisms, with the latch on the pool side of the gate and specific release height requirements when the latch is located less than 54 inches above grade. The 2018 International Swimming Pool and Spa Code, Chapter 3 (ICC/ISPSC) requires pedestrian gates to open away from the pool, be self‑closing and self‑latching, and specifies latch release and opening‑clearance constraints, including special requirements when the latch is located less than 54 inches above grade 2018 International Swimming Pool and Spa Code — Chapter 3 (ICC/ISPSC). Before you permanently anchor any furniture or shade structure near the barrier, confirm your local requirements with your building department. Violations can affect your homeowner's insurance and create liability issues.
Safety and anchoring checklist: before anything goes in permanently
Run through this list once before you finalize placement and again before the first full season of use. Print it out and check items off physically, it takes ten minutes and can prevent a real emergency.
- Pool barrier check: confirm the fence completely surrounds the pool on all four sides with no gaps wider than 4 inches and that the gate is self-closing and self-latching.
- Climbable object audit: walk the outside of the fence perimeter and confirm no furniture, planter, storage box, or decorative item sits within reachable climbing distance of the fence.
- Gate arc clear: open the gate through its full swing — nothing should be within that arc.
- 36-inch paths confirmed: walk the main circulation path around the entire pool edge carrying a 36-inch wide object (a pool noodle works); it should pass without obstruction.
- 4-foot deck zone clear: verify no furniture sits within 4 feet of the pool edge.
- Umbrella anchoring: freestanding umbrella bases must weigh a minimum of what the manufacturer specifies for your local wind conditions — in exposed areas this commonly means 50+ lbs. For permanent installs, through-bolt the base to a concrete footing using Type 316 stainless fasteners per Simpson Strong-Tie or equivalent anchor guidelines.
- Shade sail anchoring: shade sails must be attached to engineered anchor points that meet your local ASCE 7 wind speed requirements. Never use deck railings or fence posts as attachment points unless they are structurally rated for tension loads.
- Fixed furniture anchoring: if you're bolting a sectional base, pergola, or shade structure to a concrete deck, use Type 316 stainless anchors rated for exterior/wet environments. Expansion anchors and through-bolts are both acceptable — confirm the concrete thickness is sufficient for the anchor length specified.
- Pool-fence and screen-enclosure integration: if your pool is inside a screen enclosure, verify that furniture placement does not prevent the screen door from opening fully or block egress from the enclosure.
- Emergency access route walk-through: physically walk from the house door to the pool steps and from the pool gate to the steps without detours. Both routes must be clear.
- Rubber feet and anti-slip pads: confirm all furniture legs have rubber or non-slip caps. Check that umbrella and shade structure poles have secure base covers with no exposed sharp edges at foot level.
- Cord and hose management: outdoor lighting cords, pump hoses, and extension cords must be secured and run along the deck perimeter — never across a travel path.
Choosing furniture by zone: what actually works in a wet environment
Not all outdoor furniture performs equally next to a pool. Chlorinated water, humidity, and constant UV are hard on frames, fabrics, and finishes. Buying the wrong materials means replacing pieces every two to three years. Here's what to spec for each zone.
Sunbathing zone: chaise loungers and daybeds
Chaise loungers are the workhorse of the pool deck. Standard dimensions run 60 to 80 inches long and 26 to 32 inches wide, which means a pair with a side table eats roughly 7 to 9 feet of deck length. For frames, powder-coated aluminum with an AAMA 2604 or AAMA 2605-rated finish is the practical sweet spot: lightweight, won't rust in chlorine-heavy air, and the better finish tiers carry multi-year UV and coating warranties. Wrought iron and low-grade steel are poor choices here. Teak is excellent but expensive and requires annual oiling. For cushions, the standard is reticulated (open-cell) foam wrapped in solution-dyed acrylic fabric. Sunbrella is the best-known brand: it's UV-stable, bleach-cleanable, and mildew-resistant. Regular polyester-filled cushions will mold and degrade within one season in a poolside environment.
If you want a poolside daybed and have a tight budget or non-standard dimensions, building one is very achievable over a weekend. Use cedar, teak, or HDPE poly lumber, all hold up in wet environments without constant maintenance. A basic platform frame with a marine-grade plywood deck, sanded smooth and sealed, keeps costs low and lets you cut exact dimensions to fit your space.
Dining zone: tables and chairs
A four-person dining set needs a minimum footprint of about 8 by 8 feet to include proper chair pull-out clearance (30 to 36 inches from the table edge). Choose aluminum or stainless steel frames, if you're buying stainless, 316-grade stainless has significantly better resistance to chloride pitting than 304 in pool environments. Tabletops of aluminum, tempered glass with a powder-coated frame, or composite/HDPE are all practical. Avoid solid wood tops unless you're committed to annual refinishing. If the dining zone is partially covered by a pergola or screen enclosure, you have more latitude on materials.
Entertaining zone: sectionals and lounge chairs
A sectional creates an anchor point for the entertaining zone. If your entertaining zone centers on a fire pit, consult guidance on how to arrange patio furniture around a fire pit for conversation-friendly spacing and safe clearances. The main advantage of building your own patio sectional is getting exact dimensions to fit a corner or irregular space. DIY sectional frames built from cedar 2x4s or composite decking lumber are structurally sound and can be designed to precise footprints that off-the-shelf pieces won't accommodate. Use the same reticulated foam and solution-dyed acrylic cushion standard here as for loungers. For purchased sectionals, check that the frame is either powder-coated aluminum or all-weather wicker over aluminum, avoid wicker over steel frames in humid pool environments.
Shade zone: umbrellas, pergolas, shade sails, and screen enclosures
A cantilever (offset) umbrella works well over a dining or lounging cluster because the pole doesn't interrupt foot traffic the way a center-pole umbrella does. Check the manufacturer's stated wind rating before buying, most residential cantilever umbrellas are rated for winds up to 25 to 35 mph. In exposed yards or coastal areas, a shade sail anchored to engineered post footings or a fixed pergola is more wind-stable. For the most protection against sun, insects, and wind, a screen enclosure around the pool deck is the ultimate upgrade: it eliminates UV on furniture, reduces splash-zone debris, and allows lighter-weight furniture and cushion materials. If that's a direction you're considering, the enclosure framing and screening choices deserve their own planning process.
Small or narrow spaces: compact sets and multi-use pieces
A narrow pool deck, one that's 6 to 8 feet wide on one or more sides, leaves very little room after the 4-foot deck zone is respected. For step-by-step tips on fitting seating and multi-use pieces into tight footprints, see our guide on how to arrange furniture on small patio. On a 6-foot-wide deck, you have only 2 feet of usable furniture space after the 4-foot clearance, which means no loungers on that side. Shift all seating to the wider sides or ends. Folding chairs and stackable chairs that store flat are the practical solution for narrow spaces. A compact bistro set (usually 24 to 30 inches square) can work in a corner. If the narrow sides are your only option for seating, a wall-mounted fold-down bench keeps the path clear when not in use. For more ideas on maximizing tight outdoor spaces, see our guide on how to furnish a small patio. For detailed layouts and measurements on how to arrange patio furniture on a small deck, consult our small-deck planning guide.
Furniture materials comparison
| Material | Pool environment suitability | Maintenance level | Relative cost | Best for |
|---|---|---|---|---|
| Powder-coated aluminum (AAMA 2604/2605) | Excellent — won't rust in chlorinated or coastal air | Low — occasional wash | Mid | Loungers, dining sets, sectional frames, any zone |
| 316 stainless steel | Excellent — superior chloride and pitting resistance vs. 304 | Low to medium — periodic polish | High | Accent pieces, table bases, fixed hardware |
| Teak wood | Very good — natural oils resist water and insects | Medium — annual oiling | High | Dining tables, daybeds, benches |
| Cedar / treated pine (DIY builds) | Good if sealed annually | Medium — seal every 1-2 seasons | Low | DIY sectionals, daybeds, storage benches |
| HDPE poly lumber | Excellent — fully waterproof, no painting or sealing | Very low | Mid to high | DIY builds, storage benches, dock-style loungers |
| All-weather wicker over aluminum frame | Good — resin wicker resists moisture; aluminum frame won't rust | Low | Mid | Sectionals, lounge chairs, entertaining zone |
| All-weather wicker over steel frame | Poor in high-chlorine/humidity — steel frame corrodes | High | Low to mid | Not recommended for pool environments |
| Solution-dyed acrylic fabric (e.g., Sunbrella) | Excellent — UV-stable, bleach-cleanable, mildew-resistant | Low — machine washable covers | Mid to high | All cushion covers in any zone |
| Standard polyester cushions | Poor — molds quickly in poolside humidity | High — replace frequently | Low | Not recommended |
Shade and weather protection options
Shade is both a comfort feature and a furniture-preservation strategy. UV exposure degrades cushions, fades frame finishes, and makes a west-facing deck unusable after noon in summer. These are the main options from simplest to most involved.
- Market or cantilever umbrella: quickest and most flexible option; best for dining and small lounge clusters. Check the manufacturer wind rating and use a base that meets or exceeds the specified minimum weight for your exposure level. In windy areas, close and tilt umbrellas when not in use.
- Shade sail: covers larger areas without posts in the middle of the space; requires engineered anchor points capable of handling tension loads in your local design wind speed (per ASCE 7 or local code). Never anchor to pool fencing or lightweight deck railings.
- Pergola with shade cloth or polycarbonate roof: best for permanent dining or entertaining zones; provides rain protection with shade cloth and full weather protection with a solid roof. Needs proper post footings — plan to set posts in concrete if you want it to handle storm winds.
- Screen enclosure: the most comprehensive option for insect, sun, wind, and debris control. It also allows you to use a broader range of materials and lighter-weight furniture since the enclosure reduces UV and moisture exposure significantly. It's a bigger project but one that transforms a pool deck into a true year-round outdoor room.
Seasonal maintenance, storage, and cleaning
Pool furniture takes a beating between spring and fall, chlorine splash, sunscreen residue, bird activity, and UV exposure all add up. A consistent maintenance routine extends the life of everything on the deck.
During the season
- Wipe down aluminum and stainless frames every two to three weeks with a mild soap and water solution. Rinse thoroughly — soap residue in a chlorinated environment accelerates spotting on metal.
- Wash solution-dyed acrylic cushion covers monthly or whenever sunscreen or food residue is visible. Most Sunbrella-type covers can be machine washed on cold; check manufacturer tags.
- Inspect rubber feet on all furniture legs each spring and replace any that are cracked or missing — bare metal or hard plastic legs on a wet deck are a slip hazard.
- Check umbrella base tightness and anchor bolts on any fixed shade structures after any windstorm.
- Keep the 4-foot deck zone swept clean of debris; wet leaves and organic material on a pool deck become slip hazards and stain concrete or pavers.
End-of-season prep (cold climates)
- Remove all cushions and store them indoors or in a sealed deck box. Even water-resistant fabrics degrade faster through winter freeze-thaw cycles than in climate-controlled storage.
- Close and store freestanding umbrellas before the first hard frost; cantilever umbrella arms should be lowered and covered.
- Inspect powder-coated frames for chips or scratches and touch up with a color-matched outdoor metal paint before storing or covering. This prevents rust from establishing in damaged areas over winter.
- Cover or store lightweight aluminum and wicker pieces to prevent UV fading through winter sun, which is low-angle and surprisingly intense.
- For fixed installations (pergolas, anchor points), inspect all hardware in spring before the season starts. Replace any corroded fasteners with Type 316 stainless equivalents.
Materials and shopping checklist
- Chaise loungers with reticulated foam and solution-dyed acrylic covers (confirm dimensions fit your planned lounger zone)
- Dining set sized to your zone footprint (add 30-36 in chair clearance to table dimensions for total footprint)
- Sectional or loveseat with AAMA 2604/2605 powder-coated aluminum frame
- Umbrella or shade sail with manufacturer wind rating appropriate for your exposure, plus weighted base or engineered anchor hardware
- Type 316 stainless fasteners and anchors for any bolted or through-bolted furniture and shade structures
- Rubber non-slip feet for all furniture legs
- Storage deck box (doubles as guest seating; spec a locking lid in households with children)
- Non-slip mats for pool entry steps and outdoor shower area
- Outdoor lighting on low-voltage or solar systems — run cables along the deck perimeter and secure with outdoor cable clips, not across any travel path
- Mild soap, outdoor metal cleaner, and aluminum touch-up paint for seasonal maintenance
FAQ
Which federal and model codes should I cite for pool safety, barriers, and gates?
Primary references: CPSC 'Safety Barrier Guidelines for Residential Pools' (Pool Safely) for 4‑foot isolation fencing, self‑closing/self‑latching gates and keeping climbable objects away; ICC/ISPSC (2018) Chapter 3 for gate operation, latch height/clearance and technical code language; and the AAP Pediatrics drowning‑prevention technical report for layered protection guidance. Use these to explain required/ recommended barriers, gate details, and the rationale for furniture placement away from fences. (CPSC, ISPSC, AAP)
What accessibility and circulation standards must be included when planning pool‑deck furniture layouts?
Use the 2010 ADA Standards for Accessible Design as the baseline: continuous accessible route minimum 36 in clear width (32 in permitted at short constrictions). For general circulation, adopt designer rules of thumb: 36 in main traffic aisles, 30–36 in chair pullout space, and 18–24 in secondary pass spaces. Emphasize keeping a clear 36 in emergency/access path around pool where required by local code.
What pool‑deck drainage and surface slope guidance do I need to reference?
Reference the CDC Model Aquatic Health Code (MAHC) facility design tables for minimum drainage slopes by surface finish (e.g., 1/8 in/ft for smooth finishes, 1/4 in/ft for textured). Explain how to plan furniture zones so water drains away from seating and so cushions/wood elements don’t sit in ponding water.
Which slip‑resistance standards and target values should I specify for pool decks and walkways?
Cite ANSI/TCNA A326.3 (DCOF AcuTest) and industry guidance on wet DCOF thresholds for walking surfaces. For open wet/barefoot pool decks reference wet‑barefoot methods such as AS 4586 or pendulum PTV targets (commonly PTV ≥36) or higher DCOF (industry often cites ≥0.55) depending on finish. Advise selecting tiles/pavers with manufacturer test data and applicable wet‑barefoot ratings.
What furniture clearance and layout dimensions should the guide use?
Include conservative dimension modules based on typical product footprints and design rules: chaise lounge ~60–80 in long × 26–32 in wide; loungers require 24–36 in clearance behind for access; dining seating needs ~30–36 in pullback from table edge; main aisles 36 in minimum; secondary aisles 18–24 in. Also adopt a pool 'deck zone' minimum 4 ft from pool edge per MAHC/industry interpretation — avoid placing climbable furniture inside this zone adjacent to safety fences.
What product‑ and material‑spec guidance is authoritative for poolside furniture?
Recommend corrosion‑resistant materials and cite specifics: marine‑grade 316 stainless for fasteners and high‑chloride exposure; powder‑coated aluminum with AAMA 2604/2605 finishes for frames; HDPE/poly lumber for wet, rot‑resistant surfaces; quick‑dry/reticulated foam cushions with solution‑dyed acrylic covers (e.g., Sunbrella). Encourage referencing manufacturer datasheets and AAMA finish warranties.
Next Articles
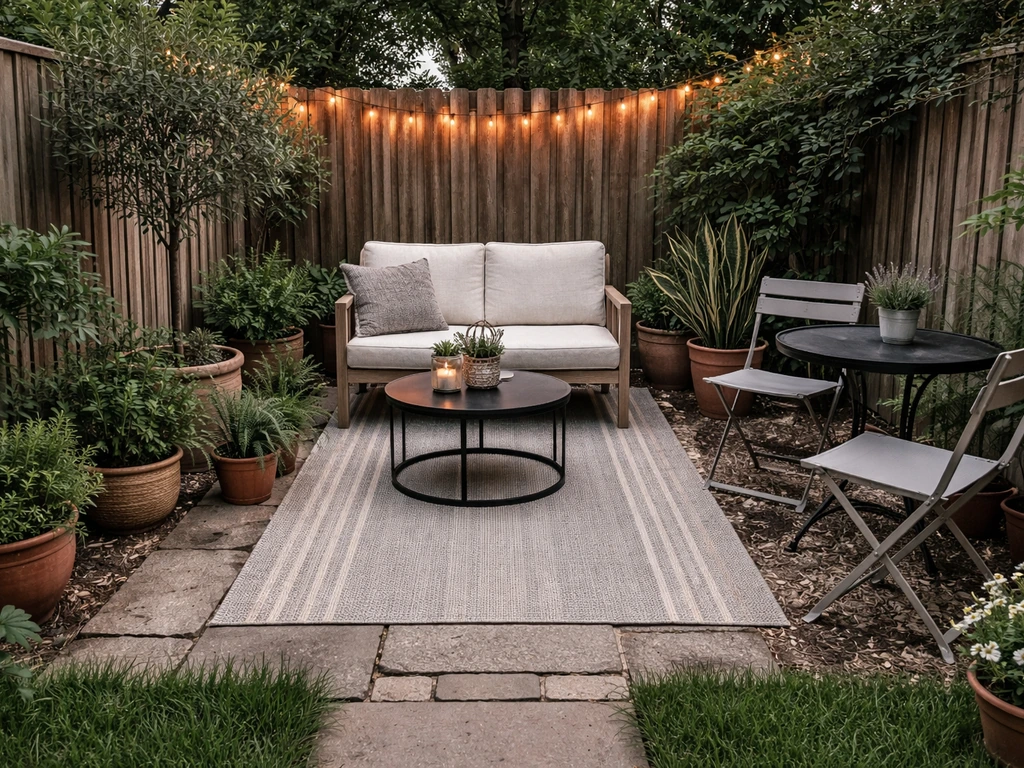
How to Arrange Furniture on a Small Patio Step by Step
Step-by-step tips to arrange small patio furniture for more space, clear walkways, cozy seating, and better flow.
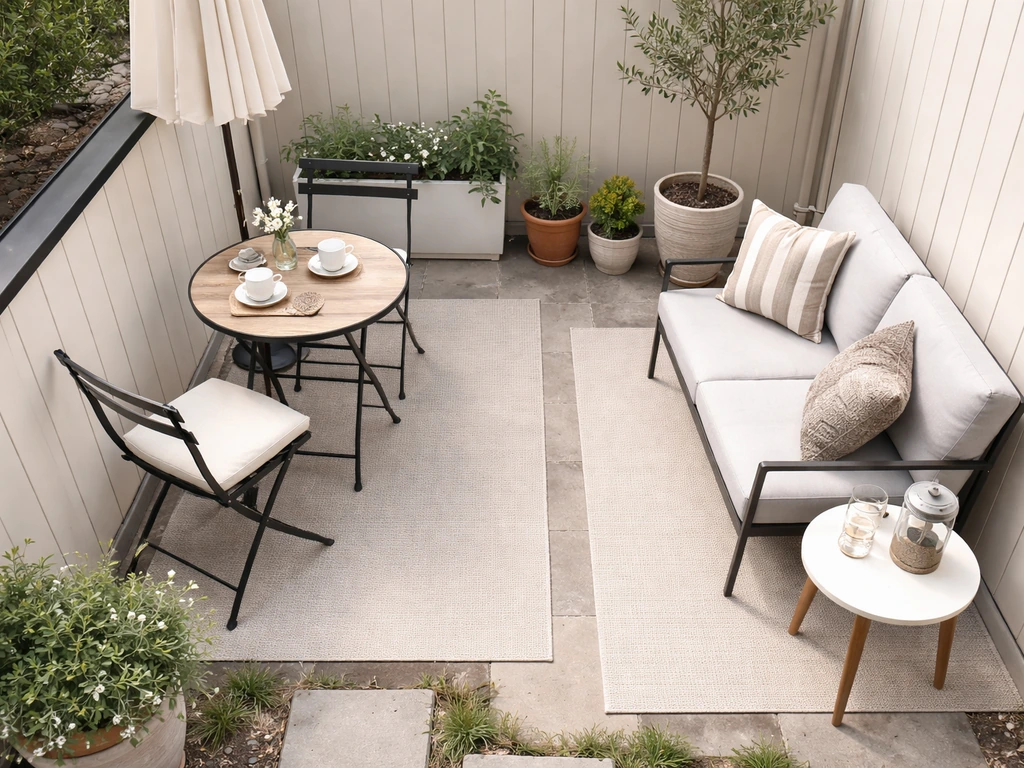
How to Furnish a Small Patio: Layout, Furniture, and Tips
Step-by-step small patio furnishing guide: layout, space-saving outdoor furniture, weather protection, and finishing tou
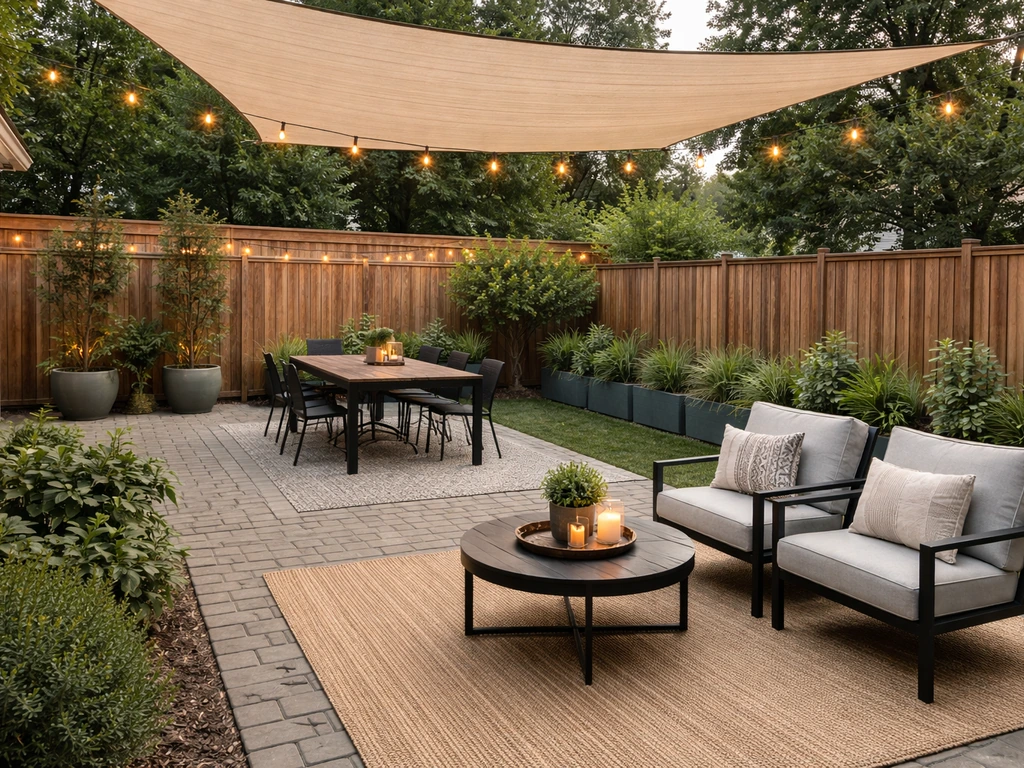
How to Furnish a Patio: Step-by-Step DIY Layout Guide
Step-by-step DIY guide on how to furnish a patio with seating, dining, shade, privacy, rugs, lighting, and maintenance t