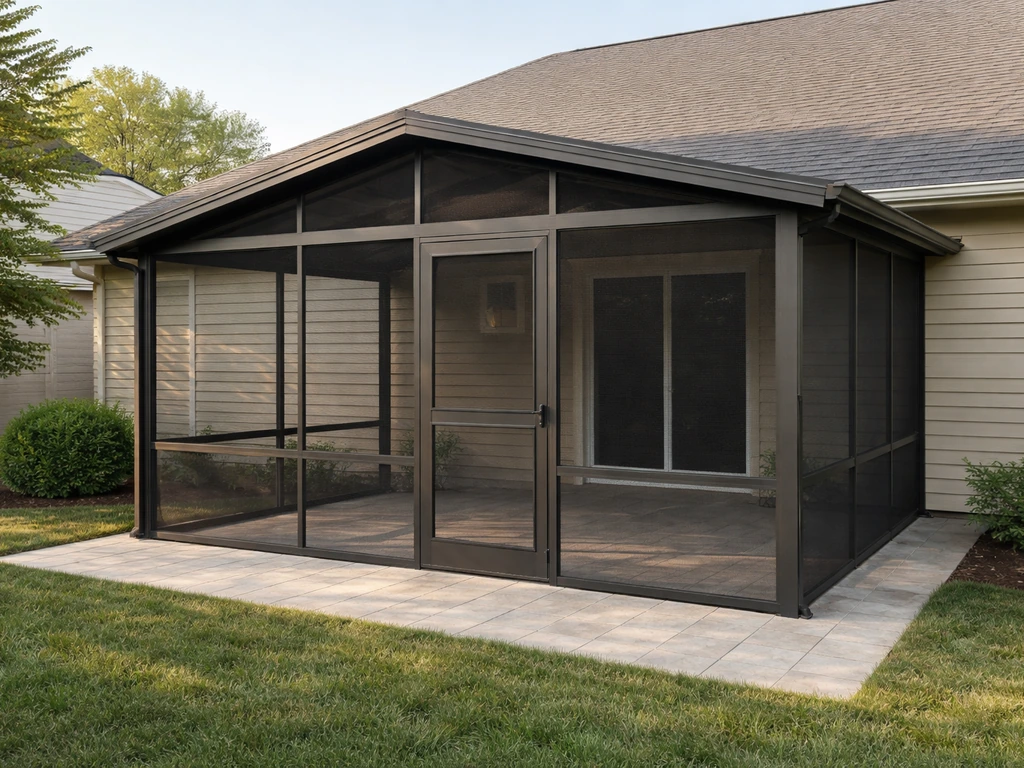
You can build a DIY patio screen enclosure in a weekend or two by setting posts on your slab, building a perimeter frame, rolling screen into base strips with a spline tool, and sealing the roof-to-wall joint with flashing and caulk. The whole project is manageable for a beginner with basic carpentry skills, but it does require careful measuring, solid post anchoring, and the right screen tensioning technique to avoid sags and gaps. Budget roughly $800 to $2,500 for materials depending on size, screen system, and roof type, and expect one to three weekends of work.
How to Build a Patio Screen Enclosure Step by Step

Felix Brennan
27 May 2026
Planning your screened patio enclosure
Before you buy a single screw, spend time planning on paper. Walk your patio and ask: where does the sun hit hardest? Where does rain blow in? Where do you want the door? Answering those questions shapes every decision that follows. how to close in a patio with screen.
Start with your local building department. Screened enclosures attached to the house almost always require a permit, and some municipalities have specific rules about setbacks, height limits, and anchoring methods. This is not optional, a screened room built without permits can create problems when you sell your home. The permit process also forces you to draw a basic plan, which is genuinely useful for ordering materials accurately.
Measure your slab carefully. Record the length, width, and the distance from your existing roofline or house eave down to the slab surface. These three numbers drive your post heights, roof pitch, and total screen area. Also note any existing expansion joints in the slab, you will need to keep post anchors at least 4 inches away from slab edges and expansion joints to avoid cracking the concrete when you drill.
Think about how the enclosure attaches to the house. Most designs use a wall header (also called a ledger) lag-bolted into the house's rim joist or framing. The header carries the roof load and ties the whole structure to the building. If your house has stucco, fiber cement, or brick, the attachment method changes slightly, factor that in early.
Design choices: layout, openings, roof type, and size
Most attached patio screen enclosures follow a simple L-shape or rectangular footprint with three open sides screened and one side against the house. The roof can slope toward the yard (a shed roof) or be flat with a slight pitch for drainage. Your choice of roofing material matters more than most people expect.
| Roof Type | Best For | Cost Range | DIY Difficulty | Key Consideration |
|---|---|---|---|---|
| Polycarbonate panels | Sun filtering, rain protection, year-round use | $$ | Easy to moderate | Allows light in; manage condensation in humid climates |
| Insulated aluminum panels | Full shade, higher wind/snow loads (rated to 40 PSF) | $$$ | Moderate | Heavier; needs stronger post and beam sizing |
| Screen roof (full screen) | Max airflow, mild climates | $ | Easy | Offers no rain protection; purely for bug exclusion |
| Corrugated polycarbonate | Budget-friendly rain cover, carport style | $ | Easy | Corrugated profile sheds condensation naturally down the sheet |
For most homeowners, a shed-style polycarbonate or insulated aluminum roof hits the sweet spot: it keeps rain out, filters UV, and lets the space feel open. An engineerfix roof-panel installation overview notes that tinted polycarbonate and insulated aluminum roof panels help provide UV protection, and insulated aluminum panel systems can be rated for snow load while the support structure must be designed to handle wind and precipitation loads shed-style polycarbonate or insulated aluminum roof. If you live somewhere with heavy snow loads, insulated aluminum panels with a rated support structure are the safer call.
Plan your openings now. You need at least one screen door, and on larger enclosures, two doors on opposite ends makes the space much more livable. Decide if you want any fixed open panels (no screen, just structural) for a built-in grill station or outdoor kitchen section. Corners require special corner extrusions or framing blocks, so count your corners and note them in your materials list.
Materials and tools for the DIY build
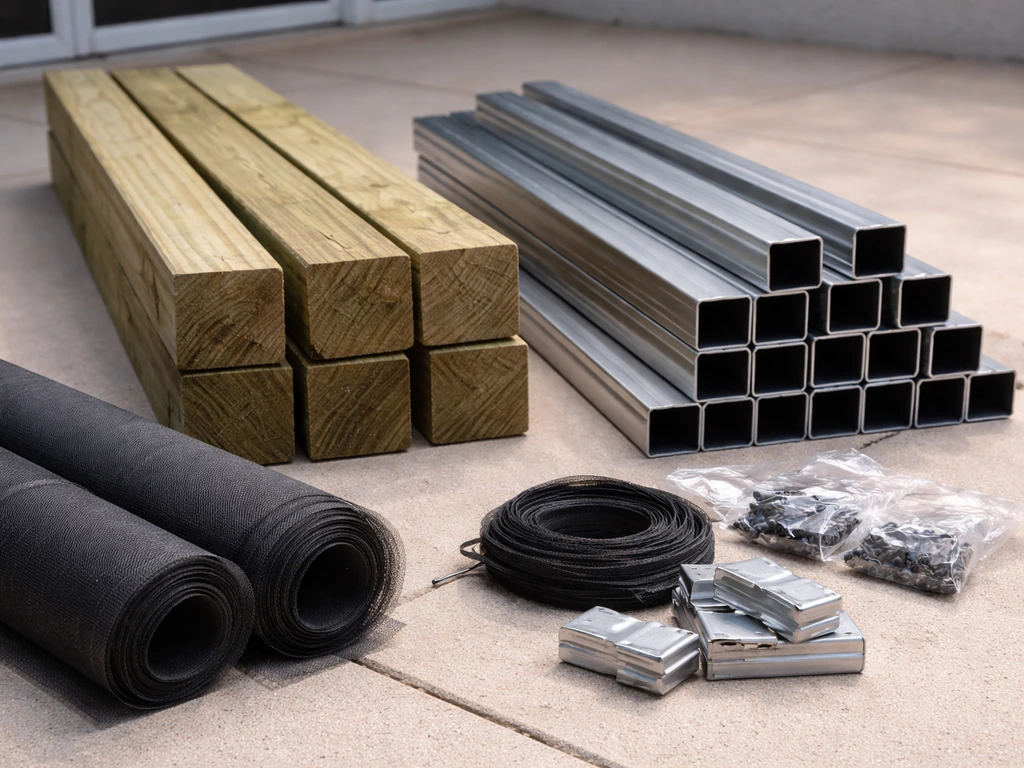
You have three main structural material choices: pressure-treated wood framing, aluminum tube framing, or a purpose-built screen enclosure kit (like ScreenTight or SNAPP systems). Aluminum is lighter, won't rot, and is what most professional enclosures use in humid climates. Wood is easier to work with using standard tools and costs less upfront. Kits combine aluminum framing with matched screen channels and hardware, which simplifies ordering but costs more per square foot.
Structural materials
- 4x4 pressure-treated posts or 2-inch square aluminum tube posts (one per corner plus intermediates every 8 to 10 feet)
- 2x4 or 2x6 pressure-treated top plates and bottom rails (or matching aluminum extrusions if using a kit)
- Wall header/ledger board: 2x6 minimum, lag-bolted to house framing with 3-inch minimum lag screws
- Post base anchors rated for concrete slab (Simpson Strong-Tie or equivalent)
- 3-inch #8 structural screws for framing connections
- Concrete anchors (3/8-inch wedge anchors work well for slab mounting)
Screen system options and materials
The screen system is where most DIYers have the most questions. The traditional method uses a base strip screwed to the frame and fiberglass or aluminum screen rolled in with a vinyl spline. Systems like ScreenTight and SNAPP take that concept and add extruded aluminum channels with a matching cap or cover strip that snaps over the screen edge and hides the spline. SCREENEZE goes a step further with an aluminum base and a vinyl cap that snap together to tension the screen without traditional spline at all.
- Fiberglass window screen (18x16 mesh is standard; charcoal or gray resists glare better than silver)
- Aluminum screen for high-traffic areas or pet households
- Vinyl spline (sized to match your base channel groove — measure before buying)
- Screen base strips or aluminum channel extrusions sized to your frame material
- Screen cap strips or cover trim to finish edges
- Spline roller/knife tool (also called a screen rolling tool — essential for tight, wrinkle-free installation)
Roof and sealing materials
- Polycarbonate or aluminum roof panels cut to size
- Roof panel mounting screws with neoprene washers
- Step flashing (aluminum, minimum 4 inches wide) for roof-to-wall junction
- Paintable exterior caulk (two beads where wall header meets house siding)
- Self-adhesive flashing tape as a backup layer behind step flashing
- Drip edge or fascia trim for the outer roof edge
Tools you'll need
- 4-foot level (non-negotiable for plumb posts)
- Tape measure and chalk line
- Cordless drill with bit set
- Rotary hammer drill with 3/8-inch masonry bit (for slab anchors)
- Circular saw or miter saw
- Tin snips or aluminum cutting blade for metal extrusions
- Spline roller/knife (often called a Screen Tight roller knife or screening tool)
- Utility knife for trimming screen
- Safety glasses and hearing protection
Step-by-step construction: frames, posts, tracks, and screen install
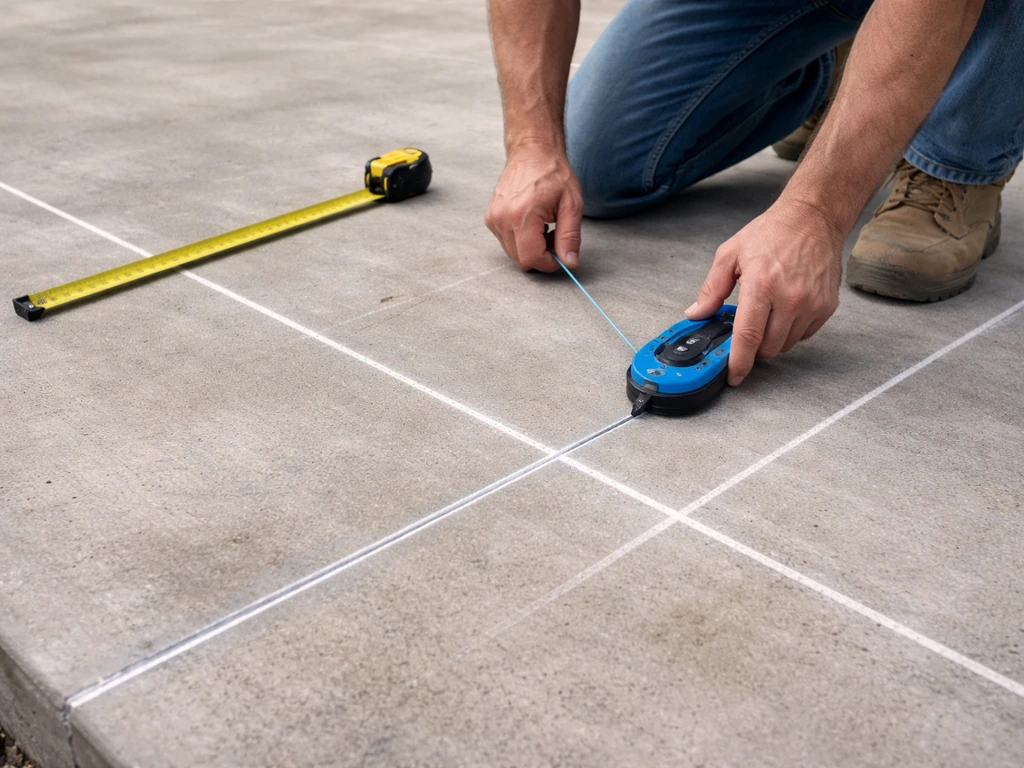
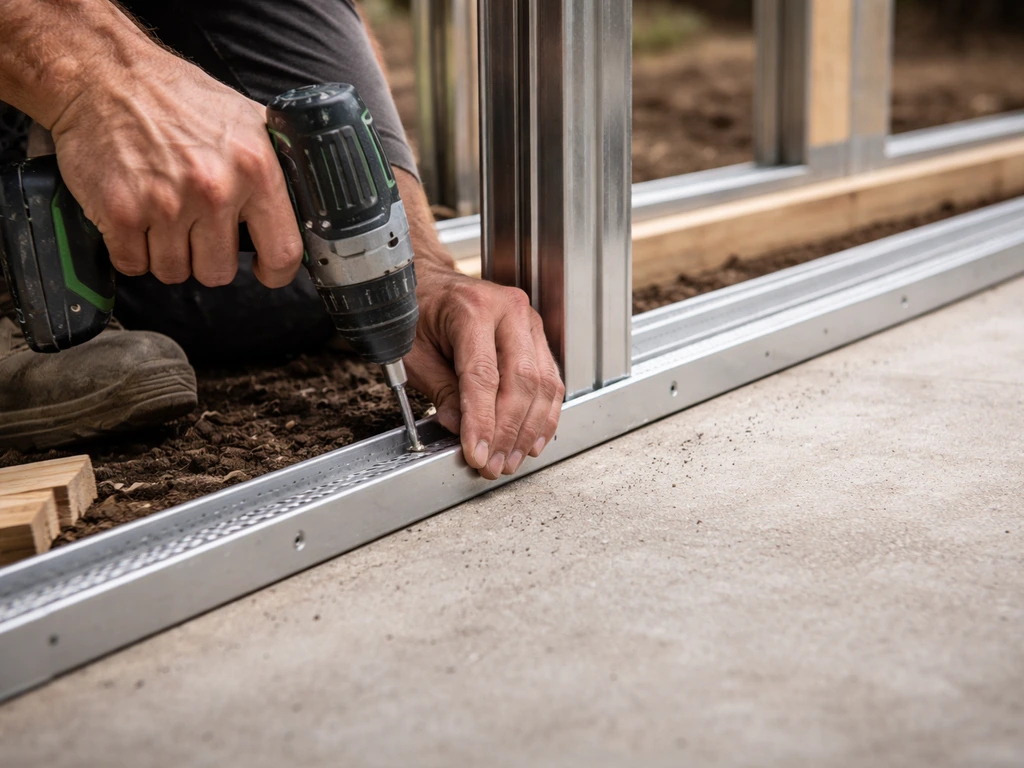
Step 1: Mark your layout and anchor your posts
Snap chalk lines on the slab to mark your post locations. Double-check your layout is square by measuring diagonals, they should match. Drill your anchor holes with the rotary hammer, keeping each hole at least 4 inches from any slab edge or expansion joint. Drop in wedge anchors, set your post base hardware, and leave the bolts slightly loose for now so you can adjust posts for plumb.
Step 2: Set and brace posts
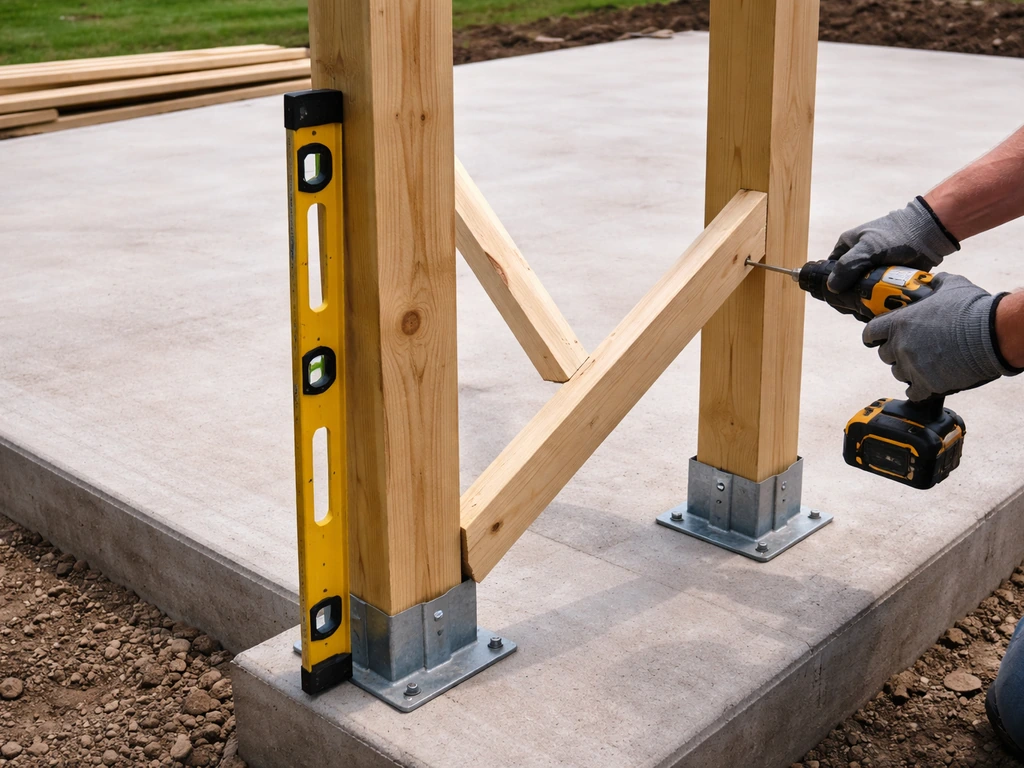
Stand each post in its base, check it with your 4-foot level on two adjacent faces, and brace it temporarily with 2x4 diagonal braces staked or screwed to the slab. Get every post plumb before you tighten anchor hardware. Uneven posts are the single most common cause of a screened enclosure that looks off and fights you during screen installation. Take your time here.
Step 3: Install the wall header and top plates
Lag-bolt your wall header to the house at the correct height to give your roof the right pitch (typically 1/4 inch of drop per foot of run, minimum, for drainage). Use a level to make sure the header is perfectly level along its length. Run your top plates from the header out to each corner post and across the front of the enclosure. These carry the roof load, so fasten them with structural screws, not nails, at every connection.
Step 4: Build the bottom rail and intermediate framing
Install a bottom rail around the perimeter at slab level (or a few inches up if you want a knee wall). The bottom rail keeps screen panels from being pushed in at the base and gives the enclosure rigidity. Add any mid-rail or horizontal rails if your screen panels will be taller than 6 to 8 feet, tall unsupported screen panels sag noticeably without a mid-rail break.
Step 5: Install screen base strips and channels
Screw your screen base strips to all framing members where screen panels will be installed. Follow the manufacturer's spacing guidance, typically fasteners every 12 inches along rails and posts. Important: do not leave base strips exposed to direct sunlight before you install the screen cap, as prolonged UV exposure degrades the plastic before the cap protects it. Work in shaded sections or plan to screen immediately after installing base strips.
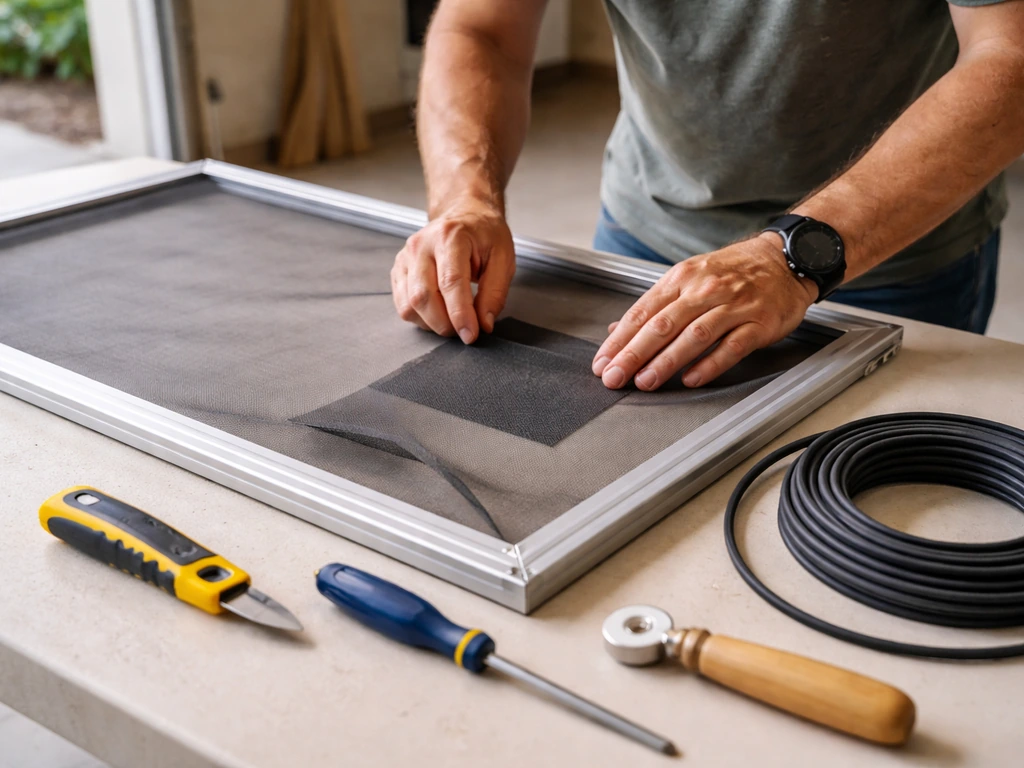
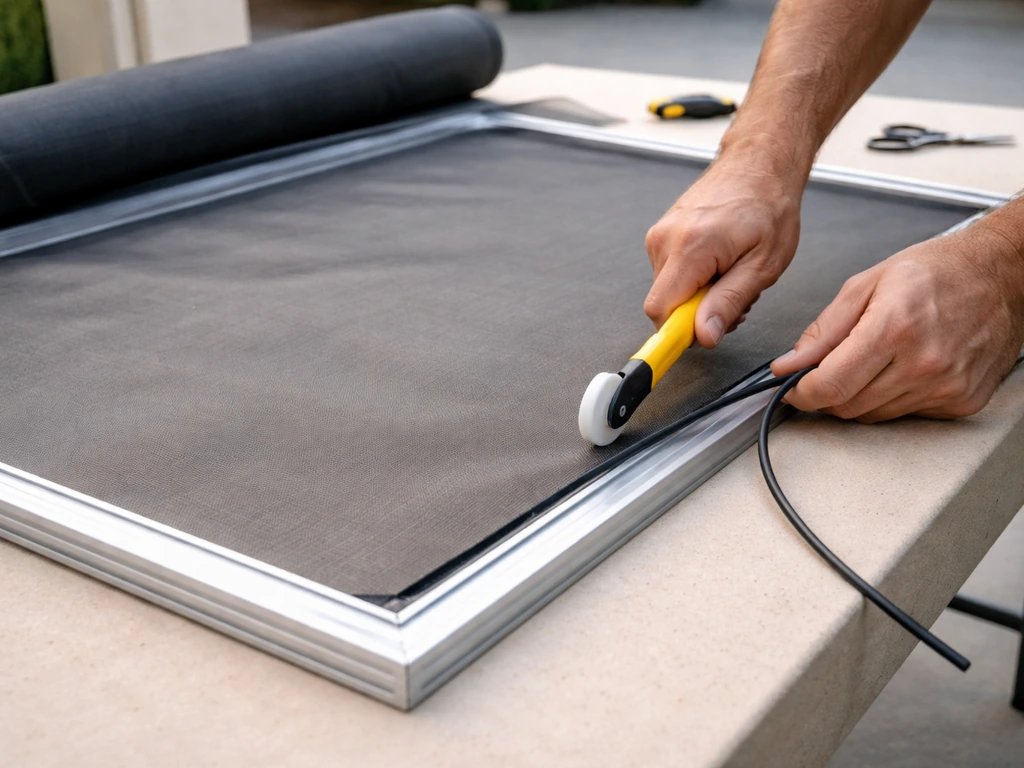
Step 6: Cut and install screen panels

Cut your screen material about 2 inches larger than the opening on all sides. Drape it centered over the base strip channel. Start by pressing the spline into one side (top or a long horizontal run) using your spline roller tool, pulling the screen taut as you go. Work opposite sides next, always pulling downward or outward tension on the screen material as you seat the spline, this is what prevents rippling and sag after installation. For SCREENEZE-style systems, align the vinyl cap with the identification mark on the base channel and snap it down evenly. In cold weather, blank" rel="noopener noreferrer">allow a slightly looser fit since the vinyl cap will tighten as temperatures rise.
Trim the excess screen flush with a utility knife once all four sides of spline are seated. Work carefully at corners, a small diagonal relief cut in the screen at each corner helps the material lay flat without bunching. Never reuse old spline when rescreening an existing opening; old spline compresses and won't hold the screen securely. When you rescreen a patio enclosure later, you generally remove the existing cap or spline, pull out the old mesh, and reinstall new screen material and spline using the same tensioning method described for new installs.
Step 7: Install the roof panels
Lay roof panels from the house outward, overlapping each panel at the ridge according to the manufacturer's spec (usually 6 to 12 inches). Fasten with roofing screws and neoprene washers along panel edges at regular intervals, screws on 12-inch centers along the edges and 24-inch centers in the field is a common cadence. Leave a small gap at the outer drip edge for thermal expansion if you are using polycarbonate panels.
Doors, access, and weather and wind sealing
Hanging the screen door
Frame your door opening with doubled posts or a properly sized aluminum door frame kit. Standard screen doors are 32 or 36 inches wide. Install the door frame plumb and square first, the door will never close cleanly in a twisted frame. When mounting the bottom bar or threshold assembly, make sure you have the clearance the manufacturer specifies under the lock-side jamb to allow the bottom components to sit properly. A self-closing hinge tension that is too strong will slam the door and stress the screen; adjust the tension spring so the door closes firmly but not violently.
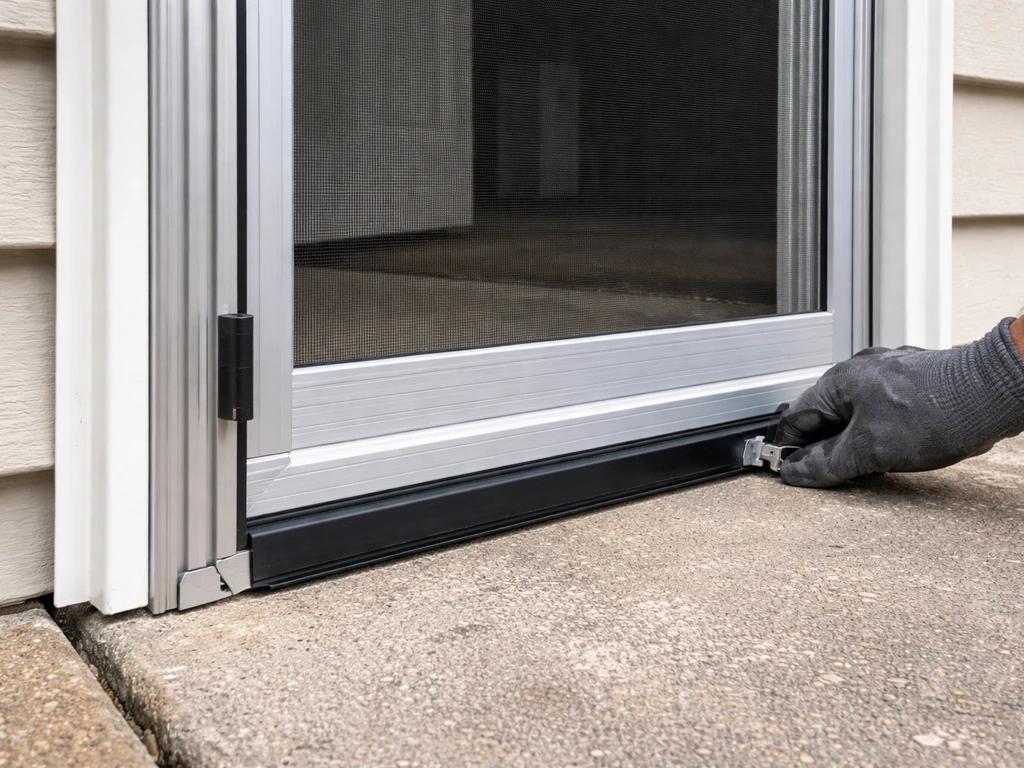
Door sweep and threshold sealing
Install a door sweep on the bottom of the screen door to close the gap between door and threshold. The correct method is to close the door first, then position the sweep so it makes light contact with the threshold, not so tight it drags the floor on every open/close cycle. A sweep that's too tight wears out fast and warps the door bottom over time. Check the bevel on any threshold strip as well; a beveled threshold directs water outward and reduces the gap bugs can use.
Sealing the roof-to-wall junction
This is the most important weatherproofing step of the whole build. Apply step flashing along the wall header where it meets the house, with the lower leg of each flashing piece angled away from the fascia to direct water outward. Then apply two beads of exterior caulk where the back of the wall header meets the house siding. Do not rely on caulk alone for long-term water management, caulk cracks over time. The flashing is your primary defense; the caulk is a secondary seal. If your house has a wood or composite trim band at the roofline, add self-adhesive flashing tape as a backup layer behind the step flashing.
Wind bracing
In coastal or high-wind areas, diagonal bracing or cable bracing between the posts significantly improves the enclosure's ability to resist racking from lateral wind loads. Some hurricane retrofit guides specifically recommend cable tensioning at the post tops for aluminum screen enclosures to prevent the structure from lifting or leaning in a wind event. Even in non-hurricane zones, adding a diagonal knee brace from each corner post to the top plate is a cheap upgrade that makes the structure noticeably more rigid.
Finishing, safety checks, and keeping it in good shape
Structural and safety checks before you call it done
Before you remove your temporary bracing, go back to every post with your 4-foot level. Posts that have moved even slightly during framing need to be corrected now, not later. Check every anchor bolt and make sure it is torqued tight. Push on each screen panel from the outside, there should be no visible give at the spline line. Pull on each panel from the inside to confirm the spline is seated and not pulling free. Open and close the door a dozen times and watch for binding, gaps at the sweep, or frame flex.
If your municipality required a permit, schedule your inspection before finishing any interior trim. Inspectors typically check post anchoring, ledger connection, and roof load path. Having your framing exposed makes this faster and easier.
Troubleshooting common problems
| Problem | Likely Cause | Fix |
|---|---|---|
| Screen rippling or sagging | Insufficient tension during spline installation | Remove spline, re-drape screen with outward tension on all sides before re-rolling spline |
| Gaps at screen edges | Spline not fully seated in groove | Re-roll spline with firm roller pressure; ensure correct spline diameter for your channel |
| Uneven posts (leaning) | Posts not checked for plumb before anchor tightening | Loosen anchor bolts, adjust with a helper and level, re-tighten |
| Water intrusion at wall header | Caulk only, no flashing | Install step flashing with proper outward-angled leg; re-caulk as secondary seal |
| Door not closing flush | Frame is out of square | Check door frame diagonals; shim hinges to adjust door plane |
| Screen panel bowing inward at base | No bottom rail or rail is not fastened to slab | Add or secure bottom rail; fasten with masonry anchors every 24 inches |
Seasonal maintenance to make the enclosure last
Every spring, walk the perimeter and inspect the caulk line at the wall header. Re-caulk any cracked sections before rain season. Check spline lines on every screen panel, you are looking for sections where the spline has crept out of the groove or the screen has started to pull away from a corner. Catching this early means a quick re-roll fix rather than a full panel replacement. When you need to replace a damaged panel, avoid the temptation to reuse the old spline, always use fresh spline so it seats properly and holds tension.
In late fall, clear debris from the roof panels and check that gutters or drip edges are directing water away from the slab and the house foundation. If you’re patching a damaged patio screen, replace the spline and re-seat the screen material so it holds tension like the original install how to patch patio screen. If you are in a freeze-thaw climate, inspect your post base anchors in spring, freeze-thaw cycles work on concrete and can loosen anchor bolts over time. A quick check with a wrench each year keeps the structure solid.
Polycarbonate roof panels benefit from an annual wipe-down with mild soap and water to prevent algae buildup that clouds the panels over time. Avoid abrasive cleaners or pressure washing polycarbonate directly, the surface scratches easily and scratches reduce light transmission permanently.
Where to go from here
Once your enclosure is up and solid, you will likely want to dive into the details: individual screen panel replacement when one gets torn, patching small holes without pulling the whole panel, or rescreening an entire wall if the screen ages out after several years in the sun. Those are all much smaller jobs than the initial build, and the skills you picked up here, spline tensioning, working with extrusions, handling screen material without wrinkling it, transfer directly. You have already done the hard part.
FAQ
Do I need a permit to build a patio screen enclosure, even if it is “just screens” and a basic roof?
Often yes, especially for enclosures attached to the house. Permits are commonly required to verify the structural load path (ledger to framing, posts to slab anchors, and roof drainage pitch). If you skip it, you may face rework at inspection time or issues during resale when the structure does not match permitting records.
How far from slab edges or expansion joints should my post anchors be?
Keep anchors at least 4 inches away from slab edges and any expansion joints. This spacing helps prevent concrete cracking when you drill and set wedge or expansion anchors, and it reduces the chance that movement at the joint transfers into the post base hardware.
What is the best way to avoid a crooked enclosure that makes screen installation harder?
Level every post before tightening all anchor bolts, and recheck with a level on two adjacent faces. A small plumb error becomes obvious when you try to seat screen channels evenly, so adjust early while the posts are still slightly movable rather than trying to “force” the frame later.
Should I leave the base strips exposed to sunlight before I install the screen?
Avoid leaving base strips exposed in direct sun for long periods. Many screen-channel materials include plastic components that can degrade under UV before the cap or spline fully protects the edge, which can lead to looser seating and early screen failure.
How much extra should I cut the screen material for each opening?
Cut screens about 2 inches larger on all sides of the opening. That margin gives enough material to center the mesh over the base channel, seat the spline fully, and trim flush cleanly without ending up short in corners.
Is it okay to reuse old spline when replacing a damaged screen panel?
No. Reusing spline is a common mistake because compressed spline often will not hold tension or seat securely in the groove. Use fresh spline so the screen edge locks in properly and does not creep out later.
What if my enclosure is in cold weather, does screen fit change?
Yes. In colder temperatures, leave a slightly looser fit when snapping caps or seating vinyl components, because the vinyl or screen edge can tighten as temperatures rise. This prevents buckling or overly tight corners that can stress the frame hardware.
How do I know if my roof panels overlap correctly and will drain properly?
Follow the manufacturer’s overlap range (commonly 6 to 12 inches) and confirm the shed roof pitch is set for drainage, typically about 1/4 inch drop per foot of run at minimum. Also leave the specified expansion gap at the outer drip edge for polycarbonate systems to prevent buckling when temperatures change.
How should I handle door frame alignment so the screen door closes properly?
Install the door frame plumb and square first. If the frame is even slightly twisted, the door will not seat consistently at the latch side, which creates gaps at the sweep and can let insects in. After installation, test multiple open-close cycles and adjust hinge tension if the door slams.
What is the correct way to install a door sweep without making it drag?
Close the door first, then position the sweep so it makes light contact with the threshold. The goal is a gentle seal, not a tight scrape. A sweep that is too tight wears out quickly and can warp the door bottom over repeated cycles.
Do I really need flashing, or can I rely on caulk for weatherproofing where the roof meets the house?
Flashing should be your primary defense. Caulk alone is not reliable long-term because it cracks as materials expand and contract, and water can track behind it. Apply step flashing in the correct shingle-lap direction, then use exterior caulk as a secondary seal.
How can I reduce racking and “leaning” in windy or coastal locations?
Add diagonal bracing or cable bracing between posts and the top plates. Diagonal knee braces at corners are a low-cost rigidity upgrade, and in higher-wind or hurricane-prone areas, cable tensioning can help prevent the structure from lifting or skewing under lateral load.
What should I inspect after removing temporary braces?
Recheck every post for plumb with a level and verify anchor bolts are torqued tight. Also push and pull on screen panels to confirm there is no visible give at the spline line, and open and close the door repeatedly to confirm no binding or frame flex appears.
How often should I maintain or re-caulk the enclosure?
Plan on a spring perimeter check, inspect the caulk line at the wall header, and re-caulk any cracked sections before rainy or storm season. Early touch-ups are usually faster than dealing with water intrusion after small seal failures worsen.
How do I clean polycarbonate roof panels without damaging them?
Use mild soap and water and avoid abrasive cleaners or pressure washing directly. Polycarbonate scratches easily, and scratches permanently reduce light transmission, making the roof look cloudy over time.
Next Articles
How to Rescreen a Patio: DIY Steps and Tips
Step-by-step DIY on how to rescreen a patio enclosure: diagnose damage, fix frame, install new screening with proper ten
How to Repair a Screen Patio: Step-by-Step Fix
Step-by-step DIY guide to repair a screened patio, from torn screen patches to replacing panels and re-tensioning for a
How to Replace a Patio Screen Step by Step DIY Guide
Step-by-step DIY guide to replace patio screen panels or door screens, with measuring, tools, install, and troubleshooti