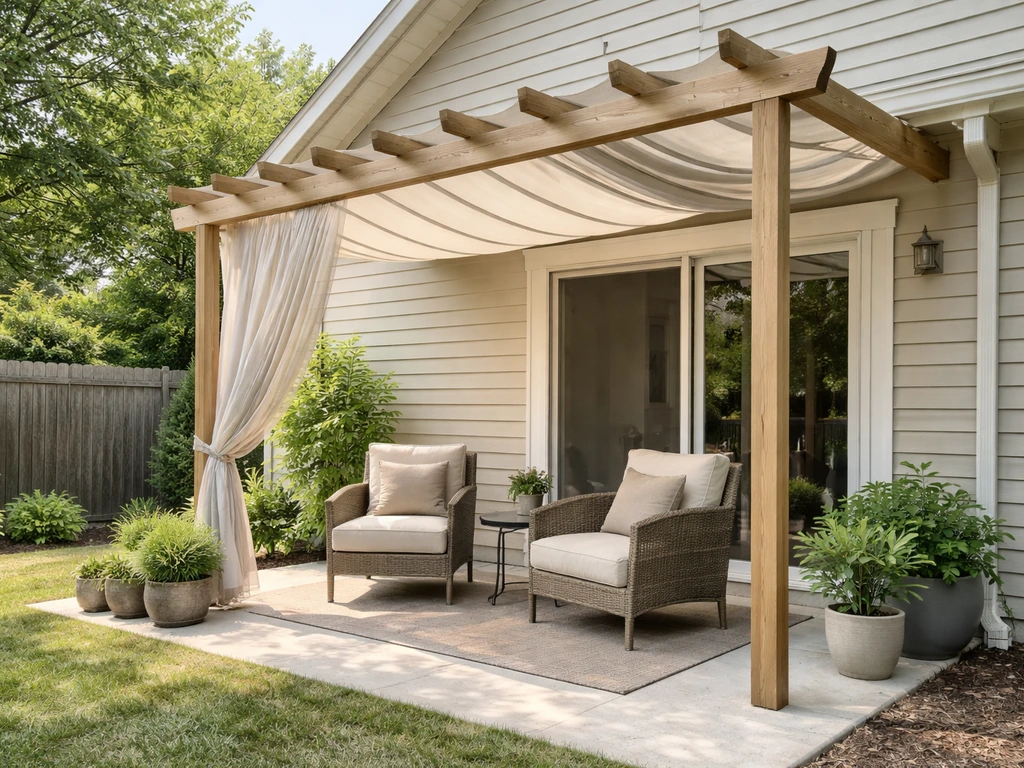
Covering an open patio comes down to three things: picking the right cover type for your climate and goals, measuring and planning so it actually fits and drains properly, and securing it well enough to handle wind and rain. If you're specifically trying to cover a patio from rain, focus on a true rain-proof cover with the right slope and flashing details cover patio from rain. You can do this yourself over a weekend with a permanent pergola-style roof, a retractable awning, or even a tensioned shade sail, depending on how much weather protection you need and how much you want to spend.
How to Cover an Open Patio: DIY Options and Steps

Felix Brennan
27 Jun 2026
Decide what you actually need: shade, rain protection, or wind blocking
Before you buy anything, get clear on your primary problem. These three goals sound similar but lead to very different solutions.
- Shade only: You want to cut glare and heat but rain isn't a big issue. A shade sail, open pergola, or lattice roof works well here.
- Rain and sun protection: You need something solid overhead—polycarbonate panels, metal roofing, or a fabric canopy with a steep enough pitch to shed water.
- Wind blocking: This is usually a side-coverage problem, not an overhead one. A roof cover handles sun and rain, but you'll need screens, curtains, or panel walls to stop wind. Think of wind protection as a Phase 2 add-on.
Climate matters a lot here. If you're in a rainy region, a breathable shade sail installed nearly flat will pool water, sag, and eventually pull its anchors out. If you're in a hot, dry climate, a simple open pergola with a shade cloth might be all you ever need. Be honest about your weather, because the cover type drives every decision after this.
Also think about how permanent you want to go. Retractable awnings and shade sails are reversible and permit-friendly in most areas. Attached solid roofs are more work, more money, and often require a permit, but they last decades and add real value to your home. If you're also thinking about how to cover your patio for winter use or enclose it seasonally, a solid roof structure gives you the best foundation for those upgrades later.
Measure, plan, and check the basics before you buy anything
Bad measurements are the most common reason a DIY patio cover becomes a headache. Get these numbers written down before you look at a single product.
Measurements you need
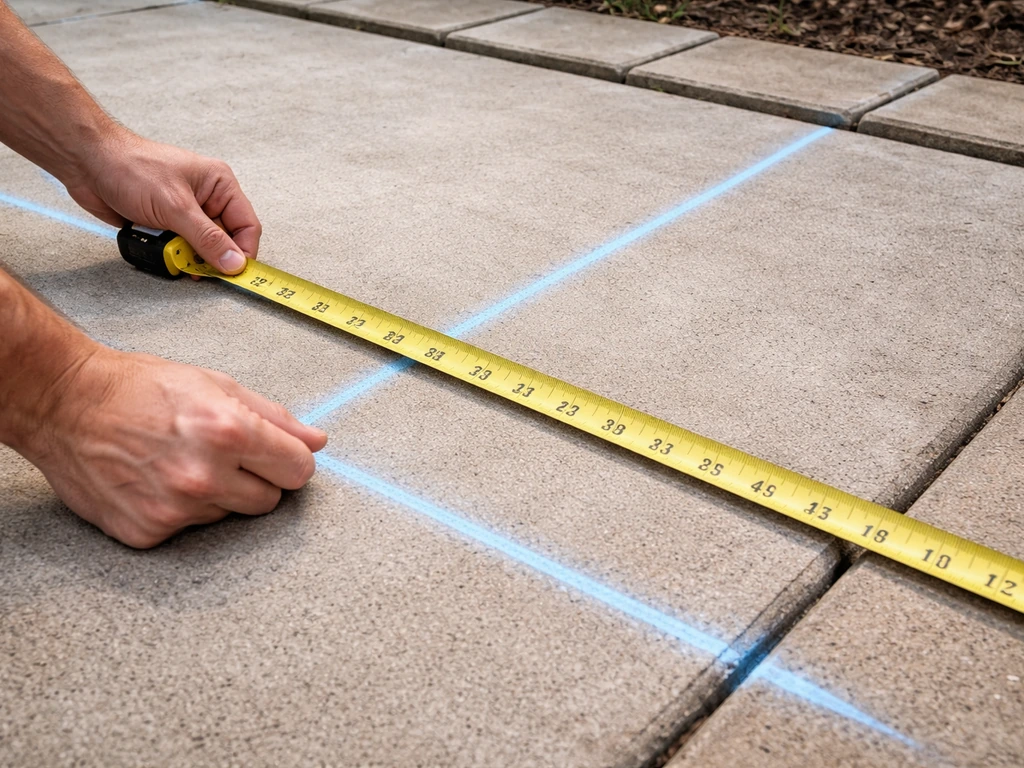
- Patio dimensions: Length and width of the area you want covered. This sets your minimum roof footprint.
- Eave height: Measure from the patio surface straight up to the bottom of your home's eaves. This tells you how much vertical clearance you're working with and limits how much slope your roof can have.
- Overhang depth: Measure how far your existing eaves extend from the wall. This determines where your ledger board needs to sit so the new cover's roof surface aligns neatly below the house eave.
- Wall attachment zone: Identify the framing in your house wall where a ledger can be bolted. Ledgers need to hit structural framing, not just siding or sheathing.
Slope and drainage planning
Any solid roof cover needs a slope so rain runs off instead of pooling. A general rule of thumb for attached patio roofs is a minimum pitch of about 1/4 inch per foot, but steeper is better in rainy climates. For shade sails, you need at least a 20 to 30 degree angle from horizontal, with two corners at the same height and one corner raised or lowered to create that drainage slope. A flat shade sail will collect water, and as one installer warning puts it bluntly, a pooled waterproof sail gets heavy enough to damage its own mounting points.
Permits and local codes
Check your local building department before you start framing. Rules vary widely. Some jurisdictions follow Appendix H of the International Residential Code, which sets structural and design standards for patio covers. Others use Appendix I of the IBC for commercial properties. Many cities have their own thresholds: for example, San Diego exempts patio covers under 300 square feet of projected roof area from permits in certain single-family situations, while Bend, Oregon requires a permit if the structure is over 12 feet high or covers more than 200 square feet. The safest move is to call your local building department with your dimensions and ask directly. Attached structures that bolt to your house almost always need at least an inspection, even if they're technically exempt from a full permit.
Choose your cover style and materials
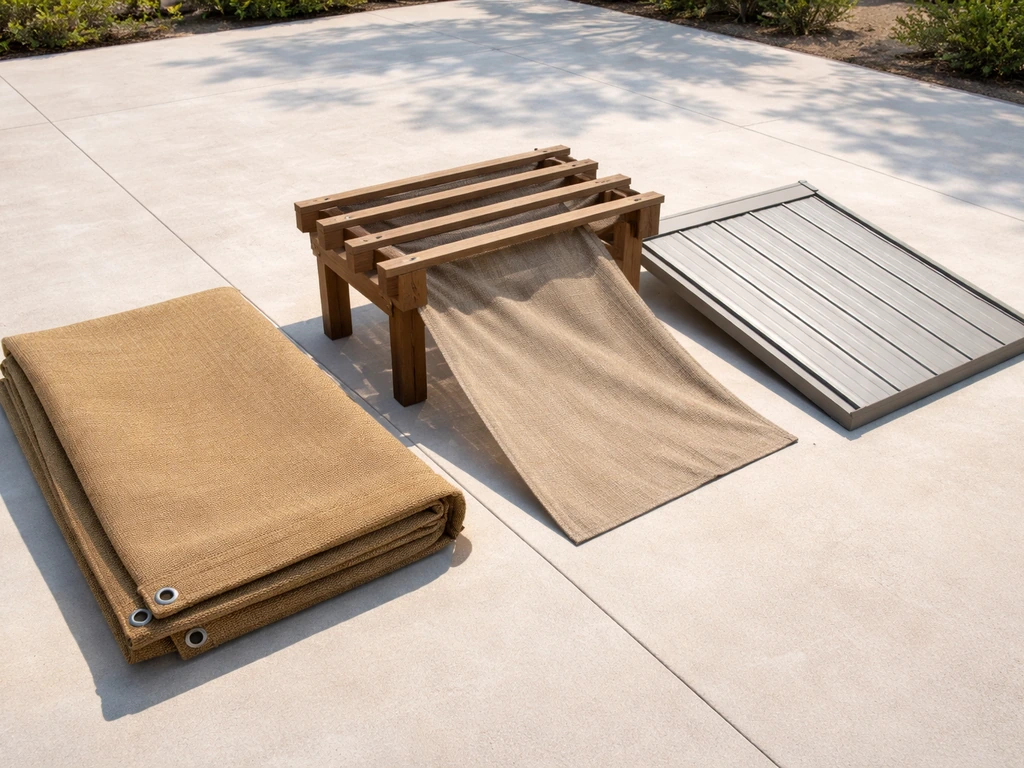
Here's a practical comparison of the most common DIY patio cover options. Each has a real sweet spot, and real limitations.
| Cover Type | Best For | Weather Protection | DIY Difficulty | Rough Cost Range | Permit Likely? |
|---|---|---|---|---|---|
| Shade sail | Hot, dry climates; shade only | Partial (sun/light rain if angled) | Easy | $50–$400 | Rarely |
| Retractable awning | Flexibility; sun and light rain | Good when deployed | Easy to moderate | $300–$2,000+ | Sometimes |
| Fixed fabric canopy | Budget full coverage | Moderate | Easy to moderate | $100–$600 | Rarely |
| Attached pergola with shade cloth | Aesthetics + partial shade | Sun, minimal rain | Moderate | $500–$3,000 | Often |
| Polycarbonate panel roof | Year-round rain + sun protection | Excellent | Moderate to hard | $800–$4,000 | Usually |
| Metal panel roof | Maximum durability, full weather coverage | Excellent | Hard | $1,500–$6,000+ | Usually |
Shade sails
Shade sails are the cheapest and fastest option, and they look great in the right setting. The catch is that they're genuinely shade-only structures unless you buy a waterproof sail AND install it at a steep angle (20 to 30 degrees minimum). Even then, a completely waterproof sail under heavy rain can hold enough water to pull anchors out of walls or posts. In rainy climates, treat shade sails as a summer shade solution, not a rain cover. They need to be tensioned firmly, sagging sails collect water and put asymmetric loads on hardware.
Retractable awnings and fixed canopies
Retractable awnings mount to your house wall and extend out over the patio. They're great for flexibility, you can retract them in high winds or winter, and most modern motorized models are genuinely DIY-installable on a weekend. Fixed fabric canopies over a simple steel or aluminum frame are the budget workhorse: expect to spend $100 to $600 and a Saturday afternoon. Neither option handles heavy snow loads well, so retract or remove them before winter if you're in a cold climate. For a winter-ready patio cover, plan on retracting or removing it before heavy snow and choose winterproof options when you need full-season protection winter patio cover.
Pergolas with shade cloth or solid roofing
A pergola-style structure with 4x4 or 6x6 posts and a beam-and-rafter roof is the most popular DIY upgrade for homeowners who want something that looks built-in. An open pergola with shade cloth gives you filtered light and partial sun protection. If you add polycarbonate panels or solid roofing on top of the rafter system, you get a true rain-proof cover. Polycarbonate panels are a favorite for DIYers because they're lightweight, cut with a circular saw, and let diffused light through while shedding rain completely when installed with the right slope and flashing.
Solid metal or shingle roofs
A full metal panel or shingle roof over a patio is the most durable option and the most complex to build correctly. It involves real framing, a proper ledger connection to the house, flashing, and sometimes gutters. This is the path to take if you want a year-round outdoor room, plan to eventually screen or enclose the sides, or live somewhere with heavy rain or snow. Budget more time and money, and seriously consider pulling a permit, this type of structure needs to be designed to resist minimum wind and seismic loads per building code.
How to install a patio cover: step-by-step overview
The exact steps vary by cover type, but most DIY attached patio roofs follow the same general sequence. Here's the core workflow.
Step 1: Lay out your posts and footings
Mark your post locations using stakes and string lines. For an attached cover, you'll typically have two front posts and a ledger on the house wall acting as the back support. To cover a patio railing, you can build a matching shade structure that keeps the posts secure and the opening safe how to cover patio railing. Post spacing depends on your beam size, a doubled 2x10 beam can generally span 10 to 12 feet between posts for a residential patio cover. Dig footings below your local frost line and pour concrete piers. Use post bases rated for exterior use rather than setting posts directly in concrete, because buried wood ends rot even when pressure-treated.
Step 2: Mount the ledger to the house
The ledger is the most structurally critical connection you'll make. Remove a strip of siding above the ledger location so you can integrate flashing properly. The ledger should be bolted directly into the house's rim joist or wall studs, not just siding, using structural lag screws or through-bolts. A common minimum ledger size for a residential patio cover is a 2x8 in Douglas Fir #2, sized to match your rafter dimensions. Set the ledger height so your finished roof will slope away from the house at the right pitch. Run Z-flashing tucked behind the siding above the ledger and lapping over the front face of the ledger to prevent water from getting behind the board.
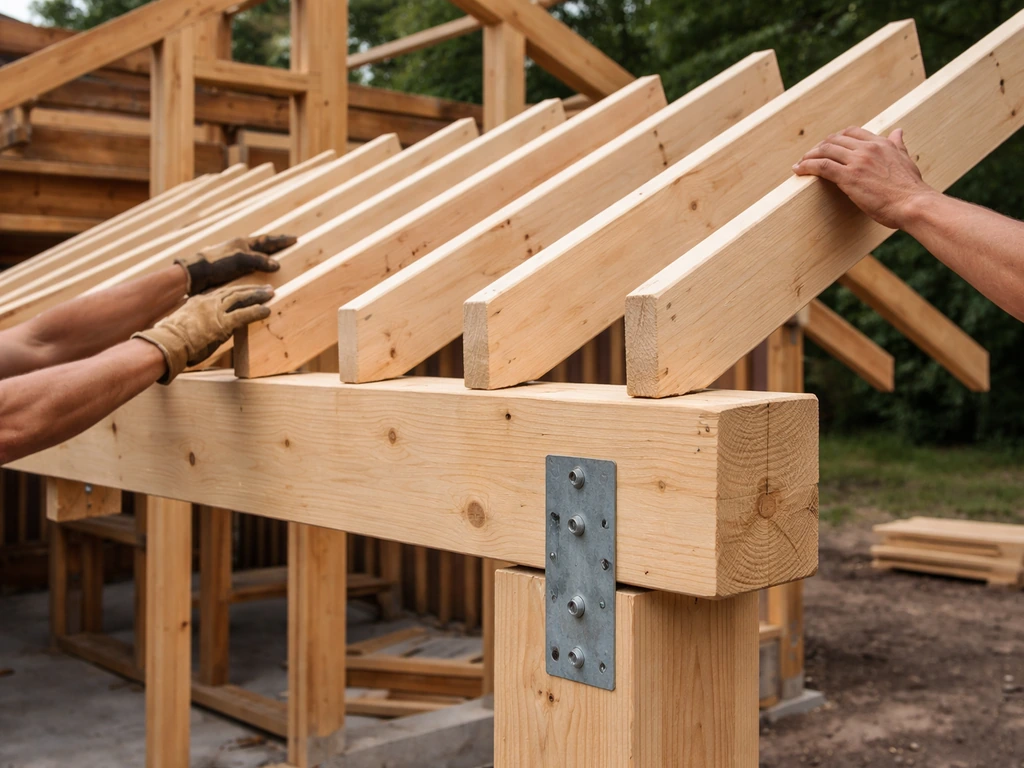
Step 3: Install beams and rafters
Set your beams on top of the posts using beam-to-post connectors. Then run rafters from the ledger to the beam, spacing them 16 or 24 inches on center depending on your roofing material's span rating. Use hurricane ties or rafter ties at both the ledger end and the beam end, these are not optional. Wind uplift is a real failure mode for patio covers, and metal connectors are cheap insurance.
Step 4: Install roofing material
For polycarbonate panels, fasten them to purlins (horizontal supports running perpendicular to the rafters) using the manufacturer's specified screws with neoprene washers. Run panels from the low end (drip edge) upward, overlapping each panel according to the spec sheet. Cap the open ends of the panels with closure strips or end caps to keep out insects and debris. For metal panels, follow the same low-to-high sequence and use the manufacturer's fastener pattern. Add a gutter at the low end of any solid roof to direct runoff away from the patio and house foundation.
Step 5: Seal the ledger connection
Once roofing is on, seal the flashing at the top of the ledger with a compatible exterior caulk. Caulk any exposed flashing edges and around penetrations. Do not skip this step, the ledger-to-house interface is where most patio roof leaks start, and a tube of caulk is a five-minute fix that prevents years of rot damage.
Tools and materials you'll need
- Circular saw, drill/driver, and impact driver
- Level (4-foot minimum), tape measure, and chalk line
- Post hole digger or rented auger
- Concrete mix and post base hardware
- Structural lag screws or through-bolts for the ledger
- Joist hangers, hurricane ties, and post-to-beam connectors (hot-dipped galvanized or stainless for exterior use)
- Pressure-treated lumber for posts and ledger
- Roofing material of choice (polycarbonate panels, metal panels, or shade cloth)
- Z-flashing, end caps or closure strips, and exterior caulk
- Gutters and downspouts if installing a solid roof
A note on fasteners: use hot-dipped galvanized or stainless steel hardware throughout. Regular zinc-coated fasteners corrode quickly when in contact with pressure-treated lumber, especially in humid climates. The American Wood Council and US Forest Service research both back this up, the corrosion rates in treated wood under real conditions make corrosion-resistant hardware a non-negotiable, not a nice-to-have.
Weatherproofing and making it last
Getting the structure up is half the job. The other half is making sure it handles weather properly over the years.
Water runoff and flashing
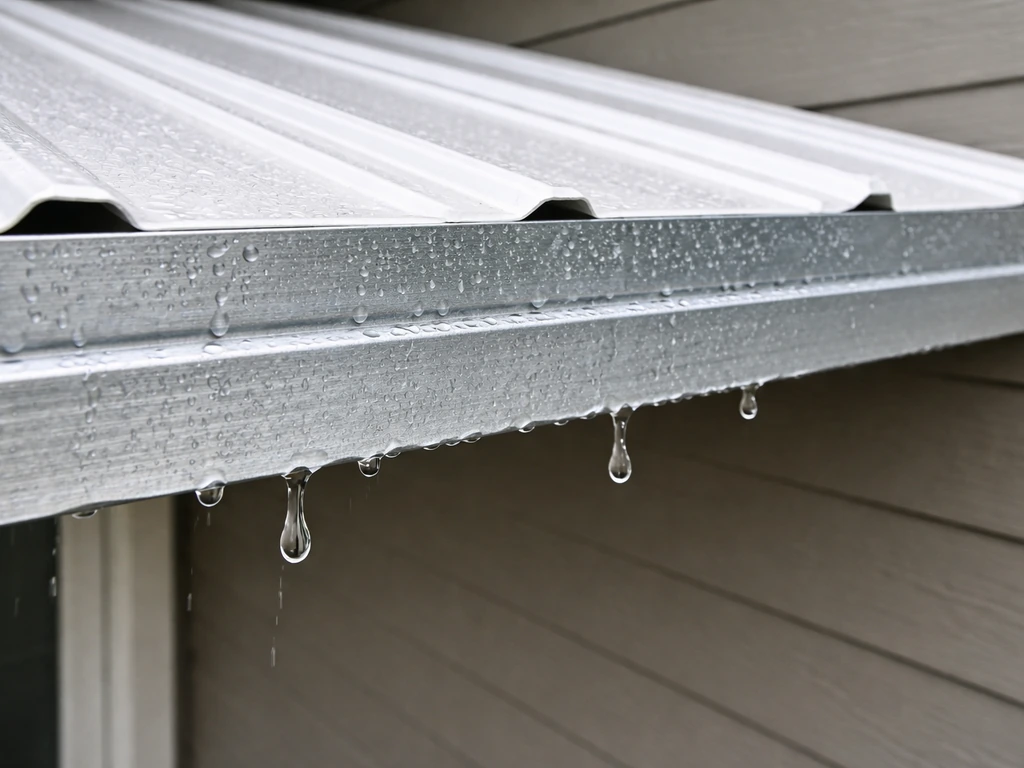
Every solid patio roof needs a clear path for water to leave. Slope the roof consistently (no flat spots), install a gutter at the drip edge, and make sure downspouts direct water at least 6 feet away from your foundation. The ledger flashing must lap correctly, Z-flashing goes behind the siding above the ledger and overhangs the front face of the ledger so water can't run behind the board. This is the detail that separates a roof that lasts 20 years from one that rots in five.
Ventilation and condensation under metal roofs
If you're installing a metal panel roof, condensation is worth taking seriously. Moisture collects on the underside of metal panels when warm, humid air meets the cold panel surface. Ventilation is the primary fix: leave a gap at the ridge or eave so air can move through the roof assembly. An appropriate underlayment between rafters and panels also helps. The NRCA Metal Panel Systems Manual and multiple industry guides emphasize that ventilation is foundational here, underlayment helps but doesn't substitute for airflow.
Wind resistance
Wind loads are the most common structural failure point for DIY patio covers. Use metal connectors at every rafter-to-ledger and rafter-to-beam connection. If you're in a high-wind area, consider adding diagonal knee bracing from posts to beams to resist lateral racking. For shade sails, make sure anchors are rated for the sail size and are bolted into structural members (framing, concrete, or steel), not just into wood siding or deck boards. Per the IBC, patio covers need to be designed to resist minimum wind and seismic loads, that's not bureaucratic language, it's practical advice.
Optional add-ons to make the space fully comfortable
Once the overhead cover is done, you can upgrade the space in stages. None of these are required on day one, but they're worth planning for so you don't have to undo work later.
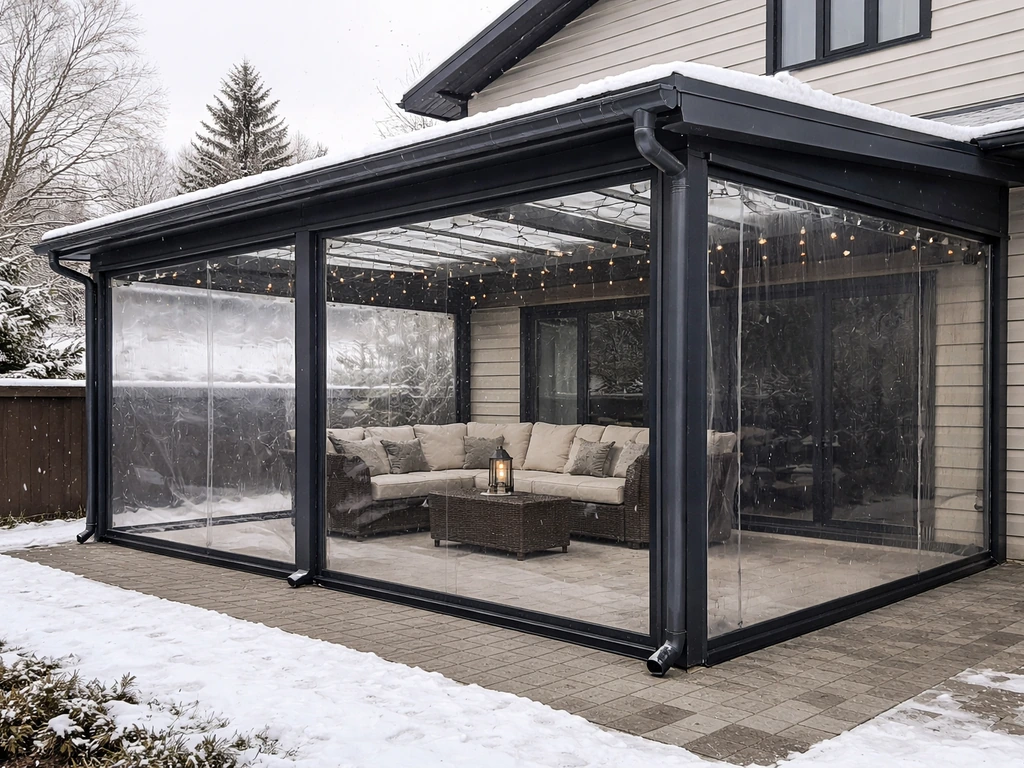
Side screens and curtains
Outdoor curtain panels on a ceiling-mounted rod are the easiest wind and privacy solution, they install in an afternoon and cost $30 to $100 per panel. For a more permanent setup, attaching screen panels or lattice between posts blocks wind while keeping the space feeling open. If you're thinking seriously about enclosing the patio, be aware that the IBC has specific rules about how much of the wall area can be glazed or screened versus open, which affects whether the structure is classified as a patio enclosure rather than a simple cover. That classification can change your permit requirements, so check before you build walls.
Lighting
String lights stapled to the underside of rafters are the simplest upgrade, and they transform the space at night. For something more permanent, surface-mount weatherproof fixtures to the beam faces or install recessed porch lights in a solid roof soffit. If you're running any permanent wiring, that work needs to meet your local electrical code, either pull a permit or hire a licensed electrician for that part.
Privacy additions
Bamboo roll shades, outdoor blinds, and cedar privacy panels all attach easily to post faces and give you visual separation from neighbors without full enclosure. These also add a layer of wind protection on the sides that see the most weather. If you want to go further and screen the whole perimeter, that's a natural extension of the patio cover project and sets you up for true three-season or year-round use. If you want to extend your patio cheaply, start by choosing an affordable cover type like an open pergola with shade cloth, then make sure slope, flashing, and hardware are done correctly so it lasts natural extension.
Common mistakes, troubleshooting, and when to call a pro
Mistakes that come up most often
- Not enough slope: A nearly-flat patio roof will pond water and leak at seams. Build in at least 1/4 inch of drop per foot of run, and more if you're in a rainy climate.
- Skipping permits on attached structures: Attaching a roof to your house wall creates liability and can complicate home sales or insurance claims if it was never inspected. When in doubt, ask your building department—most are more helpful than people expect.
- Using the wrong fasteners: Standard zinc screws in pressure-treated lumber corrode within a few years in humid conditions. Use hot-dipped galvanized or stainless throughout.
- Ledger not bolted to framing: A ledger screwed into siding or sheathing only will pull away from the house under load. Find the rim joist or studs and bolt into them.
- Shade sail installed too flat: A low-angle shade sail pools water, sags, and overstresses its hardware. Aim for that 20 to 30 degree slope minimum.
- Undersized beams or rafters: When in doubt, go up a lumber size. An undersized beam deflects noticeably and can fail under snow or wind loads.
- No gutter at the drip edge: Water sheeting off a roof edge will erode the area below and can splash back under the roof panels over time.
When to hire a professional
Most of this project is genuinely DIY-able if you're comfortable with basic framing. That said, there are situations where hiring out makes sense. If your patio cover is large (over 200 to 300 square feet), if you're in a high-wind or high-snow zone, or if your house wall attachment is complicated by stucco, masonry, or unusual framing, a licensed contractor or structural engineer is worth the cost. The same goes for any electrical work beyond plug-in string lights. Getting the ledger connection wrong on a large structure isn't just a code issue, it's a safety issue. If a permit requires engineered drawings, that's a sign the scope is beyond typical DIY territory.
The good news is that most straightforward attached patio covers, a ledger, two posts, beams, rafters, and polycarbonate or metal panels, are well within reach for a competent DIYer over one to two weekends. Plan carefully, measure twice, use the right hardware, and you'll end up with a covered outdoor space that makes your patio genuinely usable year-round. If you're deciding on the best way to cover a patio for your weather and goals, use the guidance above to pick the right cover type and setup.
FAQ
Can I cover my open patio with a “waterproof” tarp or plastic sheeting temporarily?
Yes for short-term emergencies, but avoid leaving it up long. Tarps and plastic can stretch, trap debris, and create pockets that collect water, which increases weight and wind flapping. If you do use one temporarily, leave a clear slope, fasten to structural framing (not just deck boards), and remove it before hard wind or after heavy storms to prevent damage to anchors and ledger areas.
What roof slope is safest if I’m not sure whether I should choose 1/4 inch per foot or steeper?
If you’re unsure, choose steeper rather than flatter. While a common minimum for attached roofs is around 1/4 inch per foot, steeper slopes drain faster and reduce the risk of standing water at seams. For patios that see frequent rain or freeze-thaw cycles, aim for a higher pitch where feasible, and confirm the rafters and span ratings support the added load and geometry.
Do I need a gutter on a patio roof, or can I just let water drip off the edge?
For most attached solid roofs, a gutter at the drip edge is strongly recommended. Drip-off roofs can create constant water streaking that undermines the posts, splashes onto the patio surface, and sends runoff toward the foundation. When you add a gutter, route downspouts so water discharges at least several feet away from the foundation and not toward walkways or neighbor structures.
How do I prevent leaks at the ledger if my house has siding, stucco, or different trim details?
Ledger flashing is the critical leak point, especially where the roof meets the house wall. You need to remove siding only where necessary to install flashing correctly, then ensure the ledger is fastened into rim joist or studs (not just trim). Use compatible exterior caulk at the correct interfaces, and verify flashing lapping direction before you reinstall any siding or trim so water sheds outward, not behind layers.
Can I install a shade sail nearly flat if it mostly blocks sun and not rain?
If your goal is primarily shade, you can run a lower angle, but do not plan on it as rain protection. Nearly flat installs collect water that increases sagging and can pull anchors out over time. If your area gets regular rain, keep the recommended 20 to 30 degree drainage angle, and ensure two corners are level while the third corner is raised or lowered to create consistent drainage.
How do I choose where to anchor a shade sail so it does not rip out in wind?
Anchor to structure, not cosmetic surfaces. Use hardware rated for the sail size and tie into framing, concrete, or steel members. Avoid anchoring into siding alone, deck boards, or hollow areas, because sails experience dynamic loads when fabric flaps. If the sail is large, consider having an installer verify anchor locations and tensioning to avoid asymmetric load on one corner.
What’s the safest way to handle condensation under a metal patio roof?
Plan for ventilation and a roof assembly that allows air to move. Create an air channel at the eave and ridge (or specified vent points) so moisture-laden air can escape instead of condensing on the underside. Also use the manufacturer-specified underlayment and fastening system, because incorrect layers can trap moisture even if you add vents.
Do I need to remove or retract an awning for snow season?
Usually, yes in snow-prone regions. Fabric awnings and fixed canopies are commonly rated for sun and rain, not heavy snow loads, and the article notes they are not dependable under major snow. Retract or remove before heavy snow, and confirm your specific model’s snow and wind ratings to avoid overloading brackets and wall mounts.
How can I tell if my patio cover should be treated like an enclosure for permit purposes?
Look at how much of the perimeter becomes closed with walls, screens, or glazing. The moment you add significant side closures, the structure may be classified differently from an open patio cover, which can change permit requirements and engineering needs. If you’re planning screens panels or roll-down systems, check with your local building department before installing them so you don’t have to retroactively rework the design.
What hardware mistake causes the most failures in DIY patio covers?
Using the wrong fasteners, especially standard zinc-plated hardware in contact with pressure-treated lumber. Corrosion can weaken connectors over time, which is why hot-dipped galvanized or stainless steel hardware matters. Also avoid skipping structural connectors at rafter-to-ledger and rafter-to-beam joints, since wind uplift loads concentrate at those connections.
When should I hire a structural engineer or contractor instead of DIY?
Consider help when your patio is large, your site is in high wind or heavy snow areas, your house attachment is complicated (stucco, masonry, unusual framing), or your permit requires engineered drawings. Also hire out if you are unsure about span tables, ledger attachment into structural members, or if you plan electrical beyond plug-in lighting. Getting the ledger connection wrong can create both safety and code risk.
Next Articles
How to Cover Patio for Winter: DIY Guide and Checklist
Step-by-step winter patio cover guide, DIY checklist, enclosure options, safe installation, and upkeep for cold rain and

How Can I Extend My Patio Cheaply A DIY Step by Step Guide
Step-by-step DIY ways to extend a concrete, paver, or brick patio cheaply, with leveling, base prep, costs, and quick up

Cheapest Way to Cover a Patio: DIY Shade and Roof Options
Find the cheapest patio cover options: DIY shade cloth, slats, panels, and simple pergola setups with costs and steps.