The cheapest way to cover a patio is a shade sail or shade cloth stretched between posts or attachment points, which you can install yourself for as little as $50 to $300 depending on size. If you need actual rain protection rather than just sun shade, corrugated polycarbonate panels over a basic lumber frame are the next step up, typically running $300 to $900 in materials for a modest patio. Both options are beginner-friendly, available at any home improvement store today, and can be completed in a weekend.
Cheapest Way to Cover a Patio: DIY Shade and Roof Options

Felix Brennan
30 May 2026

Shade vs. weather protection: know what you actually need
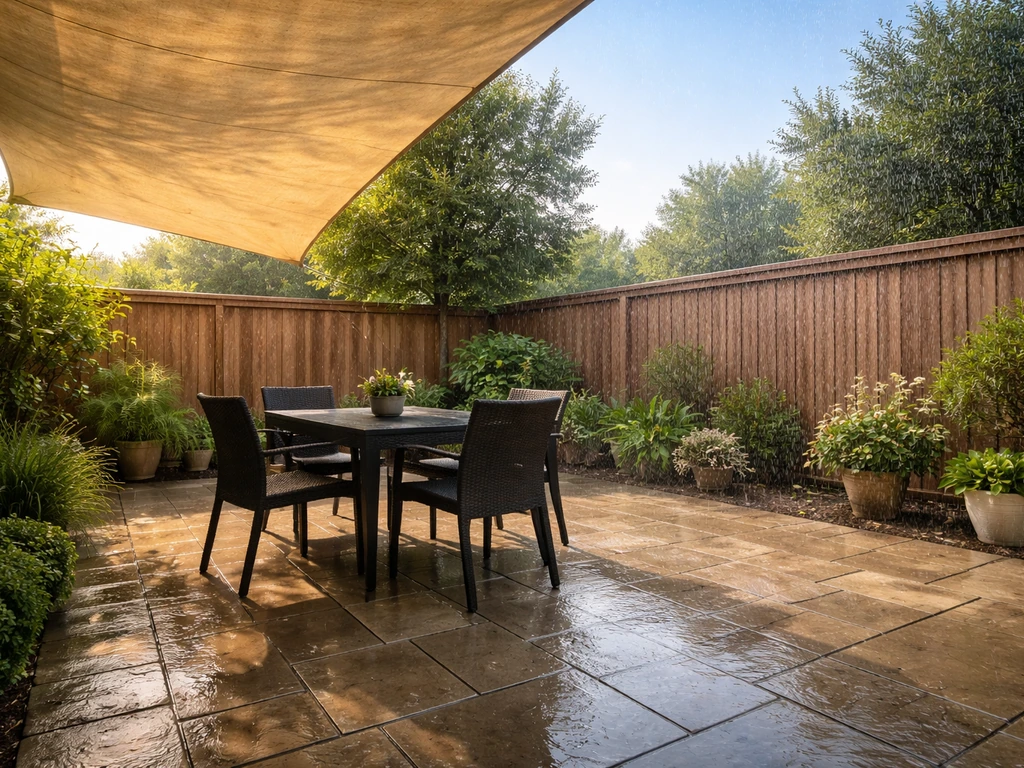
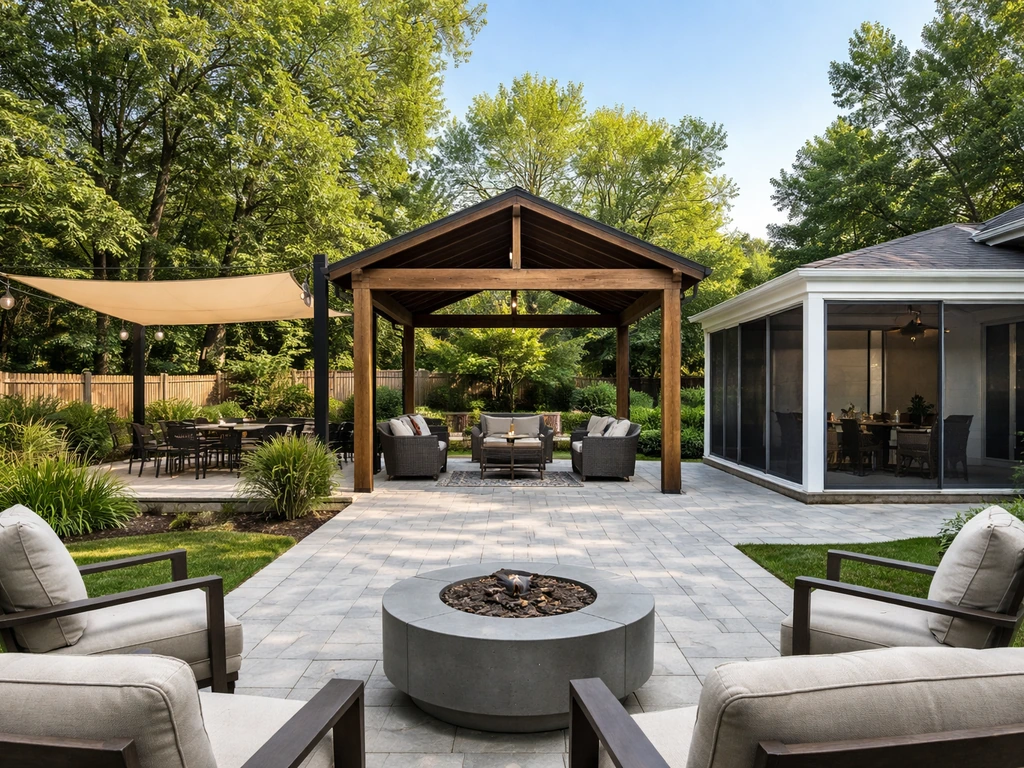
Before you price anything, decide what 'cover' means for your situation. To help you cover an outdoor patio, start by choosing what kind of coverage you need for sun and rain decide what 'cover' means. A shade sail blocks 90 to 95 percent of UV rays and makes a hot patio genuinely comfortable, but rain goes right through the gaps unless you buy a waterproof version. A polycarbonate or corrugated plastic panel roof keeps you dry in a downpour. A pergola with slats gives dappled shade and some wind break but won't stop rain. Getting clear on your goal saves you from buying the wrong thing and having to redo it later.
- Sun shade only: shade sail, shade cloth, or slatted pergola
- Rain and sun protection: corrugated polycarbonate panels, solid pergola kit with roofing, or an attached patio cover
- Wind break plus shade: shade cloth panels on a frame, or enclosed pergola sides
Quick answer: the lowest-cost options ranked
| Option | DIY Material Cost | Rain Protection | Difficulty | Best For |
|---|---|---|---|---|
| Shade sail / shade cloth | $50–$300 | No (unless waterproof sail) | Easy | Sun and UV on a budget |
| Corrugated polycarbonate panels on a basic frame | $300–$900 | Yes | Moderate | Rain + sun on a tight budget |
| Pergola kit (freestanding or attached) | $1,500–$6,000 | Partial (depends on roof) | Moderate–Hard | Permanent structure, more curb appeal |
| Retractable canopy or patio umbrella | $100–$600 | Light rain only | Very Easy | Rentals, renters, or temporary use |
| Contractor-installed patio cover | $10,000–$22,500 typical | Yes | N/A | Permanent, permitted, turnkey |
For most DIYers on a tight budget, the shade sail handles the sun problem fast and cheap. If you need to stay dry, jump straight to polycarbonate panels on a simple lumber frame. The pergola kit route is still budget-friendly compared to hiring a contractor, but it requires more planning, more materials, and often a permit.
What actually changes the price
Patio size
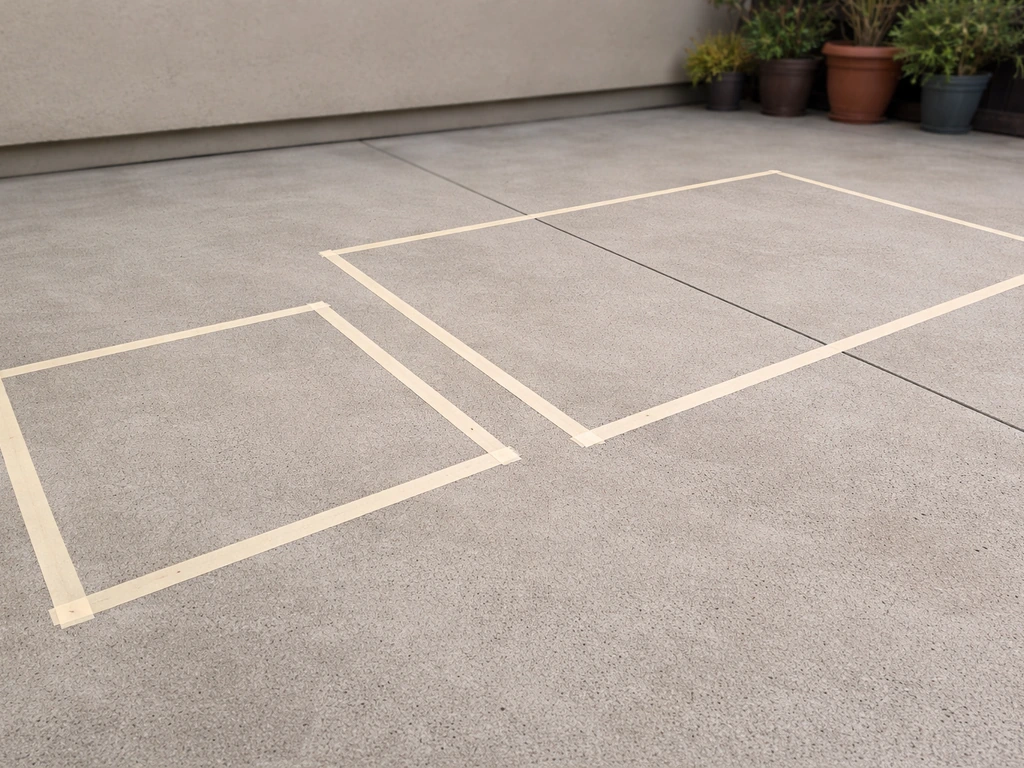
This is the biggest variable. A 10x10 foot shade sail costs a fraction of what a 16x20 foot polycarbonate roof costs in materials alone. When measuring, add about 18 inches beyond your target coverage area on each side to leave room for attachment hardware and any variation in post placement. That buffer matters more than most beginners expect.
Existing structure (attached vs. freestanding)
If your patio sits next to the house, you can often attach one end of your cover to the fascia or a ledger board, saving you the cost of two posts and a beam. Freestanding setups, where the cover has no connection to the house, require a full frame with four or more posts, which adds both material cost and complexity. Attached covers are usually cheaper and more stable, but they do require you to inspect and prep your connection point carefully.
Roof type and material
Shade cloth and sail fabric are the cheapest material per square foot. Corrugated polycarbonate panels cost more but last 10 to 15 years with proper installation. Solid wood pergola roofing costs the most in DIY materials but looks the best. Whatever you choose, cheap material combined with sloppy installation shortens the lifespan dramatically, so budget a little extra for proper hardware and fasteners.
Labor (yours vs. a contractor's)
Professional installation for a basic pergola kit on an existing foundation runs roughly $10 to $40 per square foot in labor alone, on top of materials. Doing it yourself cuts that to zero, but your time and any tool rentals count too. For shade sails and panel covers, DIY is genuinely accessible for beginners. For pergola kits with concrete footings, expect a full weekend or two.
Materials you can price and buy today
Shade cloth and shade sails
Shade cloth comes in rolls (commonly 6 to 12 feet wide) and is sold by the linear foot at most home improvement stores. It blocks 70 to 90 percent of UV depending on the knit density. Shade sails are pre-cut triangle or rectangle panels with reinforced corners and grommets, and DIY kits typically include the sail plus turnbuckles and snap hooks for tensioning. Kits start around $50 for a small triangle and go up to $300 or more for a large rectangle. Waterproof shade sails (often marketed as HDPE waterproof fabric) cost more but do shed rain. When comparing fabrics, look for ASTM D4847 compliance or NFPA 701 flame resistance rating, especially if your local code or HOA requires it.
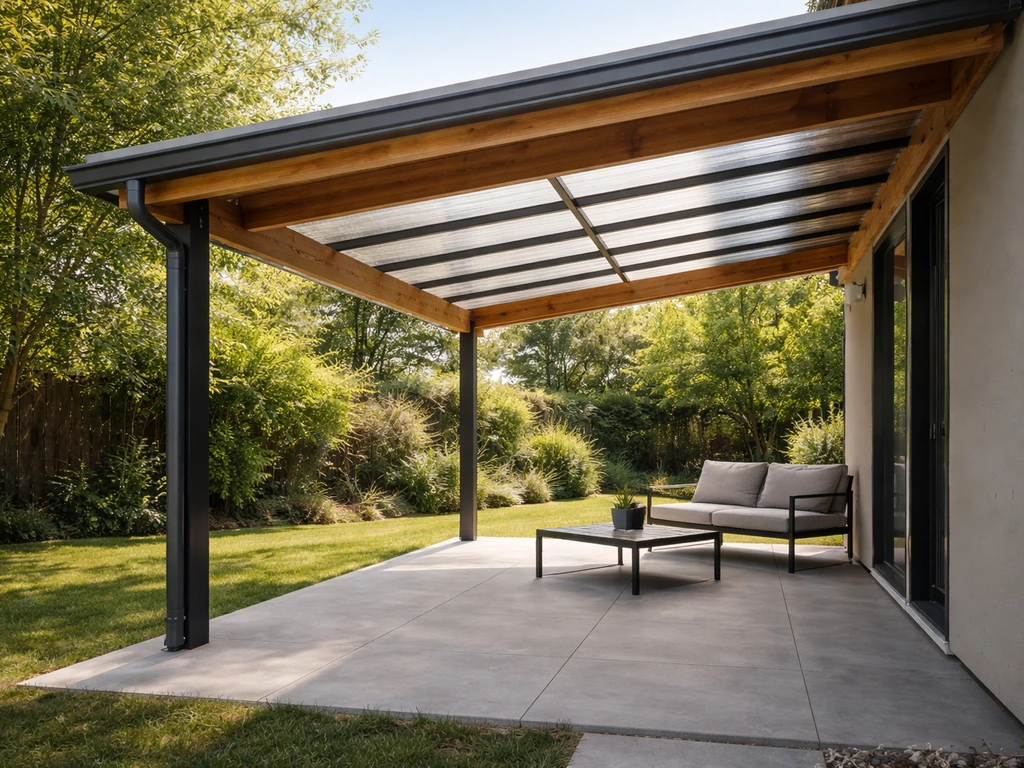
Corrugated polycarbonate panels
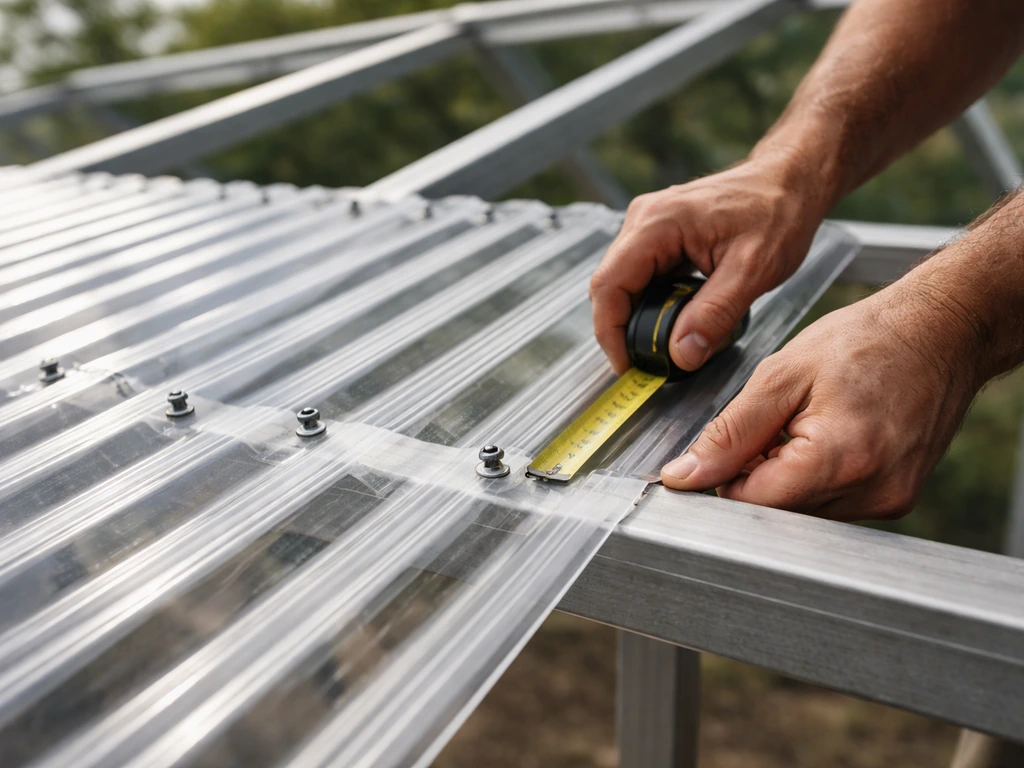
These are the clear or tinted wavy plastic panels you've seen over greenhouse roofs and budget patio covers. A standard 26-inch wide by 8-foot panel runs about $15 to $30 each, and you'll need enough to cover your patio width with at least one corrugation of overlap between panels. They let in light while blocking UV, they're lightweight (easy for one person to handle), and they handle rain well when installed at the right pitch. Always install with the UV-protected side facing up, which is marked by the manufacturer. If you flip them, the surface degrades in a season or two.
Pergola kits
Pre-engineered pergola kits come in wood, vinyl, or aluminum and include all the structural pieces with hardware. Material costs for a self-installed kit run roughly $1,500 to $6,000 depending on size and material. Aluminum kits are the most durable and lowest maintenance, while wood kits are the cheapest upfront but require staining or sealing. The kit gives you the frame; you still need to decide on a roof material (shade cloth, polycarbonate, or solid slats) and buy that separately.
Retractable canopies and patio umbrellas
A large cantilever umbrella or a simple retractable canopy on a frame is the easiest and most temporary option. Prices start around $100 for a basic setup. These are great for renters, people who need a removable cover, or anyone who wants to test a layout before committing to a permanent structure. Don't count on them for serious rain protection or high winds, though. They're comfort tools, not weather barriers.
How to install each option (step by step)
Installing a shade sail
- Measure your patio and identify three or four anchor points (posts, house fascia, fence posts, or a tree). Remember: space your anchor points about 18 inches larger than the sail's dimensions to allow for tensioning hardware.
- Check that each anchor point can support the load. Shade sails under tension pull hard, especially in wind. Screw eyes or eye bolts into solid wood studs or masonry anchors, not just siding.
- Install your posts in concrete if you're adding new ones. Dig at least 18 to 24 inches deep and let the concrete cure 24 to 48 hours before loading the post.
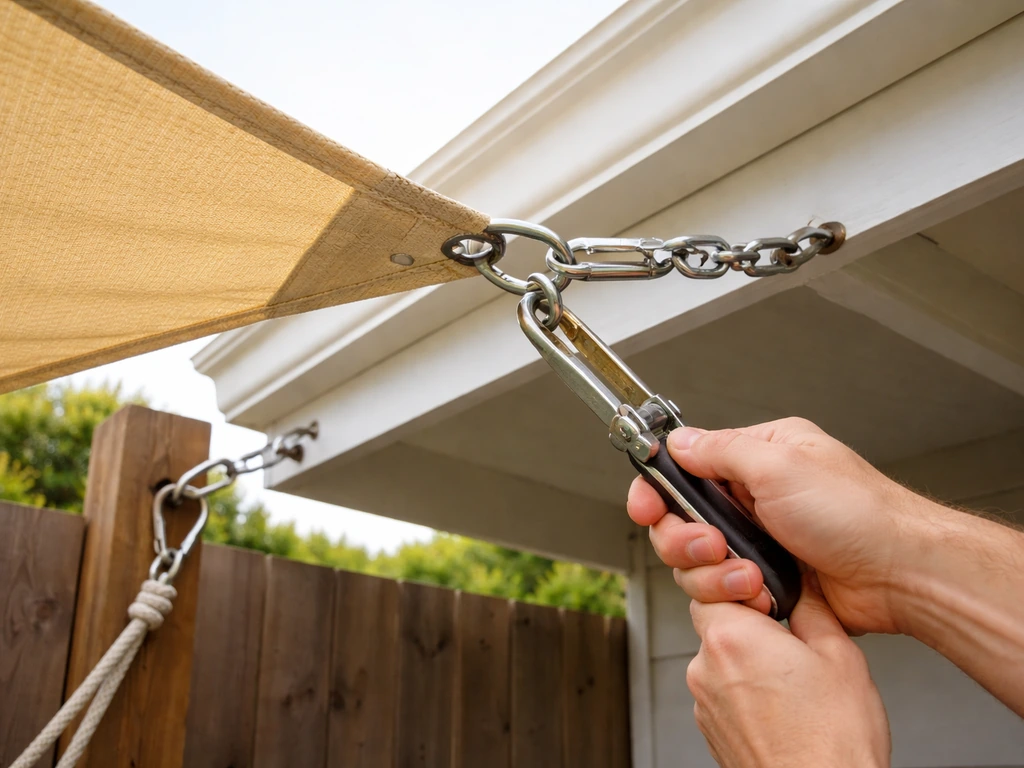
- Attach the turnbuckle hardware to each anchor point, then clip the sail's corner rings to the turnbuckles using the snap hooks included in your kit.
- Tighten the turnbuckles evenly, working corner to corner, until the sail is taut with no sagging in the middle. Follow your manufacturer's specs here, since over-tightening can damage grommets.
- For a retractable setup, install the turnbuckles on the shorter 'back' side so the hardware stays hidden when the sail is rolled or folded back.
Installing corrugated polycarbonate panels on a basic frame
- Build or use an existing frame of 2x6 or 2x8 lumber with rafters spaced 24 inches on center. The roof needs a minimum pitch of about 1/4 inch per foot to drain rain; steeper is better.
- Start laying panels from the lower end, working upward. Overlap each panel by at least one full corrugation (roughly 1 to 1.5 inches) to prevent leaks at the seams. For longer spans, aim for at least a 4-inch overlap.
- Drill pilot holes in the flat (not the peak) of the corrugation for each fastener, and make the hole slightly larger than the screw shaft diameter to allow for thermal expansion. Polycarbonate expands and contracts noticeably with temperature changes, and tight holes cause cracking.
- Use screws with neoprene washers or purpose-made polycarbonate fasteners, which seal the hole as you drive the screw.
- Apply closure strips or foam closures at the upper and lower edges to block water, debris, and insects from getting under the panels through the corrugation gaps.
- Seal overlapping seams with compatible sealant if your climate gets heavy rain. Check the manufacturer's recommendation for your specific panel product.
Installing a pergola kit
- Read the entire kit manual before touching a tool. Every kit is slightly different, and improvising mid-build causes problems.
- Mark and dig post footings according to the kit's specified depth (usually 24 to 36 inches depending on your local frost line and soil). Check local code for minimum footing dimensions.
- Set posts in concrete and let them cure fully before attaching beams. Rushing this step is the most common beginner mistake.
- Attach the main beams and cross beams according to the kit sequence. Use a level constantly. Out-of-square at the beam stage means everything downstream is off.
- Add your chosen roofing material (shade cloth, polycarbonate, or wood slats) once the frame is complete and square.
- If the pergola is attached to the house, the ledger board connection is critical. Use lag screws into structural framing, not just siding, and follow code requirements for flashing to prevent water infiltration behind the ledger.
Permits, safety, and weather: what to sort out before you build
Do you need a permit?
Most cities require a building permit for any permanent patio cover, whether it's attached to the house or freestanding. Some jurisdictions, like Garland and Richardson, TX, require plot plans showing all existing and proposed structures, plus a roof-framing plan that specifies framing member sizes, spacing, spans, and wood species. Even where small shade structures might be exempt, your local authority likely still requires the structure to resist wind and snow loads. Call your city's building department before you pour a single footing. It's a 10-minute conversation that can save you from having to tear something down.
The 2024 IRC Appendix BF covers patio covers specifically and relaxes some standard code provisions for things like ventilation, height, and screen materials, but structural design loads still apply. The minimum design load is 10 pounds per square foot vertically, plus wind resistance, which is why a cheaply built frame that 'looks sturdy' can still fail inspection or collapse in a storm.
HOA rules and setbacks
Check your HOA guidelines before buying materials. Many HOAs restrict approved materials, colors, and structure heights. Separately, zoning setback rules commonly require structures to sit at least 20 feet from a street-facing property line, with other setbacks varying by zoning district. A shade sail on temporary posts might fly under the radar, but anything with a concrete footing is permanent in your jurisdiction's eyes.
Anchoring and wind safety
Undertensioned shade sails flap and tear in wind. Over-tensioned ones pull anchors out of walls. Both situations can damage your house or injure someone. Use the hardware included with your kit and anchor into structural members, not just surface material. RetractaShade’s installation instructions also emphasize using the correct hardware and attaching the turnbuckles to the wire so the tensioning hardware stays hidden when the shade is retracted anchor into structural members. For polycarbonate roofs, the panel system needs to be secured to the frame firmly enough that individual panels can't lift in an upward wind gust, which is an underappreciated failure mode for DIY patio roofs.
Fire safety for fabric covers
Not all outdoor fabric is flame-resistant. If you're near a grill, fire pit, or in a region with wildfire risk, choose fabric that meets NFPA 701 (Test Method 2) or CPAI-84 fire standards. Budget shade cloth from a discount bin typically carries no certification. Spend a bit more for rated fabric, especially for a permanent installation.
Picking the right option for your patio
Here's a simple way to think through the decision. Start with your goal: is this about beating the afternoon sun, staying dry in rain, or both? Then look at your patio size and existing attachment points. Finally, set your realistic budget including materials and hardware, not just the cover itself.
- Sun only, budget under $300, patio under 12x12 feet: buy a shade sail kit and install it this weekend
- Sun only, larger patio or permanent look: shade cloth on a simple lumber frame or a basic pergola kit with open slat roof
- Rain protection needed, budget under $1,000: corrugated polycarbonate panels on a simple attached frame is the best value
- Rain protection needed, budget $1,500+, want a real structure: pergola kit with polycarbonate or solid roof panels
- Renting, or just testing: a retractable canopy or large patio umbrella, no commitment required
Your next steps right now
- Measure your patio length and width and write it down. Add 18 inches on each side for hardware clearance if you're going with a shade sail.
- Identify your attachment points: house fascia, fence posts, or where you'd sink new posts. Check that each point is structurally solid.
- Call or check your city's building department website to find out whether your planned structure needs a permit. This takes 10 minutes and determines everything.
- Price your top two options at your local home improvement store using your measurements. Get actual panel or fabric counts, not just estimates.
- Check your HOA rules if applicable, then buy materials and block off a weekend to install.
If rain protection is part of your goal, the polycarbonate panel route is genuinely beginner-accessible and gives you a weatherproof outdoor space for a fraction of what a contractor would charge. If you just need shade, a sail gets you there this afternoon. Either way, measuring accurately, anchoring properly, and checking permits first are what separate a cover that lasts years from one that comes down in the first storm. A patio railing cover is a different job than a full patio roof, so plan the structure and waterproofing accordingly. If you’re wondering how to cover an open patio, use the same approach: decide your goal, pick a suitable cover type, and plan the attachment and weather protection details before you buy. If you want to keep costs down, focus on extend-and-reuse strategies like choosing an attachment-friendly cover and adding only what you need how can i extend my patio cheaply.
FAQ
What’s the cheapest option if I need it to actually handle rain sometimes, not just sun?
If your main goal is the cheapest “usable” cover, start with a shade sail or waterproof shade fabric rather than standard shade cloth. Plain cloth/sails often block sun well but will still let rain through, so you can end up paying twice if you buy the wrong material for your definition of cover.
How do I measure for the cheapest cover without getting gaps or sagging?
For shade sails, measure width and length plus an extra margin for turnbuckles and corner hardware, then plan for a slight slope so water can run off. A flat or poorly pitched sail tends to pool water, which increases tearing risk and makes the cover sag over time.
What’s the most common reason the cheapest patio covers fail in wind?
In high winds, a “cheap” fabric roof often fails due to bad anchoring. Anchor into structural members (studs/ledger beams) and use hardware rated for tensioning, not screws into siding or fascia alone, because surface-only mounting can pull out.
Can I combine cheap materials to get better weather protection without building a full roof?
A pergola with slats can still be the cheapest “semi-permanent” approach if you add panels only over the most used area (like the center cooking zone) instead of covering the entire footprint. This hybrid approach usually costs less than full waterproof roofing.
What’s the cheapest cover that won’t be a permanent build if I might move?
If you’re renting or want something removable, a retractable canopy or cantilever umbrella is often the lowest-cost trial option. Just assume it won’t meet storm-weather needs, and avoid drilling into permanent structures unless your landlord approves.
Is an attached cover always cheaper than a freestanding one, and when does it stop being cheaper?
If attaching to the house is possible, it’s usually cheaper because you can reduce post count and beam cost, but you still need a solid ledger connection. If your fascia or trim is weak, the “cheap” attached route can become more expensive after repairs or rework.
What costs do beginners forget when pricing the cheapest patio roof panels?
Don’t compare only cover material price per square foot, include overlap, fasteners, and framing. For corrugated panels, you need correct overlap and a pitched installation, otherwise you can get leaks and have to redo sections, which wipes out the initial savings.
Do I need a permit for the cheapest patio cover, and what can get me in trouble?
Check your local rules for permit requirements even for small shade structures, then plan for structural design loads. Cheap-looking frames can still fail inspection if they do not meet wind and snow requirements, especially if the cover is attached or has significant height.
How can I keep costs low but still choose a safer shade fabric near a grill?
For flame safety, avoid “budget” outdoor fabric with no fire rating if you are near a grill or fire feature. Look for documented flame-resistance performance, because a low-cost fabric can be technically the right size but unsafe for the location.
What’s the cheapest way to upgrade an existing shade setup without replacing everything?
If you already own a shade sail kit, you can often reduce cost by extending coverage incrementally, like adding a second smaller sail segment for afternoon sun rather than replacing a whole system. Add only when the layout and anchoring points can support the next section.
Next Articles
How to Cover Your Patio: Shade, Roof, or Enclosure DIY
Step-by-step DIY guide to cover a patio with shade, roof, or enclosure, including materials, layout, safety, and upkeep.
Best Way to Cover a Patio: DIY Options, Steps, Tips
DIY guide to choosing and installing the best patio cover for shade, rain, wind, and style with clear steps.

How to Cover Patio From Rain: DIY Options and Steps
DIY steps to cover patio from rain: choose awning, canopy or enclosure, plan pitch, flashing, overlap, drainage, sealing