
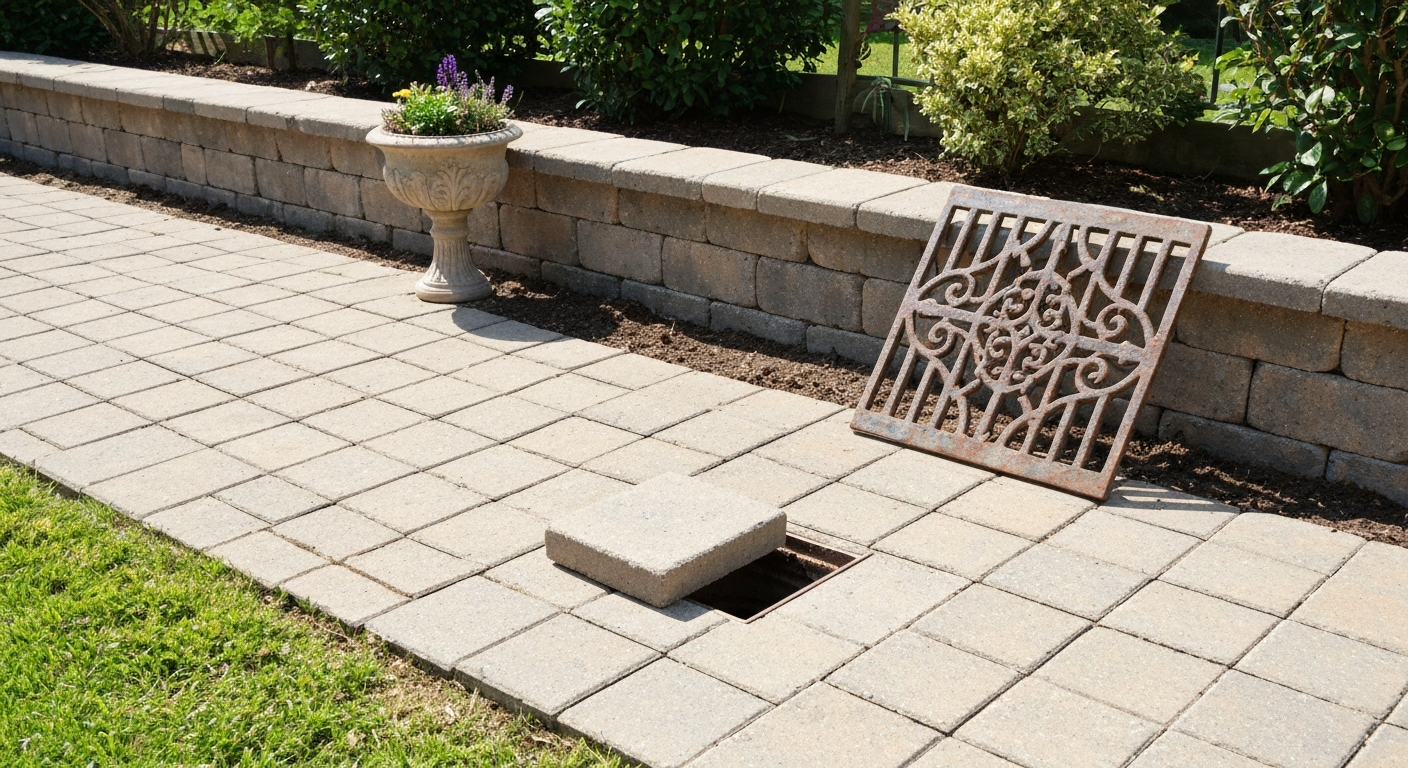
You can disguise a drain cover in your patio using decorative replacement grates, paver-compatible insert covers, removable decking panels, or planters staged around the grate, but the method you choose depends on your drain type, how often you need access, how much foot traffic the area gets, and whether your local code or HOA puts limits on what you can install over a drain. Every approach in this guide keeps drainage flowing and leaves the drain reachable for cleaning and inspection, because covering a drain so completely that it stops draining or becomes impossible to service creates bigger problems than the ugly grate you started with.
How to Disguise Drain Covers in Patio: Safe, Code‑Smart Tips

Felix Brennan
30 Jul 2026
What This Guide Covers (and Why Safety Comes First)
We'll walk through every practical option for hiding patio drain covers, from the simplest decorative swap to more involved paver-insert systems. Along the way we cover how to assess your drain before you touch anything, which situations should make you stop and call a plumber or your building department first, and exactly what tools and materials each method requires. We also keep cost real: prices for most residential solutions run from about $15 for a basic decorative cast-iron grate swap to $200 or more for a paver-slot trench drain conversion. One more thing to note before diving in: if you're also trying to hide an AC unit, a grill, or unsightly extension cords on the same patio, each of those has its own set of ventilation and access requirements worth reading about separately, the principles overlap, but the specifics differ.
Quick Compliance and Site-Assessment Checklist
Before you buy anything or start drilling, spend 10 minutes doing this assessment. It will save you from installing something you have to rip out later because it blocked flow, failed inspection, or violated your HOA agreement.
- Identify your drain type: Is it a simple round catch basin (6", 9"x9", or 12"x12" are the most common residential sizes), a linear trench drain, a floor drain connected to your home's plumbing, or a municipal stormwater inlet? Catch basins and trench drains are the most DIY-friendly to disguise. Drains tied directly into your home's sanitary plumbing system typically require a licensed plumber for any modifications.
- Check the existing grate opening size: ADA standards require that floor or ground-surface openings not allow a sphere greater than 1/2 inch (13 mm) to pass through. Elongated bar openings must run perpendicular to the direction of pedestrian travel to prevent heel-trapping. Any replacement grate needs to meet these same rules.
- Measure your surface slope: Industry guidance (ICPI and most manufacturer specs) calls for a minimum 1.5% surface slope — ideally 2%, which works out to roughly 1/4 inch drop per foot — pitched away from structures. If water isn't moving toward your drain naturally, adding a cover that reduces open area will make pooling worse.
- Confirm access requirements: The International Plumbing Code requires that drain inlets remain accessible. 'Accessible' in code language means a person can reach and service the drain without major demolition. Decorative grates and hinged paver panels generally satisfy this. Mortared pavers placed directly over a drain do not.
- Check load requirements: A patio used only by people walking on it typically falls into pedestrian load class (EN 124 Class A15 or B125). If vehicles ever park or drive on the patio surface, you need a grate rated for that — at minimum AASHTO H-20 loading. Residential plastic grate covers are not rated for vehicle loads.
- Look up local code and HOA rules: Some municipalities require permits for drain modifications. Some HOAs prohibit changes to drainage infrastructure visible from the street. A quick call to your local building department or a review of your HOA CC&Rs takes 15 minutes and prevents fines.
- Locate all cleanout and inspection access points: Mark them with tape or chalk before you start any work so you don't accidentally cover the wrong one.
When You Should Not Disguise a Drain
Most patio drains are fine to dress up with the right approach. But there are situations where you should stop, step back, and deal with the underlying issue first.
- The drain is already underperforming: If standing water collects around the drain after a normal rain, the drain is clogged, undersized, or the slope is wrong. Adding any decorative cover — even one with full open area — will make this worse. Fix the drainage problem first.
- The drain is a sanitary or sewer-connected floor drain: Modifications to drains tied into your home's sanitary sewer typically require a licensed plumber and possibly a permit. Don't cap, cover, or modify these without professional involvement.
- The cover sits in a vehicle path: Standard decorative grates sold for residential patios are rated for pedestrian loads only. If a car, truck, or heavy equipment ever crosses that surface, you need a ductile iron or heavy-duty grate conforming to ASTM A536 (ductile iron, grade 65-45-12) or ASTM A48 (gray iron) and rated for AASHTO H-20 loading or equivalent.
- You can't identify where the drain outlets: If you don't know where the water goes after it enters the drain, don't restrict the inlet in any way until you find out. A blocked inlet on a drain connected to a failing pipe can back water up under your patio slab.
- The grate is actively part of a permitted drainage system: Some municipalities treat patio drains that connect to public storm infrastructure as their infrastructure. Modifying the inlet without approval can violate ordinances and make you liable for downstream issues.
- There is visible cracking, settling, or heaving around the drain frame: This signals a structural or pipe problem underneath. Disguising it delays a repair that will eventually cost much more.
How to Choose the Right Approach
Use this decision guide to narrow down your options before reading the detailed sections. The five main methods we cover are: decorative replacement grates, paver-compatible covers and risers, removable decking panels, planter or raised-bed staging, and artistic screens or surrounds. If you also need ideas for concealing a larger appliance, see our guide on how to hide ac unit on patio. For similar camouflage ideas for outdoor equipment, see how to hide air conditioner on patio. Each one suits a different combination of drain type, access frequency, load, slope, and how much you want the drain to disappear visually. If you're planning outdoor entertainment, also see our guide on how to watch TV outside on your patio for tips on equipment placement, weatherproofing, and viewing angles. For related outdoor-tidy solutions, see our short guide on how to hide extension cords on patio to keep power runs discreet and safe while you disguise drain covers. If you're also planning to add outdoor electronics, read guidance on whether you can put a regular TV on a covered patio.
| Approach | Best Drain Type | Access Frequency | Load Rating | Visual Concealment | DIY Difficulty | Typical Cost |
|---|---|---|---|---|---|---|
| Decorative replacement grate | Round catch basin, square basin, trench drain | Any — grate lifts out | Pedestrian to light vehicle (depends on material chosen) | Low to medium — grate is still visible but attractive | Easy | $15–$120 |
| Paver-compatible cover / riser insert | Square or round catch basin, trench drain | Occasional — panel lifts out | Pedestrian (plastic) to vehicular (concrete paver on metal frame) | High — blends with patio surface | Moderate | $40–$200+ |
| Removable decking panel | Any surface drain not requiring constant ventilation | Occasional to frequent | Pedestrian only | High — looks like part of the deck | Moderate | $30–$150 in materials |
| Planter / raised bed staging | Any drain where plants won't root into pipe | Infrequent — move planter to access | N/A — no load on grate | High — drain is visually blocked from view | Easy | $20–$80 for planters |
| Artistic screen or surround | Any drain on open patio | Infrequent — move screen to access | N/A | Medium — conceals from sightlines but not from above | Easy | $25–$100 |
A few rules of thumb: if the drain needs cleaning every month (common in areas with heavy leaf fall or tree debris), choose an approach where the grate or cover removes in seconds without tools. If the drain sits flush in the middle of a paver field and you want it to disappear completely, the paver-insert system is your best option even though it costs more and takes more time to install. If budget is the main constraint, a well-chosen decorative grate gets you 80% of the visual improvement for the least money and effort.
Option 1: Decorative Replacement Grates
Swapping out a plain utility grate for a decorative one is the fastest, most reversible, and most affordable way to improve the look of a drain cover. Instead of a painted steel grid that screams 'utility drain,' you install a cast-iron, stainless-steel, or bronze grate with a geometric or natural pattern, leaves, rings, stars, grid patterns, that reads as a deliberate design choice rather than an eyesore. The drain still does exactly what it always did, the grate lifts out the same way for cleaning, and you haven't touched any plumbing.
This approach works best when the drain is a standard-size round or square catch basin (6" round, 9"x9", or 12"x12" are the most common residential footprints) or a trench drain with a standard channel width. It's less suitable for oddly-sized or custom frames unless you're willing to also replace the frame, and it doesn't make the drain 'disappear' the way a paver-insert system does, the grate is still visible, it's just much better-looking. If your goal is maximum visual integration with your patio surface, skip ahead to the paver-compatible cover section.
Materials, Tools, and Cost
Most decorative grates for residential patios come in cast iron, ductile iron, stainless steel, bronze, or resin/polymer composite. Cast iron and ductile iron (the latter conforming to ASTM A536 for quality assurance) are the most durable for outdoor use and handle pedestrian loads comfortably. If you also need to anchor heavy outdoor equipment, see our guide on how to secure a grill to a patio for mounting and load-distribution tips. Stainless steel looks sleek and resists corrosion well in wet climates or near pools. Resin composites are the cheapest option and fine for low-traffic areas, but they can crack under point loads from furniture legs over time. For steel components where corrosion is a concern, look for grates with a hot-dip galvanized finish per ASTM A123.
| Material | Typical Cost (residential size) | Load Suitability | Corrosion Resistance | Aesthetic Range |
|---|---|---|---|---|
| Cast / ductile iron | $20–$80 | Pedestrian to light vehicle | Good with paint or coating; rusts if coating fails | Wide — many decorative patterns available |
| Stainless steel | $40–$120 | Pedestrian | Excellent | Modern / minimalist patterns mostly |
| Bronze / brass | $60–$150+ | Pedestrian | Excellent | Classic, upscale look |
| Resin / polymer composite | $15–$40 | Pedestrian only (light loads) | Very good | Limited patterns; usually simpler designs |
| Galvanized steel | $20–$60 | Pedestrian to light vehicle | Good (depends on coating integrity) | Functional to decorative depending on design |
Tools you'll need: a flat-head screwdriver or grate-lifting key (sometimes called a 'pick'), a wire brush, a measuring tape, and optionally a level and a garden hose to test drainage after installation. No power tools are required for a straight grate swap.
Step-by-Step Installation
- Measure the existing grate and frame opening accurately — length, width, and the depth from the top of the frame to the water surface or pipe inlet. Write these down before ordering anything. Most manufacturers list 'overall' dimensions and 'clear opening' dimensions separately; you need the clear opening to match.
- Order a replacement grate that fits the existing frame. You want a grate that drops into the same frame so you don't have to disturb the patio surface at all. Confirm the new grate's slot or opening size meets ADA requirements (no opening larger than 1/2 inch in any direction, or elongated slots oriented perpendicular to foot traffic).
- On installation day, use a flat-head screwdriver or grate key to pop up the old grate. Some residential grates are secured with a single bolt in the center — remove that first.
- Clean the frame channel with a wire brush. Remove any debris, concrete splatter, or old caulk that might prevent the new grate from sitting flat. A grate that sits proud of the surface is a trip hazard.
- Lower the new decorative grate into the frame and confirm it sits flush with (or no more than 1/8" above) the surrounding patio surface. Any lip higher than 1/4" creates a potential trip hazard and may not pass a code inspection.
- If the grate has a locking bolt, finger-tighten it now. Do not overtighten cast-iron hardware — it can crack.
- Run a garden hose at the drain for 2–3 minutes and confirm water flows freely through the new grate and doesn't pool on the surface. If flow looks slower than before, compare the open-area percentage of your new grate against the old one — manufacturers publish this figure on spec sheets. A clogging allowance of roughly 50% is commonly used in drainage engineering, meaning your grate's effective flow capacity under real-world debris conditions is about half its rated open area. Choose a grate with more open area than you think you need.
- Note the access procedure for your household: remind anyone who maintains the drain that the grate lifts out the same way as before.
Maintenance and Seasonal Tips
Decorative grates with tighter or more ornate patterns tend to catch debris faster than plain utility grates. In areas with significant leaf fall, plan to clear the grate surface every few weeks in autumn. Lift the grate completely twice a year, spring and fall are good times, and flush the basin below with a hose to prevent sediment buildup. Older EPA storm‑drain design guidance notes designers commonly apply a clogging allowance, often assuming only about 50% of grate open area is available under clogged conditions, when estimating inlet capacity and required inlet area Combined Sewer Regulation and Management — historical EPA guidance (discussion of grate clogging and allowance). In climates that freeze, check that water isn't pooling above the grate before a hard freeze; a frozen drain cover can crack cast iron. Cast-iron grates with a painted or epoxy finish need touch-up every few years to prevent rust, especially in humid or poolside environments.
Option 2: Paver-Compatible Covers and Risers
If you want the drain to genuinely disappear into your patio surface, a paver-compatible cover system is the way to do it. These products, sold by manufacturers like Zurn (the Z886-PVS paver-slot trench drain is a widely cited example) and NDS (Pro-Series channel and catch basin lines), use a metal or polymer frame with a recessed slot or tray sized to hold an actual paver, cut stone, or composite infill panel. When installed correctly, the surface of the drain looks identical to the surrounding patio material. You see a seam, not a grate.
For round or square catch basins, the equivalent product is a paver-insert basin cover: a metal frame that drops into or bolts to the existing basin rim, with a recessed interior sized to hold a cut paver or tile that matches your patio. The paver or tile lifts out when you need drain access, no tools required if the system is installed correctly. For trench drains, paver-slot channels from manufacturers like Zurn include a modular channel body (often HDPE, described as UV-stabilized in manufacturer specs), a metal frame, and a slot that accepts pavers or paving material in the grate opening so the channel visually blends with the hardscape on either side while remaining fully serviceable.
This approach requires more planning and a moderate level of DIY skill, you'll need to cut a paver to fit the insert, set it at the right height relative to your patio surface, and make sure the weight of the paver infill doesn't impede removal for cleaning. But the visual result is far superior to any decorative grate, and the system meets access requirements because the paver panel is removable. Zurn's paver-slot product pages specify load classes that range from pedestrian to vehicular depending on grate and frame choice, confirm the spec sheet for the product you buy matches the load your patio surface experiences. Many U.S. municipal specifications (such as the City of Germantown standard specifications, AASHTO HS20 requirement for frames & grates) require inlet frames and grates to meet AASHTO HS20/H‑20 loading for roadways or vehicle‑bearing areas, while lighter pedestrian classes may be acceptable for strictly pedestrian zones at the authority having jurisdiction's discretion City of Germantown standard specifications — AASHTO HS20 requirement for frames & grates.
One important planning note: paver-insert covers work best when installed at the time you're laying or re-laying the surrounding pavers, because getting the height exactly right, the paver infill sitting flush with the surrounding surface, is much easier when you can adjust the base material and frame height as you go. Retrofitting a paver-insert cover into an existing finished patio is doable but requires careful measurement and sometimes minor demo of adjacent pavers to set the frame correctly.
FAQ
What is the short answer to the core question: How can homeowners disguise drain covers in a patio while preserving drainage, code compliance, and access?
Use solutions that leave the inlet open and maintain required flow area and access. Good options are decorative or paver‑compatible grates, removable decking/paver panels over a frame, planter/raised‑bed disguises with a removable liner or lid, or an artistic screen mounted off the inlet. Before any work, verify drain type, slope, and local code/AHJ/HOA requirements; choose materials and load rating for expected use; and make the disguise removable for inspection and cleaning. Each approach must preserve open area, orientation (ADA/heel‑proof), and access for maintenance.
Quick compliance and site‑assessment checklist (what to confirm before deciding)
1) Identify drain type: floor drain, trench/linear drain, catch basin, channel, slot/paver trench. 2) Confirm drainage direction and slope: patio should have ~1.5–2% slope (1/8–1/4" per ft) to drain inlets. 3) Check access needs: is the drain used for routine cleaning, trap access or to receive roof runoff? 4) Confirm loading: pedestrian only or occasional vehicles—select EN124/AASHTO/AASHTO equivalent load class accordingly (A15/B125 or higher). 5) Verify local code/AHJ/HOA rules: inlet openings, trap access, permitted materials, and emergency flow requirements. 6) ADA/heel‑trap check: openings must not allow a 1/2" sphere or elongated slots must be oriented correctly if pedestrian traffic is expected. 7) Locate utilities nearby (AC, grill gas, TV, cords) to avoid blocking ventilation or access. 8) Note debris sources (trees, roof runoff) to size open area/grate appropriately and plan for more frequent maintenance.
What practical design options work best (concise list)?
1) Decorative cast‑iron or stainless grates sized to match original inlet. 2) Paver‑compatible grates or paver‑slot trench drains that accept paver material in the reveal. 3) Removable decking or paver panels on a maintenance frame over the inlet. 4) Planter or raised‑bed disguise with a removable liner/lid above the inlet. 5) Artistic metal/wood screen or tile inlay mounted to a removable frame that preserves open area. 6) Low‑profile slotted channel with replaceable/flush cover for linear drainage. Each preserves drainage only if the grate/opening area and orientation are kept intact and access is maintained.
Which options are top picks for most homeowners, and why?
1) Paver‑compatible grates — best visual match when using pavers; maintain hydraulic capacity and access. 2) Decorative grates (cast or stainless) — easy swap, high load ratings, durable and attractive. 3) Removable decking/paver panels — great when you need to hide a larger basin, allow full access for maintenance, and adapt to multiple surface materials. These are top picks because they blend well, allow required open area, and are serviceable.
Step‑by‑step installation: Paver‑compatible grate (for a paver patio)
1) Assess: confirm trench channel size and paver thickness. 2) Buy a paver‑slot grate sized to channel (match manufacturer model). 3) Remove old grate and clear channel of debris. 4) Install manufacturer recommended frame/adapter per spec (ensure frame is level and secured). 5) Dry‑fit pavers into the grate reveal to confirm fit and orientation. 6) Mortar or set pavers per paver system instructions if required by the grate (some allow loose paver insertion). 7) Ensure gap/open area meets hydraulic needs—do not fully grout over the slots. 8) Test: run water to confirm flow and inspect for leaks or pooling. 9) Label location for future maintenance. This preserves drainage because the slots remain open and the channel remains accessible for removal of the grate/pavers.
Step‑by‑step installation: Decorative removable grate replacement (cast/stainless)
1) Confirm original grate dimensions, frame type, and load class needed. 2) Purchase a replacement decorative grate/frame certified to appropriate load spec and with adequate open area. 3) Turn off any connected flows if needed; clear debris from the basin. 4) Remove old grate/frame hardware. 5) Install new frame per manufacturer instructions—use appropriate anchors and level the frame to maintain patio slope to inlet. 6) Fit and secure the decorative grate; ensure it is removable without tools if frequent access is needed. 7) Run a water test to verify inlet capacity. This preserves drainage by providing equivalent or greater open area and matching flow orientation/slot design.
Next Articles
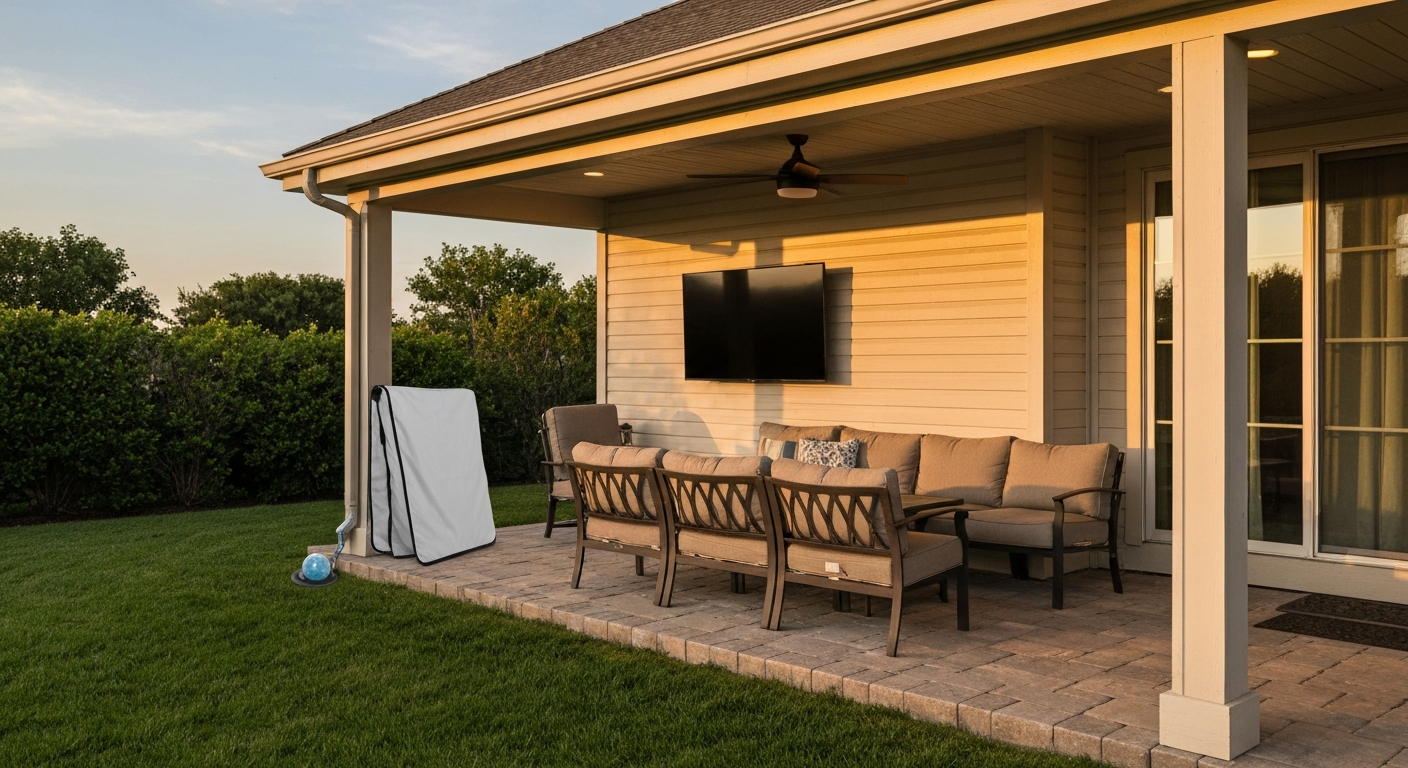
Can You Put a Regular TV on a Covered Patio? Practical Guide
Can you put a regular TV on a covered patio? Practical verdict, safety risks, wiring, weatherproofing, and checklist.
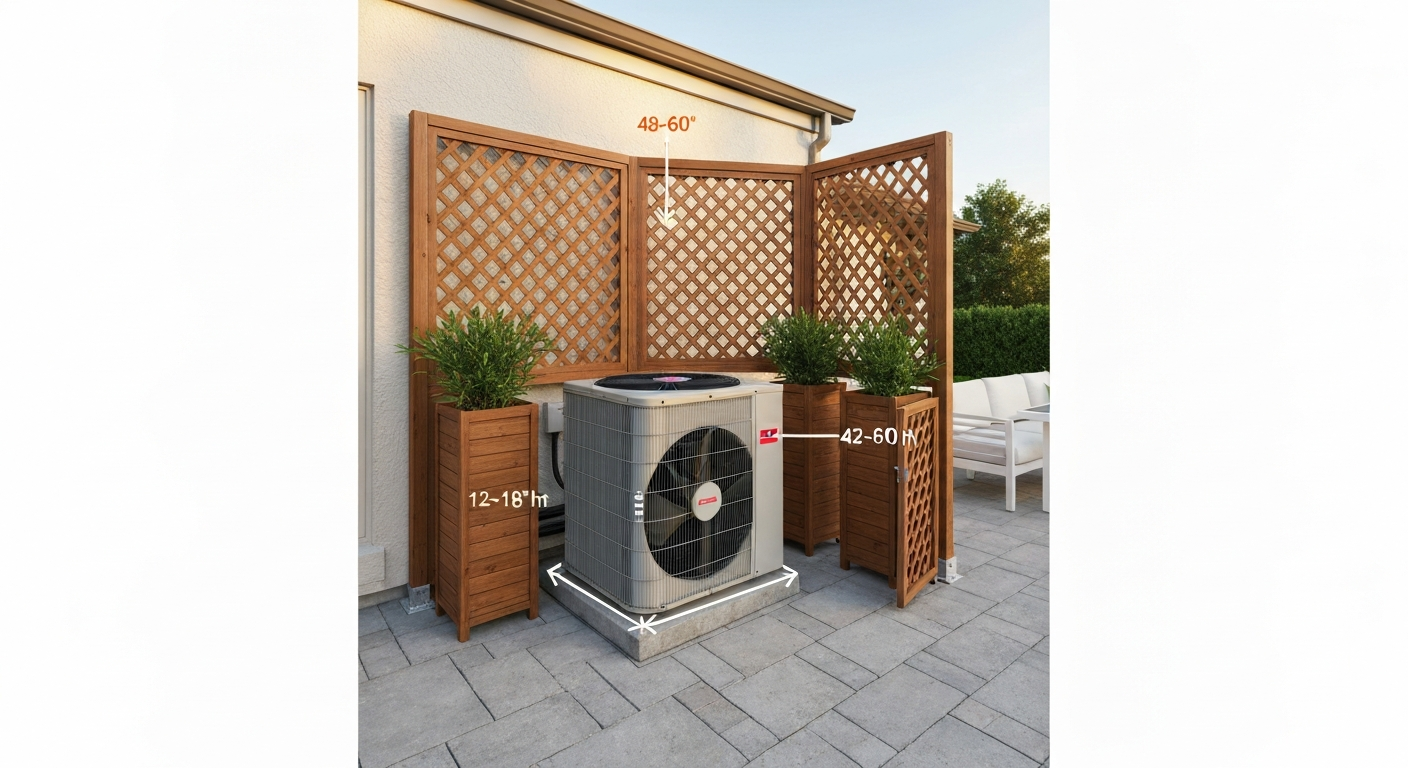
How to Hide Air Conditioner on Patio: DIY Screens, Enclosures
Hide an outdoor AC on your patio: DIY screens, lattice, plantings, cabinets, clearance rules and step-by-step plans.
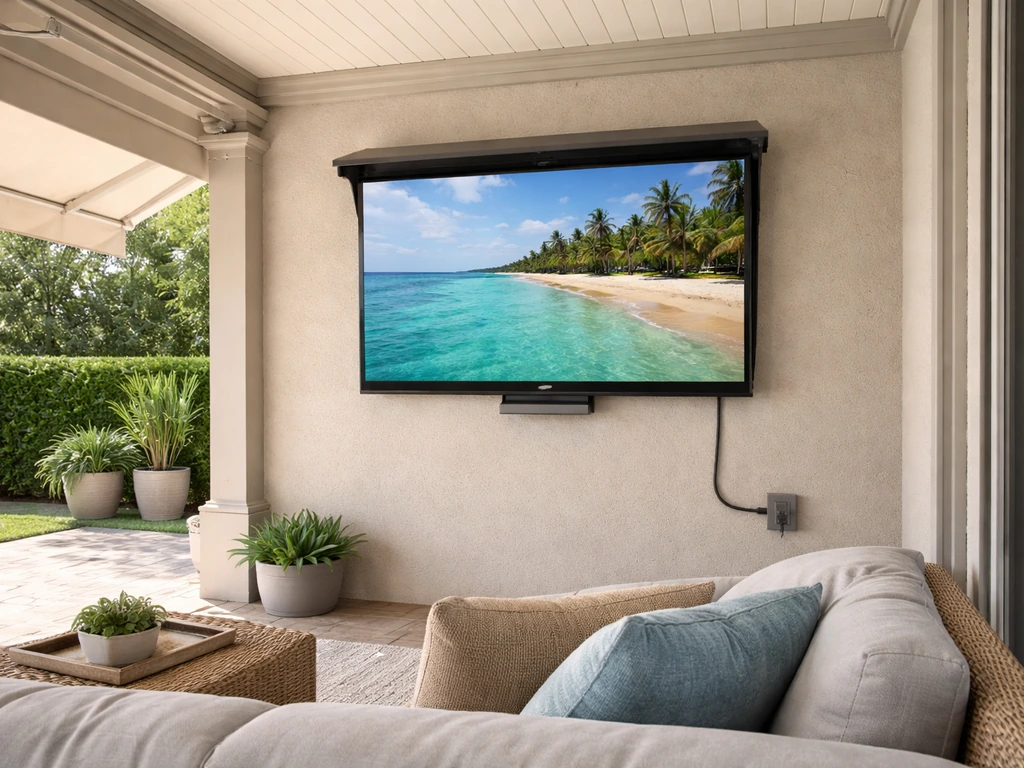
How to Watch TV Outside on a Patio: Setup Guide
Practical patio TV setup for outdoor viewing, covering weatherproofing, mounting, glare control, power, Wi‑Fi, and maint