
Decorating a patio with flower pots comes down to four practical steps: assess your space and sunlight, choose the right pots and plants for those conditions, arrange them so they look intentional and stay safe, and set up a simple routine to keep everything alive through the seasons. For step-by-step ideas on how to decorate a deck or patio with flowers, consult the companion guide focused specifically on floral arrangements and container placement. You don't need a designer or a big budget, you need a tape measure, a sun map, and a plan you can actually execute on a Saturday morning.
How to Decorate a Patio with Flower Pots: Step-by-Step DIY Guide

Felix Brennan
25 Jul 2026
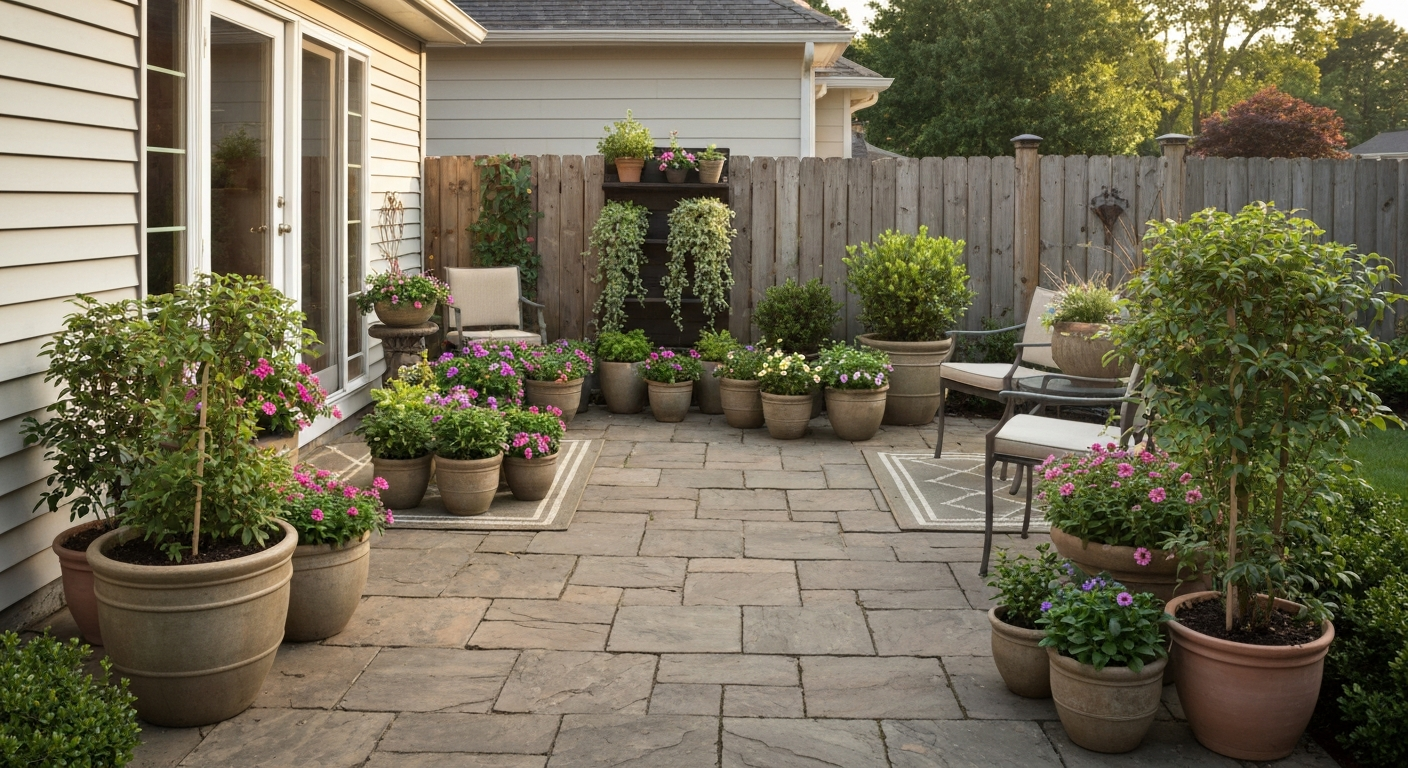
What this guide covers
This is a complete, step-by-step walkthrough for homeowners who want to fill a patio with container plants without guessing at what works. We'll go from measuring your space and calculating your usable zones, through picking pots, plants, and potting mix, all the way to layout templates, surface protection, and seasonal maintenance. Whether you have a sprawling flagstone patio or a tight 8x10 concrete slab, the process is the same, the scale just changes.
- Plan: assess goals, budget, sunlight, and site conditions before buying anything
- Measure: get exact patio dimensions, map sun and shade zones, identify hazards and traffic paths
- Calculate: figure out flagstone and paver quantities if you're adding or refreshing your surface
- Gather: build your materials and tools list before the first shopping trip
- Choose pots: match material, size, weight, and drainage to your specific space
- Choose plants: match species to light level, container size, and season
- Mix and water: use the right potting mix and set up a watering routine
- Layout and display: arrange pots in groups, use vertical systems, and protect your surface
- Maintain: deadhead, fertilize, repot, and rotate through seasonal plant swaps
Planning checklist and site assessment
Before you spend a dollar on pots or plants, walk your patio with a notepad and answer a few concrete questions. Key site data to record when planning patio container layout include exact patio dimensions, doors/windows/steps, fixed features (railings, HVAC, chimneys), utility locations, a sun/shade map (hours of direct sun), prevailing wind direction, and practical access for moving/watering pots; use these items to make a base/site plan before choosing pots or irrigation (Landscape Design: Putting Your Yard on Paper, Site Measurements and Base Maps, UF/IFAS EDIS EP427) Landscape Design: Putting Your Yard on Paper — Site Measurements and Base Maps (UF/IFAS EDIS EP427). Skipping this step is the most common reason a container display looks scattered or dies out by August. A quick site assessment takes about 30 minutes and saves you from buying the wrong things.
Goals and budget
Decide what you want the pots to do. Are you creating a privacy screen with tall grasses and shrubs in large planters? Softening a hard concrete edge with trailing annuals? Adding color to a screened porch? Each goal points to a different size, quantity, and plant type. Set a rough budget per season, a basic display of five to seven mixed pots with annuals typically runs $150–$300 to start, with lower annual costs once you own the containers.
Site assessment checklist
- Exact patio dimensions (length and width of the usable surface)
- Location of doors, windows, and steps that must stay clear
- Fixed features: railings, HVAC units, downspouts, chimneys, utility boxes
- Utility locations — know where gas lines and electrical conduits run before placing heavy planters
- Sun and shade map: note how many hours of direct sun each area receives on a typical summer day
- Prevailing wind direction — wind desiccates container soil fast and can tip lightweight pots
- Access routes for moving pots, watering cans, or a hose
- Drainage direction — identify where water flows off the surface so saucers and pots don't block it
- Overhead obstructions: roof overhangs, pergola beams, or tree canopy that limit vertical space
For the sun map specifically, step outside or check your patio at 9 a.m., 12 p.m., and 3 p.m. on a clear day and sketch where sunlight falls. Full sun means six or more hours of direct sunlight daily. Part shade is three to six hours. Shade is under three hours. This single data point controls every plant decision you make later.
Measuring your patio and mapping planting zones
A to-scale drawing of your patio is worth more than any mood board. It takes about 20 minutes and prevents the frustrating experience of hauling home a 30-inch planter that blocks the back door.
How to measure and draw your base plan
- Anchor one end of a 25- or 50-foot tape measure at a fixed corner — a door threshold, a post base, or a wall corner works well. If you're working alone, use a spike or a heavy pot to hold the end.
- Pull running measurements along each baseline (the long sides of your patio), recording distances to every fixed feature: doors, steps, railings, and utility locations.
- Measure the width at two or three points along the length — patios are often not perfectly rectangular.
- Note the height of any railings, walls, or overhead structures you might use for hanging or rail planters.
- Transfer everything to graph paper at a comfortable scale. A common homeowner scale is 1 inch equals 10 feet, but for a smaller patio a 1:1 scale (1 inch equals 1 foot) gives you more detail.
- Label north on your drawing and mark the sun zones you identified in your site assessment.
- Take photos from each corner of the patio and from inside any doors that look out onto it — these give you the visual context the drawing can't capture.
Calculating usable space for pots
Once your base plan is drawn, shade in the zones you cannot use, the 36-inch clearance in front of doors, the 18-inch buffer around HVAC units, and the main foot-traffic path (typically 36 inches wide minimum for comfortable walking). What's left is your planting zone. Measure its area in square feet. A typical 12x16 patio leaves roughly 80–100 square feet of usable perimeter and corner space after you account for circulation. That's enough for eight to twelve medium and large pots without the space feeling overcrowded.
Calculating flagstones and pavers: how many do you need?
If you're laying, extending, or refreshing the patio surface before adding pots, or you want to set individual pavers under planters to protect the main surface, you'll need to calculate material quantities. For step-by-step instructions on laying flagstones, see our guide on how to flag a patio (ID: 51a24990-0018-41b3-b5e3-e52c3161dda7). The math is straightforward.
Basic paver area calculation
Measure total patio area in square feet (length times width for a rectangle; break irregular shapes into rectangles and add them). Divide the total area by the coverage area of one paver or flagstone (check the manufacturer's spec sheet, which lists square feet per piece). That gives you the raw piece count. Then add your waste allowance on top.
| Situation | Waste factor to add |
|---|---|
| Simple rectangular patio, straight cuts only | 5% |
| Rectangular patio with some border cuts | 10% |
| Irregular natural flagstone or complex pattern | 10–15% |
| Diagonal or herringbone pattern | 15% |
For example: a 12x16 patio is 192 sq ft. If each paver covers 1.5 sq ft, you need 192 ÷ 1.5 = 128 pieces, plus 10% overage = 141 pieces to order. Always round up to the nearest full unit or pallet quantity, running short mid-project and having a dye-lot mismatch is a real headache.
When placing protective base pavers under large planters (a practice covered in the surface protection section below), you only need to calculate the footprint of each planter base, typically one or two pavers per pot. Keep a few extras from your original order set aside for this purpose.
Jointing and pointing near planters
The joint system you use on your patio surface matters when planters sit on top of it. If your flagstones or pavers are dry-laid over a compacted aggregate base, use polymeric sand or a flexible joint stabilizer. Polymeric sand works well for joints from about 1/8 inch up to roughly 1.5 inches wide and needs a joint depth of at least 1 inch to perform correctly. If your stone is mortared to a concrete slab, use a cementitious grout or mortar for the joints, never put a flexible sand joint over a rigid slab, because it won't stay put. Matching your joint system to your base type prevents cracking and joint erosion that can be accelerated by drainage water running off pots. For step-by-step guidance on correctly pointing flagstone joints near planters, see how to point patio flags.
Materials and tools checklist for a DIY patio pot project
Gather everything before you start. Having to stop mid-project to make a hardware run is how a Saturday afternoon job becomes a two-week saga.
Tools
- 25- or 50-foot tape measure (or a measuring wheel for larger spaces)
- Graph paper and pencil for your base plan
- Smartphone or camera for site photos
- Wheelbarrow or large plastic bin for mixing/moving potting mix
- Trowel and hand fork
- Watering can with a breaker head (rose head) for gentle watering at planting time
- Garden hose with an adjustable nozzle
- Gloves
- Knee pad or garden kneeler if you're doing a lot of ground-level planting
- Dolly or hand truck for moving large, filled pots
Materials
- Containers in your chosen sizes and materials (see next section)
- Pot feet or rubber furniture feet (minimum 3 per container)
- Rubber or HDPE protective pads for under large planters on flagstone
- Saucers (for covered patios or when needed under furniture; use with caution outdoors)
- Quality container/potting mix — avoid using plain garden soil in pots
- Slow-release granular fertilizer formulated for containers
- Perlite or coarse grit if your plants need extra drainage (succulents, herbs)
- Mulch or decorative gravel to top-dress pots and slow moisture loss
- Plant supports (cages, bamboo stakes, soft ties) for tall or vining plants
- Protective base pavers or flat stones for placing under large planters
- Zip ties or ratchet straps for securing tall containers to a railing or wall anchor in high-wind areas
Choosing your pots: materials, sizes, weights, and drainage
The container you choose affects the plant's health, your patio surface's condition, and your own back. Get this right and everything downstream is easier.
Pot materials compared
| Material | Weight (empty) | Durability | Insulation for roots | Best for |
|---|---|---|---|---|
| Terracotta / clay | Heavy | Good, chips in hard frost | Good (breathable) | Herbs, succulents, Mediterranean plants |
| Glazed ceramic | Heavy | Good, can crack if frozen when wet | Good | Feature pots, shade plants, sheltered spots |
| Concrete / hypertufa | Very heavy | Excellent | Excellent | Permanent anchors, large shrubs, privacy screens |
| Resin / high-density polyethylene (HDPE) | Light | Very good | Moderate | Elevated decks, balconies, moving seasonally |
| Fiberglass | Light–medium | Excellent | Moderate | Large statement pots where weight matters |
| Galvanized metal | Medium | Good, can heat up in full sun | Poor | Herbs, annuals in part shade or sheltered areas |
| Fabric grow bags | Very light | 1–3 seasons typically | Good (air prunes roots) | Vegetables, temporary seasonal displays |
Sizing pots for your space and plants
Bigger pots hold more soil, which means more moisture and temperature stability, plants in small pots dry out and overheat faster. A 12-inch diameter pot is the practical minimum for most flowering annuals. A 16- to 18-inch pot handles small shrubs, ornamental grasses, and mixed thriller-filler-spiller combinations. A 20- to 24-inch pot or half-barrel works for dwarf conifers, roses, or a statement focal plant. If space is tight, one large pot beats three small ones every time, it looks more intentional and requires less frequent watering.
Weight, load limits, and structural checks
This matters most on elevated decks and balconies. The International Residential Code uses a minimum live load of 40 pounds per square foot for residential decks; some balcony or engineered terrace designs specify 60 psf or higher. A filled 10-gallon container with moist potting mix weighs roughly 107 to 147 pounds depending on mix and pot material, you can estimate this by multiplying the media volume in cubic feet (about 1.34 cubic feet for a 10-gallon pot) by a conservative saturated bulk density of around 80 lb/ft³, then adding the empty pot weight. For conservative saturated-media weight calculations, refer to the Foundation Engineering Handbook (unit weight of water ≈ 62.4 lb/ft³). For a ground-level concrete or flagstone patio, weight is rarely a structural concern. For an elevated wood deck or poured concrete balcony, spread large pots out rather than clustering them in one corner, and consult a structural engineer if you're placing more than four or five heavy containers in a concentrated area.
Drainage and saucer use
Every pot you buy must have at least one drainage hole, this is non-negotiable. Roots sitting in standing water die within days in summer heat. If a pot you love doesn't have a hole, drill one with a 1/2-inch masonry or tile bit (for ceramic) or a standard drill bit (for plastic and wood). Always elevate pots on pot feet or small risers so water can actually exit the drainage hole freely and not pool against the patio surface. If you use saucers, empty them within an hour of watering, a waterlogged saucer rewets the root zone continuously and can stain or erode mortar joints in flagstone. On covered patios or screened enclosures where you can't drain runoff freely, route it to a small bucket or use self-draining saucer systems.
Selecting plants by light, container size, and season
The single biggest planting mistake is ignoring the sun map you made earlier. Buying full-sun petunias for a north-facing shaded patio, or placing shade-loving impatiens in six hours of blazing afternoon sun, guarantees failure regardless of how much you water and fertilize.
Plant selection by light zone
| Light condition | Hours of direct sun | Reliable annuals | Reliable perennials / shrubs |
|---|---|---|---|
| Full sun | 6+ hours | Petunias, marigolds, zinnias, portulaca, lantana | Lavender, salvia, ornamental grasses, dwarf rosemary |
| Part sun / part shade | 3–6 hours | Impatiens (New Guinea), begonias, snapdragons, calibrachoa | Astilbe, heuchera, catmint, dwarf hydrangea |
| Shade | Under 3 hours | Standard impatiens, fuchsia, coleus, torenia | Hosta, ferns, bleeding heart, coral bells |
Annuals vs. perennials in containers
Annuals are the workhorses of patio containers, they bloom continuously from spring through fall, they're cheap to replace, and they let you change your color scheme every season. Perennials in pots are trickier because their roots are more exposed to temperature extremes in a container than in the ground. If you want perennials in pots, choose ones rated at least one hardiness zone colder than your zone to give them buffer against winter root freeze. Shrubs like dwarf boxwood, dwarf Alberta spruce, or compact nandina make excellent permanent anchor plants in large containers and give the display structure year-round.
The thriller-filler-spiller formula
For mixed containers, use one tall or bold 'thriller' plant in the center or back, medium 'filler' plants around it to fill the pot, and a trailing 'spiller' that drapes over the edge. This three-part structure works in almost every pot size from 14 inches up and makes an arrangement look professionally designed without requiring any design background. Examples: thriller, purple fountain grass; filler, red annual salvia; spiller, sweet potato vine.
Seasonal rotation schedule
| Season | What to plant | When to swap |
|---|---|---|
| Spring | Pansies, violas, snapdragons, ranunculus, dusty miller | When nighttime temps consistently exceed 55–60°F |
| Summer | Petunias, zinnias, marigolds, lantana, begonias, coleus | After first frost or when heat kills plants |
| Fall | Ornamental kale, mums, asters, dusty miller, decorative peppers | Before hard freeze |
| Winter (mild climates) | Pansies, cyclamen, ornamental cabbage, evergreen boughs | When spring temps warm |
Soil, potting mix, watering, and seasonal care
Never use garden soil or topsoil in containers. It compacts too densely in a pot, blocks drainage, and bakes into a concrete-like mass in summer. A quality commercial container potting mix is formulated to stay loose, drain well, and provide the right air-to-water ratio in a confined root space.
Choosing and amending your potting mix
- Start with a bagged container/potting mix — not 'potting soil' or 'garden soil', which are heavier and less well-draining
- For drought-tolerant plants like succulents, herbs, and lavender, mix in 20–25% perlite or coarse grit by volume to improve drainage
- For moisture-loving plants like ferns, impatiens, and fuchsia, a straight commercial mix or one with added coir (coconut fiber) retains more moisture
- Mix in a slow-release granular fertilizer at the rate on the package when filling the pot — this feeds plants for the first 3–4 months without weekly liquid feeding
- Leave 1–2 inches of headspace below the pot rim so water doesn't run straight off the surface during watering
Watering basics and seasonal adjustments
Container plants dry out far faster than in-ground plants because the root zone is small and surrounded by air on all sides. In summer, a 14-inch pot in full sun may need watering every day in a heat wave. The simple test: stick your finger 1–2 inches into the mix. If it's dry at that depth, water thoroughly until it runs freely out the drainage holes. If it's still moist, wait. In spring and fall when temperatures are cooler, most pots need watering every two to three days. In winter in mild climates, once a week or less is usually enough. A layer of mulch or decorative gravel (1–2 inches) over the potting mix surface cuts evaporation noticeably and reduces your watering frequency in summer.
Fertilizing and ongoing nutrition
The slow-release fertilizer mixed in at planting will carry most annuals through the first 10–12 weeks. After that, start supplementing with a water-soluble balanced fertilizer (like a 10-10-10 or bloom-booster formula) every one to two weeks through the active growing season. Heavy-blooming annuals like petunias and geraniums are especially hungry and reward consistent feeding with noticeably more flowers. Perennials and shrubs in containers generally need less, monthly is sufficient through summer.
Layout strategies: grouping, small patios, and vertical displays
How you arrange the pots is as important as what's in them. For detailed examples and layouts on how to display flower pots on patio, see the step-by-step guide. A row of identical pots lined up along a wall looks like a greenhouse holding area. For step-by-step layout ideas and plant combinations, see our guide on how to decorate your patio with flowers. Thoughtful grouping turns the same plants into a designed space.
Grouping principles that actually work
- Group in odd numbers — a cluster of three or five pots reads as a designed vignette; two or four looks like a mistake
- Vary the heights within each group: one tall, one medium, one low — use pot stands or upturned smaller pots as risers to create height variation without buying different-sized plants
- Use a consistent color thread (all terra cotta, all one color palette, or matching pot feet) to tie unrelated pots together visually
- Anchor corners: place your largest, heaviest pot in a corner or at the end of the patio — it grounds the space and keeps the design from feeling chaotic
- Keep a clear 36-inch path through the main circulation route; arrange pots in clusters along the perimeter rather than scattering them across the middle
Quick layout templates
| Patio size | Suggested layout | Approximate pot count |
|---|---|---|
| Small (under 80 sq ft) | One large anchor pot in a corner, two medium pots flanking the door, one hanging basket overhead | 4–5 pots total |
| Medium (80–200 sq ft) | Two anchor pots at far corners, one tiered stand on a side wall, two clusters of 3 pots along the perimeter | 8–12 pots total |
| Large (200+ sq ft) | Four corner anchors, two tiered stands or shelving units, rail planters along one or two sides, hanging baskets or ceiling hooks in covered sections | 15–25+ pots total |
Solutions for small patios
A small patio actually benefits from going vertical faster than a large one does, because floor space is the constraint. For detailed, step-by-step ideas on how to decorate a small patio with flowers, see our compact patio flower guide. A single wall-mounted tiered plant shelf takes zero floor space and can hold six to eight 6-inch pots at eye level. Rail planters (boxes that hook or clamp over a railing) are another excellent option and don't require any drilling. Hanging baskets from a pergola beam, a ceiling hook, or a tension rod between two wall anchors work especially well for trailing plants like petunias, fuchsia, or string of pearls. One large, beautiful pot beats a cluttered collection of small ones on a small patio, choose quality over quantity when square footage is limited.
Vertical display options
- Tiered plant stands (2–5 shelves): excellent for massing multiple small and medium pots in a compact footprint; check weight capacity before loading
- Wall-mounted shelving: works on brick, concrete, or wood walls; use masonry anchors rated for the combined wet pot weight
- Rail planters: no-drill option for railings up to 2 inches wide; most hold 1–2 gallons of soil so they dry out quickly — water daily in summer
- Hanging baskets: install hooks into ceiling joists or solid beams (not just drywall or thin siding); a 10-inch basket filled with saturated mix can weigh 15–20 pounds
- Ladder shelves and lean-to displays: decorative wooden or metal plant ladders lean against a wall without fasteners — good for a rented space or a spot where drilling isn't an option
- Window boxes on exterior sill ledges: ideal for adding plant material at sitting eye level without using floor space
Protecting your patio surface under and around pots
A pot sitting directly on flagstone, pavers, or concrete will stain, trap moisture, and can cause pitting or efflorescence in mortar joints over time. A little setup effort protects a surface that may have cost you thousands of dollars to install.
Elevating and protecting your surface
- Use pot feet — three per pot minimum — to lift every container at least 1/2 inch off the surface; this allows drainage, air circulation, and prevents the ring staining that wet terracotta leaves on concrete
- For large, heavy planters, set a rubber mat or a flat protective paver under the pot to spread the point load and prevent surface cracking or mortar joint compression
- Keep saucers elevated slightly above the surface or use drip-saucer inserts that hold water below the pot base without pooling against the floor
- Empty saucers within an hour of watering — standing water under a pot on mortared flagstone softens the grout joint and can cause lifting over time
- In high-wind areas, anchor tall or top-heavy containers to a railing or wall anchor with a ratchet strap or a purpose-made pot stabilizer; a tipped 25-gallon planter can crack flagstone and cause serious injury
Anchoring and safety
Heavy filled containers are a genuine trip and tipping hazard, especially with children or pets around. Place large pots against a wall or in a corner where at least two sides are backed. For freestanding tall pots, any pot taller than it is wide, consider a pot anchor strap looped around the pot and attached to a wall hook or railing eye bolt. If you're on an elevated deck or balcony, keep large planters close to the load-bearing perimeter beam rather than in the center of a span, and never stack planters on top of furniture or railings.
Maintenance routine and seasonal transitions
Container gardens need more regular attention than in-ground beds, that's the trade-off for their flexibility. But a consistent 15-minute weekly routine keeps everything looking good without major effort.
Weekly tasks
- Check soil moisture in each pot and water as needed — more in heat and wind, less in cool or rainy weather
- Deadhead spent blooms on annuals like petunias, marigolds, and geraniums to keep new flowers coming
- Remove yellowed or damaged leaves
- Check for pest activity — look under leaves for aphids, scale, or spider mites, and treat early with insecticidal soap
- Empty any saucers that have collected standing water
Monthly and seasonal tasks
- Apply liquid fertilizer every two to four weeks through the growing season after the initial slow-release charge fades
- Turn pots a quarter rotation to keep growth even on all sides, especially in spots with directional light
- Check pot feet and saucers for debris or algae buildup that might block drainage
- At end of each season: remove spent annuals, clean pots thoroughly with a 10:1 water-to-bleach solution, and store terracotta and ceramic indoors if you're in a freeze zone
- Refresh potting mix each spring — scoop out the top half and replace with fresh mix before replanting, or fully replace the mix every two to three seasons
- Assess structural items like shelves, rail planters, and hanging brackets for rust, rot, or loosened fasteners before the next season
From pot display to bigger patio upgrades
Getting your container display dialed in often makes you look at the rest of the patio differently. Once the plants are thriving and the space feels inviting, it's natural to want to improve the structure around them, adding shade to protect heat-sensitive plants and extend your time outside, screening the patio for bug-free evenings, or enclosing it to get more months out of the growing season. Those are all natural next steps from a well-decorated outdoor space, and each one is tackled in its own step-by-step guide in this resource.
If your patio surface itself needs work before you start placing pots, whether you're calculating how many flags you need, learning the right jointing approach for your base type, or properly laying and pointing flagstones, those details tie directly back to the surface protection principles covered here. For precise quantities and a step-by-step example, see our guide on how many flags do I need for my patio. A sound surface is the foundation for a container display that lasts, so it's worth getting that piece right before you invest in pots and plants.
FAQ
What is the first step before buying pots or plants to decorate a patio?
Make a site plan. Record exact patio dimensions, doors/windows/steps, fixed features (railings, HVAC), utility locations, and access routes. Sketch a sun/shade map noting hours of direct sun at planned container spots (full sun ≥6 hrs, part sun 3–6 hrs, shade <3 hrs). Note prevailing wind direction and take photos from multiple angles. Use a homeowner scale (example: 1 in = 10 ft) or graph paper. This base plan guides pot sizes, plant choices, and load checks.
How do I measure my patio accurately if I'm working alone?
Anchor a long tape at a fixed baseline or use a measuring wheel/laser. Hold the tape tight, record baseline and offset points to doors, steps, and fixtures. Mark measured points and redraw to scale on graph paper or tracing paper. Photograph sightlines and label north. Re-measure any odd angles or radii and transfer those to the plan.
How do I estimate how many flagstones or pavers I need under pots and for small pad areas?
Compute patio (or pad) area in sq ft. Divide by the stone/paver coverage (sq ft per piece) to get required pieces. Add cutting/waste allowance: 5–10% for regular shapes, 10–15% for irregular natural flagstone. For pot pads, measure each pad area and apply the same per-piece calculation. Keep an extra 10% for replacements.
How do I check whether my deck or elevated patio can handle heavy filled planters?
Estimate each filled pot weight: media volume (ft³) × conservative saturated bulk density (use ~75–100 lb/ft³ for safety) + empty pot weight. Sum weights of all pots and divide by patio/deck footprint area to get added pounds per square foot (psf). Compare to code guidance: IRC minimum live load for decks ≈40 psf (plus ~10 psf dead load). For balconies or engineered terraces assume higher conservatism (some guidance uses 60 psf). If your added psf approaches those numbers or you have concentrated heavy pots, consult building code or a structural engineer.
How do I compute pot filling weight for a typical 10‑gal container (example)?
Convert gallons to cubic feet: 10 gal ≈1.34 ft³. Use a conservative potting-media bulk density (example 80 lb/ft³ moderately moist). Media weight ≈1.34×80 ≈107 lb. Add empty pot weight (e.g., 10–40 lb depending on material). Total per-pot weight ≈117–147 lb. Use this in the per-area psf calculation.
What checklist should I use when planning container placement on a patio?
Site-plan checklist: 1) Patio dimensions and access paths; 2) Doors, windows, steps; 3) Fixed elements (railings, HVAC, vents); 4) Utilities/drains; 5) Sun/shade hours by spot; 6) Wind exposure; 7) Intended traffic aisles and furniture zones; 8) Weight-bearing assessment for elevated surfaces; 9) Water source and irrigation routing; 10) Storage/seasonal pot storage area.
Next Articles
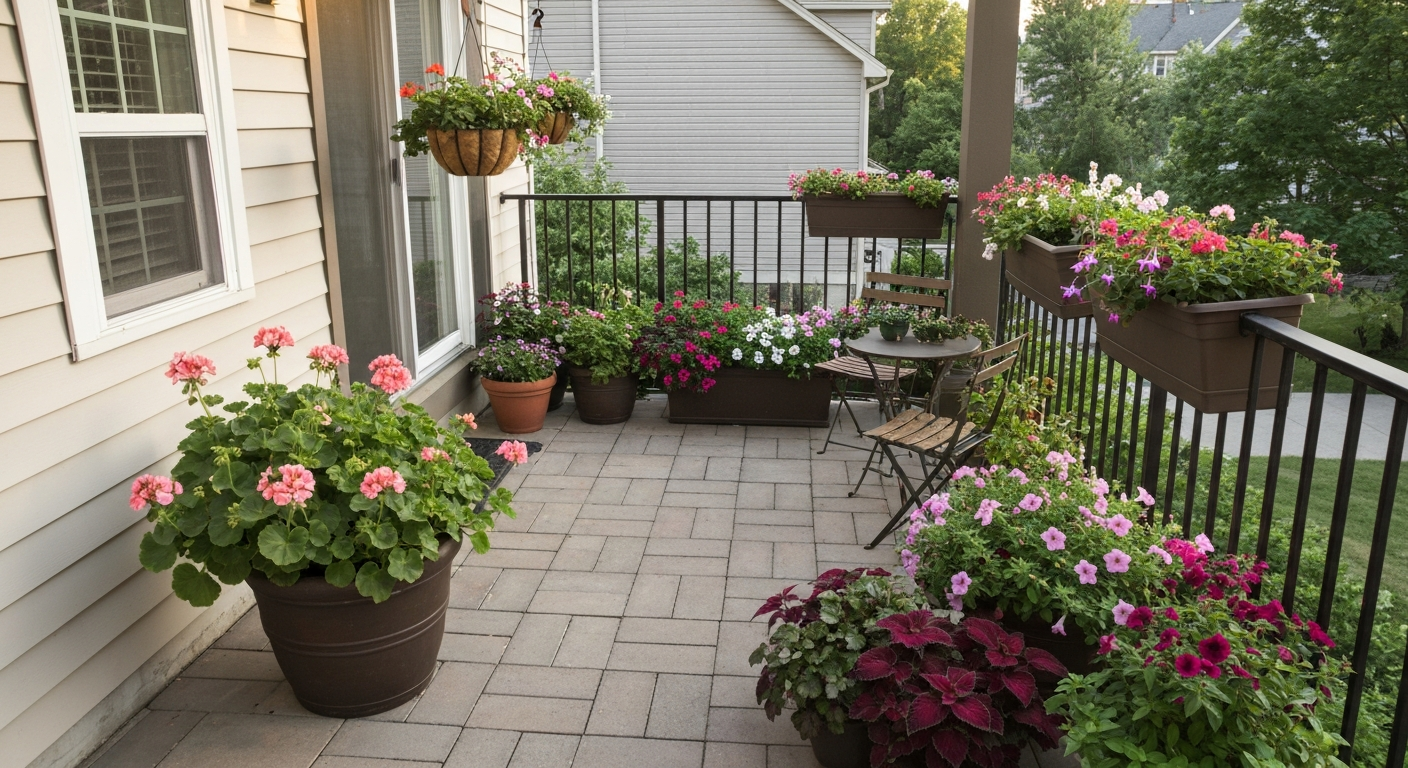
How to Decorate a Small Patio with Flowers: A Practical Plan
Practical step-by-step guide to decorate a small patio with flowers: measurements, plant lists, containers, watering.
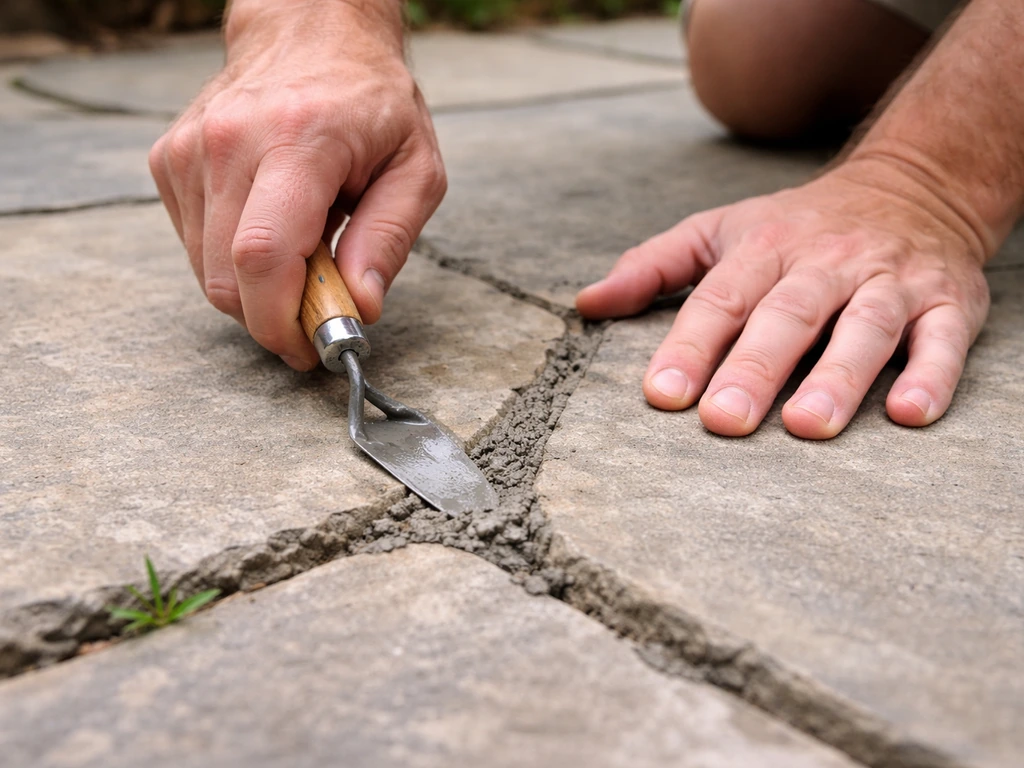
How to Point Patio Flags: DIY Repointing Guide
Step-by-step DIY guide to repoint patio flag joints, fix gaps and weeds, choose exterior mortar, and cure for lasting re
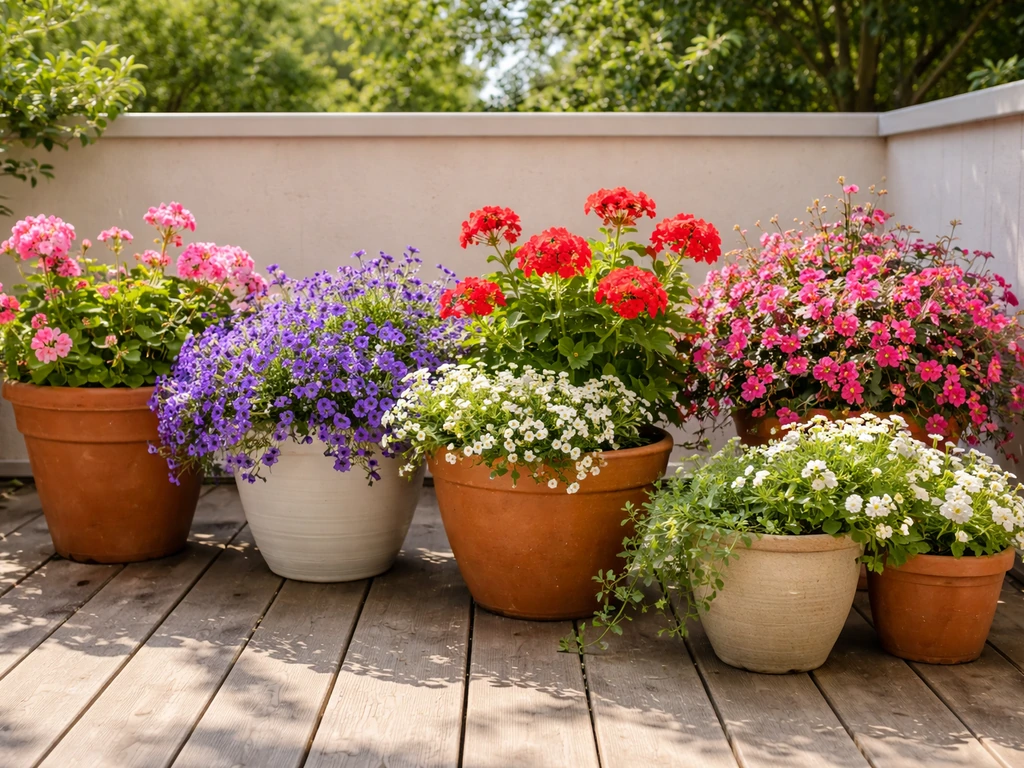
How to Decorate My Patio With Flowers: Step by Step
Step-by-step guide to decorate your patio with flowers: pick plants for sun and wind, arrange containers, and keep bloom