
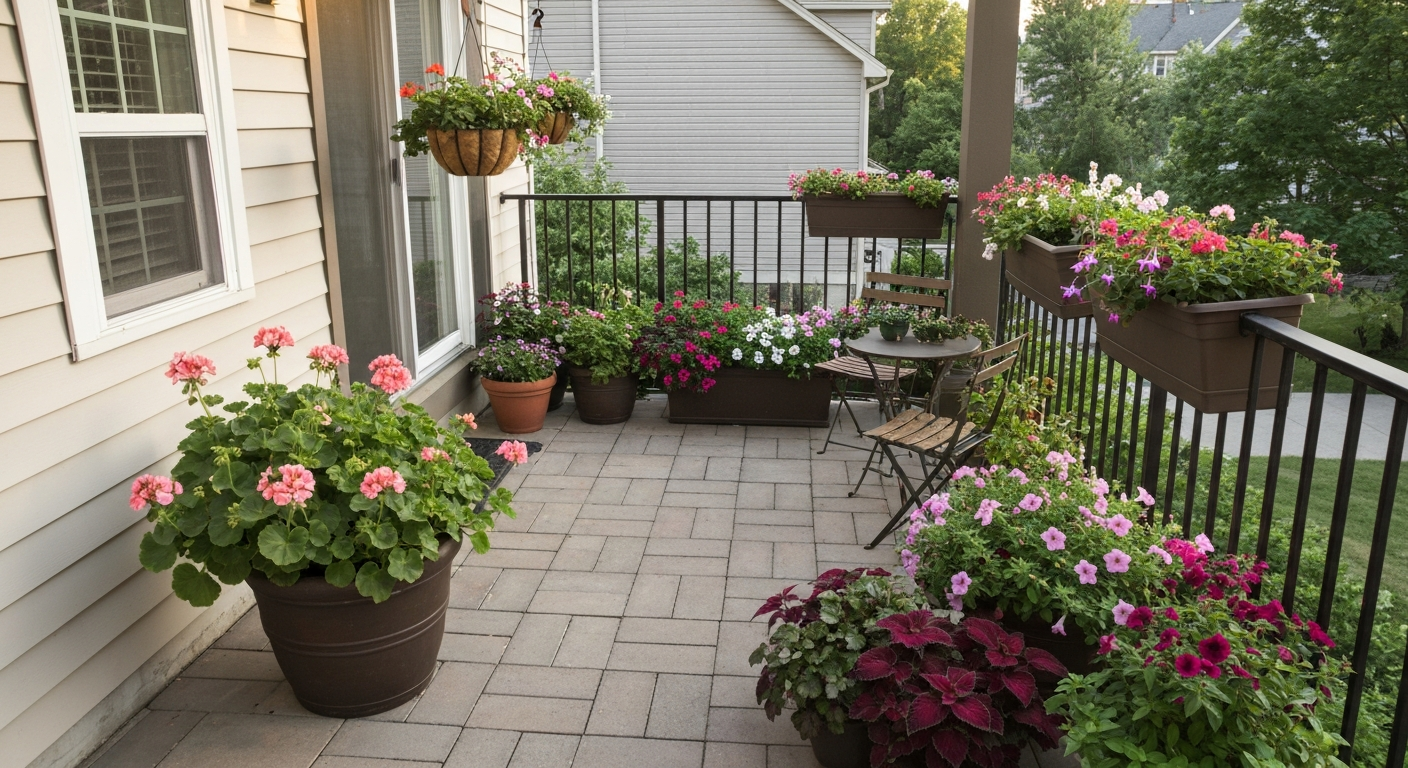
You can make a small patio feel lush and inviting with flowers even if you're working with 24 to 80 square feet of space. The key is measuring what you actually have, mapping sun and shade honestly, choosing containers that fit the surface, and picking plants that match your light conditions. Skip any one of those steps and you'll end up with dead plants, blocked walkways, or pots that look great in June and collapse by August. This guide walks you through all of it, from drawing a quick sketch of your patio to choosing the right soil mix and keeping everything alive through the season. For step-by-step ideas on how to decorate my patio with flowers, see our detailed patio flower decorating guide.
How to Decorate a Small Patio with Flowers: A Practical Plan

Felix Brennan
23 Jul 2026
What this guide covers
We'll start with a fast action plan so you can see the whole process at a glance, then slow down for the parts that matter most: measuring your space, understanding your sun exposure, selecting plants that will actually thrive, picking containers with the right size and drainage, and arranging everything so it looks intentional rather than random. We'll also cover a practical question that comes up a lot on small patios: should you repair or re-lay your paving flags before you start decorating? Getting that decision out of the way first saves a lot of grief later.
Quick action plan before you buy a single pot
Run through this checklist in order. Each step feeds the next, and skipping ahead almost always means going back. Budget about 30 to 60 minutes for the planning steps before spending anything.
- Measure the patio (length, width, fixed obstacles). Takes 15 minutes with a tape measure or laser meter.
- Draw a rough scaled sketch. Use 1 inch = 1 foot for small spaces. Mark the house wall, door swings, steps, posts, and utility access points.
- Inspect the paving surface. Note any cracked, sunken, or loose flags. Decide now whether to repair before planting (see the surface check section below).
- Do a sun-exposure walk. Spend one morning hour-by-hour noting which parts of the patio are in direct sun, partial shade, or full shade. Take phone photos every hour if possible.
- Identify your USDA Plant Hardiness Zone (enter your ZIP at the USDA ARS interactive map). This tells you which perennials will survive winter in the ground or in containers.
- Choose your plant categories (full sun, partial shade, full shade) based on step 4.
- Select containers sized to your plants and your surface. Match material to weight tolerance and microclimate.
- Mix or buy a quality container potting mix. Do not use garden soil in pots.
- Place and arrange containers before planting. Live with the layout for a day before committing.
- Plant, water in thoroughly, and set up a watering routine within the first week.
Check your paving surface first
Before you place a single pot, walk the entire patio surface carefully. Press on individual flags or pavers with your foot. Any that rock, tilt, or feel hollow underneath will only get worse under the weight of heavy containers, and an unlevel surface makes arranging pots much harder. If you have more than two or three cracked or sunken flags, it is worth re-laying or pointing them before you start decorating. Trying to work around unstable paving leads to tipped pots, tripping hazards, and damaged roots when containers shift. Once you have confirmed the surface is stable and reasonably level, you are ready to plan your layout.
Measure and map your patio
Grab a tape measure or a laser distance meter and record the full length and width of the patio. Then subtract the space taken up by anything fixed: the arc of door swings, step landings, downspouts, outdoor taps, and any built-in furniture. What remains is your net usable area. Most small residential patios fall into a handful of common footprints, and knowing which category you're in helps you visualize container placement quickly.
| Patio Footprint | Total Area | Practical Notes |
|---|---|---|
| 4 × 6 ft | 24 sq ft | Room for 2 chairs and 3 to 4 pots maximum. Wall-mounted and rail planters are essential. |
| 6 × 8 ft | 48 sq ft | Fits a small bistro table plus a tiered plant stand or corner grouping of 5 to 6 pots. |
| 8 × 10 ft | 80 sq ft | Comfortable for a table, 4 chairs, and a perimeter line of containers with hanging baskets overhead. |
| 10 × 12 ft | 120 sq ft | Enough room for distinct zones: seating, a vertical planter wall, and a border of mixed containers. |
Once you have your numbers, sketch the space on grid paper or the back of an envelope. For step-by-step guidance on creating a scaled base plan of your patio (including recommended scales such as 1" = 10' and how to show house walls, door swings, utilities, and a north arrow), see Landscape Design: Putting Your Yard on Paper, Site Measurements and Base Maps (UF/IFAS Extension) Landscape Design: Putting Your Yard on Paper — Site Measurements and Base Maps (UF/IFAS Extension). Include the house wall, the direction north faces, and any doors or gates. Add a north arrow so your sun map will mean something. This does not need to be an architect's drawing. A rough diagram with real measurements is far more useful than anything decorative. Cut out small rectangles scaled to your furniture pieces and move them around on the sketch to test layouts before touching a single pot.
Placement and spacing rules
Small patios fail as living spaces when plants block movement. Keep at least 24 inches of clearance on any walking path, and ideally 36 inches on the main route from the door to seating. Leave a minimum 30 to 36 inches clear for doorway swing. Place a buffer of 12 to 18 inches behind any chair or bench so people can push back without knocking a pot over. These are not design preferences: they are the minimum comfortable clearances that prevent the patio from feeling cramped and hazardous.
- Main walkway: 36 inches minimum (24 inches absolute minimum for secondary paths)
- Doorway clearance: 30 to 36 inches, accounting for full door arc
- Buffer behind seating: 12 to 18 inches
- Sight-line rule: keep containers below eye level (roughly 48 to 54 inches) on at least two sides of the patio to avoid a closed-in feeling
- Corner groupings: cluster 3 or 5 pots (odd numbers look more natural than even) in corners where traffic does not pass
- Edge containers: push pots to the perimeter walls and railings wherever possible to keep the central floor area open
Sun exposure, microclimate, and plant selection basics
Sun classification is the single most important factor in whether your flowers thrive or struggle, and it is easy to get wrong. The standard categories are full sun (six or more hours of direct sun per day), partial sun or partial shade (four to six hours), and full shade (fewer than three hours, or mostly dappled light). But the character of those hours matters almost as much as the count. Morning sun is cooler and gentler. Afternoon sun on a west-facing urban patio bounced off a light-colored wall can be brutal even for sun-lovers. Walk your patio and photograph it every hour from 8 am to 6 pm on a clear day in summer. The photos will tell you exactly what you are working with.
Beyond sun, look for microclimate factors specific to your patio. Light-colored walls and glass doors reflect heat and increase the effective temperature by several degrees, which can push a partial-shade situation into stress territory for delicate plants. Dark paving absorbs heat and radiates it upward at night, which is actually helpful for tender plants in borderline climates. Metal railings and containers heat up fast in direct sun. Take note of all of these before you choose your plants. Also check your USDA Plant Hardiness Zone before buying any perennial you want to keep from year to year. Use the 2023 USDA Plant Hardiness Zone Map (USDA ARS interactive) to find your official zone by entering your ZIP code. Containers behave one to two zones colder than in-ground plants because roots are exposed to air temperature on all sides, so a perennial listed as hardy to Zone 7 may not survive a Zone 7 winter in a container left outdoors.
Proven flower choices by light condition
Full sun (6+ hours direct sun)
These are reliable performers for south- and west-facing patios in most temperate climates. For beginners, geraniums (Pelargonium), petunias (heat-tolerant series like Wave or Supertunia), calibrachoa, marigolds, lantana (compact varieties), and sedum are the safest starting points. They are widely available, forgiving of occasional missed watering, and provide color from late spring through first frost. For more advanced gardeners looking for higher impact, tender salvias (Salvia guaranitica, Salvia 'Wendy's Wish'), dwarf coreopsis, and trailing verbena add texture and attract pollinators. All of these do best with at least six hours of sun and regular watering in hot periods.
Partial sun or partial shade (4 to 6 hours)
This is actually the most common situation on small urban and suburban patios, where buildings, fences, and overhangs cut into sun hours. Impatiens (standard types), fuchsia, begonia (wax and tuberous varieties), coleus for foliage contrast, and torenia are all reliable in four to six hours of light. Fuchsia and tuberous begonias are particularly good for hanging baskets in east-facing spots that get morning sun and afternoon shade. If your partial shade leans toward the sunnier end of the range (five to six hours), calibrachoa and some petunias will manage, though they will not bloom as vigorously as in full sun.
Full shade (fewer than 4 hours direct sun)
Shaded patios are not a lost cause for flowers, but you do need to be realistic about what will bloom versus what will just provide foliage interest. New Guinea impatiens are one of the best shade bloomers and handle more heat than standard impatiens. Angel wing and dragon wing begonias bloom reliably in low light. Heuchera (alumroot) gives you colorful foliage in burgundy, lime, or copper tones with delicate flower spikes in summer. Japanese painted fern adds texture and a silvery highlight to shaded groupings. For climate notes: in hot, humid climates (southeast US, Gulf Coast), standard impatiens are vulnerable to downy mildew, so stick with New Guinea varieties or begonias instead.
| Plant | Light Needed | Container Size (min) | Difficulty | Notes |
|---|---|---|---|---|
| Geranium (Pelargonium) | Full sun | 10–12" dia | Beginner | Deadhead regularly for continuous bloom |
| Petunia / Calibrachoa | Full sun | 10–12" dia | Beginner | Heat-tolerant series perform best |
| Lantana (compact) | Full sun | 12–14" dia | Beginner | Toxic to pets; very heat and drought tolerant |
| Marigold | Full sun | 8–10" dia | Beginner | Pest-deterrent near other containers |
| Sedum | Full sun | 8–10" dia | Beginner | Drought tolerant; good for neglected corners |
| Tender Salvia | Full sun | 12–14" dia | Intermediate | Pinch to encourage branching |
| Impatiens (standard) | Part shade | 10–12" dia | Beginner | Avoid in humid climates prone to downy mildew |
| Fuchsia | Part shade | 10–12" dia, hanging | Intermediate | Ideal for baskets; needs consistent moisture |
| Wax / Tuberous Begonia | Part shade | 10–12" dia | Beginner | Tuberous types go dormant in winter |
| Coleus | Part shade to shade | 10–12" dia | Beginner | Grown for foliage; pinch flowers to maintain color |
| New Guinea Impatiens | Full shade to part shade | 10–12" dia | Beginner | More heat tolerant than standard impatiens |
| Heuchera (alumroot) | Full shade to part shade | 10–12" dia | Beginner | Semi-evergreen; perennial in Zones 4–9 |
| Japanese Painted Fern | Full shade | 10–12" dia | Beginner | Textural accent; dies back in winter |
Container choices and what actually matters
Container size is non-negotiable. Small pots dry out fast, restrict root growth, and limit how large and healthy your plants can get. For most annuals and compact perennials, start with a minimum of 10 to 12 inches in diameter and 8 to 10 inches of depth. For larger specimens like a small shrub, a trailing plant with a big root system, or anything you want to be a focal point, move to a 5-gallon pot (roughly 12 to 14 inches in diameter). Small trees or large compact shrubs in containers need 15 to 20 gallons (18 to 24 inches in diameter) to stay healthy. When in doubt, go bigger on diameter rather than depth: most container flowers need width for lateral root spread more than they need a deep pot.
Material makes a meaningful practical difference on a small patio. Terracotta is beautiful and breathes well, which reduces root rot risk, but it is heavy, dries out faster than plastic, and will crack if left outside in a hard freeze. Plastic and resin pots retain moisture longer (so you water less), weigh far less, and are essentially frost-proof, but they heat up quickly in full sun and can become brittle after several years of UV exposure. Wood and half-barrel planters insulate roots well and look natural, but they will eventually rot, especially if they sit directly on a wet patio surface. Metal containers heat up aggressively in direct summer sun and can cook roots without a liner or some shade protection. My practical recommendation for most beginners: use lightweight resin or fiberglass containers styled to look like terracotta or stone. You get the aesthetics, the weight advantage, and the moisture retention without the fragility.
| Material | Weight | Moisture Retention | Frost Resistance | Best For |
|---|---|---|---|---|
| Unglazed Terracotta | Heavy | Low (dries fast) | Poor (cracks in frost) | Mediterranean look; covered or sheltered patios |
| Glazed Ceramic | Heavy | Medium | Moderate (check rating) | Focal point pots; protected positions |
| Plastic / Resin | Light | High | Good | Hanging baskets, rail boxes, everyday use |
| Fiberglass | Light to medium | Medium-high | Excellent | Larger statement pots; mimics stone or terracotta |
| Wood / Half-barrel | Heavy | Medium | Good (insulating) | Large plantings; rustic style; expect 3–7 year lifespan |
| Metal (galvanized/painted) | Medium to heavy | Low | Good | Modern style; use liner to protect roots from heat |
Every container you use outdoors must have drainage holes. This is not optional. Without drainage, roots sit in saturated soil and rot within weeks, even in plants that like moisture. On an impermeable patio surface (concrete, tile, flagstone), use saucers or catch trays underneath pots, but make a habit of emptying them after rain or heavy watering. Standing water in saucers harbors mosquitoes and keeps the soil too wet. Pot risers or small feet under containers improve airflow and prevent the pot base from trapping moisture against the paving, which is particularly important for wooden pots.
Soil, compost, and drainage inside the container
Never fill outdoor containers with garden soil. It compacts in pots, drains poorly, and introduces weeds and pathogens. Use a quality peat-based or peat-free potting mix (sometimes labeled container mix or all-purpose potting compost). For most flowering annuals, a standard potting mix is all you need. For drought-tolerant plants like sedum, lantana, and geraniums in full sun, blend in about 20 percent perlite or coarse horticultural grit to improve drainage and reduce waterlogging. For moisture-loving plants like fuchsia and New Guinea impatiens, a standard mix retains enough water without amendment.
For larger containers (12 inches or more in diameter), adding a slow-release granular fertilizer at planting time is one of the most effective things you can do for the whole season. Work it into the top few inches of mix according to the manufacturer's rate, and supplement with a liquid feed every two weeks from midsummer onward when flowering peaks. A layer of compost mixed into the top third of the pot at the start of each season replenishes nutrients and improves structure without the expense of a full pot refresh.
Lining and drainage layers
The old advice to put a layer of gravel or broken crockery at the bottom of a pot for drainage is largely discredited by modern horticultural research. It actually raises the water table inside the pot by creating a perched water zone, which keeps roots wetter than a uniformly filled pot. Skip the gravel layer and simply use a well-draining potting mix with adequate drainage holes. If a large decorative pot has no drainage holes and you cannot drill them, use it as a cache pot: place your plant in a plastic nursery pot with drainage holes inside the decorative outer pot, and remove the inner pot for watering or line the base with a thick layer of perlite to catch excess water.
Space-saving display methods for small patios
The most common mistake on a small patio is putting all the containers on the floor. You run out of space immediately and the whole arrangement looks flat. Think vertically. Every inch of wall, railing, and overhead structure is potential planting real estate. Mixing floor-level pots with mid-height displays and overhead elements creates depth and makes a 48-square-foot patio feel like a proper garden room. For step-by-step layouts and visual examples, see how to display flower pots on a patio.
- Hanging baskets: Suspend from wall brackets, porch ceilings, or pergola beams. 12 to 14 inch baskets work for most patios. Use lightweight coco-lined wire baskets for good drainage and airflow. Fuchsia, calibrachoa, trailing petunias, and bacopa are classic choices.
- Vertical planters and pocket planters: Wall-mounted systems with stacked pockets or grid frames take up zero floor space. Best for smaller plants: herbs, succulents, compact annuals like lobularia. Keep weight in mind if attaching to a fence or lightweight wall.
- Rail planters and window boxes: Clip-on or hang-on rail planters attach to balcony railings and porch rails. Standard sizes run 24 to 36 inches long. Line up two or three trailing plants per box for a cascading effect.
- Tiered plant stands: A three-tier metal or wood stand holds 6 to 9 pots in the footprint of one large container. Great for corner placement. Put the tallest or most upright plants on the bottom tier and trailing plants on the upper tiers so they can spill downward.
- Pot groupings on the floor: Cluster odd numbers (3, 5, or 7) of pots in graduating heights. The tallest pot should be roughly two-thirds the height of the wall or fence behind it. Vary textures and leaf sizes even within the same color palette.
Layout, color, and scale: making it look intentional
Scale is the first thing to get right. A single 6-inch pot on an 80-square-foot patio disappears visually. Anchor the space with at least one larger container (14 to 18 inches in diameter) as a focal point, then build smaller containers around it. For color, a simple rule that always works on small patios: choose one dominant color, one complementary accent color, and use white or silver as a neutral to prevent the arrangement from feeling chaotic. For step-by-step layouts and styling examples, see our guide on how to decorate a patio with flower pots. A cluster of coral geraniums with white bacopa trailing over the edges and a single deep purple salvia as a vertical accent is more striking than six different colors competing for attention.
Repeat plants to create visual rhythm. If you use calibrachoa in one hanging basket, use it again in a rail planter. Repetition unifies a small space in a way that constant variety cannot. It also simplifies your watering routine because similar plants have similar needs. Think of the overall arrangement as having a back, middle, and front: tall plants at the back or center, medium mounding plants in the middle, and low trailing plants at the front edges and in hanging baskets.
Watering and seasonal maintenance
Container plants on a patio dry out much faster than anything planted in the ground. In summer heat, a 10-inch pot in full sun may need watering every day. The rule of thumb is to water when the top inch of soil feels dry to the touch, and to water thoroughly until it drains freely from the holes. Light surface watering encourages shallow roots and weak plants. Water deeply and less frequently whenever conditions allow. Early morning is the best time: the water soaks in before heat builds, and foliage dries before evening, which reduces fungal disease risk.
- Check moisture daily in summer; every 2 to 3 days in spring and autumn
- Deadhead spent blooms on geraniums, petunias, and marigolds weekly to encourage continuous flowering
- Pinch back leggy growth on fuchsia, calibrachoa, and coleus to maintain a compact, bushy shape
- Apply liquid fertilizer every 10 to 14 days from July through August when flowering is most active
- Inspect for aphids and other pests weekly; knock off with a strong water spray before reaching for any insecticide
- Remove yellowing or dead leaves promptly to prevent disease spreading between pots in a tight arrangement
Autumn and winter care
When first frost is forecast, move tender plants (geraniums, fuchsia, begonias, tender salvias) indoors or into a frost-free garage. Geraniums can be overwintered in a cool, bright location and brought back out the following spring. Tuberous begonias should be dug, dried, and stored in barely moist compost or vermiculite. For container perennials like heuchera and Japanese painted fern that are rated to survive your USDA zone in the ground, remember that containers expose roots to colder temperatures than in-ground planting. In zones 5 and 6, move these containers against the house wall or insulate them with bubble wrap, hessian, or purpose-made fleece wraps. Empty and clean all plastic and ceramic pots before storing to prevent cracking and algae buildup. Terracotta should come inside or be stored upside-down and covered to prevent freeze-thaw damage.
When to sort out your paving before you decorate
It is worth spending a few minutes deciding whether your patio surface needs attention before you invest in plants and pots. A cracked or uneven surface is a genuine problem: heavy containers can tip on unlevel flags, water pools in low spots, and weeds push through open joints and undermine containers sitting directly on the ground. If you have loose or rocking flags, you will want to re-bed or re-point them before adding weight. If you are thinking about adding more paving area to accommodate a larger container arrangement, you will need to plan the number of flags or pavers before laying. Good drainage at the paving level also matters: if your patio does not drain away from the house at a slight slope, standing water from over-watering your containers will eventually cause problems with the paving and the wall.
Taking your patio further
Once you have flowers established and a routine in place, a small patio starts to feel like a proper outdoor room, and that often leads to wanting more from the space. For step-by-step ideas on how to decorate a deck or patio with flowers, see our dedicated guide on decorating a deck or patio with flowers. Shade structures, overhead screening, and enclosures are the natural next step: they protect both you and your plants from the worst of the weather, extend the season, and give climbing and trailing plants new surfaces to work with. A screened or partially enclosed patio also dramatically changes your microclimate calculations, since you can shelter tender plants that would otherwise need to come inside in autumn. The container and soil principles in this guide carry directly into those more ambitious projects, so the groundwork you lay here is not wasted.
FAQ
What is the first step before placing any plants on a small patio?
Create a scaled base plan of the patio showing house wall, door swings, steps, utilities, fixed obstacles and a north arrow. Use an easy scale for small patios (for example 1/8" = 1' or 1" = 10') and record exact patio dimensions. From that plan measure and mark net usable area by subtracting door swing, steps, posts and furniture clearances (minimum 30–36" doorway, 24–36" circulation, 12–18" buffer behind seating). This lets you test-fit furniture and container templates to avoid overcrowding.
How do I map sun and microclimates so I pick the right flowers?
Record sun exposure by observing the patio at hourly intervals during a typical summer day (or take hourly photos). Classify areas as: Full sun (≥6 hours direct sun), Partial sun/part shade (≈4–6 hours), or Shade (<2–3 hours or dappled). Note morning vs afternoon sun, reflected heat from light walls or glass, and heat-sinks like dark paving. Combine this with your USDA hardiness zone (enter ZIP at planthardiness.ars.usda.gov) to select plants suited to both light and winter lows; containers often act 1–2 zones differently than in-ground planting.
What are reliable plant lists for containers by light level for small patios?
Full sun (≥6 hrs): compact petunia/calibrachoa, geranium (Pelargonium), compact lantana, dwarf salvias, dwarf coreopsis, sedum. Partial sun (4–6 hrs): calibrachoa, geraniums, begonias (compact), vinca (heat-tolerant), salvias. Shade (<4 hrs): New Guinea impatiens, begonias (angel/dragon wing), Heuchera (alumroot), Japanese painted fern, coleus (foliage-focused). For low-maintenance choices prioritize geraniums, lantana, marigolds and sedum; check regional extension pages for cultivar recommendations and mature container sizes.
What container sizes and materials should I use for typical patio flowers?
Sizing rules of thumb: small annuals/compact perennials — 10–12" diameter and 8–10" depth; multi-plant pots and larger annuals — 5‑gallon (≈12–14" dia); small shrubs or multi-season specimens — 15–20+ gallon (18–24" dia). Material choices: unglazed terracotta/clay = porous (dries faster, heavier, frost‑prone); plastic/fiberglass/resin = lightweight, retain moisture; metal = heats quickly (use liners/insulation); wood = insulating but will rot over time. Match material to weight limits, watering frequency and winter exposure.
What are the drainage and potting soil specifications for containers on patios?
All outdoor containers must have drainage holes. Use high-quality commercial container mix (lightweight, porous, with moisture‑holding components) rather than garden soil. Amend mixes with 10–20% perlite or pumice for drainage if needed and add slow-release balanced fertilizer per package rates for flowering containers. Elevate pots on feet or risers to allow free drainage and use saucers or catch trays on impermeable patios; empty trays regularly to avoid root rot and standing water.
What space‑saving display systems work best on small patios?
Use vertical and hanging solutions to free floor area: hanging baskets on eaves or brackets (ensure secure anchors), vertical planters or pocket systems mounted to walls or fences, railing boxes that do not overhang more than local railing codes allow, tiered plant stands to create height without footprints, and tight pot groupings on one or two corners for impact. Mix heights (low–mid–tall) and place taller specimens at the back or periphery to maintain sightlines and circulation.
Next Articles
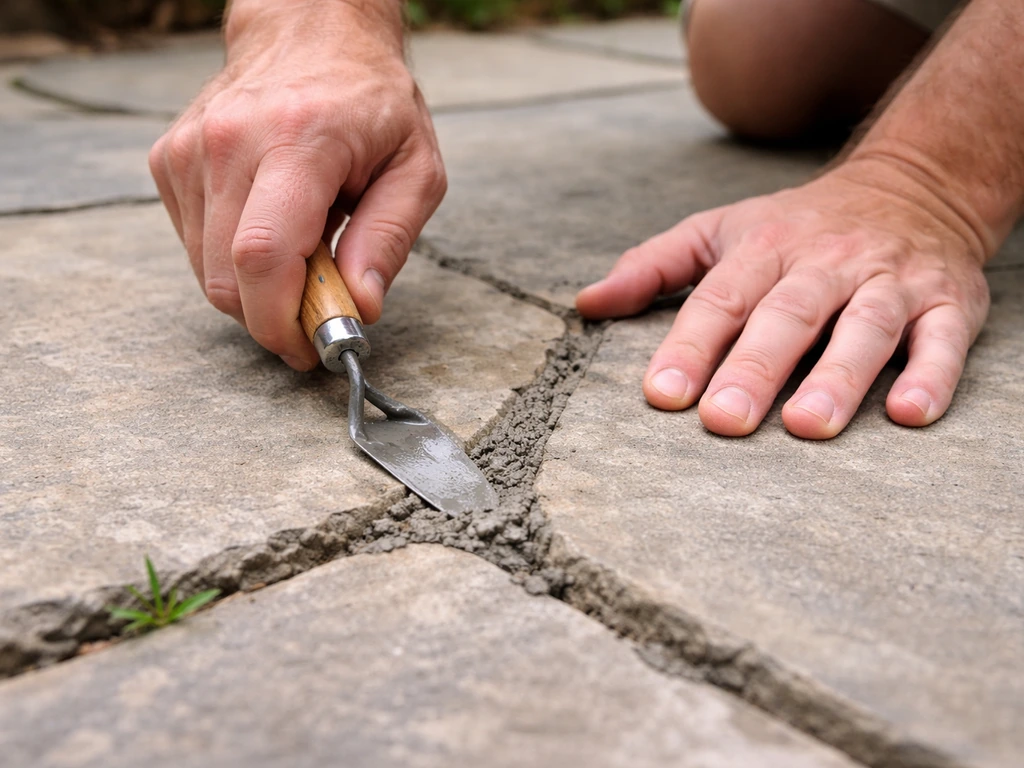
How to Point Patio Flags: DIY Repointing Guide
Step-by-step DIY guide to repoint patio flag joints, fix gaps and weeds, choose exterior mortar, and cure for lasting re
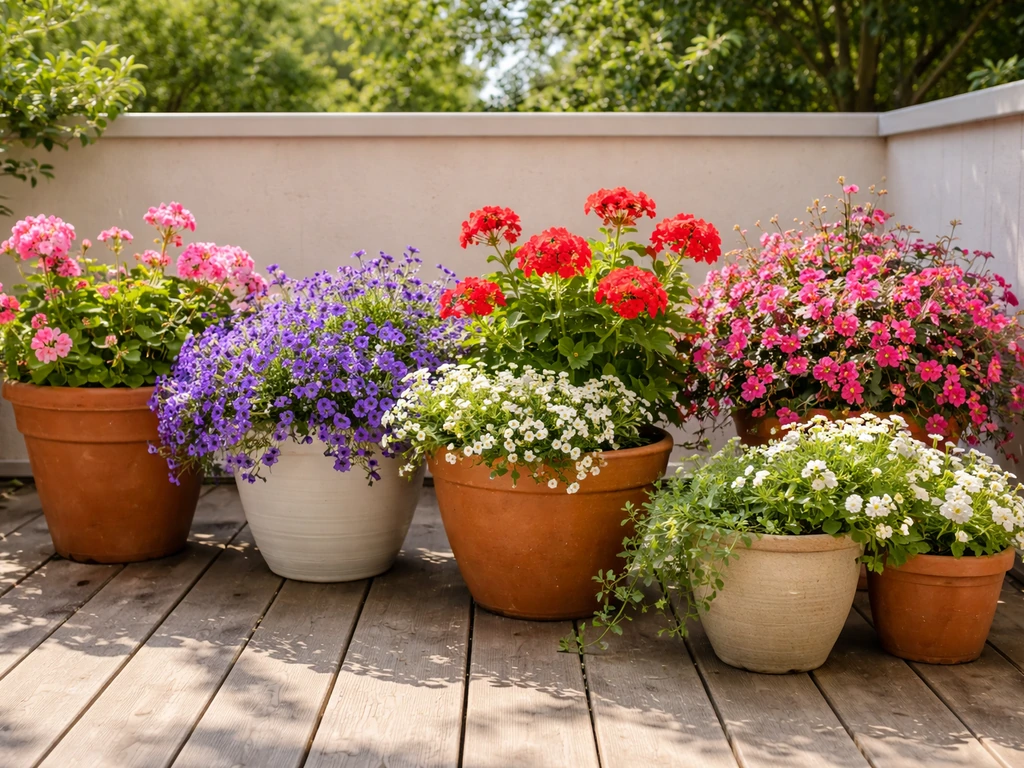
How to Decorate My Patio With Flowers: Step by Step
Step-by-step guide to decorate your patio with flowers: pick plants for sun and wind, arrange containers, and keep bloom
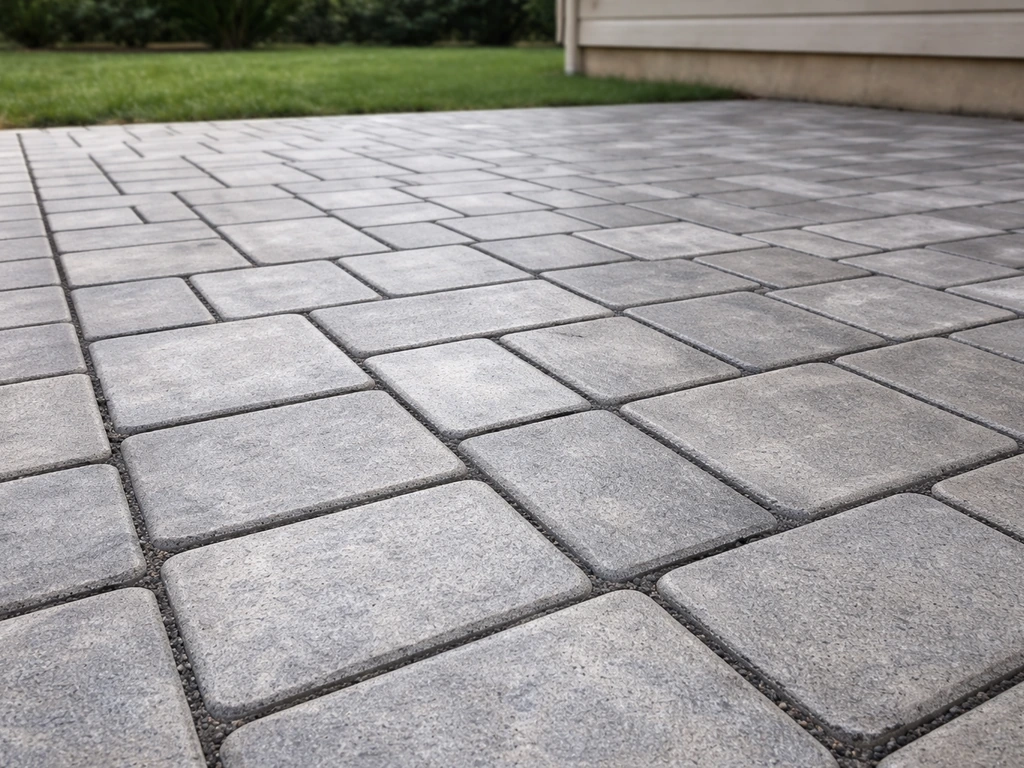
How to Flag a Patio: DIY Guide for Pavers and Repairs
Step-by-step DIY guide to flag a patio: choose pavers, prep base, set flags, cut, joint, seal, and repair.