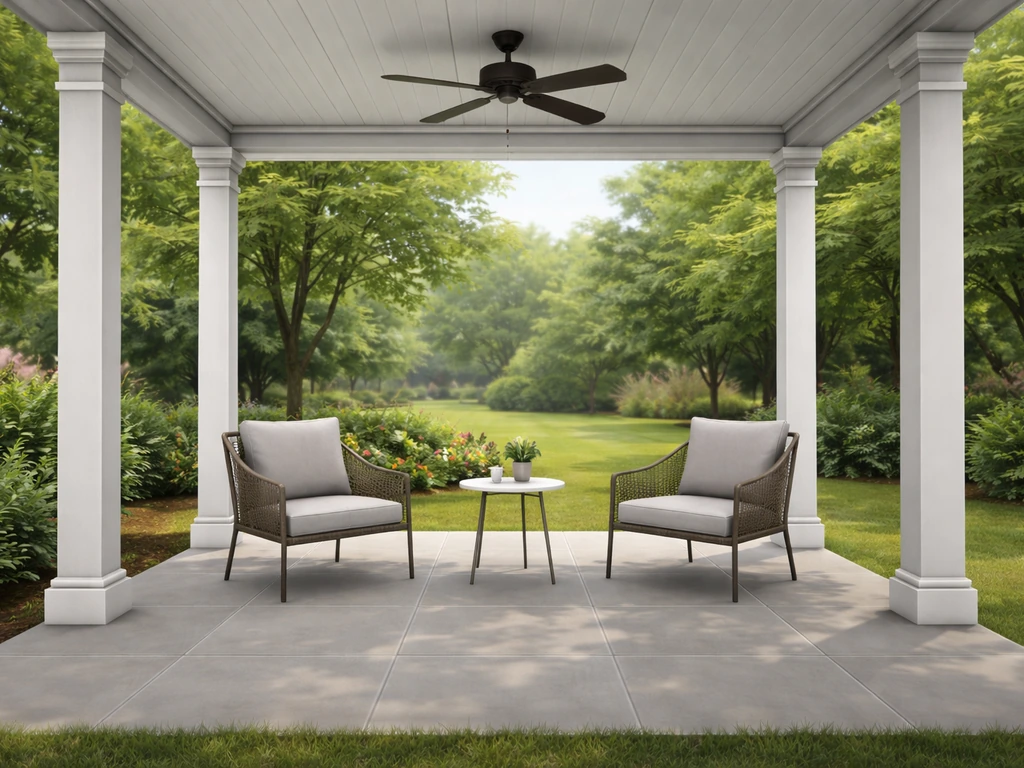
To make a covered patio in Sims 4, you place a foundation or flat terrain footprint for the patio area, surround it with walls or half-walls to define the space, then add a roof section directly over it using flat, shed, or hip roof types. The trick is matching roof height and overhang to the wall height so you get a clean, covered look without clipping or floating gaps. It takes a little back-and-forth in Build Mode, but once you know the workflow, it comes together fast.
How to Make a Covered Patio in Sims 4 Step by Step

Felix Brennan
13 Jun 2026
What actually counts as a covered patio in Sims 4
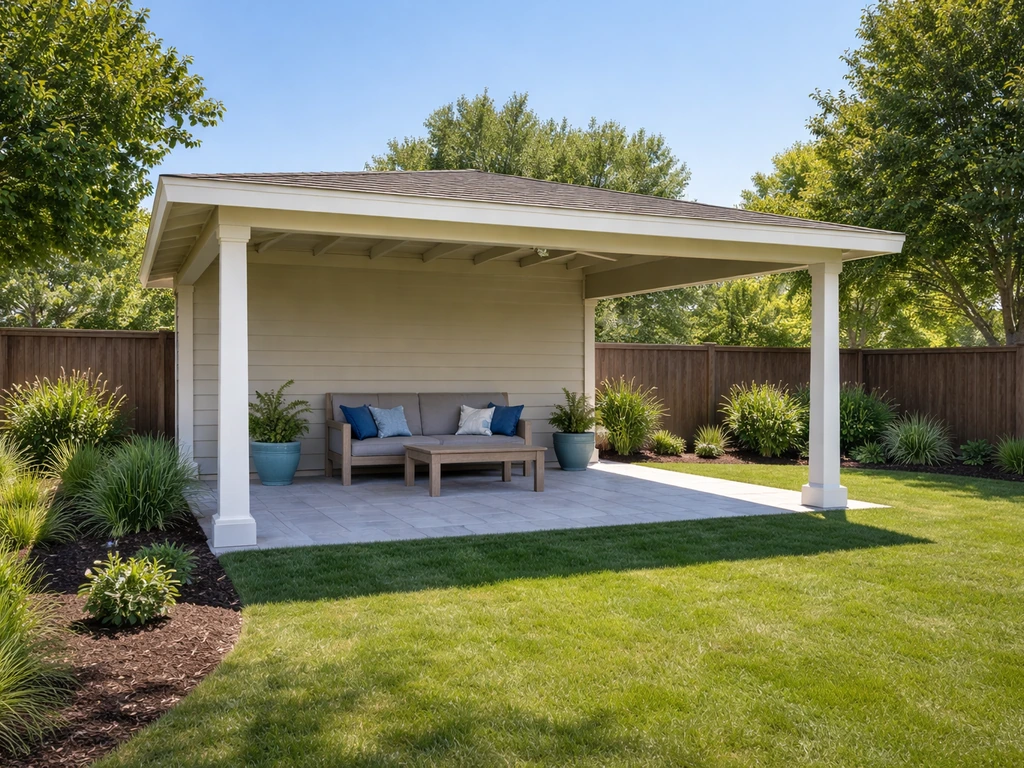
Sims 4 doesn't have a dedicated "patio" tool. What you're really building is a semi-enclosed outdoor space that the game reads as either a room or an open extension of the lot, depending on how you set it up. A covered patio typically means a roofed area that is open on at least one or two sides (no full walls closing it in), which keeps it feeling outdoor.
For more ideas, learn how to cover a small patio so the roof shelters the space without making it feel cramped. The cover is a roof section, not a ceiling placed inside a room. If you wall it in completely and add a ceiling, the game treats it as an interior room, and your outdoor furniture may not work the way you want.
Before you start placing anything, decide on two things: how open you want the patio to be (fully open sides, partial half-walls, or one solid wall backing it against the house), and how you want it to connect to the main structure. Both decisions affect which roof type you'll pick and how you'll anchor it. Sketch it out mentally first: a 4x6 tile covered patio attached to the back of the house is a very different build challenge than a freestanding 6x6 gazebo-style patio in the yard.
Foundation vs. terrain: pick your base before you build anything else
This is the decision most players skip, and it causes headaches later. You have two real options for your patio base: a raised foundation that matches or continues the house foundation, or a flat ground-level area on the lot terrain with no foundation at all.
If your house sits on a foundation (even the default shortest one), extending that same foundation height out to the patio area keeps everything level and connected. In Build Mode, use the foundation tool to drag the patio footprint out from the house. Match the height by clicking the foundation and using the up/down arrows to align it with the existing structure. A mismatched foundation height is one of the most common reasons a patio roof ends up floating or looking disconnected.
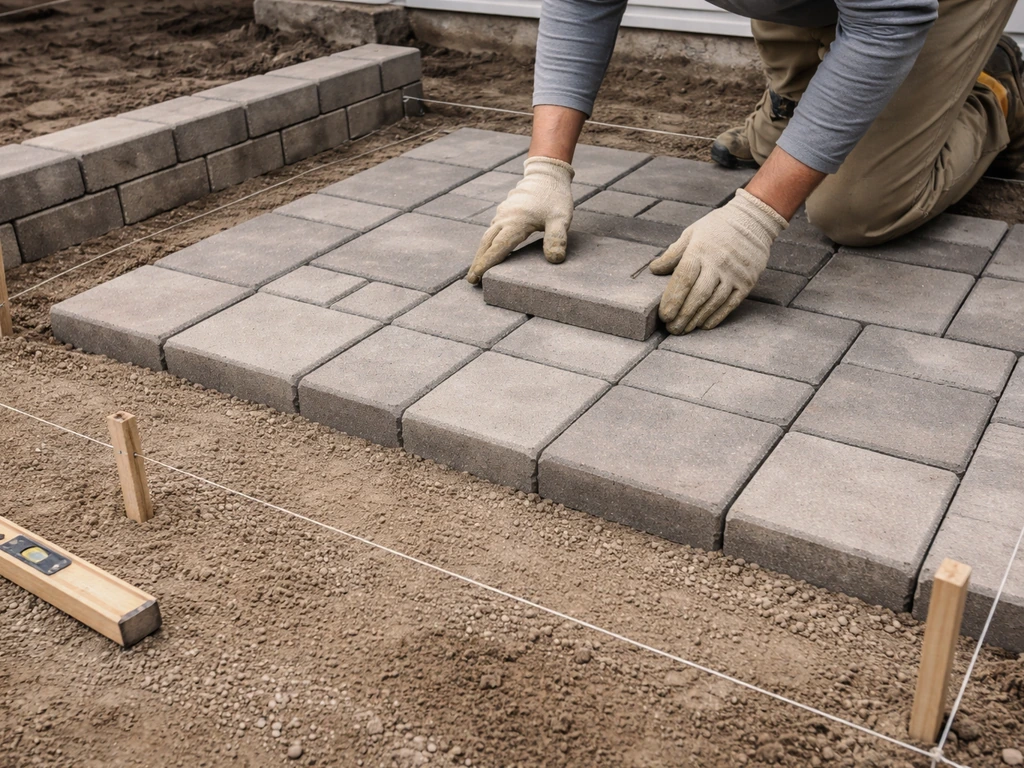
If you want a ground-level patio (think a concrete slab feel), skip the foundation entirely and work directly on the terrain. Flatten the terrain in that area using the terrain tools before you place anything else. Uneven terrain under a ground-level patio will throw off your wall heights and make the roof alignment a mess. Spend two minutes flattening first and you'll save ten minutes of troubleshooting later.
| Base Type | Best For | Main Challenge |
|---|---|---|
| Raised Foundation | Patios attached to a house on a foundation | Must match existing foundation height exactly |
| Ground Level (no foundation) | Freestanding or slab-style patios | Terrain must be manually flattened first |
| Deck Platform (foundation raised high) | Elevated deck-patio combos | Stairs and railing placement get tricky |
Building the patio footprint and walls
Once your base is sorted, it's time to lay out the patio footprint and put up whatever walls you need. A typical covered patio runs 4 to 6 tiles wide and 4 to 8 tiles deep. Smaller than 4x4 and the roof starts to look cramped; bigger than 8 tiles in any direction and you'll need to think about multiple roof sections or a hip roof to cover it properly.
Placing walls and half-walls
For a covered patio attached to the house, you'll usually have one solid wall shared with the house itself, and then you need to decide what goes on the other three sides. Full walls on all sides make a room, which isn't what we want. If you want the patio to feel more like an open-air cover rather than a full room, keep it to half-walls and no ceiling, which leads into the next steps for half-wall height and placement. Instead, try one of these combinations: If you are still unsure how to manage open sides versus partial enclosures, also see how to cover patio sides for more real-world layout ideas.
- Open on three sides with just columns at the corners (use the column/pillar objects from the Build catalog under Architectural Details)
- Half-walls on two or three sides for a partial enclosure feel without fully closing the space
- One full side wall on the exposed end, open on the two connecting sides
Half-walls are genuinely useful here. The half-wall tool gives you walls that stop partway up instead of going full height, which creates that open-air covered patio look while still giving the roof something visual to rest on.
Sims 4 includes wall heights and half-wall options, where half walls are a distinct build tool for partial enclosures that can define spaces without fully enclosed room walls (The Sims Wiki) Half-wall tool gives you walls that stop partway up instead of going full height. You can adjust half-wall height by clicking on the wall after placing it and using the height slider.
Taller half-walls (around three-quarter height) look more like a pergola railing; shorter ones read more like a garden wall or planter ledge.
One alignment tip that saves a lot of frustration: use the grid. Make sure grid snapping is on (press G if it's off) before placing any walls. Walls placed off-grid create tiny gaps that the roof will not cover cleanly. Every wall segment should snap precisely to a grid square edge.
Adding the roof cover: type, placement, overhang, and height
This is the heart of the build. Getting the roof right is what makes the difference between a covered patio that looks intentional and one that looks like a building glitch.
Which roof type to use
For a covered patio, you'll almost always want one of three roof types from the Build Mode roof catalog:
- Flat Roof: the cleanest, most modern look. Works great for contemporary builds. Easy to place and align. The downside is it can look boxy if the walls are full height.
- Shed Roof (one-slope): the most realistic covered patio look. One side sits higher (usually against the house wall) and slopes down toward the open side. Gives you that classic porch-cover silhouette.
- Hip Roof: slopes down on all four sides. Best for freestanding covered patios or gazebo-style structures. More complex to place but looks polished.
For a first covered patio build, start with the shed roof. It's the most forgiving and produces the most recognizable result. Select it from the roof tool, click and drag over your patio footprint, and the game will auto-generate the slope. You then adjust from there.
Adjusting height and angle
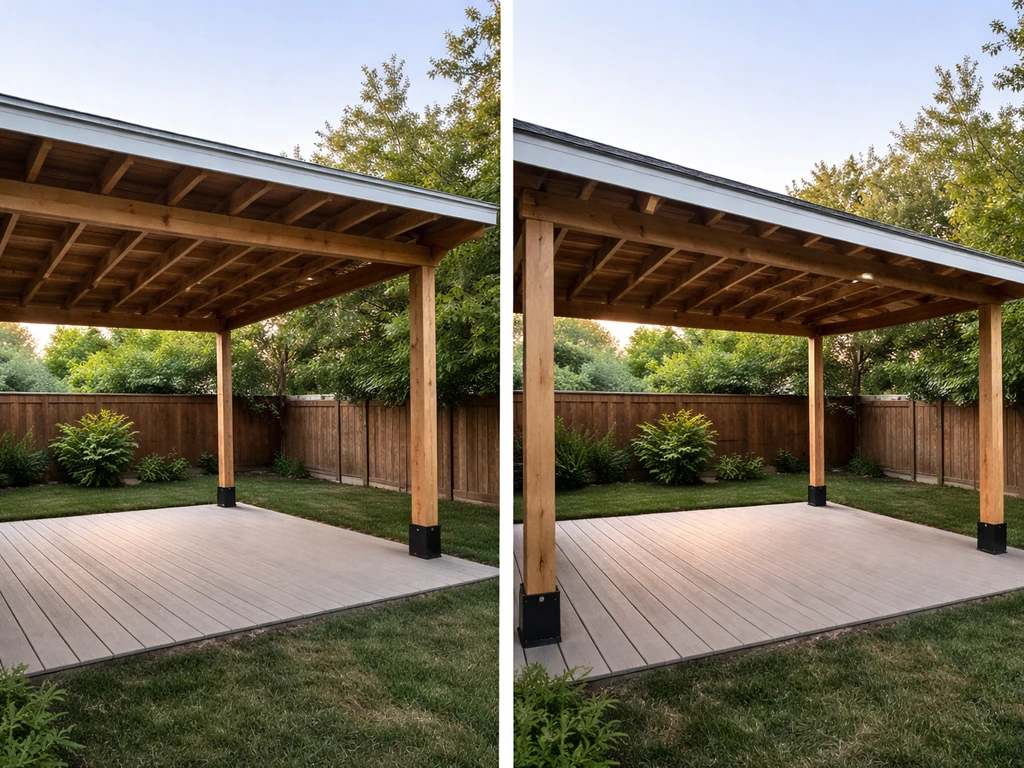
After placing the roof, click on it to bring up the control arrows. The tall vertical arrow in the center raises or lowers the peak height of the roof. For a covered patio, you usually want a lower pitch than you'd use for a full house roof. Drag the peak down until the roof line matches or sits just above your wall height. If the peak is too high, the patio looks like a barn; too low and it clips into the walls.
Setting the overhang (eaves)
The shorter drag arrows at the bottom edges of the roof section control the eaves, which is the overhang that extends past the wall. For a covered patio, you want meaningful overhang on the open sides so it looks like the roof is actually sheltering the space below. Drag those shorter arrows outward by 1 to 2 tiles on the exposed sides. On the side where the patio meets the house, pull the eave in tight (or to zero) so the roof butts cleanly against the house wall. One important detail: each roof section edge can be adjusted independently, so clicking one bottom edge only changes that edge's overhang, not the whole roof.
Connecting the roof cleanly to the patio space
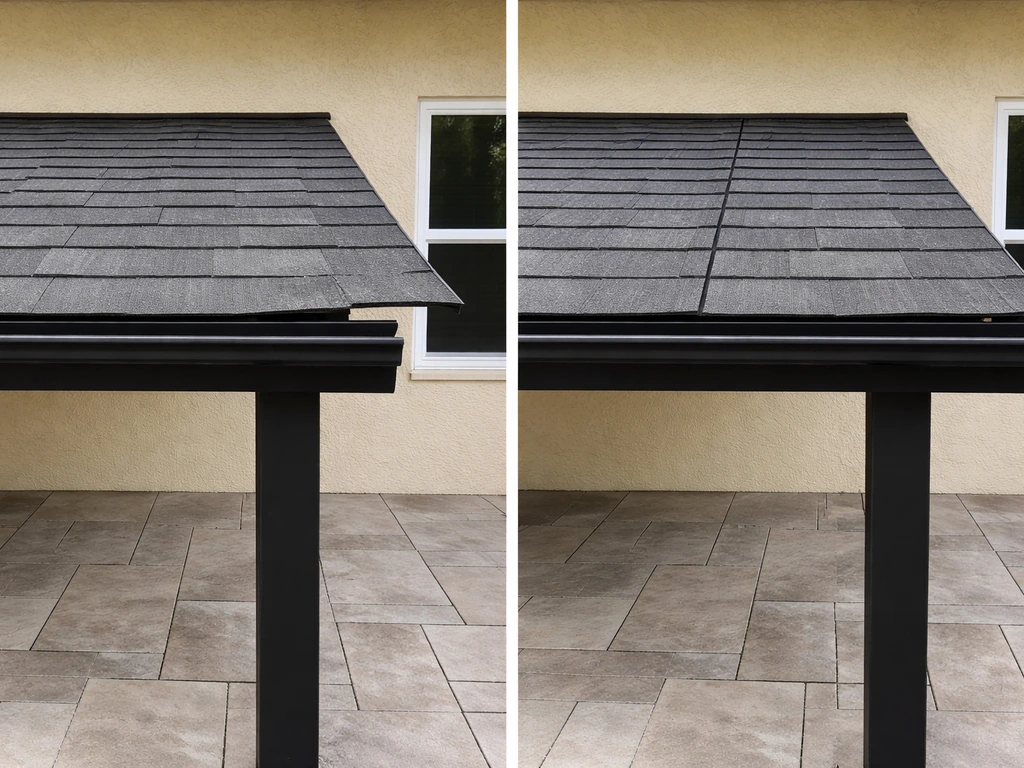
This is where most builds fall apart. The roof is placed, but it's floating above the walls, or it's clipping down through them, or there's a visible gap between the roof edge and the house wall. Here's how to handle each situation.
If the roof is floating above the walls, your wall height is shorter than the roof's starting height. Lower the roof peak using the center arrow, or raise your wall height by one level. You can also try switching to a shorter wall height option in the wall tool before you build. In Sims 4, walls come in short, medium, and tall variants selected at the top of the Build Mode panel.
If the roof clips down through the walls, the roof is too low for the wall height. Raise the peak slightly or reduce the wall height. The sweet spot is usually having the roof's lowest edge sit right at or just above the top of the wall, which is exactly how a real covered patio works.
For attaching to the house wall, zoom in and check the junction carefully. The roof edge should rest flush against the house siding. If there's a gap, nudge the roof section toward the house wall using the move arrows (not the eave arrows). If there's clipping overlap, pull it back very slightly. Small adjustments here make a huge visual difference.
One trick that works well for attached patios: place the patio roof section before finalizing wall placement, then use the wall tool to close any gaps between the roof and the house structure. It's easier to fit walls to a placed roof than to fit a roof to existing walls.
Troubleshooting the most common covered patio build problems
Even with careful planning, Sims 4's Build Mode can fight back. Here are the most common problems and the fastest fixes.
| Problem | Most Likely Cause | Fix |
|---|---|---|
| Roof won't place over patio area | Area not recognized as a buildable footprint | Flatten terrain or extend foundation to cover the full patio footprint first |
| Gap between roof edge and house wall | Roof not positioned flush against the wall | Use the center move arrows to push the roof section toward the house wall |
| Roof clipping through the top of walls | Roof peak set too low for wall height | Raise peak with the center vertical arrow, or lower wall height by one step |
| Roof floating above walls with visible gap | Roof peak too high, or wall height too short | Lower the roof peak or increase wall height in the wall tool settings |
| Overhang looks uneven on different sides | Each eave adjusted independently (which is correct) | Click each bottom edge separately and set overhang consistently |
| Outdoor furniture won't place on patio | Game reading area as interior room | Remove one wall segment to open the space; the game needs at least one open side |
| Patio looks tilted or uneven | Terrain under patio not flat | Exit to terrain tools, flatten the area, then rebuild the patio footprint |
One more issue worth calling out: sometimes the roof simply refuses to snap where you want it. This is almost always a grid problem. Press G to toggle grid snapping on, then try placing the roof again. If it still won't cooperate, delete the patio walls temporarily, place the roof section, then rebuild the walls around it. Starting from the roof and working outward is a legitimate strategy and often faster than trying to fit the roof last.
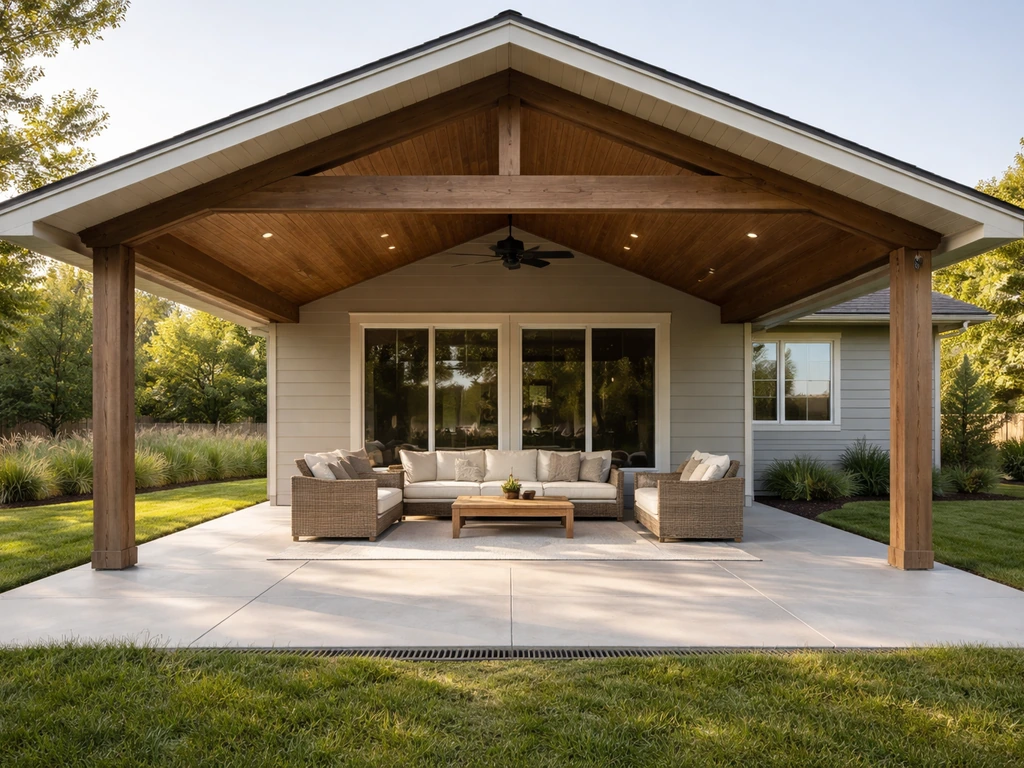
Finishing the space: furniture, lighting, and décor
Once the structure is right, the fun part starts. If you want more ideas before you start placing pieces, use this guide on how to design a covered patio as your checklist. A covered patio in Sims 4 can be furnished and decorated almost exactly like a real one, and the same principles that make a real patio comfortable apply here: good seating, decent lighting, and a few personal touches that make the space feel lived in rather than staged.
Outdoor furniture placement
Filter the Buy Mode catalog by the Outdoor category to find furniture that works in non-enclosed spaces. Sofas, lounge chairs, dining sets, and hammocks all have outdoor-rated versions. Place a seating group toward the center or back of the patio, leaving at least one tile of clearance on each open side so Sims can navigate in and out without getting stuck. A dining table with four chairs fits well in a 4x4 section; a full lounge setup with sofa and chairs needs at least 4x6.
Lighting under the cover
Overhead lighting makes a huge difference in how the space reads, especially at night. String lights (found under Decorative or Lighting in Buy Mode) can be draped from wall to wall for a relaxed patio feel. Pendant lights or wall sconces mounted on the shared house wall give a more structured look. If you have columns at your patio corners, attach wall lights directly to them. Avoid placing floor lamps in heavy-traffic paths since Sims will route around them awkwardly.
Décor and comfort upgrades
A covered patio that looks great usually has a few layers of detail: a rug under the seating area to anchor the space visually, planters or potted plants along the open edges, and something on the walls (a clock, outdoor art, or a wall-mounted grill if the patio is near the kitchen). Ceiling fans placed under the roof add a nice realistic touch and actually function in-game to improve Sim comfort in warm weather. Place them through the ceiling tool after the roof is in place.
If you want the patio to feel more enclosed for privacy without losing the outdoor feel, half-walls with planters on top are a great solution. They define the space and break sightlines without turning it into a room. This is the same logic that makes half-walls so useful in real covered patio design, and it translates directly into the game.
Once your covered patio is set up, it's worth stepping back in Live Mode and watching your Sims use the space. They'll naturally gravitate toward seating near the center, so if the pathways feel blocked or Sims keep standing awkwardly, go back into Build Mode and open up a tile or two. A great covered patio in Sims 4 works the same way a great real-world patio does: the structure looks right, the furniture fits the space, and people actually want to hang out there.
FAQ
Why does my covered patio end up feeling like an indoor room?
Sims 4 can treat a roofed area as a room if you enclose it fully with full walls and add a ceiling-like interior setup. Keep at least one or two sides open, use half-walls instead of full walls, and rely on roof placement rather than adding an interior ceiling, so the space stays “outdoor” in how Sims use it.
What’s the best way to fix a gap between the patio roof and the house wall?
If the patio is attached to a house, build the shared side so the roof edge lines up with the house exterior wall you already placed. If there is a gap, use the move arrows to nudge the entire roof section toward the house (not the eave controls), then only fine-tune each eave edge after the junction looks flush.
How do I make the patio roof look like shelter instead of a mini house roof?
For roofs that look too steep or too flat, adjust in two stages: first use the center arrow to set a lower pitch for a patio than you would for a full house roof. Then use the shorter drag arrows on the exposed edges to create sheltering overhang (about 1 to 2 tiles outward), while keeping the house side eave tight.
My patio roof is floating above the walls, how do I correct it?
When the roof looks like it floats, it usually means the walls are using a shorter height variant than the roof expects. Recheck by lowering the roof peak or switching the wall tool height option (short, medium, tall) before you place more walls, so the roof’s lowest edge sits at or just above the wall top.
What should I do if the patio roof clips through the walls?
When the roof clips through walls, the roof’s lowest edge is sitting too low relative to the selected wall height. Raise the peak slightly, or reduce wall height by switching to a shorter wall variant, then stop when the roof edge sits at or just above the wall top.
Do I really need to flatten terrain for a ground-level covered patio?
If you are building a ground-level patio, flatten the terrain where the patio sits before placing walls or roofs. Uneven terrain can shift visual wall alignment and makes it hard to get the roof edges to sit correctly, even if you use grid snapping.
What’s the fastest fix when the roof won’t snap in Build Mode?
If roof placement keeps failing or won’t snap where you want, grid snapping is the first check. Press G to toggle it on, then try again. If it still refuses, delete the patio walls temporarily, place the roof on the cleared footprint, then rebuild the walls around the roof.
How do I choose a roof type based on patio size?
A good rule is to design the footprint first around your preferred roof type. Shed roofs are usually the easiest for an initial 4x6 style attached patio, while hip roofs can handle more balanced shapes. If you exceed about 8 tiles in width or depth, you’ll often need multiple roof sections or a hip roof to avoid odd seams.
How much walkway space should I leave for Sims on a covered patio?
To keep Sims from getting stuck, leave at least one clear tile of walkway on each open side, especially between outdoor furniture and the boundary where Sims enter the patio. In tighter layouts, place dining and seating closer to the back or center so Sims path around edges instead of through tables.
Why won’t some furniture behave correctly on my patio?
Use outdoor-rated furniture from the Outdoor category and focus the layout away from heavy traffic routes. Also, test in Live Mode after decorating, because certain item placements can block routing in ways that look fine in Build Mode.
Where should I place lighting so Sims do not route around it awkwardly?
Pendant lights and wall sconces work best on the shared house wall or on sturdy structures like patio columns. Avoid floor lamps in high-traffic paths, because Sims route around them in ways that can cause awkward standing or detours.
How can I add privacy to a covered patio without turning it into a room?
You can improve privacy without fully enclosing the patio by using half-walls and adding planters on top. This keeps the space visually defined, reduces direct sightlines, and preserves the outdoor feel because you still avoid closing it in like a full room.
Next Articles
How to Design a Covered Patio: Step-by-Step Guide
Step-by-step DIY guide to design a covered patio, choosing roof, structure, drainage, screens, permits, and maintenance.

How to Decorate a Long Narrow Patio: Layout Tips
Practical DIY layout and decor tips to widen a long narrow patio using zoning, furniture spacing, lighting, greenery, an

How to Decorate a Rectangular Patio Step by Step
Step-by-step plan to decorate a rectangular patio with smart layout, zones, furniture fit, lighting, plants, and seasona