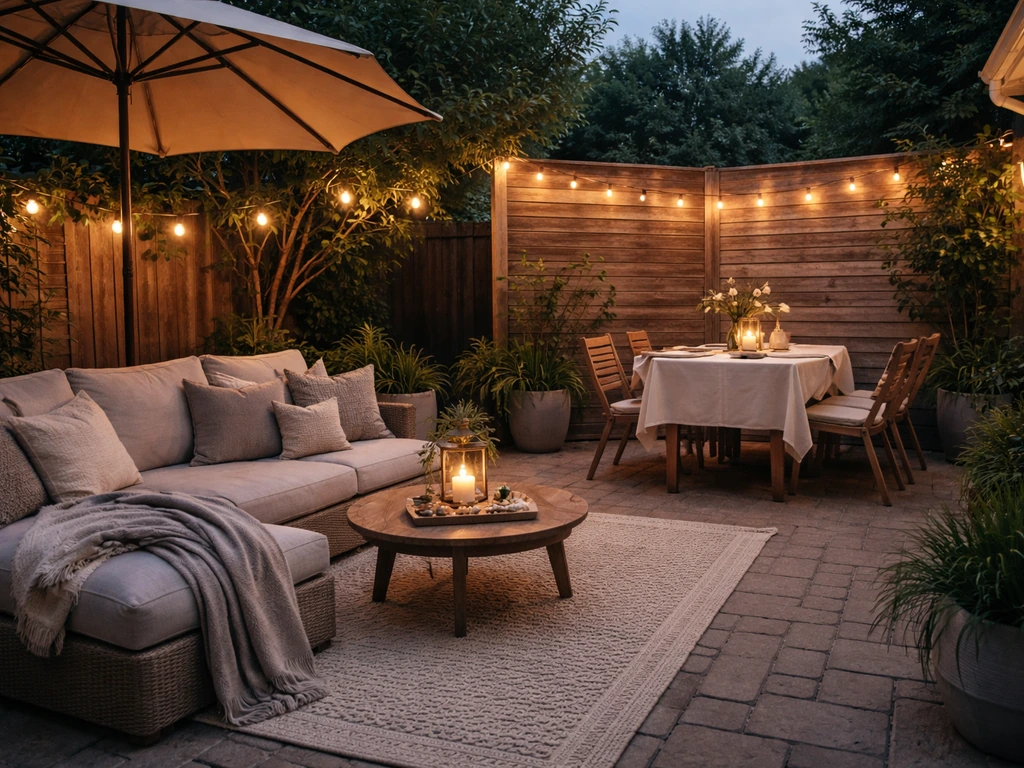
The fastest way to make a patio feel cozy is to define the space like a room: anchor a seating area with an outdoor rug, bring in layered lighting at a warm 2700K or lower, add cushions and curtains for softness and privacy, and block wind or harsh sun so you actually want to sit there. Whether you have a cramped apartment balcony or a sprawling backyard slab that feels like an empty parking lot, the same core principles apply. You're essentially building an outdoor room, and this guide walks you through every piece of that puzzle with real measurements and DIY steps you can start on today.
How to Make Patio Cozy: DIY Steps for Any Size

Felix Brennan
27 May 2026
Quick cozy patio checklist
Before diving into details, run through this checklist to get a snapshot of where your patio stands and what to tackle first. Check off what you already have, and the gaps are your project list.
- Outdoor rug sized so furniture legs sit on it (defines the zone)
- Seating arranged so people face each other around a central table
- At least 30 to 36 inches of walkway clearance around seating
- String lights or lanterns at warm white (2200K to 2700K)
- Wall sconce or post light centered around 60 to 65 inches off the ground
- Outdoor cushions and throw pillows on seating
- Shade sail, pergola cover, or umbrella blocking peak afternoon sun
- Wind barrier: curtains, lattice screen, or planted hedge
- Non-slip rug pad or gripper tape under the rug
- Outdoor smart plug so lights come on automatically at sunset
- At least one defined zone (lounge, dine, or bar) if your patio is large
Layout and seating for comfort
Layout is where most people go wrong. They push all the furniture against the walls like a waiting room, or they scatter pieces randomly across a big slab. Neither feels cozy. The trick is to treat your patio like an interior space: define zones, face seating inward, and keep walkways clear enough that nobody has to turn sideways to pass through.
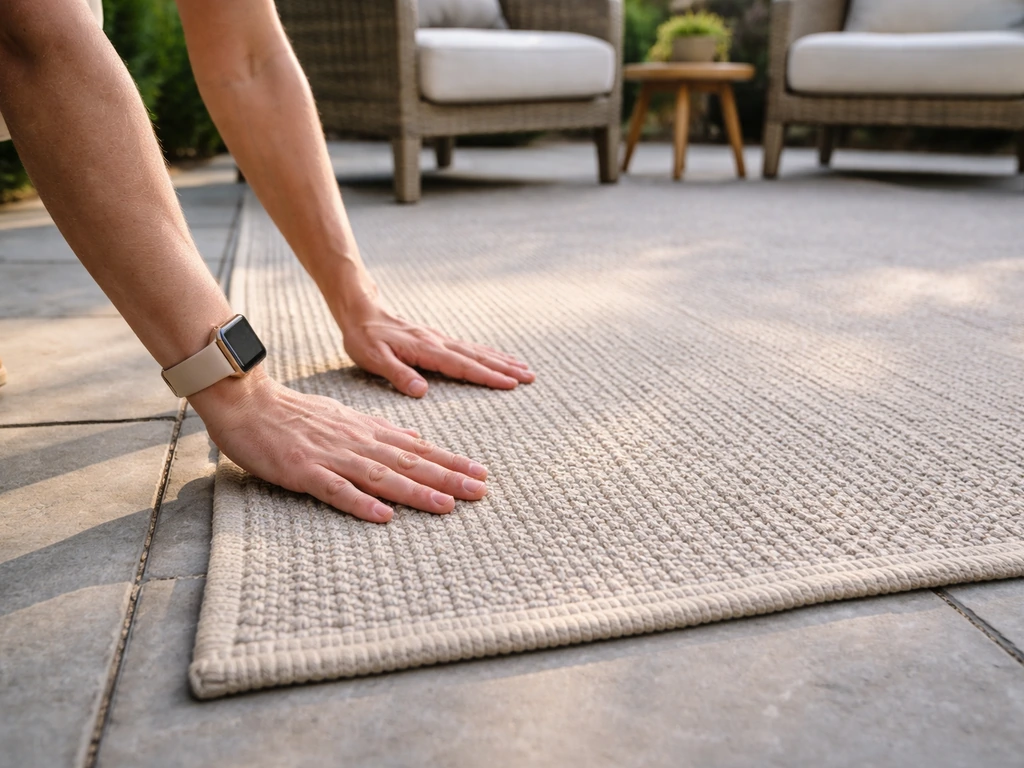
Start with the rug to anchor the zone
The outdoor rug is your foundation. Place it first, then arrange furniture on top of it. The standard sizing rule: at minimum, get a rug large enough so the front two legs of every chair sit on it. Better yet, go big enough for all four legs of every piece. This makes the seating grouping look intentional rather than scattered. For a typical four-person conversation set with a coffee table, that usually means a 8x10 or 9x12 rug. Measure your furniture footprint first, then add 12 to 18 inches on each side as a buffer.
Zone a large patio so it doesn't feel empty
A big open patio feels cold and echo-y when you treat it as one giant space. Instead, break it into two or three distinct zones: a lounge area, a dining area, and optionally a bar or drinks station. These zones should feel visually connected (matching or complementary furniture styles, consistent lighting) but physically separate. A separate rug in each zone, different lighting levels, and even a small side table acting as a divider are enough. This three-zone hosting approach means guests naturally spread out and the whole patio feels used and alive, not cavernous.
Keep walkways generous
For dining areas, leave about 36 inches around the table so chairs can pull out without wedging into a planter or railing. For lounge zones, 30 inches is the practical minimum for a walkway, though 36 inches feels much more relaxed. When you're measuring, do it with tape on the actual concrete, not just in your head. It's easy to underestimate how much space chairs take when someone's sitting in them versus stacked in a showroom.
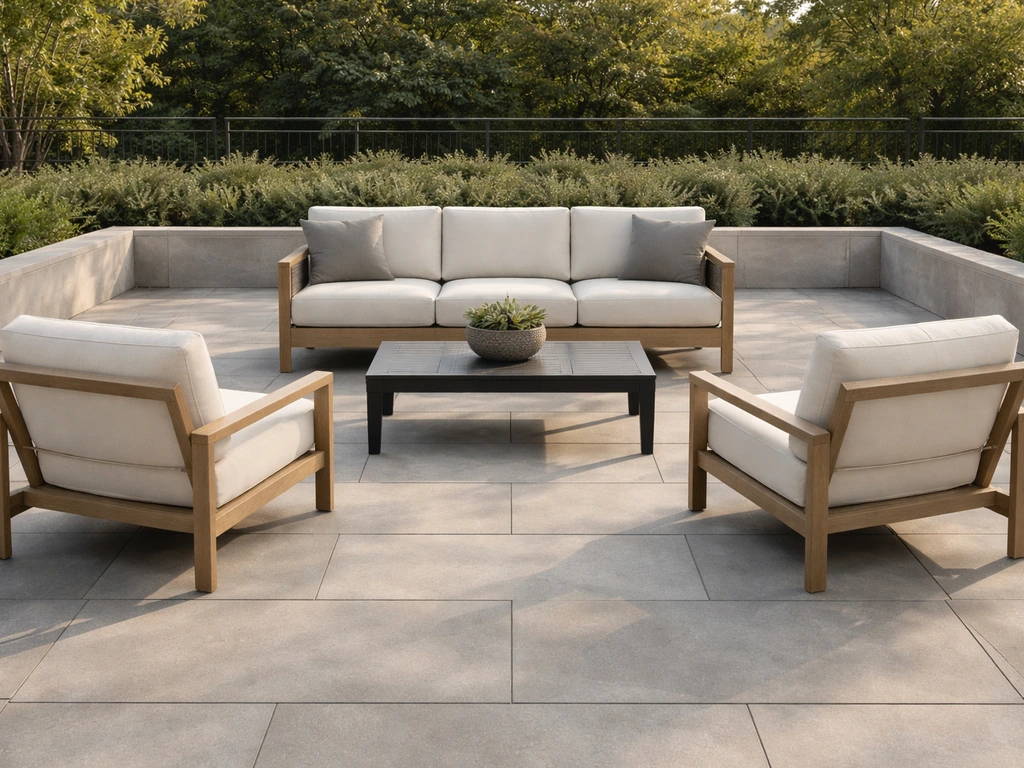
Arrange seating so people face each other
For a conversation lounge zone, position chairs and sofas around a central coffee table so everyone in the group can see each other without craning their neck. An L-shape or U-shape arrangement works well. Avoid lining chairs up side by side along a wall. That layout might look tidy, but it kills conversation and makes the space feel like a bus stop, not a comfortable outdoor room.
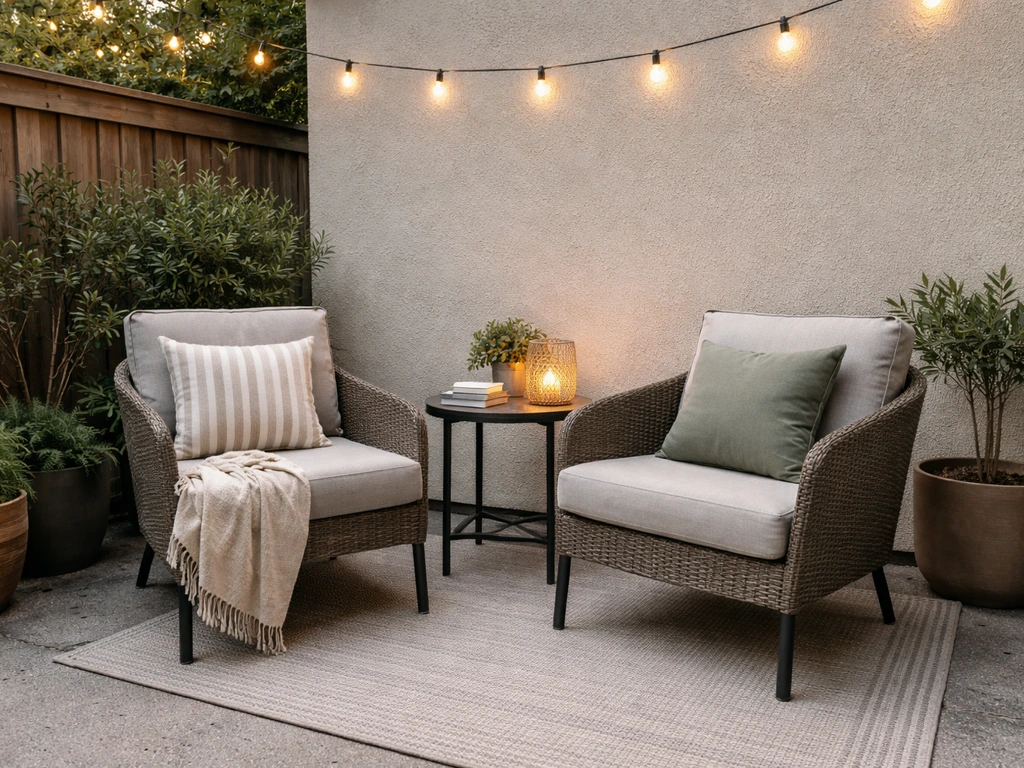
Lighting and ambiance upgrades
Lighting does more for patio coziness than almost any other single upgrade. During the day it doesn't matter much, but at dusk, the right lighting turns a plain concrete slab into somewhere people genuinely want to linger. The goal is layered, warm light, not a single bright overhead flood.
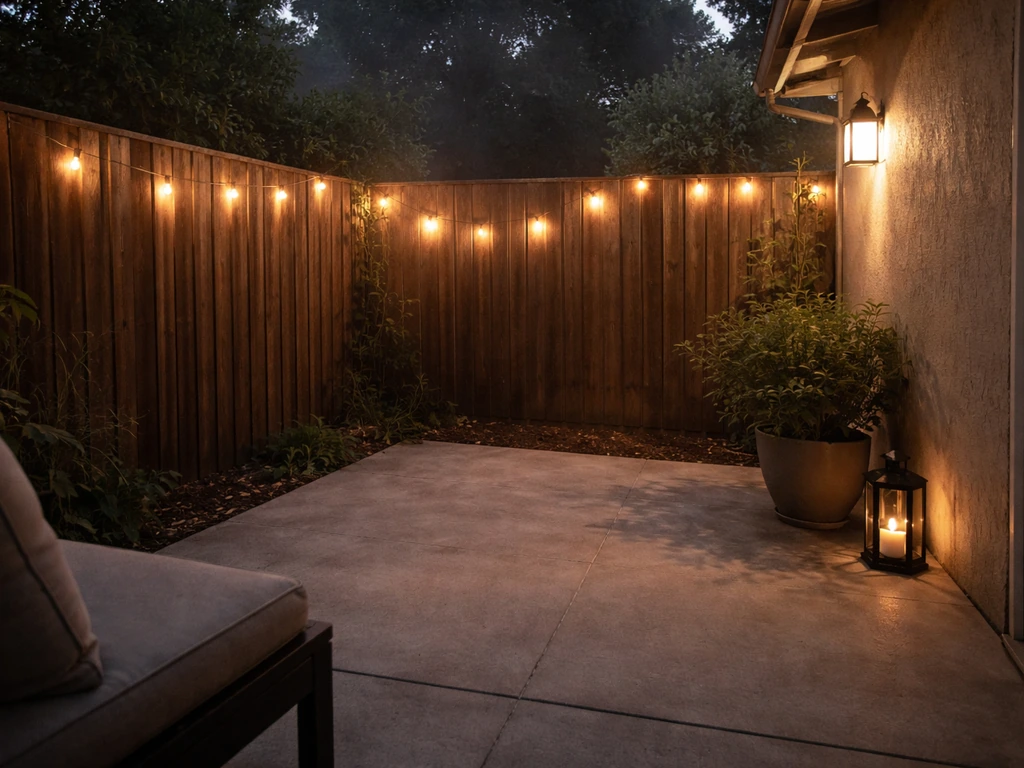
String lights: the easiest cozy upgrade
String lights are the go-to for good reason. They're inexpensive, easy to hang, and the warm glow at 2200K to 2700K mimics candlelight without the fire risk. When hanging them, aim for a natural droop between anchor points rather than a taut line. Space your bulbs every 3 to 4 feet and let a little slack form between each hook. This creates that gentle catenary curve that looks intentional and flattering. Use outdoor-rated stainless hooks screwed into fascia boards, pergola beams, or a nearby fence post.
Layer your light sources
String lights alone are a great start, but layering in a wall sconce or two, a few lanterns at ground level, and maybe some path lights along your walkway creates depth. For wall sconces, mount the center of the fixture about 60 to 65 inches off the ground. That height puts the light source roughly at eye level when you're standing, which produces a flattering, ambient glow rather than a harsh downward glare. If you're adding path lights along a walkway edge, space them 6 to 10 feet apart in an alternating pattern to avoid a runway effect.
Automate so you never forget to turn them on
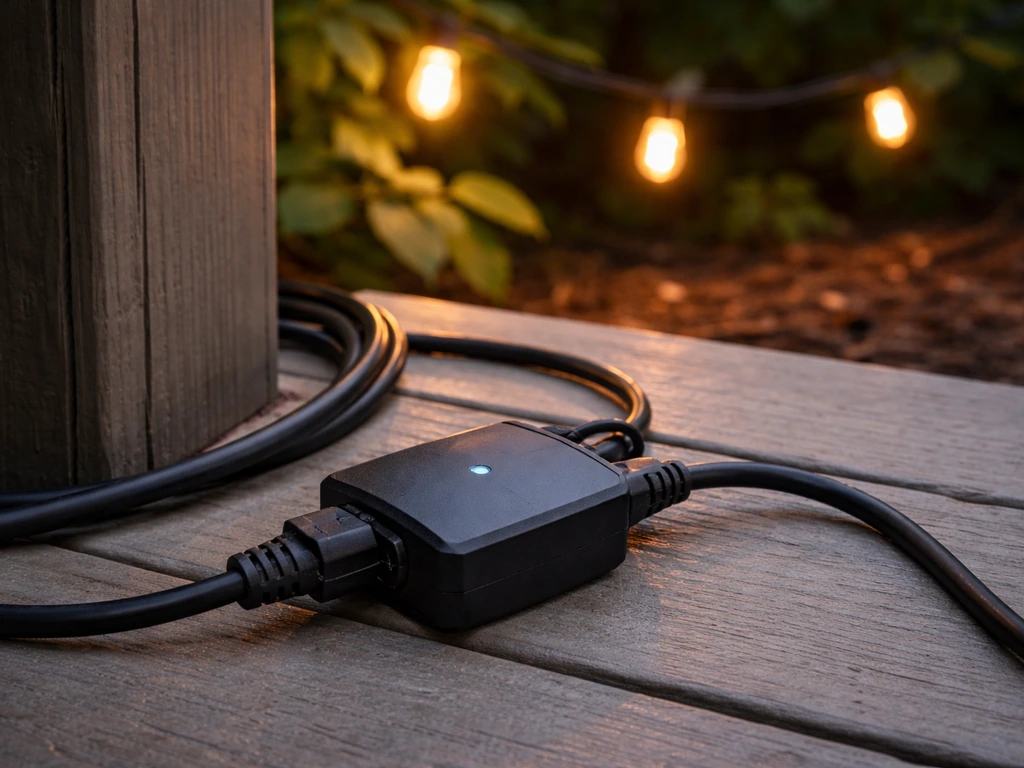
Plug your string lights into an outdoor-rated smart plug. Set it to turn on at sunset and off at a set bedtime. This one small step means the patio is always ready to use the moment you step outside in the evening, without fiddling with switches. Most outdoor smart plugs cost under $20 and work with any standard smart home app.
Comfort add-ons: rugs, curtains, cushions, and privacy
Comfort upgrades are where the space shifts from looking nice to actually feeling cozy. Think of these as the soft furnishings of your outdoor room: the equivalents of a living room rug, curtains, and throw pillows.
Choosing the right outdoor rug
For outdoor use, look for polypropylene or solution-dyed polyester and acrylic. Polypropylene is the most popular choice because it doesn't absorb water, resists mildew, and holds up to foot traffic. Solution-dyed fibers have color embedded in the fiber itself rather than applied on top, which means they resist UV fading much better over multiple seasons. Avoid indoor rugs repurposed outside: they trap moisture and deteriorate quickly.
Once you've picked your rug, place a purpose-built outdoor rug pad or non-slip gripper tape underneath to keep it from creeping around on concrete. For rug gripper tape, follow the instructions to cut the tape to size and place the rug over it for best results [place a purpose-built outdoor rug pad or non-slip gripper tape underneath to keep it from creeping around on concrete](https://www. robertsconsolidated. com/wp-content/uploads/2025/12/50-58050-588RugGripperAntislipMeshTapePDSENG_O2225-00510.
pdf).
Outdoor curtains for privacy and softness
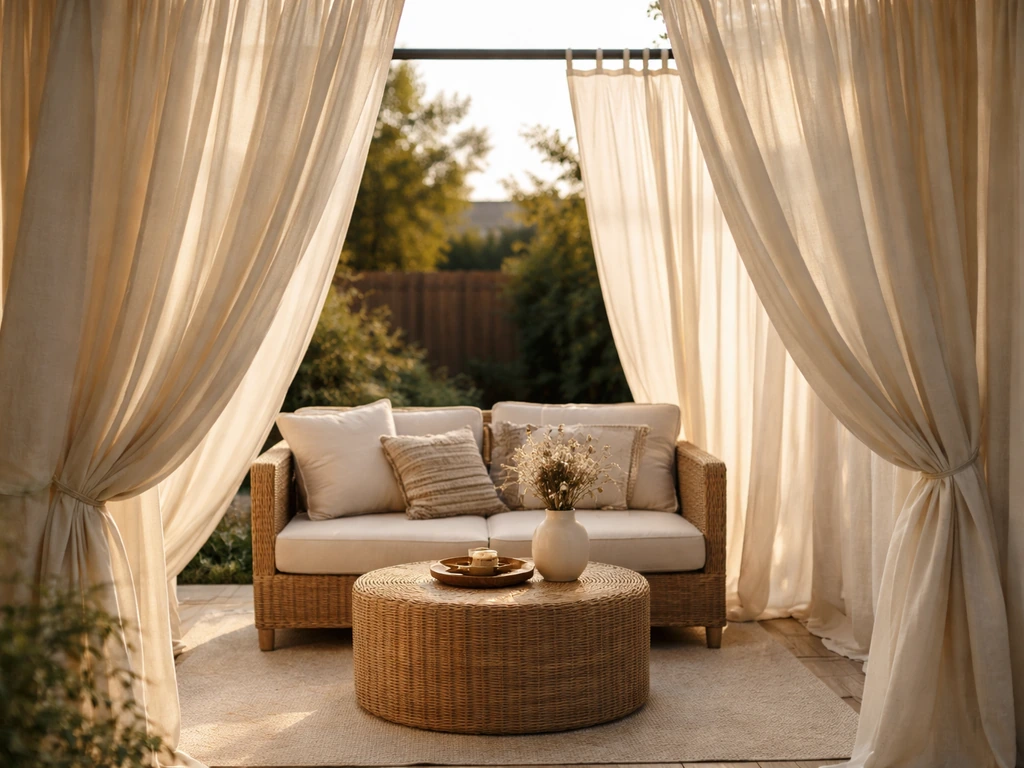
Outdoor curtains do double duty: they add visual softness (the drapery effect that makes outdoor spaces feel more like rooms) and they create privacy from neighbors. For hardware, use aluminum or stainless steel curtain rods specifically rated for outdoor use. Standard interior curtain rods rust quickly even under a covered patio. Make sure every component, not just the rod tube but also the brackets and mounting screws, is rated for outdoor exposure. Sheer curtains work well for diffusing light without blocking airflow. Heavier canvas or Sunbrella-fabric curtains offer better wind and sun blocking.
Cushions and pillows
Cushions are the fastest visual upgrade after the rug. Look for cushions filled with quick-dry foam and covered in solution-dyed acrylic fabric (Sunbrella is the most recognized brand). These resist mildew and fade far better than standard polyester cushions left outdoors. Add a few throw pillows for texture and color. You don't need to match everything exactly: mixing two or three complementary colors or patterns usually looks more intentional than a perfectly matched set.
Privacy without building a fence
If your patio feels exposed, you have several DIY-friendly options besides building a permanent fence. Outdoor curtains hung from a pergola beam or a tension rod between posts are the quickest fix. Lattice privacy screens attached to existing railing posts work well and can support climbing plants over time. Tall planters with ornamental grasses or bamboo create a living privacy screen that softens the whole space. For a smaller patio, even a single trellis panel positioned behind the main seating area can make the whole zone feel sheltered and private.
Shade, wind protection, and weatherproofing
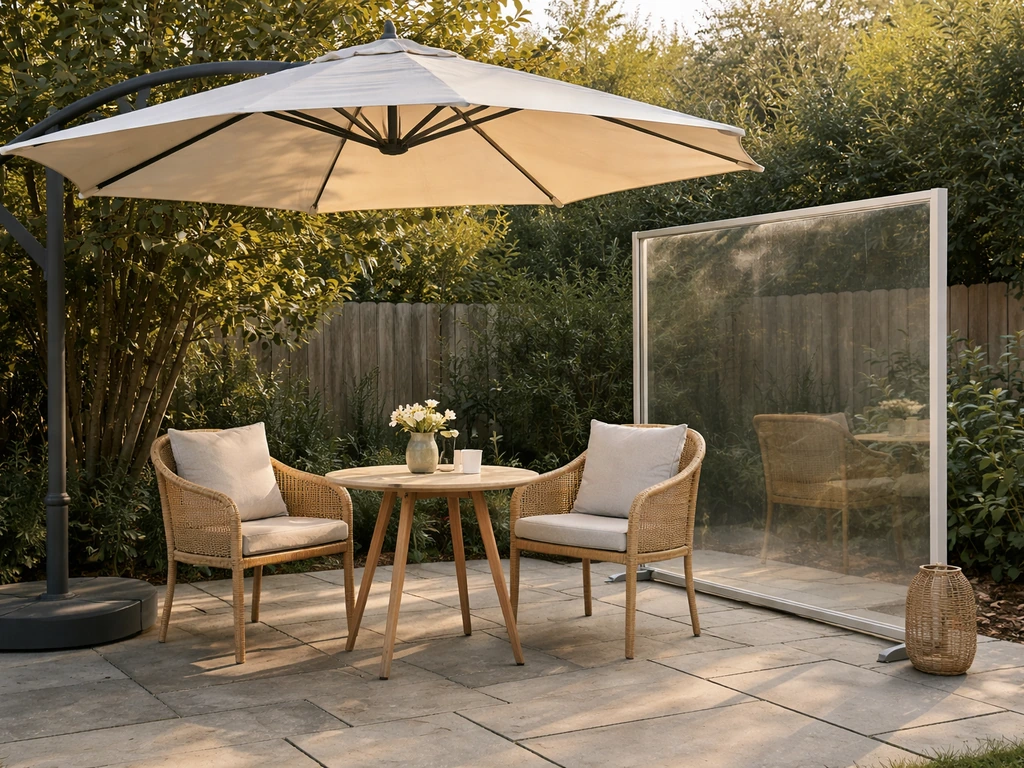
A patio nobody wants to sit on in the afternoon heat or during a stiff breeze isn't cozy, regardless of how nice the cushions are. Getting weather protection right is really the structural foundation of a usable outdoor room. This is where the site's core DIY territory comes in: shade structures, screening, and enclosures.
Shade options compared
| Option | DIY difficulty | Sun coverage | Wind protection | Cost range | Notes |
|---|---|---|---|---|---|
| Patio umbrella | Easy | Good for one zone | Minimal | $50–$300 | No installation required; tip over in wind if not weighted |
| Shade sail | Moderate | Excellent, large area | Minimal | $100–$500+ | Requires proper anchors and tensioning geometry |
| Pergola with shade cloth | Moderate to hard | Very good | Some if screened | $300–$2,000+ | Most versatile long-term structure |
| Outdoor curtains | Easy | Moderate (side sun) | Good on one side | $50–$200 | Best combined with overhead shade |
| Patio enclosure/screen | Hard | Depends on panels | Excellent | $500–$5,000+ | Best for four-season usability |
Shade sail installation basics
Shade sails are popular because they look modern and cover a lot of area for the cost. But they're frequently installed wrong. The biggest mistake is anchoring into lightweight deck posts or undersized hardware. A shade sail in wind exerts significant lateral and downward load on every anchor point. For residential installations, posts are typically set 24 to 36 inches deep in concrete footings, and smaller sails (under 12 feet per side) generally use 4x4 pressure-treated timber posts at minimum. Larger sails need larger posts and engineered footings. The sail also needs to be tensioned at an angle, not hung flat, so water runs off rather than pooling.
Wind protection DIY options
Wind is often more disruptive to patio comfort than sun. The most DIY-accessible wind barriers are: outdoor curtains on the windward side of the seating area, privacy screens or lattice panels attached to existing structure, and dense plantings in large containers. For more permanent wind control, a partial enclosure using screen panels or polycarbonate panels attached to a pergola frame is extremely effective and transforms the patio into a near-four-season space. If you're in a region with cold winters, this upgrade alone extends your usable patio season by months.
DIY steps for common cozy upgrades
Here are step-by-step instructions for the most impactful DIY upgrades you can start on this week, in rough order of impact per effort.
Hang outdoor string lights
- Measure the span you want to cover and add 10 to 15 percent extra length for droop.
- Mark anchor points on fascia boards, pergola beams, fence posts, or dedicated wooden poles. Space anchors so you get a natural catenary curve, not a taut line.
- Drill pilot holes and drive stainless steel or galvanized eye hooks rated for outdoor use.
- Hang the lights, spacing bulbs every 3 to 4 feet, and allow slack between each anchor point.
- Plug into an outdoor-rated smart plug and set a sunset-on, midnight-off schedule.
Lay an outdoor rug with non-slip backing
- Measure your furniture footprint (all pieces in their arranged positions).
- Choose a rug that extends at least 12 inches beyond the furniture on each side, and confirm front legs of all seating land on the rug.
- Clean the concrete surface thoroughly and let it dry completely.
- Cut non-slip rug gripper tape or lay an outdoor rug pad to match the rug dimensions.
- Place the rug and weight the corners initially while it relaxes flat.
- Arrange furniture back on top.
Install outdoor curtains for privacy
- Measure the height from your pergola beam or mounting point to the floor, and the width of the opening you want to cover.
- Purchase aluminum or stainless steel outdoor curtain rods and matching outdoor-rated brackets.
- Mark bracket positions with a level so the rod will hang evenly.
- Pre-drill into the beam or post and attach brackets with stainless or coated screws (regular screws will rust).
- Thread curtain panels onto the rod and hang. For full coverage, use curtain panels that are 1.5 to 2 times the rod width.
- Weight the hem if curtains billow in wind: sew fishing weights or curtain weights into the bottom hem.
Create a second zone on a large patio
- Mark out two separate areas on your patio with painter's tape to visualize the zones before buying anything.
- Confirm at least 36 inches of walkway between zones and around each furniture grouping.
- Place a separate rug in each zone to visually anchor it.
- Use different lighting for each zone: string lights overhead for the lounge, a lantern or table lamp for the dining zone.
- Add a small side table or bar cart as the third zone if space allows. Keep it visually tied to the others with consistent materials or colors.
If you're working with a smaller space, the same zone principles apply at a tighter scale. A lounge and dine combo that merges relaxation and dining into one efficient area is a smarter move than trying to force two fully separate zones onto a compact patio.
The sibling topic on making a small patio cozy goes deeper on those specific space constraints if that's your situation. If you’re working with a compact layout, you may also want the guide on how to make a small patio cozy for space-saving ideas. If you want a more tailored plan, use these ideas for how to decorate small patios to fit the layout, lighting, and comfort to your exact footprint making a small patio cozy.
What to tackle first
If you're starting from scratch and want the biggest comfort payoff per dollar, go in this order: rug and furniture layout first, then string lights, then cushions and pillows, then curtains or a privacy screen, then shade and wind protection. If you follow these steps, you’ll be well on your way to making your back patio look nice, not just “finished. ” rug and furniture layout first.
If you want a patio that looks nice right away, start with these basics and then layer in lighting and comfort add-ons to make the space feel intentional go in this order: rug and furniture layout first. The first three steps cost relatively little and make an immediate visual and physical difference. The shade and enclosure work takes more time and money but is what allows you to use the patio comfortably through more of the year.
Get the basics right first, then build toward the upgrades that make the most sense for your climate and how you actually use the space.
FAQ
What’s the minimum outdoor rug size if I’m working with a tiny patio or balcony?
Use the “front legs on the rug” rule, but scale it to your seating type. If you have a single chair or a bistro set, you can do a smaller rug as long as the seated piece does not sit fully off the rug. For best visual coherence, leave 3 to 6 inches of rug showing beyond the seat edges instead of trying to center a very small rug under the whole group.
My patio furniture gets wet and the cushions stay damp. How can I prevent that?
Choose cushions that specify quick-dry foam and solution-dyed acrylic, and add a ventilated storage habit. If you can, store cushions indoors or use breathable covers, not plastic tarps, because plastic traps moisture. Also position seating so air can move behind cushions, avoid wall-to-cushion contact when possible, and shake off pooled water from rug corners.
How do I keep outdoor curtains from blowing around or tangling?
Hang curtains on hardware rated for outdoor exposure, then choose a setup that reduces flapping. If your patio is windy, use heavier fabric (like canvas or Sunbrella-type material) and consider adding tiebacks or magnet hooks at the sides. For sheer curtains, use them for diffusing light, but pair with a sturdier wind layer if privacy is the goal.
What’s the safest way to hang string lights so they don’t sag or pull loose?
Use outdoor-rated stainless hooks and anchor points that can hold steady tension. Aim for gentle slack between hooks, but avoid large droops that let bulbs brush umbrellas or plants. If you’re spanning long distances, add more anchor points rather than stretching further, and keep cords secured so they can’t become trip hazards or get caught in doors.
Can I use smart plugs outdoors on any patio circuit?
Only if the outlet is properly weather-rated and protected by a GFCI (ground-fault circuit interrupter). Also confirm the smart plug is specifically rated for outdoor use and that the load is within its limits for string-light power. For reliability, plug into a covered outlet when possible to reduce exposure to rain blowback.
How do I avoid the patio looking “over-lit” when I add sconces and path lights?
Limit brightness stacking. Keep string lights as the main ambient source, then treat sconces as accents (use warm bulbs and consider dimmable options). Path lights should be subtle and evenly spaced, if you alternate too brightly or too closely you get a runway effect that kills coziness rather than adding depth.
What walkway spacing should I use if my patio has a grill or tight doorways?
Start with the practical minimum from your seating layout, then account for real movement paths. If a door swings into the patio, leave extra clearance at the hinge side so people do not angle sideways to pass. For grill zones, treat them like a separate functional zone, keep the cooking path clear, and avoid placing low tables where elbows bump when pulling chairs out.
Are shade sails actually cozy, or do they look too “event tent” on a patio?
Shade sails can feel cozy when they’re tensioned and layered correctly. Ensure proper angled tension so water runs off, choose a warm neutral or muted color, and add indirect lighting underneath to soften the underside. If you want more “room-like” comfort, pair the sail with curtains or a partial enclosure, because shade alone does not block wind.
How do I choose between a permanent enclosure and a simpler wind barrier?
If you only need occasional wind relief during certain months, start with outdoor curtains on the windward side or lattice screens attached to existing structure. If you want to use the patio for longer stretches, a partial enclosure with screen or polycarbonate panels on a pergola frame provides more consistent airflow control and extends the usable season. The decision usually comes down to whether you’re primarily battling gusts or needing year-round comfort.
My patio furniture is awkwardly shaped, and zone planning feels confusing. Any quick method to design it?
Map your “must-pass” paths first using tape on the concrete, then place the rug as the main boundary for each activity. After that, position seating so people can face inward, even if it’s not perfectly symmetrical. Finally, check every seating pull-out area, if chair legs would land in a walkway, adjust the rug size or rotate the furniture.
What’s the most common mistake that makes a patio feel less cozy even after decor?
Treating it like a display surface instead of a lived-in room. If furniture is pushed against walls, if lighting is only overhead, or if there’s no clear seating grouping anchored by a rug, the space will feel like an open yard rather than a destination. Fix it by tightening the seating arrangement around a central coffee table and adding layered warm light.
How can I make a patio feel cozy at night without increasing glare for neighbors?
Use warm color temperature lighting and aim sources downward or shield them where possible. Path lights should be low-level and not bright at eye height, sconces should be mounted high enough to reduce direct glare, and avoid facing strong light directly into fence lines. If you use string lights, keep them below the eave line with gentle droop so the glow is diffuse rather than harsh.
Next Articles
How to Decorate Small Patios: Layout, Furniture, and Style
Step-by-step tips on layout, space-saving furniture, decor, and shade upgrades to make small patios feel bigger and cozy

How to Decorate a Long Narrow Patio: Layout Tips
Practical DIY layout and decor tips to widen a long narrow patio using zoning, furniture spacing, lighting, greenery, an

How to Decorate a Rectangular Patio Step by Step
Step-by-step plan to decorate a rectangular patio with smart layout, zones, furniture fit, lighting, plants, and seasona