
You can cover your patio with a pergola, retractable awning, shade sail, polycarbonate roof, screened enclosure, gazebo, or even a simple tarp or shade cloth, and the right choice depends on how much sun, rain, or wind you're dealing with, whether you own or rent, what your budget looks like, and whether your local code requires a permit. For a full comparison and decision guide, see our article on what to cover patio with. Most homeowners land somewhere between a $200 shade sail for quick relief and a $10,000+ permanent roof structure, with plenty of solid middle-ground options in between.
What Can I Cover My Patio With: 12 Options, DIY Plans for Renters & Homeowners

Felix Brennan
10 Aug 2026
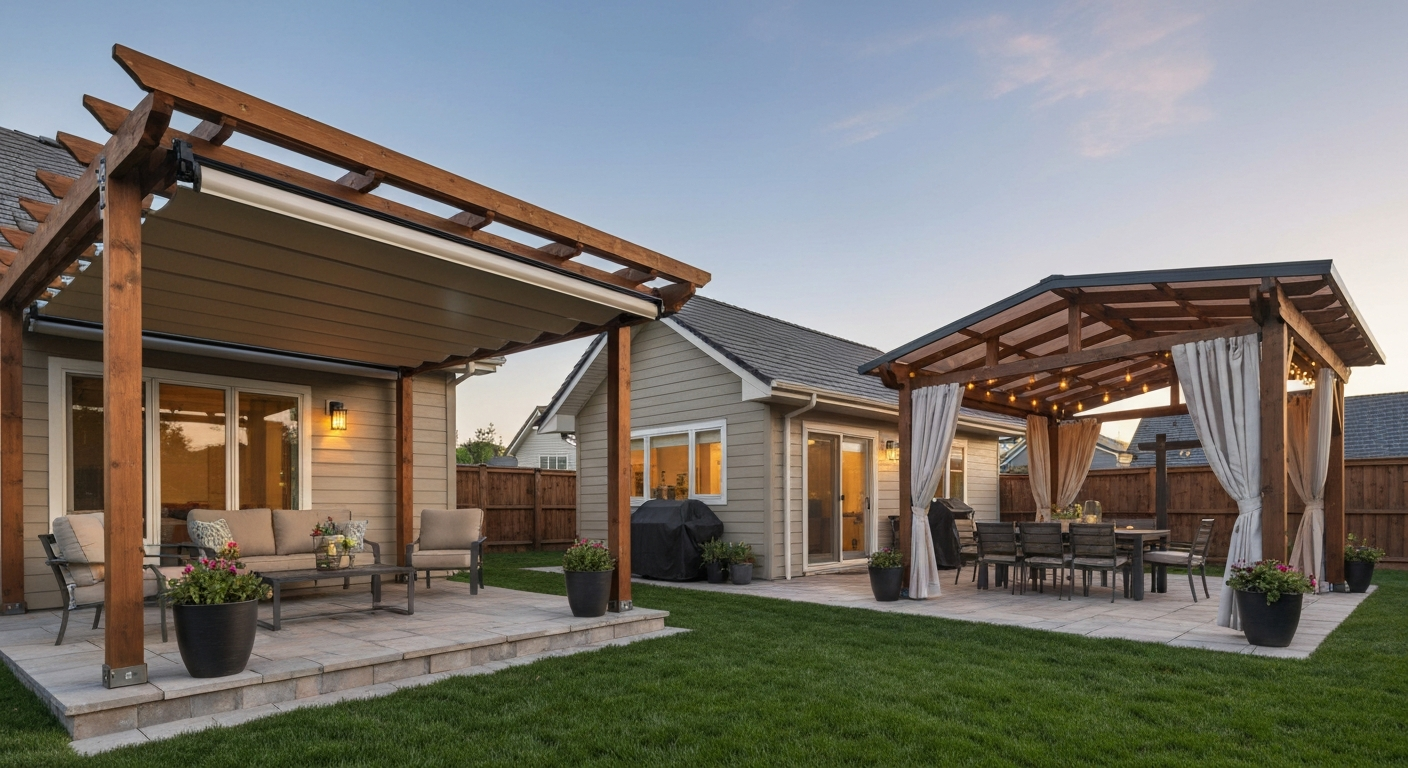
How to Choose the Right Patio Cover for Your Situation
Before you order anything or dig a single hole, spend five minutes answering four questions: What protection do you actually need (shade only, rain protection, wind blocking, or full enclosure)? Is the cover attached to your house or freestanding? Do you own the property? And what's your realistic budget, including any permit fees? Those answers narrow the field fast. For a step-by-step planning checklist and design tips, see how to design a covered patio.
Attached covers, anything bolted to your home's ledger board or fascia, almost always trigger a building permit in the U.S. Many municipalities follow IRC Appendix H or IBC Appendix I, which set prescriptive structural and footing rules for patio covers. Cities like San Diego, Boise, and Garland explicitly require permits for attached covers and for any enclosure that adds electrical work (lighting, fans) or a permanent roof. Budget $350–$1,800 for the permit itself, depending on your jurisdiction and project scope. Freestanding structures under a local square-foot threshold are sometimes exempt, but check with your building department before assuming.
If you live in an HOA community, pull out your CC&Rs before you do anything else. Many HOAs restrict cover materials, colors, and heights, and some require an architectural review before you build. Getting approval in writing first saves a painful tear-down later.
Renters have real options too, tension-mounted hardware, freestanding shade structures, and removable curtain systems can transform a patio without touching the walls. We cover those specifically later in this guide.
Patio Cover Types at a Glance
Here's a quick map of the main options and who each one suits best, before we go deep on each one.
| Cover Type | Best For | Permanent? | Typical DIY-Friendly? | Ballpark Cost (DIY/Installed) |
|---|---|---|---|---|
| Shade sail | Sun shade, renters, small patios | No | Yes | $50–$400 |
| Patio umbrella | Flexible spot shade | No | Yes | $50–$600 |
| Retractable awning | Adjustable sun/rain control | Semi | Moderate | $1,000–$6,000 installed |
| Fixed fabric awning | Consistent shade, attached | Yes | Moderate | $250–$1,500 |
| Pergola (kit) | Open-air structure, shade with covers | Yes | Yes (kit) | $1,000–$5,000 kit, $2,100–$6,400 installed |
| Polycarbonate roof | Rain + sun protection | Yes | Moderate | $800–$4,000+ DIY |
| Aluminum/metal patio roof | Durable, low-maintenance | Yes | Hard | $3,000–$12,000+ installed |
| Wood patio roof | Custom look, paintable | Yes | Moderate-Hard | $2,500–$10,000+ installed |
| Gazebo | Freestanding, decorative | Semi/Yes | Moderate (kit) | $500–$8,000+ |
| Screened enclosure | Full insect/weather protection | Yes | Moderate-Hard | $8,000–$25,000 installed |
| Tarp or shade cloth | Temporary, budget | No | Yes | $20–$200 |
| Renter-friendly/no-drill | Renters, no structural changes | No | Yes | $50–$600 |
A Closer Look at Each Patio Cover Option
Pergolas
A pergola is the most popular patio upgrade for a reason: it adds structure and shade without completely closing off the sky. Open-beam pergolas filter sunlight; add polycarbonate panels, shade cloth, or a retractable canopy to the top and you get real rain coverage too. DIY kit pergolas (sold at Home Depot, Lowe's, and direct-to-consumer brands like Yardistry and Sojag) are genuinely doable in 1–3 days for a competent DIYer, not counting concrete pier cure time. A small 10x10 kit runs $1,000–$3,000; professional installation of a 100 sq ft pergola averages $2,100–$6,400 depending on material. Wood looks great but needs annual sealing or staining. Aluminum and vinyl are lower-maintenance but can feel less premium. Motorized louvered pergola systems (brands like StruXure and Pergola Kits USA) offer adjustable rafters but push costs well past $10,000 installed.
Retractable and Fixed Awnings
A retractable awning mounted to your home's fascia or wall is one of the most practical covers for a back patio. You extend it when the sun is harsh, retract it when you want open sky or when a storm rolls in. Motorized versions with Somfy motors are genuinely convenient; Somfy motors typically carry a 5-year warranty and include manual-override capability if power fails. Somfy, Motorized Awning Documentation & Manuals provides installation manuals, mounting and manual‑override instructions, and lists typical motor warranties (Somfy advertises a 5‑year warranty on many motors) Somfy — Motorized Awning Documentation & Manuals. Installed costs typically run $1,000–$6,000 depending on width and motor type. Fixed fabric awnings are cheaper ($250–$1,500 installed) but offer no flexibility. Both types use solution-dyed acrylic fabrics like Sunbrella, which publishes a 10-year limited warranty for UV and fade resistance, that's a meaningful real-world lifespan indicator. Both options almost always require fastening to the house, which triggers a permit check in most jurisdictions.
Shade Sails
Shade sails are triangular or rectangular fabric panels tensioned between anchor points, posts, trees, or wall hooks. They're genuinely among the easiest DIY projects on this list and one of the most renter-friendly options if you can mount to existing structures. A quality sail in high-density polyethylene (HDPE) fabric runs $50–$400 depending on size. They block UV well but won't stop rain unless you choose waterproof-coated versions, and they need to come down in high winds or heavy snow. Use stainless hardware and set anchor posts in concrete if you're installing in a breezy area.
Patio Umbrellas
Umbrellas are the lowest-commitment option. A quality 9–11 ft cantilever umbrella in Sunbrella fabric costs $150–$600 and provides good spot shade for a dining or seating area. They're fully removable, need no installation, and store indoors in winter. The limitation is coverage area and wind sensitivity, most umbrellas need to be closed at wind speeds above 25–30 mph and should be stored or anchored during storms.
Polycarbonate Roofs
Polycarbonate panels are a genuinely smart material for DIY rain-protection roofs on pergolas or lean-to structures. Multiwall polycarbonate (6–16 mm thickness, brands like Palram's PALSUN and SUNTUF lines) provides insulation value, diffuses light beautifully, and UV-protected grades block over 99% of UV radiation. Installation requires a minimum 1:12 roof slope for drainage, consistent fastener spacing with pre-drilled oversized holes to allow thermal expansion, and proper side-cap flashing to keep water from wicking in. A DIY polycarbonate-roofed lean-to over a 10x12 patio can cost $800–$2,500 in materials depending on panel grade. It's a moderate-difficulty project, nothing exotic, but you need to get the framing square and the slope right.
Aluminum, Metal, and Wood Patio Roofs
Solid roofed patio covers, whether aluminum panel, corrugated metal, or framed wood with roofing material, offer the best weather protection short of a full room addition. These are almost always permitted projects. Attached versions require a proper ledger connection to the house (flashing is critical to prevent water infiltration), and posts need footings that meet local frost-depth or prescriptive-slab requirements under IRC Appendix H. In frost-free areas, columns supporting 750 lbs or less per column may be placed on a qualifying slab-on-grade instead of deep footings, but local adoption of this provision varies, check with your building department. For post anchors and ledger hardware, Simpson Strong-Tie post bases and Tapcon concrete screw anchors are the standard products contractors rely on for concrete slab attachments, with published allowable load tables you can reference when sizing hardware. Installed costs range from $3,000 for a basic aluminum flat-pan roof to $10,000+ for a custom wood-framed structure with roofing, trim, and electrical.
Gazebos
Gazebos are freestanding roofed structures, typically hexagonal or rectangular with a peaked roof. Pop-up fabric gazebo kits ($100–$500) are portable but not wind-rated for permanent use. Hardtop aluminum or steel gazebos ($500–$3,000) are sturdier and can be anchored to a concrete pad. Custom-built wood gazebos are beautiful but sit at the higher end of the cost range and usually require a permit. They're a good option when you want a dedicated outdoor room separate from the house.
Screened Enclosures
A screened patio enclosure is the most complete upgrade: insect protection, wind blocking, some weather protection, and a feeling of a real room outdoors. This is also the most expensive and complex option. Professional installation runs $8,000–$25,000 depending on size and framing material (aluminum is the standard). Screened enclosures almost always require a permit. Screen fabric matters: Phifer's SunTex 90, for example, is a vinyl-coated polyester mesh that blocks roughly 80–90% of solar heat and UV, with a published 10-year exterior performance rating. A DIY screened patio panel system using aluminum screen framing is achievable for a mechanically-confident homeowner, but the whole-patio enclosure usually benefits from a professional for framing, door installation, and permits.
Tarps and Temporary Shade Cloth
A heavy-duty poly tarp or woven shade cloth strung between posts or an existing structure is the fastest and cheapest fix, $20–$200. It's not pretty, but it works while you're planning something better. Use grommets and bungee cords rather than rope tied through grommets, which will tear over time. Remove before major storms.
Side Coverage: Privacy, Wind, and Bug Protection
Covering the top of your patio solves sun and rain. Covering the sides solves wind, bugs, privacy, and that feeling of being in a real room instead of just under a roof. Most people end up doing both, even if they do them at different stages. For detailed options specifically focused on side coverage, see how to cover patio sides.
Outdoor Curtains
Exterior curtain panels hung from a pergola beam or a tension rod between posts are one of the most popular and affordable side options. Look for polyester or solution-dyed acrylic panels rated for outdoor use, they shed water and resist mildew. A set of panels to cover a 12-foot opening runs $60–$200. They don't seal a space against bugs but they're excellent for wind blocking and privacy, and they look good. Hang them on sturdy stainless or galvanized rods; standard indoor curtain hardware rusts quickly outside.
Roll-Up Bamboo and Exterior Shades
Roll-up exterior shades, either bamboo reed or PVC/polyester mesh, mount at the top of an opening and roll down manually or with a simple cord. They're more weather-resistant than curtains and provide better wind and glare control. A quality 6x8 ft outdoor roller shade runs $40–$150. They won't stop insects but they dramatically cut heat and direct sun from the sides.
Lattice Panels
Pressure-treated wood or PVC lattice panels ($20–$60 per 4x8 sheet) mounted between pergola posts create a semi-private wind break that also looks intentional. They're not a bug barrier, but climbing plants (jasmine, clematis, wisteria) can fill them in over a season or two for extra coverage and fragrance. PVC lattice is maintenance-free; wood lattice needs to be sealed or painted.
Plant Screens and Green Walls
Large potted bamboo, ornamental grasses, or a trellis with fast-growing vines can create effective wind and privacy screening without any permanent construction. This is particularly useful for renters. A row of 7-gallon bamboo plants ($25–$50 each) in a planter box along a patio edge can give you 6–8 feet of screening within a season. Bamboo also acts as a decent sound buffer.
Privacy Panels and Screen Walls
Pre-built composite privacy panels, cedar fence boards on a freestanding frame, or aluminum privacy screen panels give you a solid barrier. Freestanding versions need ballast or ground stakes, in wind-prone areas, anchor them properly. These are a step up in cost ($200–$800+ for a panel section) but they look finished and can double as decor.
Matching Your Cover to Climate, Budget, and Site
Your local climate should drive material and structure choices more than almost anything else. Here's how to think through it.
| Climate Challenge | What to Prioritize | Best Cover Options | What to Avoid |
|---|---|---|---|
| Hot, sunny (Southwest, Southeast) | UV block, heat deflection, airflow | Shade sails, pergola with shade cloth, polycarbonate (bronze/opal tint) | Dark solid roofs that trap heat |
| Heavy rain (Pacific NW, Southeast) | Waterproof roof, drainage slope | Polycarbonate lean-to, aluminum/metal roof, awning with drainage | Open shade sails, open-beam pergolas alone |
| High wind (Plains, coastal) | Structural anchoring, retractable options | Fixed attached awnings, solid roofs, retractable awnings (retract in wind) | Freestanding gazebos, loose tarps |
| Snow load (Northern US, Mountain regions) | Structural rating for snow load, steep slope | Metal or solid roof rated to local snow load (ASCE 7 calc), steep pergola roof | Flat polycarbonate with no snow-load engineering, pop-up gazebos |
| Insects (South, Midwest) | Screen integration | Screened enclosure, screen panels on pergola sides | Open structures with no screens |
| Mild, temperate | Aesthetics and flexibility | Any option — prioritize budget and style | Over-engineering for conditions you won't see |
Snow load is one of the most commonly underestimated factors. ASCE 7 is the U.S. standard for calculating wind and snow loads on structures, and your local building department will reference the locally-adopted edition (typically ASCE 7-16 or 7-22) when reviewing permit applications. If you're in a snow zone, don't skip the structural calculation, a flat polycarbonate roof over a large patio can accumulate hundreds of pounds of wet snow. Either get an engineer to sign off or use a contractor who builds to local load tables.
Budget reality: the cheapest complete functional system for a 12x16 patio, shade sail plus roll-up side shades, runs $150–$500. A solid mid-range DIY setup (pergola kit with polycarbonate roof panels and outdoor curtains) runs $1,500–$4,000 in materials. A professionally installed permanent patio cover with permit typically starts around $3,000–$5,000 for a basic attached aluminum roof and goes up significantly from there.
Small Patios, Apartments, and Back Patios: Space-Specific Strategies
Not every patio is a 20x20 concrete slab behind a detached house. Many of the most common questions we get are from people working with an 8-foot apartment balcony or a small back patio tucked against a fence. For step-by-step options specifically for smaller or attached back patios, see our guide on how to cover back patio. The approach changes depending on your footprint and your tenancy situation.
Small Patios (Under 100 sq ft)
On a small patio, a single shade sail tensioned diagonally creates maximum coverage with minimal anchor points. Mount one corner to the house wall (with a hook anchor), one to a fence post, and one to a freestanding post you set in a weighted planter base. Keep furniture low-profile, a loveseat and small side table rather than a full dining set, to preserve floor space. If you want rain protection, a lean-to polycarbonate cover attached to the house wall and supported by one or two posts is surprisingly achievable in a small footprint and a weekend. For step-by-step options and renter-friendly ideas on how to cover a small patio, see how to cover a small patio.
Apartment Balconies
Balconies add a constraint most back patios don't have: you can't put posts in the ground, you likely can't drill into the building, and your lease probably restricts structural modifications. The best options here are tension-rod curtains across the railing, a clamp-on umbrella attached to a railing mount, a freestanding mini pergola with a weighted base, or a shade sail with tension strap anchors over railing posts. Check your lease and building rules, some complexes explicitly prohibit anything that extends above or outside the balcony railing. For more renter-specific solutions and step-by-step options, see our guide on how to cover an apartment patio. Always prioritize lightweight materials on upper-floor balconies where wind exposure is higher.
Back Patios Attached to the House
A back patio that runs the full width of the house is a prime candidate for an attached pergola or lean-to roof, you have a solid ledger point on the house wall, and the cover can span to posts along the outer edge. This is the most common setup for mid-range patio cover projects. The steps to plan it: measure the patio width and desired projection, check the house wall for ledger attachment points (avoid attaching to stucco or EIFS without a structural engineer's guidance), verify permit requirements with your local building department, and then choose your material (wood for looks, aluminum for low maintenance, polycarbonate panels for light and rain coverage). Layering in screening on the sides later is straightforward once the main roof structure is in place.
Layering Shade for Maximum Comfort
The most comfortable patios use layered shade: a solid or semi-transparent overhead cover blocks direct sun and rain, side shades or curtains cut afternoon glare and wind, and the furniture itself is positioned to take advantage of natural shade patterns. Even on a small patio, adding a second layer (overhead cover plus one side curtain panel) makes a noticeable difference in perceived comfort on hot days.
Renter-Friendly Fixes: No Drills, No Damage, No Problem
If you're renting, the goal is maximum impact with zero permanent changes to the property. Here's what actually works. If you want to play with layouts first, check our how to make a covered patio in Sims 4 guide for a virtual way to test designs and materials.
- Tension-rod curtain systems: Spring-loaded tension rods fit between any two solid vertical surfaces (posts, fence boards, railings) and hold outdoor curtain panels — no drilling, no anchors
- Railing-clamp umbrella bases: Cantilever umbrella bases with railing clamps attach to standard balcony or deck railings and hold umbrellas up to about 9 ft in diameter — fully removable
- Freestanding weighted pergola kits: Small 8x8 or 10x10 aluminum or steel pergola frames with concrete-filled hollow-post bases or weighted planter bases sit on any flat surface without anchoring
- Shade sail with ground stakes or planters: Triangular shade sails anchored with removable stakes in soil or tensioned from planter-based posts cover surprising areas without wall attachments
- Freestanding privacy screens: Folding bamboo or composite privacy screens stand on their own and can be moved or stacked against a wall when not in use
- Heavy-duty command hooks for string lights and fabric: For decorative overhead fabric canopies on a covered patio ceiling, outdoor-rated removable adhesive hooks hold several pounds and leave no permanent marks
- Temporary tarps between fence posts: Grommeted tarps zip-tied or bungee-tied to fence posts and removed seasonally cause no property damage
A note on communication with landlords: if you want something more permanent (like a mounted awning or a built-in pergola), it never hurts to ask. Many landlords will say yes to a quality, professionally-installed improvement, especially if you offer to leave it in place when you move. Get any approval in writing.
Materials, Costs, Tools, and What to Realistically Expect
Here's where we get practical about what each project actually costs, how hard it is, and how long it takes. These numbers reflect 2025–2026 national averages, your local market and contractor rates will vary.
| Cover Type | DIY Material Cost | Pro Installed Cost | Key Tools Needed | Time (DIY) | Difficulty |
|---|---|---|---|---|---|
| Shade sail | $50–$400 | N/A (usually DIY) | Drill, concrete mix, socket set | Half day | Easy |
| Patio umbrella | $50–$600 | N/A | None | 30 min | Easy |
| Retractable awning | $700–$2,500 (kit) | $1,000–$6,000 | Drill, level, socket set, stud finder | Half–1 day | Moderate |
| Pergola kit (aluminum/vinyl) | $1,000–$3,500 | $2,100–$6,400 | Drill, level, post-hole digger, wrench set | 1–3 days | Moderate |
| Pergola (custom wood) | $1,500–$5,000+ | $3,000–$10,000+ | Circular saw, drill, post level, concrete forms | 2–5 days | Moderate-Hard |
| Polycarbonate lean-to roof | $800–$2,500 | $2,500–$6,000 | Circular saw, drill, level, flashing tools | 1–3 days | Moderate |
| Aluminum patio roof (solid) | $1,500–$4,000 | $3,000–$12,000+ | Metal snips, drill, level, ledger hardware | 2–4 days | Hard |
| Screened enclosure | $1,500–$5,000 materials | $8,000–$25,000 | Aluminum framing tools, screen roller, door hardware | 3–7 days | Hard |
| Gazebo (hardtop kit) | $500–$3,000 | $1,500–$5,000 | Wrench set, level, concrete anchors | 1–2 days | Moderate |
| Outdoor curtains/roll shades | $60–$300 | N/A | Drill or tension hardware | 1–2 hours | Easy |
What a Basic DIY Pergola Kit Shopping List Looks Like
- Pergola kit (includes posts, beams, rafters, hardware) — $1,000–$3,500 depending on material and size
- 4 post base anchors (Simpson Strong-Tie ABA or similar) — $15–$30 each
- Tapcon concrete screws or wedge anchors (for slab-mounted post bases) — $15–$40 per box
- Concrete mix (2–3 bags per post for in-ground posts) — $7–$10 per bag
- Carriage bolts and structural screws (usually included in kit, but verify) — $20–$40
- Post level, 4-ft level, tape measure — already own or borrow
- Power drill and bits — already own or rent
- Safety glasses, work gloves — $15–$25
Permit Costs: Don't Skip This Line in Your Budget
Permit fees for patio cover projects typically run $350–$1,800 in the U.S., and that range reflects real variation, a simple freestanding pergola in a rural jurisdiction might cost $150, while an attached covered patio with electrical in a major metro can hit $2,000+ when you factor in plan review fees. Permits that involve electrical work (ceiling fans, lighting circuits) or structural attachments to the house are the most common triggers. Budget the permit fee before you budget materials, not as an afterthought.
Quick DIY Shade Sail Install: Step by Step
- Measure your patio and determine anchor points (existing walls, posts, or new freestanding posts) — plan for the sail to have at least 10–15% tension, not sagging slack
- For new posts, dig 24-inch deep holes (36 inches in frost-prone areas), set a 4x4 or metal post in concrete, and let cure 24–48 hours
- Install stainless D-rings, eye bolts, or pad-eye anchors at each anchor point — hardware should be rated for at least 200 lbs
- Attach shade sail corner rings to anchor hardware using stainless shackles or turnbuckles
- Use the turnbuckles to tension the sail evenly — the fabric should be taut with no pooling points where water can collect
- For waterproof sails, angle the fabric so water drains to one corner rather than pooling
- Inspect hardware and tension after the first heavy wind event and re-tighten as needed
Maintenance, Finishing Touches, and Making It Feel Like a Real Room
Once your cover is up, a little ongoing maintenance keeps it performing well for years. Fabric covers (awnings, shade sails, curtains) should be cleaned with mild soap and water two or three times per season, Sunbrella recommends their fabric cleaner for solution-dyed acrylic, but a gentle brush and diluted dish soap works fine for general cleaning. Always allow fabric to dry completely before rolling or storing to prevent mildew.
Wood structures need inspection and resealing or painting every 1–2 years depending on your climate. Check for soft spots, rot at post bases (the post-to-ground or post-to-anchor zone is most vulnerable), and any fasteners that have backed out. Aluminum and vinyl covers need far less, an annual wash and a check of all hardware connections is usually enough. Polycarbonate panels should be cleaned with mild soap only; avoid abrasive cleaners or pressure washing, which can damage the UV coating.
For finishing touches that make the biggest livability difference: outdoor-rated LED string lights or a ceiling fan (wired or battery/solar-powered) are the top upgrades DIYers add after the cover itself. Interlocking deck tiles over concrete slab ($1.50–$4.00 per sq ft) transform a plain slab surface without any permanent modification. A weather-resistant outdoor rug, a couple of plants in large pots, and a side table that holds drinks, these small additions take a functional cover to a space you'll actually use every day.
If you started with a temporary tarp or shade sail while you planned something more permanent, this is also a good time to revisit your original question: does the temporary setup actually give you what you need, or do you still want rain coverage, side screening, or more structure? Many people discover that a $300 shade sail plus outdoor curtains covers 80% of their actual needs, and the pergola can wait. Others find that first season under a flapping tarp convinces them to fast-track the real project. Either way, you've got the options mapped out, now it's a matter of picking the one that fits your patio, your climate, and your timeline.
FAQ
What are the most common patio-cover types and how do they compare (pros/cons)?
Common types: 1) Awnings (fixed or retractable) — pros: quick sun/rain protection, lower cost; retractable adds flexibility; cons: attached awnings may need permits, limited longevity for fabric; motorized increases cost. 2) Pergolas (wood or aluminum) — pros: aesthetic, partial shade, customizable; cons: limited rain protection unless topped with panels or fabric, can be heavy (attachment/footings). 3) Retractable louvered roofs — pros: excellent sun/rain control, high-end durability; cons: expensive, often require pros and permits. 4) Shade sails — pros: inexpensive, modern look, DIY-friendly; cons: wind sensitive, require strong anchor points and correct geometry. 5) Umbrellas/market umbrellas — pros: portable, renter‑friendly, very low cost; cons: limited coverage and wind stability. 6) Gazebos/pavilions (wood/metal) — pros: full structure, great shelter; cons: costly, footprint and permit issues. 7) Aluminum/metal roofs — pros: durable, low maintenance, lightweight options; cons: can be noisy in rain, may need structural attachment. 8) Polycarbonate/clear roofing — pros: blocks UV, allows light, durable; cons: can yellow over time if low quality, requires correct slope/installation. 9) Screened enclosures — pros: insect protection, comfortable space; cons: expensive, usually require permits. 10) Temporary tarps/portable pop-ups — pros: immediate, cheap; cons: short lifespan, aesthetics and wind risks. 11) Renter‑friendly, non‑permanent options — freestanding canopies, large umbrellas, tensioned shade sails anchored to removable ballast, privacy screens and curtains — pros: no permanent attachment; cons: less permanent weatherproofing.
How do I choose the right cover for my climate, budget, and space constraints?
Match needs to climate: rainy/seasonal snow areas need solid roofing (metal, polycarbonate, louvered) with correct slope and snow/wind load design; sunny/hot climates may prioritize solar fabric, dense shade sails, pergolas with fabric, or louvered roofs; windy areas require robust anchors, wind‑rated fabric/screens, or avoid large flat sails and cheap umbrellas. Budget: temporary umbrellas/tarps and shade sails are lowest cost; pergola kits and fixed awnings mid-range; louvered roofs and screened enclosures are high cost. Space: small patios favor compact pergolas, slimline retractable awnings, cantilever umbrellas, or narrow-screen panels; apartments/renters should prefer freestanding or removable solutions and avoid penetrating fasteners into building structure. Also consider HOA and permit limits, desired permanence, and maintenance willingness.
What are renter‑friendly, non‑permanent patio cover solutions?
Renter-safe options: 1) Freestanding canopies and pop-up gazebos (weighted anchors, no wall attachment). 2) Large cantilever or weighted-base umbrellas. 3) Tensioned shade sails attached to freestanding posts or heavy ballast (no structural screws into building). 4) Freestanding pergola kits with base plates on concrete pavers or ballast blocks. 5) Screen panels, outdoor curtains on removable frames, and tall plant screens. 6) Removable roller shades or clip-on awnings for balconies. Use non‑penetrating anchors (concrete blocks, sandbags, water weights) and verify lease/HOA rules in writing.
What side‑coverage and privacy/wind‑screen options work best?
Options: 1) Outdoor curtains on rods or track systems — flexible privacy, wind reduction; use mildew‑resistant fabrics. 2) Lattice panels (wood or vinyl) with climbing plants — semi‑permanent, aesthetic. 3) Roll‑up bamboo or vinyl shades and zip‑screens — block sun and wind, can be integrated into pergolas. 4) Exterior insect/solar screen fabrics (SunTex, Soltis) in framed panels or zip systems — good solar control and insect protection. 5) Plant screens (tall planters or hedge species) — natural, sound dampening but slower to establish. Choose materials rated for exterior use and anchor securely for wind loads.
Do I need a permit, and how do building codes affect patio covers?
Permits: many jurisdictions require permits for attached covers, permanent roofs, structural footings, and any electrical work. Local adoption of IRC/IBC appendices (patio covers) and ASCE 7 loads affects design and permit triggers. Small freestanding covers below area thresholds are sometimes exempt, but rules vary. Check local building department early: submit site plan, framing/footing details, and load calculations if required. HOA rules may add restrictions. Failure to get required permits risks fines and removal or problems during sale.
What structural and safety considerations should I check before planning a patio cover?
Check: 1) Load requirements (wind and snow) per local code/ASCE 7. 2) Attachment point capacity for ledgers—verify wall framing and use proper flashing to prevent water intrusion. 3) Foundation/footing sizing and frost‑depth requirements for posts. 4) Proper anchoring (Simpson/Tapcon) with correct embedment, spacing, and edge distance. 5) Electrical safety if adding lights/fans—use licensed electrician and obtain electrical permits. 6) Fire clearance and combustible materials per local code and HOA. 7) Accessibility for maintenance and emergency egress. If unsure, consult structural engineer for attached or large covers.
Next Articles
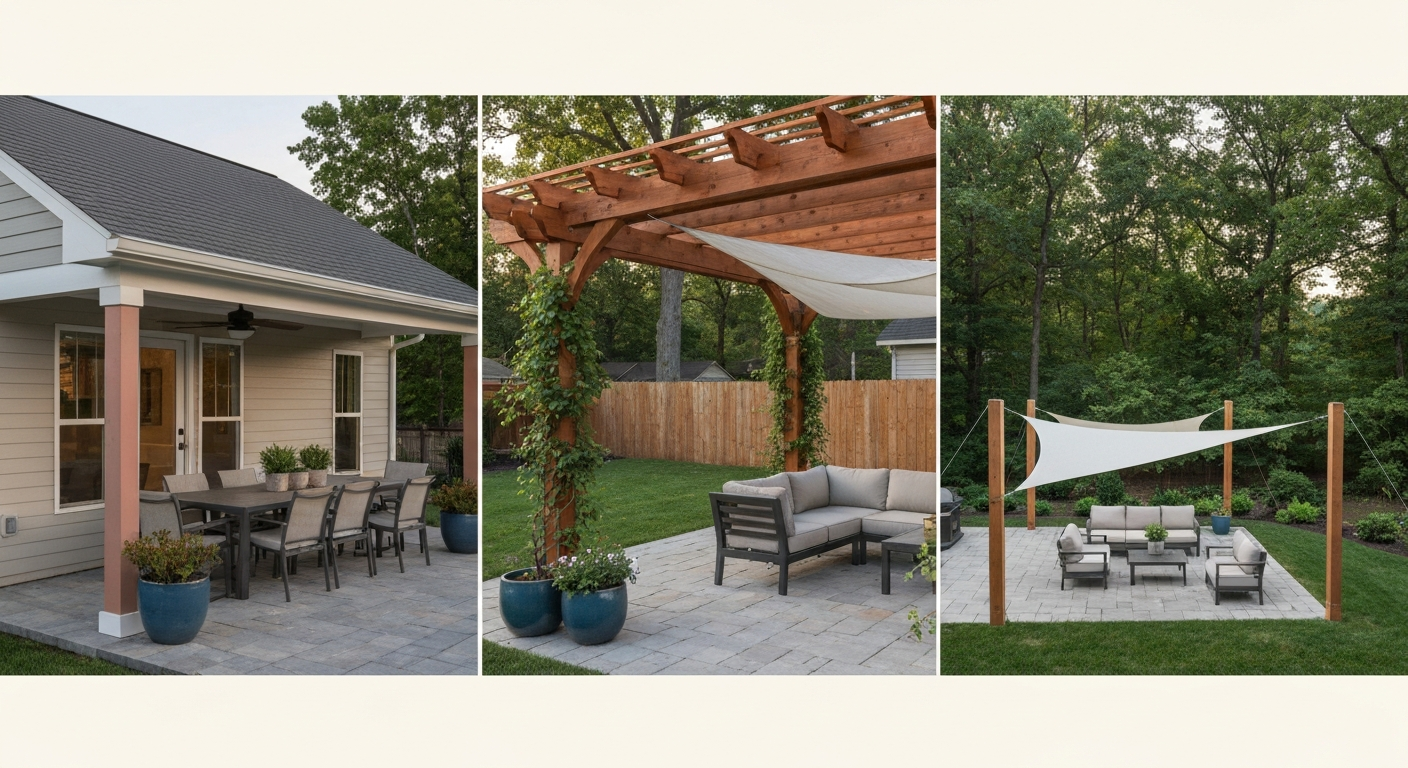
What to Cover Patio With: Best DIY Covers, Costs & Maintenance
What to cover patio with: compare roofs, pergolas, awnings, sails, screens & rent-friendly options + DIY checklist.
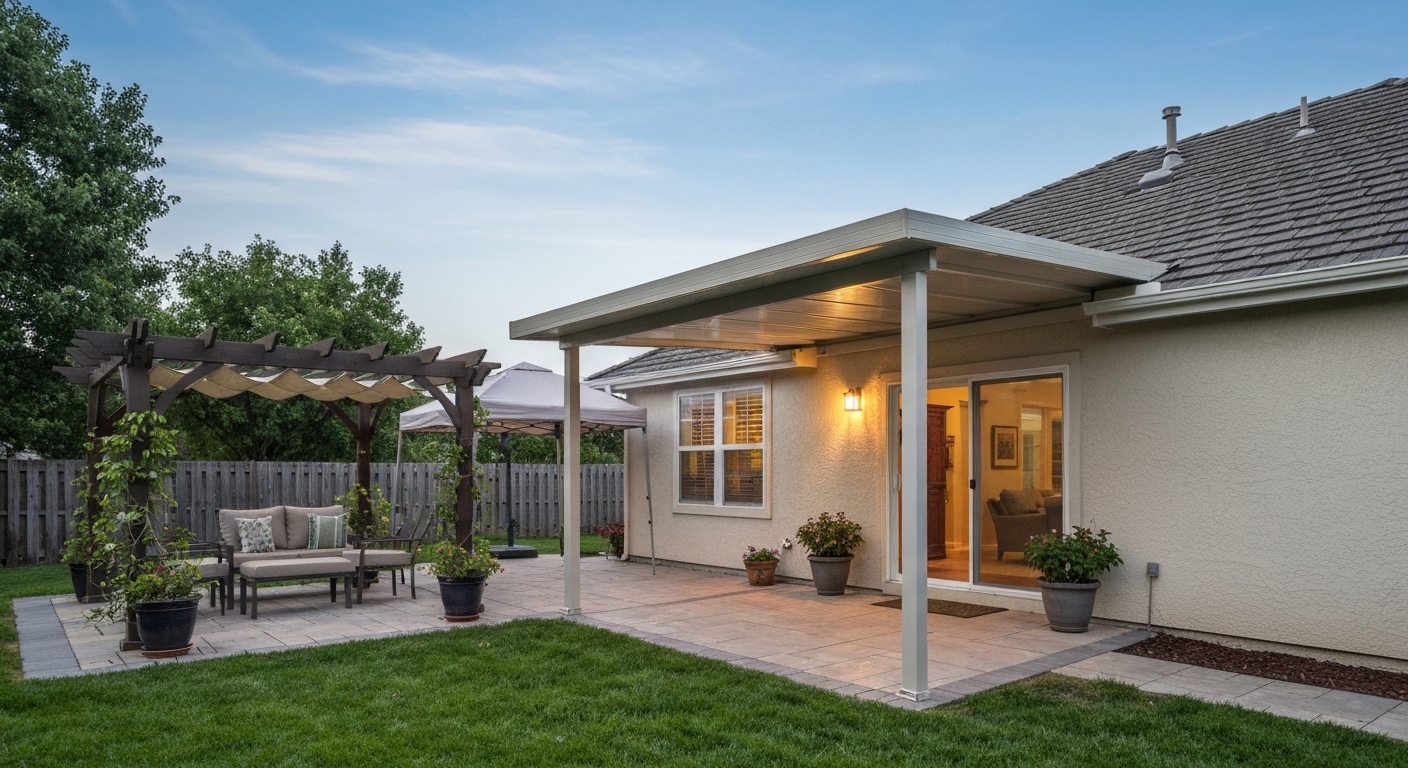
How to Cover Back Patio: Complete DIY Guide for Homeowners
Step-by-step DIY guide to cover your back patio: options, costs, materials, permits, and installation checklists.
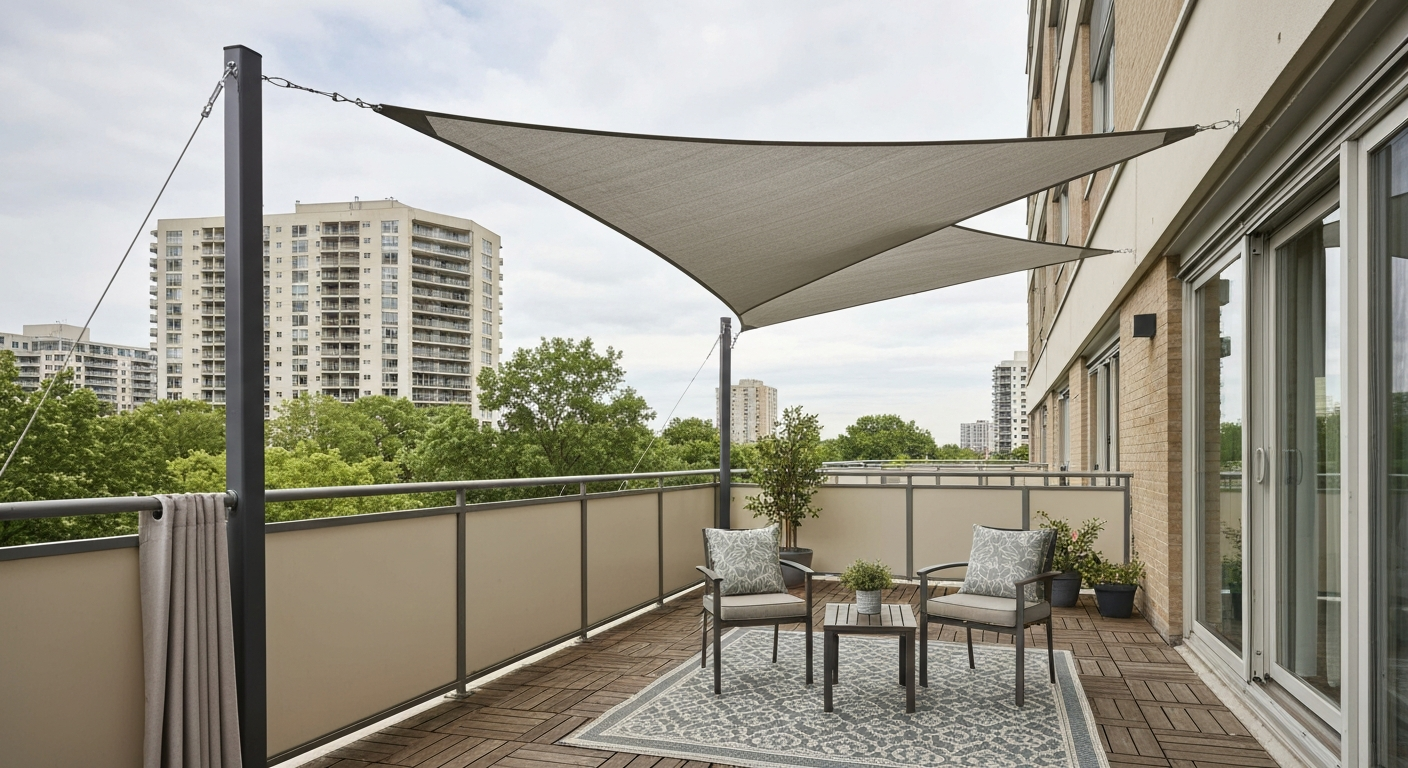
How to Cover an Apartment Patio: Safe DIY Options
How to cover an apartment patio: apartment-safe DIY plans, materials, costs, permissions, and step-by-step installs